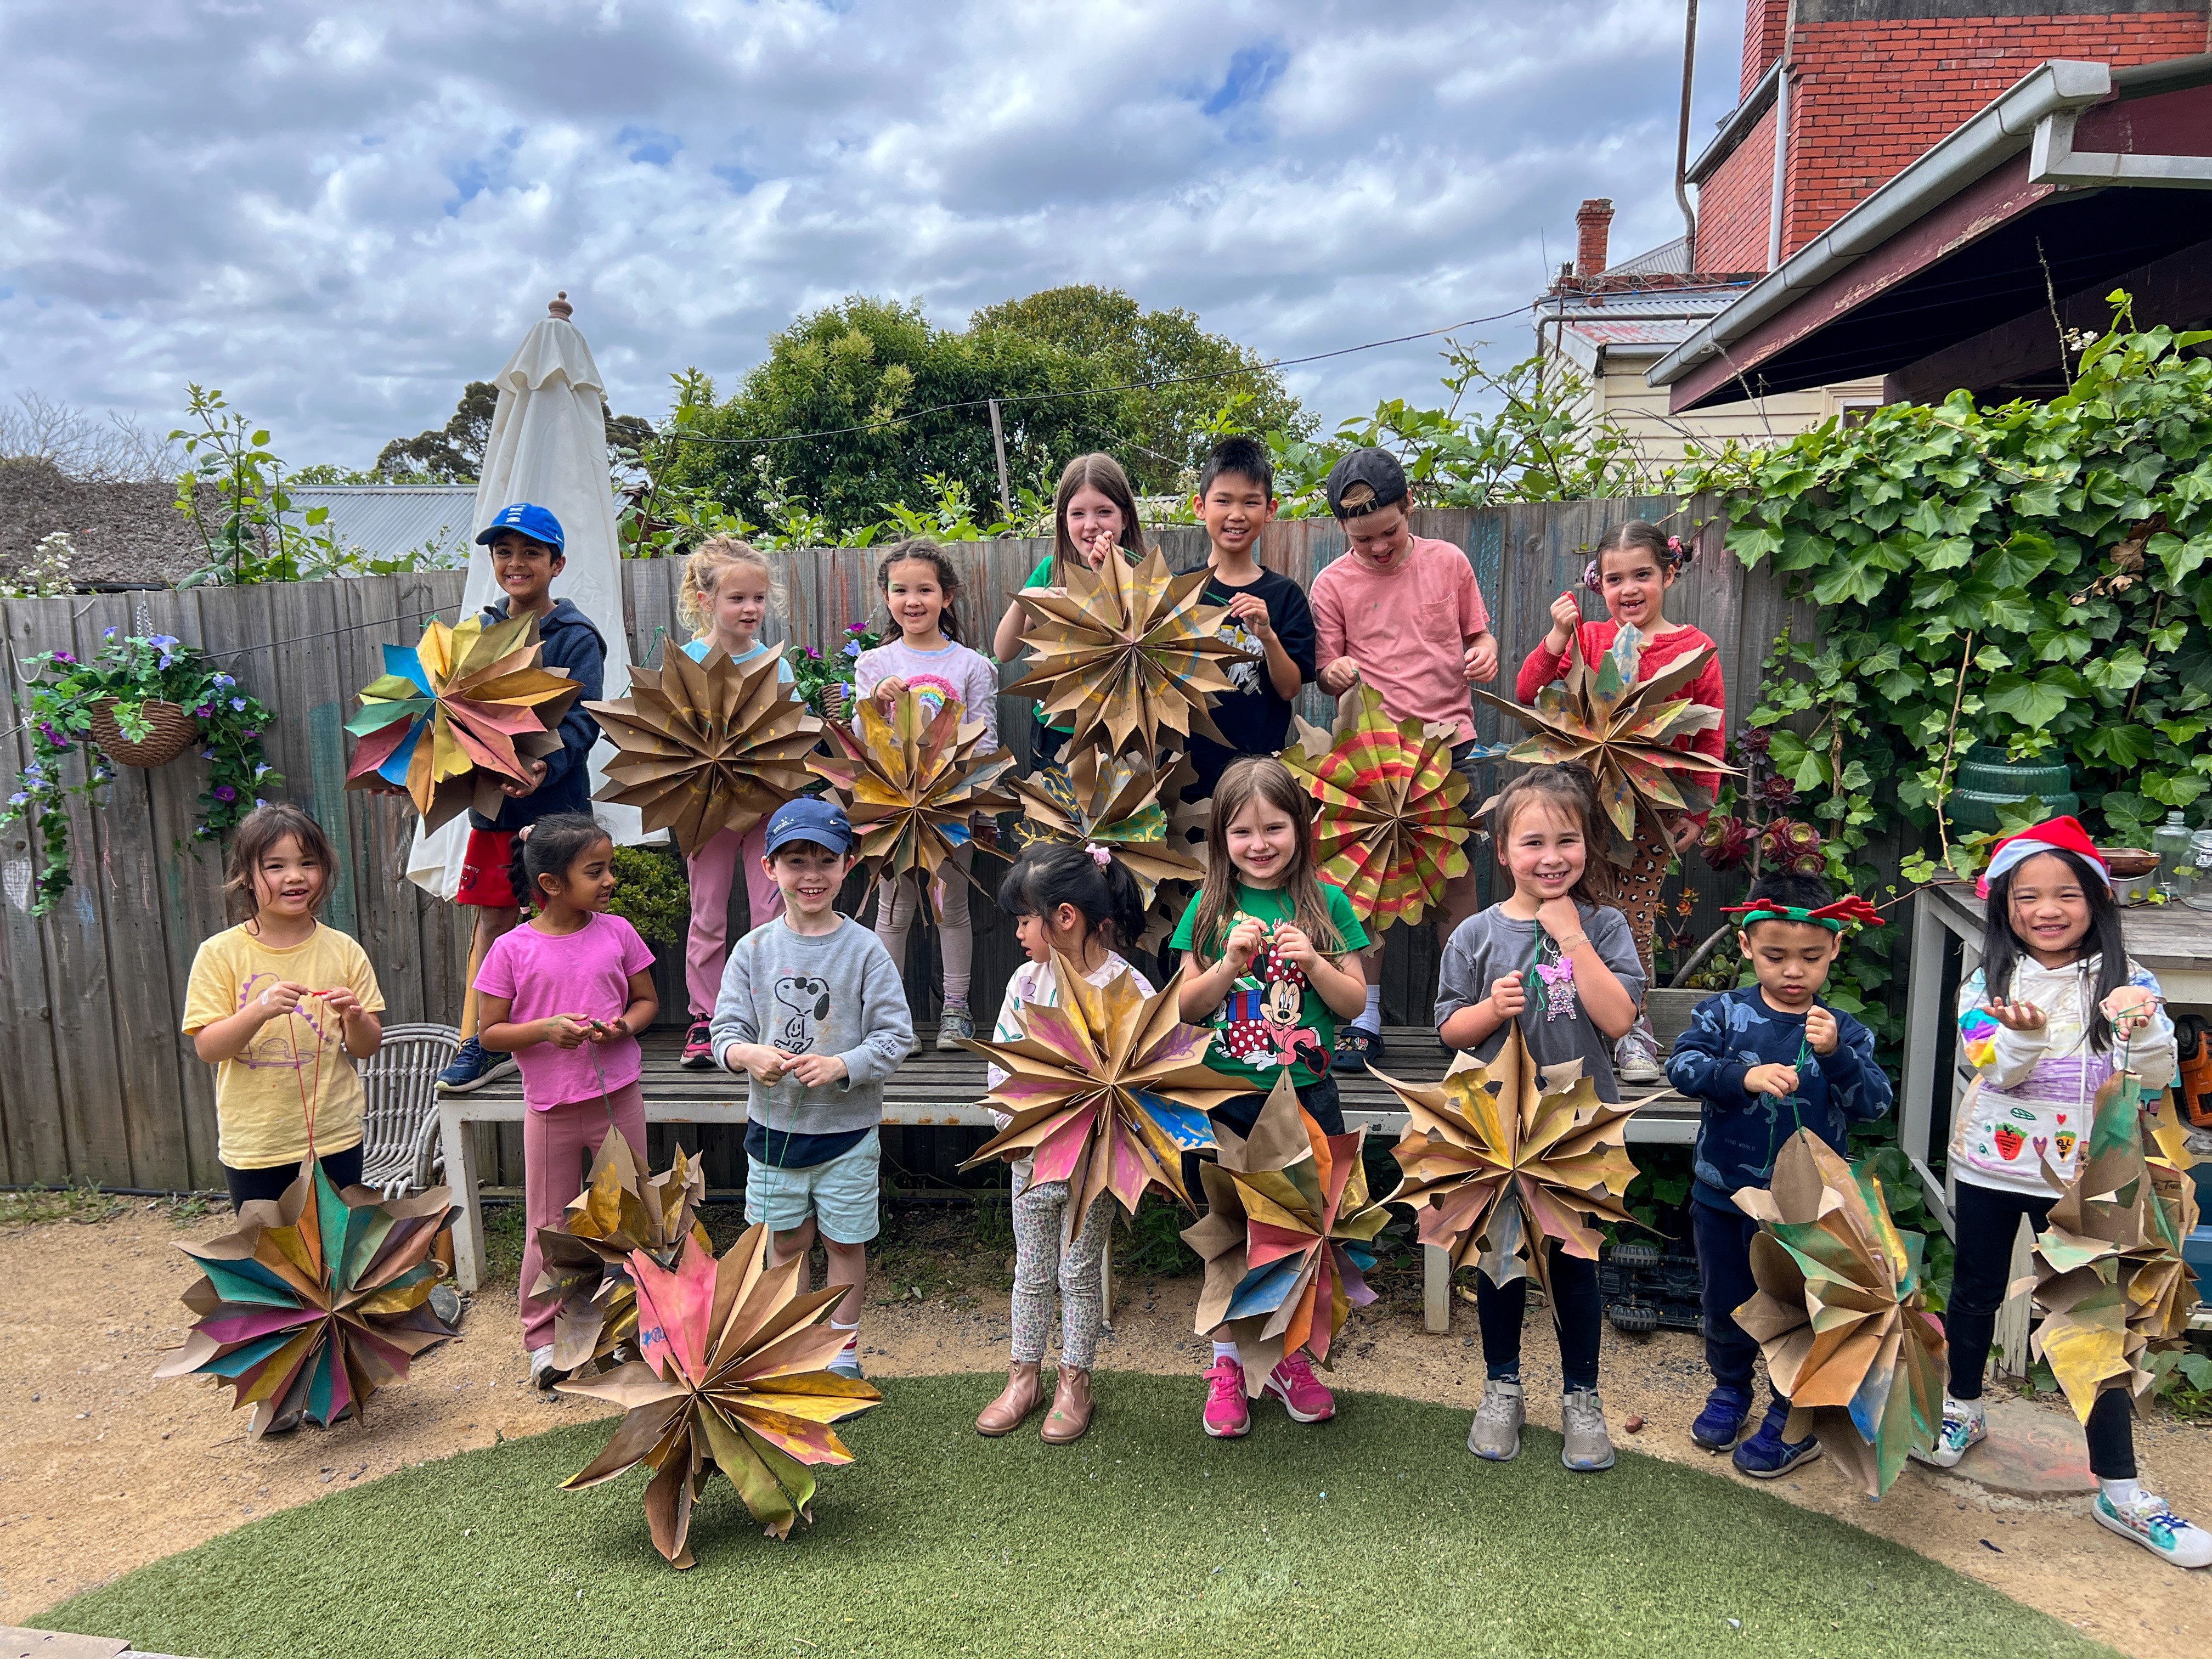
This is one of those processes that looks impressive but is actually very doable once you know the rhythm. You’ll need paper bags or lunch bags, glue, scissors, a hole punch and string for hanging. We usually use 7 bags per star. Thicker paper bags hold their shape best and give you that crisp, sculptural finish.
Stack the bags neatly with all the openings facing the same direction. Point the folded flap at the bottom of each bag upwards. That flap matters! It’s what gives the star its structure once it opens. So you apply the glue to the flap and then in a line upwards to form an upside down T. Then stick down the next bag with the flat side facing down into the glue, and the flap of the new bag facing upwards again. And so on!
Smudge Tip
For younger artists or thicker bags, split the stack. Glue 3 bags together in one pile and 4 in another, then cut the design into each stack separately. It makes cutting much easier and keeps the shapes cleaner. An adult can always help with this step if needed. once they've all got the same design cut into them, then you can go ahead and glue the two stack together so that all 7 bags are attached and lined up.