DIY Terrazzo Benchtop
sculpture
A behind the scenes Smudge build for the grown ups.
Gather these before you start.
- Timber base cut to size
- Tile samples or tiles (similar thickness helps)
- Tile adhesive
- Grout, bucket, water, mixing tool
- Grout float

Colour, light, and the thrill of creating something piece by piece.
Introduction
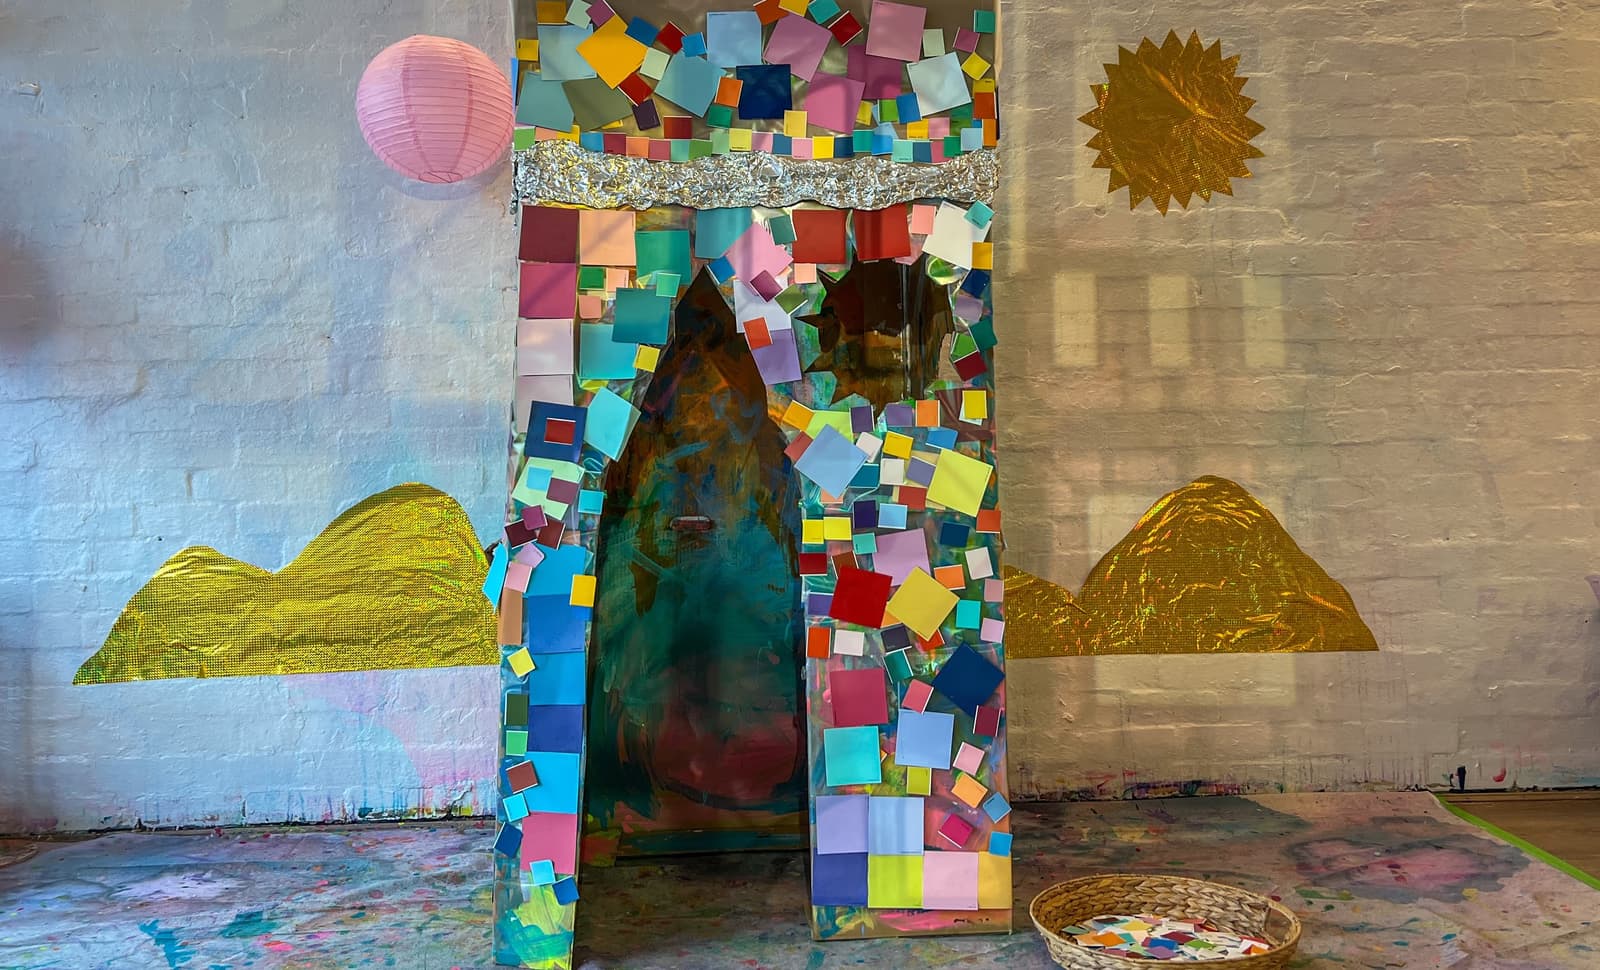
Modern Mosaics is all about colour, light and the thrill of creating something piece by piece. It invites artists to smash, sort, place, press, overlap and build. What could be better!
This theme is loosely inspired by Antoni Gaudí and the city of Barcelona. If you have ever wandered through Parc Güell or stood inside the Sagrada Familia, you will know the feeling. Tiles catching the sun. Surfaces that curve instead of sitting straight. Colours layered in a way that feels bold but completely natural. Gaudí looked to nature constantly. Shells, honeycombs, tree trunks, lizards, light through leaves. He paid attention to how things grow and move, and then translated that into architecture. His mosaics were often made from broken tiles and found fragments, arranged instinctively rather than perfectly. There is something very freeing and that's why mosaics sit so beautifully alongside process art!
From Smudge to You
Below you'll find the collection of creative activities we've used to bring this theme to life at Smudge. Each one is an invitation to play, experiment, and see where the materials take you. Pick and choose what excites you and adapt them to your own space.
A taste of what's inside
sculpture
A behind the scenes Smudge build for the grown ups.
Gather these before you start.
5 more inside this theme
Experience 2
sculpture
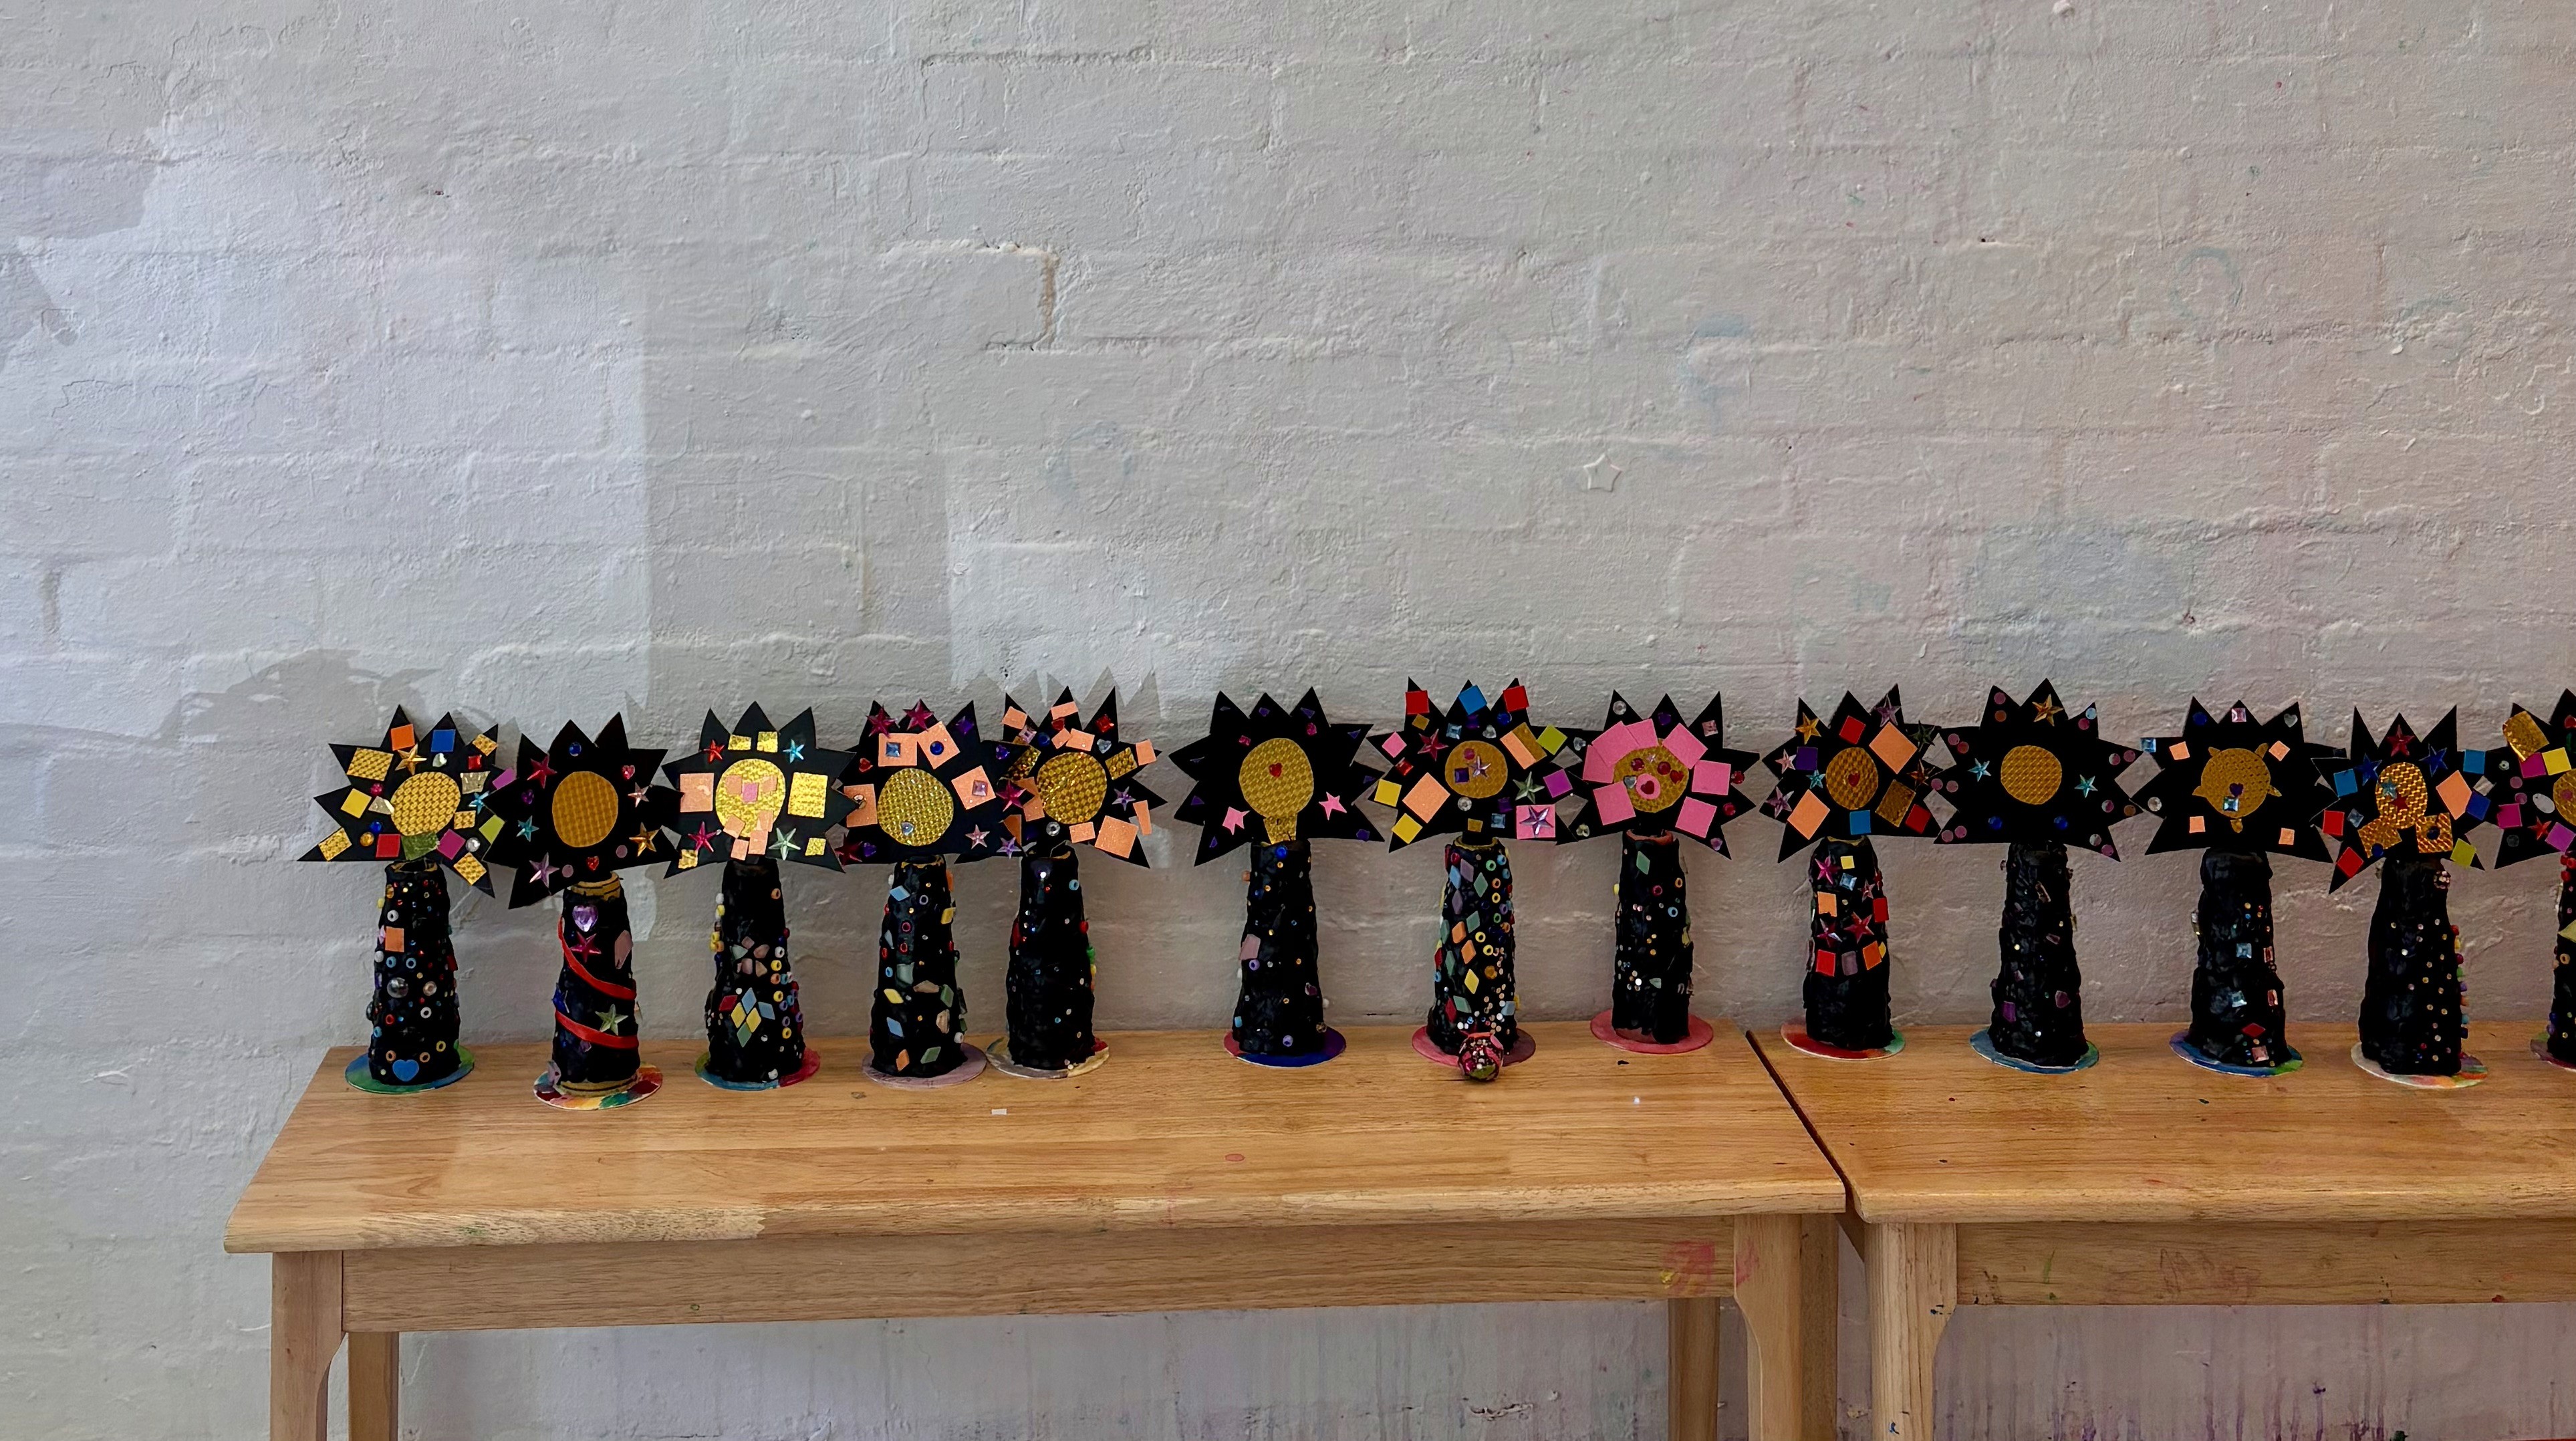
An ode to the sun, with colour popping against a dark base.
Experience 3
sculpture
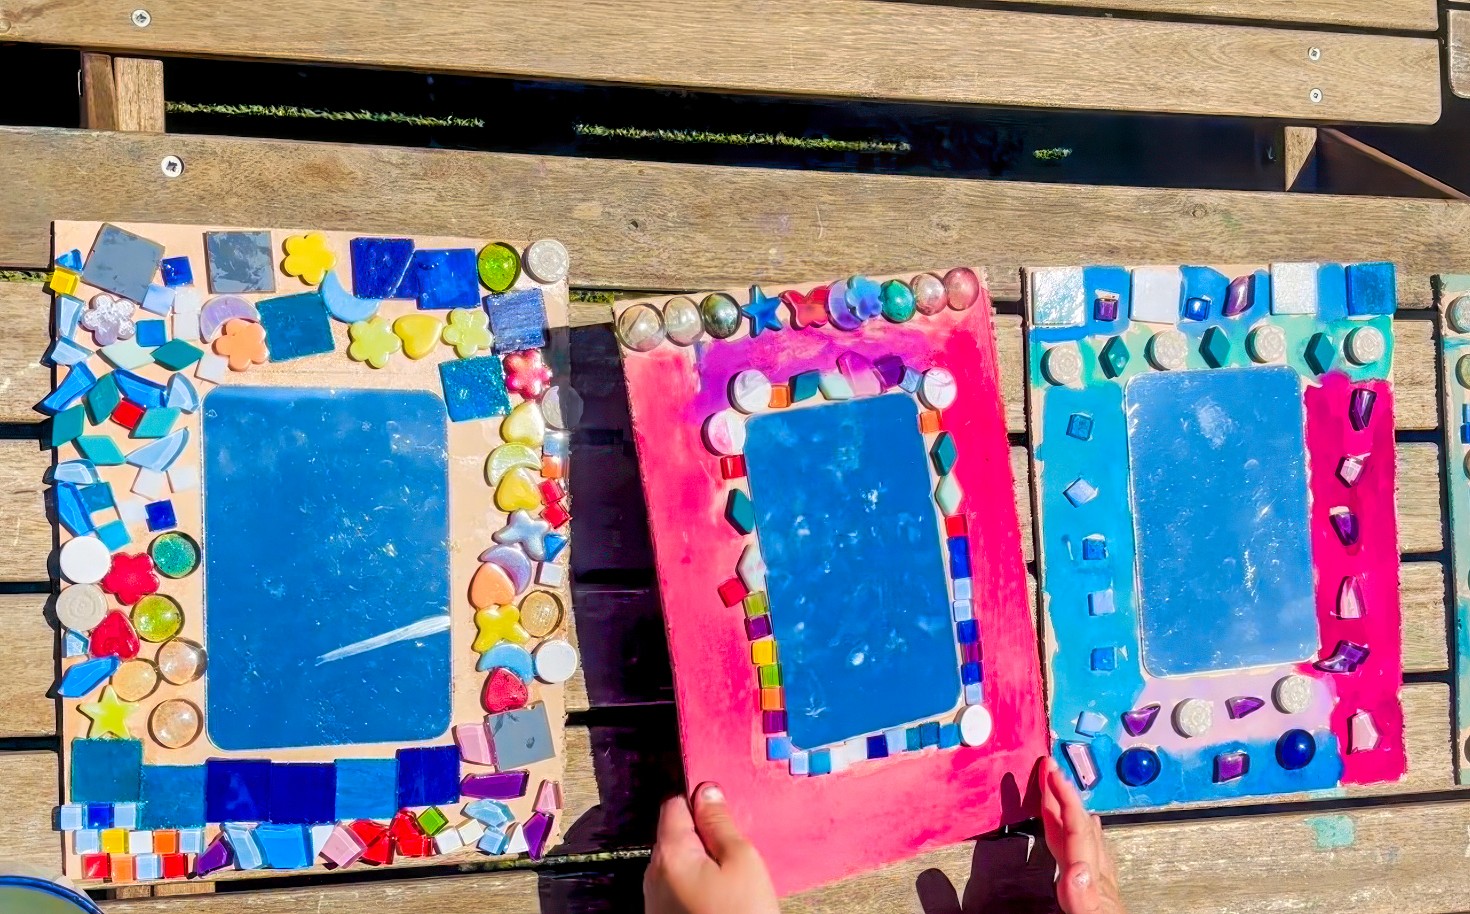
Colour, reflection, and a gorgeous excuse for self portraits.
Experience 4
collage
Tiny architectural worlds built in layers.
Experience 5
installations
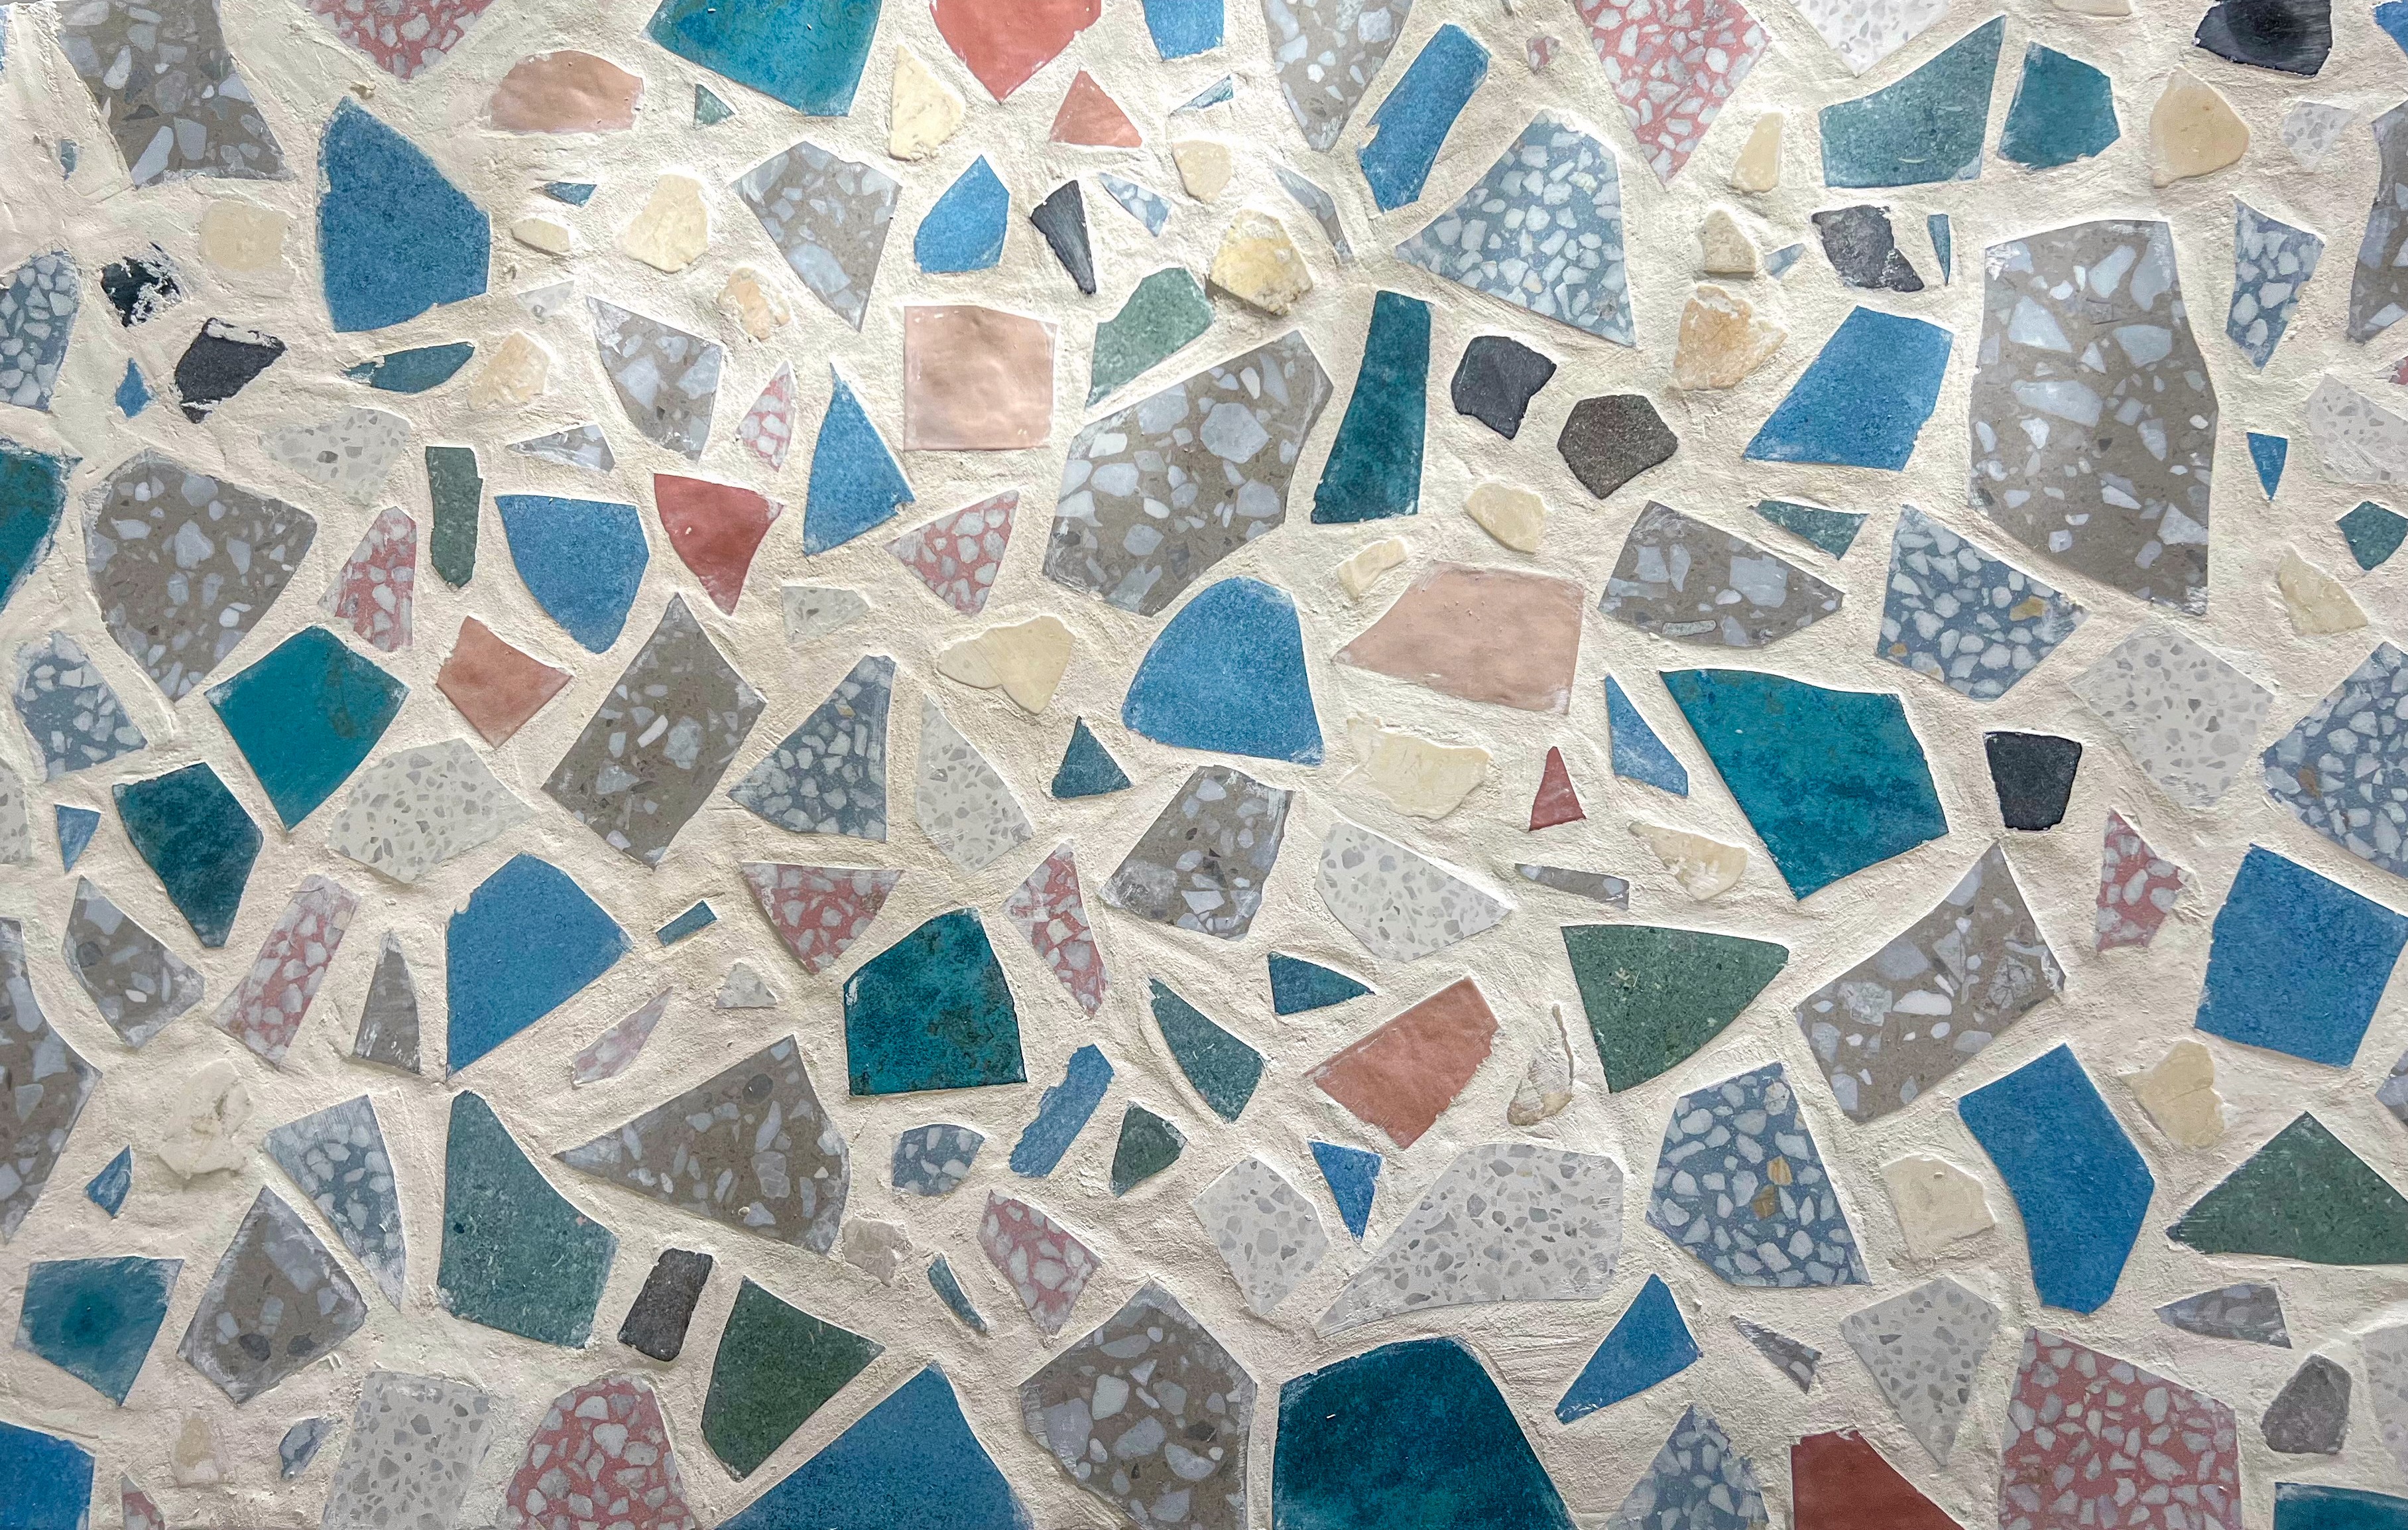
This is not a children’s art experience, but I’m including it because it ties in so beautifully with mosaics and it’s something I get asked about constantly. It is a little behind the scenes Smudge build moment from 2023!
I went around to tile shops and collected samples in colours and textures I loved. If you ever do this yourself, try to find tiles that are a similar thickness. I didn't, and it made the finishing stage much harder!
Measure the surface you are covering and cut a timber base to size. Gather tile glue, grout, a bucket, water, mixing utensil, and a grout float. You’ll also want rubber gloves.
For smashing tiles, a rubber mallet is brilliant. Wrap tiles in a tea towel first and please wear safety goggles.
Lay out your tile pieces before gluing. Decide whether you want lots of grout showing (more terrazzo style), or tighter tiles with minimal grout lines (more mosaic style). I like starting by forming a border around the edge so the whole surface feels contained, then filling in from there.
Glue the tiles down, let them set, then grout the entire surface. Once cured, clean, sand back if needed, and seal properly so it is durable and wipeable.
Do a small version first on a tray or a plant stand to test your process.
A giant cardboard cathedral for collaborative mosaic play.
Experience 6
collage
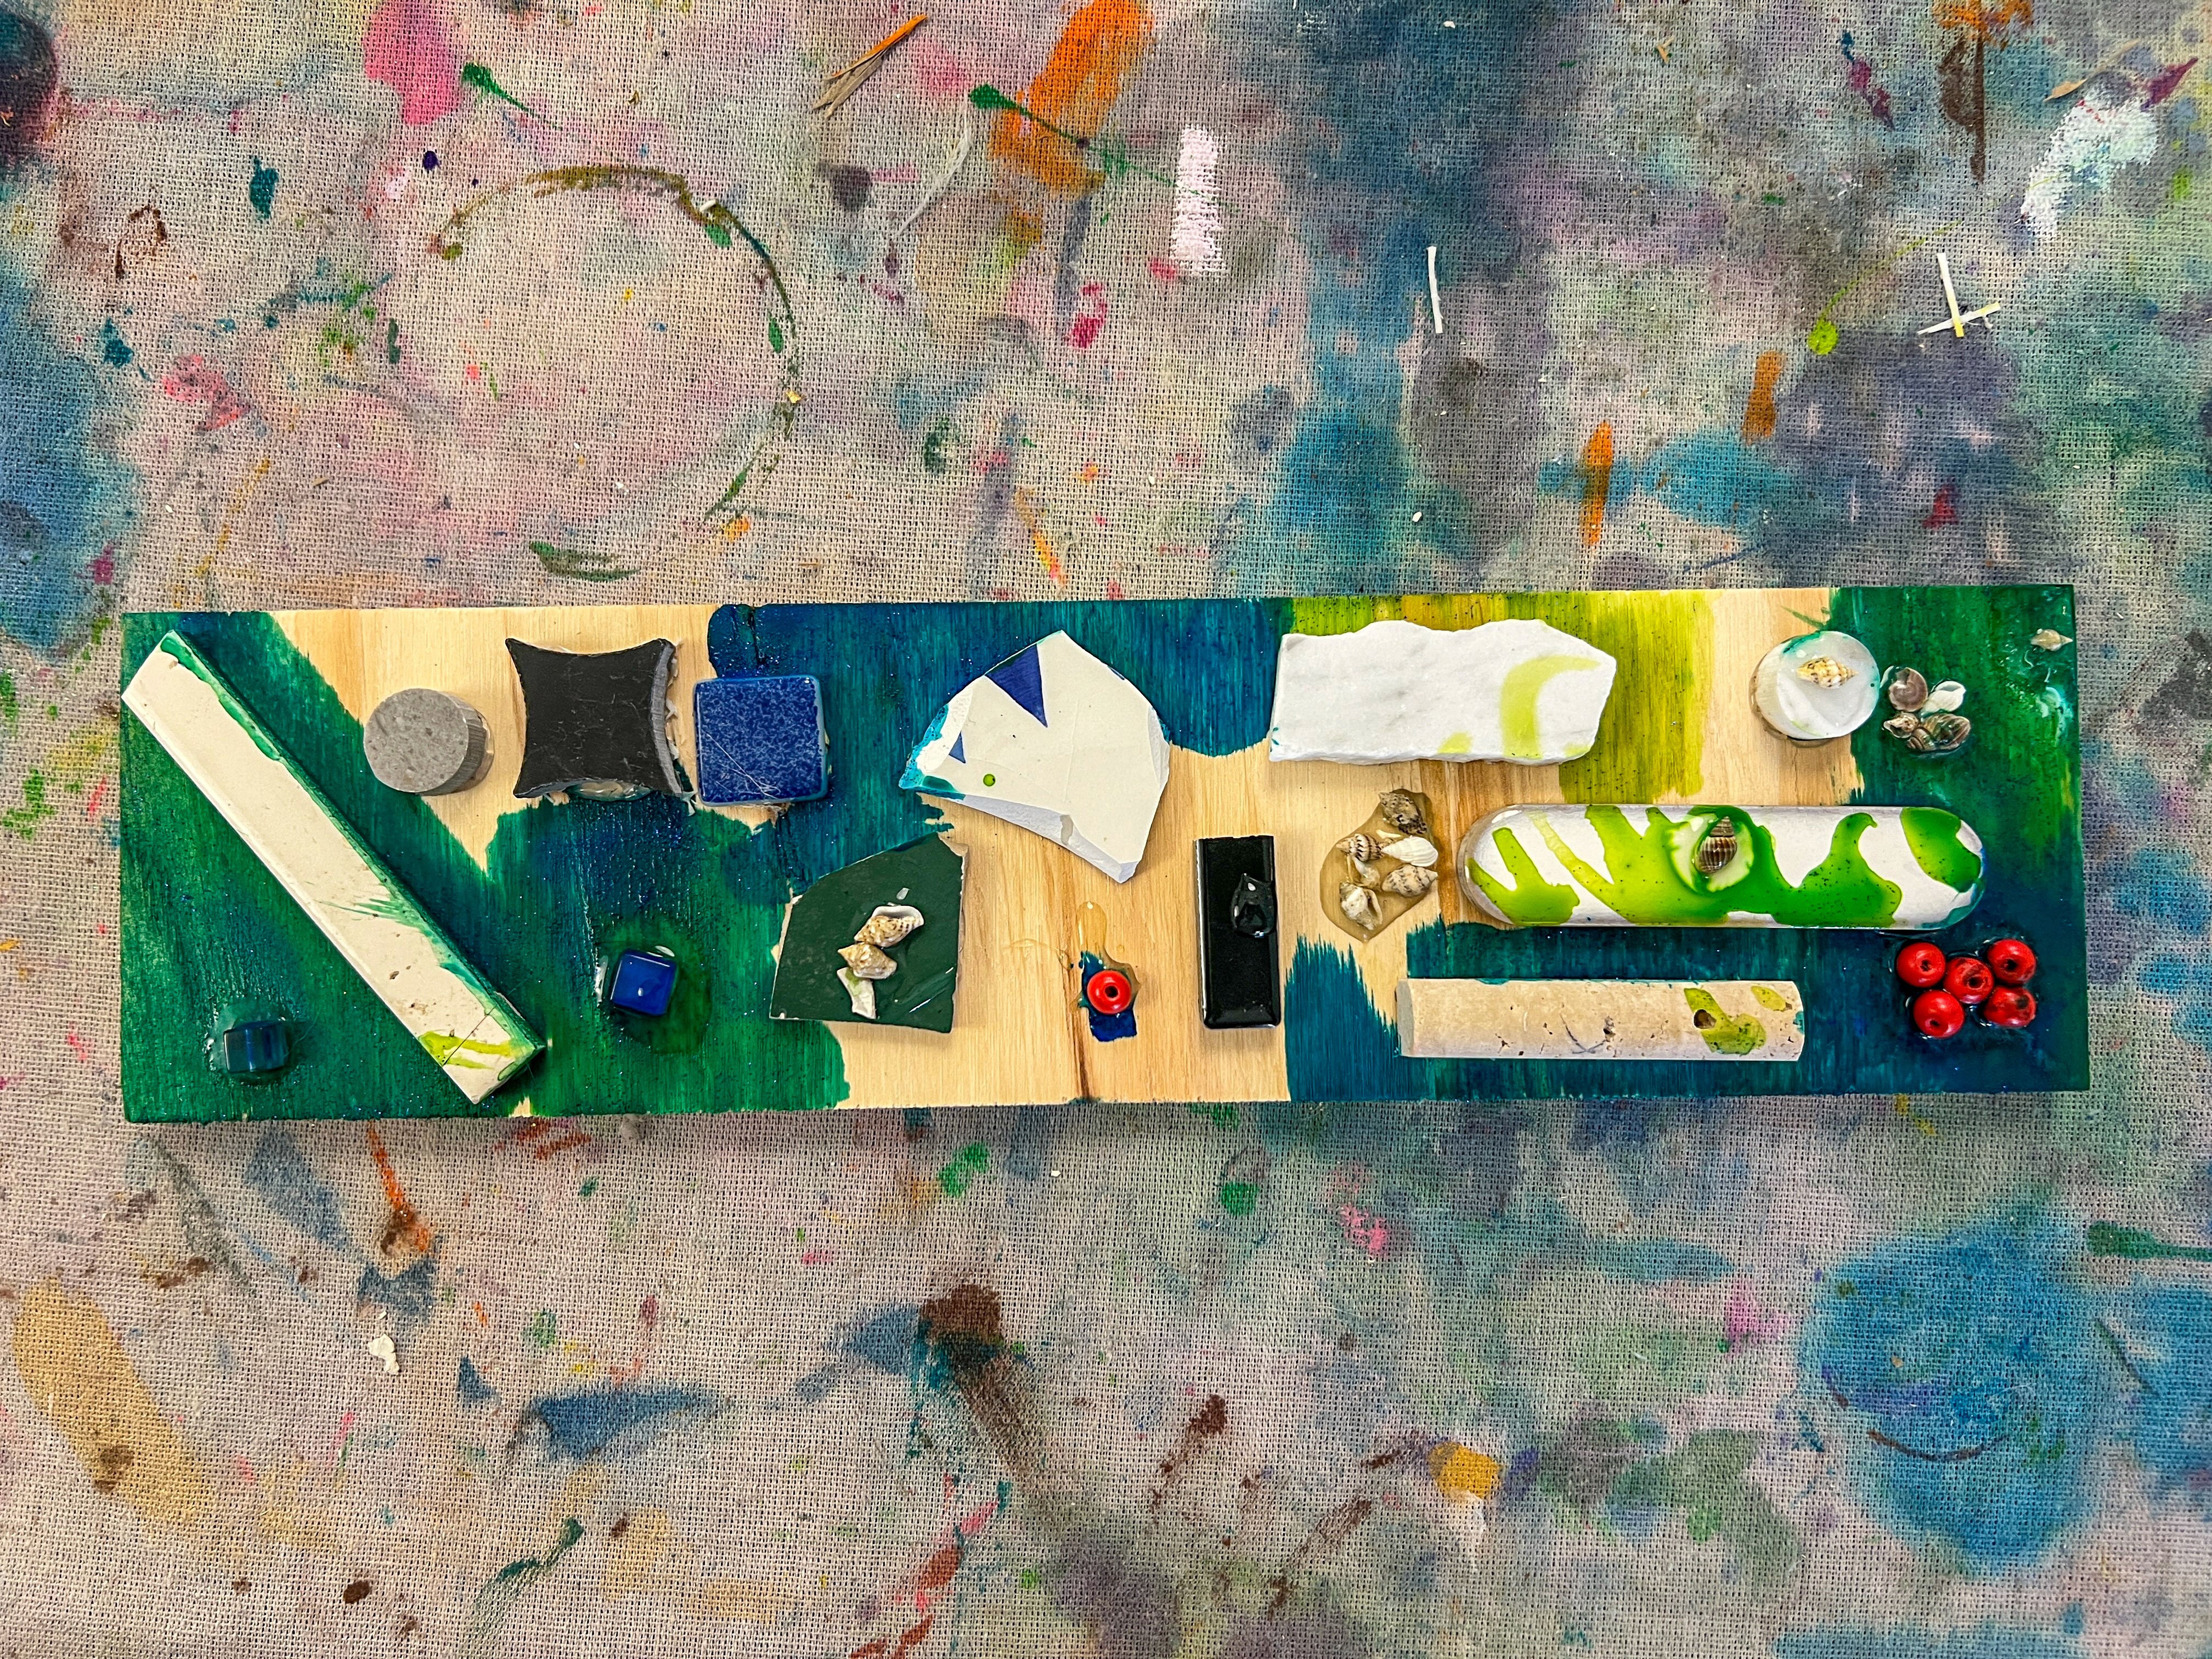
Layering colour, texture and instinct onto wood.