Every colour of the rainbow, mixed, beaded, marbled and played with across a week of joyful making.
Introduction
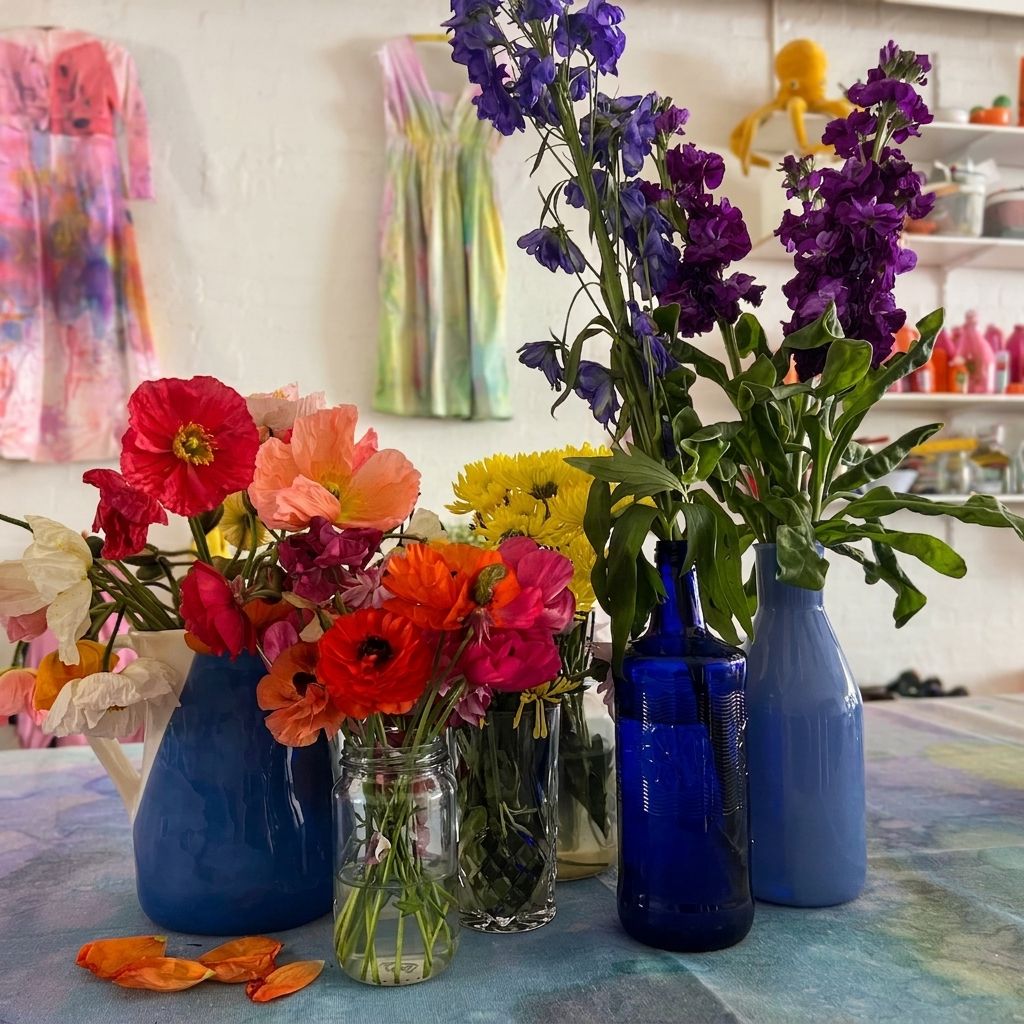
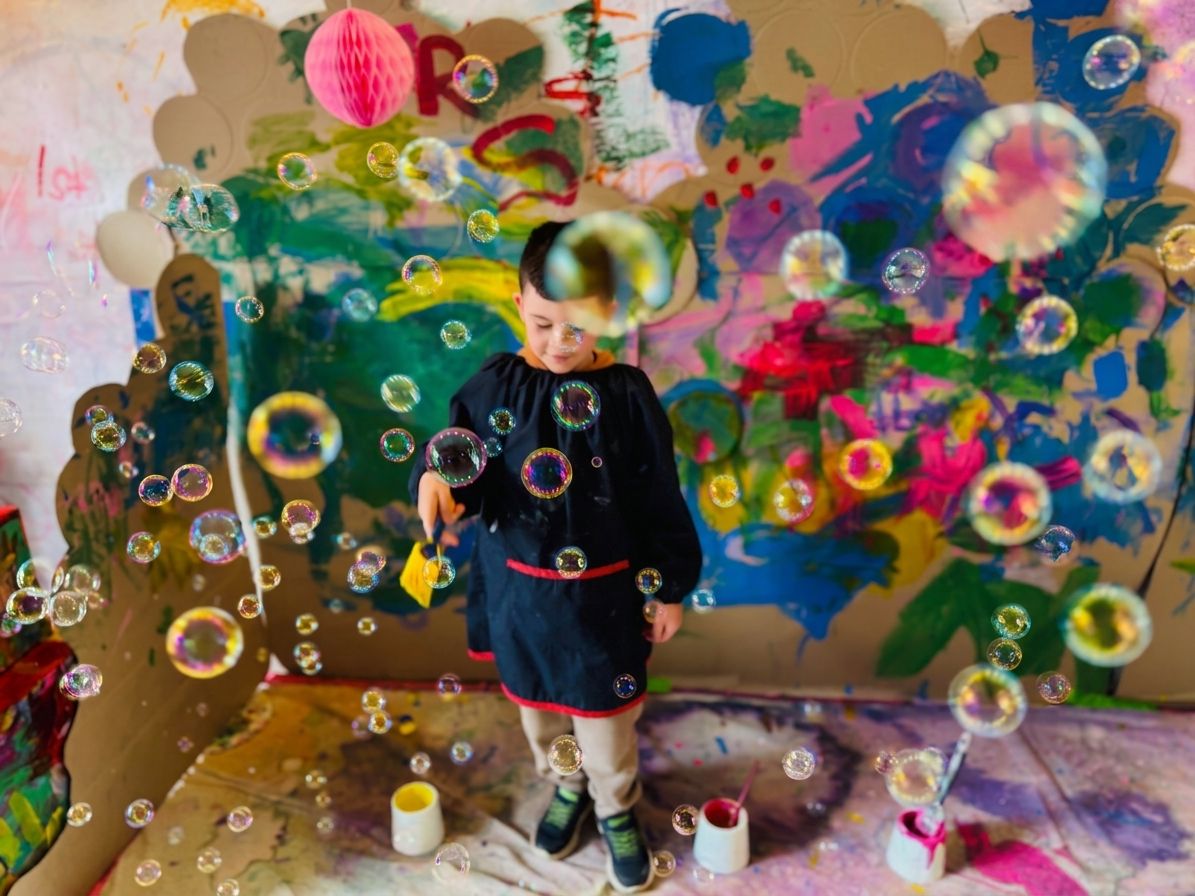
Over the Rainbow is our celebration of colour in every form we could think of. We mix it from scratch in glass jars, thread it onto wire, swirl it through shaving foam, and chase it through cellophane held up to the window. We splash it across a whole wall until the studio glows. Some of the making is quiet and careful, some of it is big and full-bodied, and all of it comes back to the simple delight of colour doing what colour does.
From Smudge to You
Below you'll find the collection of creative activities we've used to bring this theme to life at Smudge. Each one is an invitation to play, experiment, and see where the materials take you. Pick and choose what excites you and adapt them to your own space.
A taste of what's inside
8 more inside this theme
Experience 2
painting-drawing
Make every colour in the rainbow from just red, blue and yellow
Experience 3
print-making
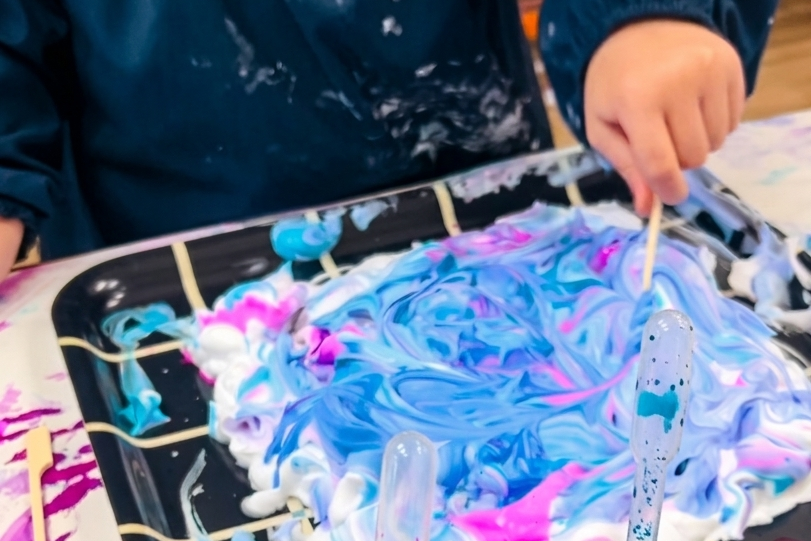
Colour swirled into shaving foam and printed, never the same twice
Experience 4
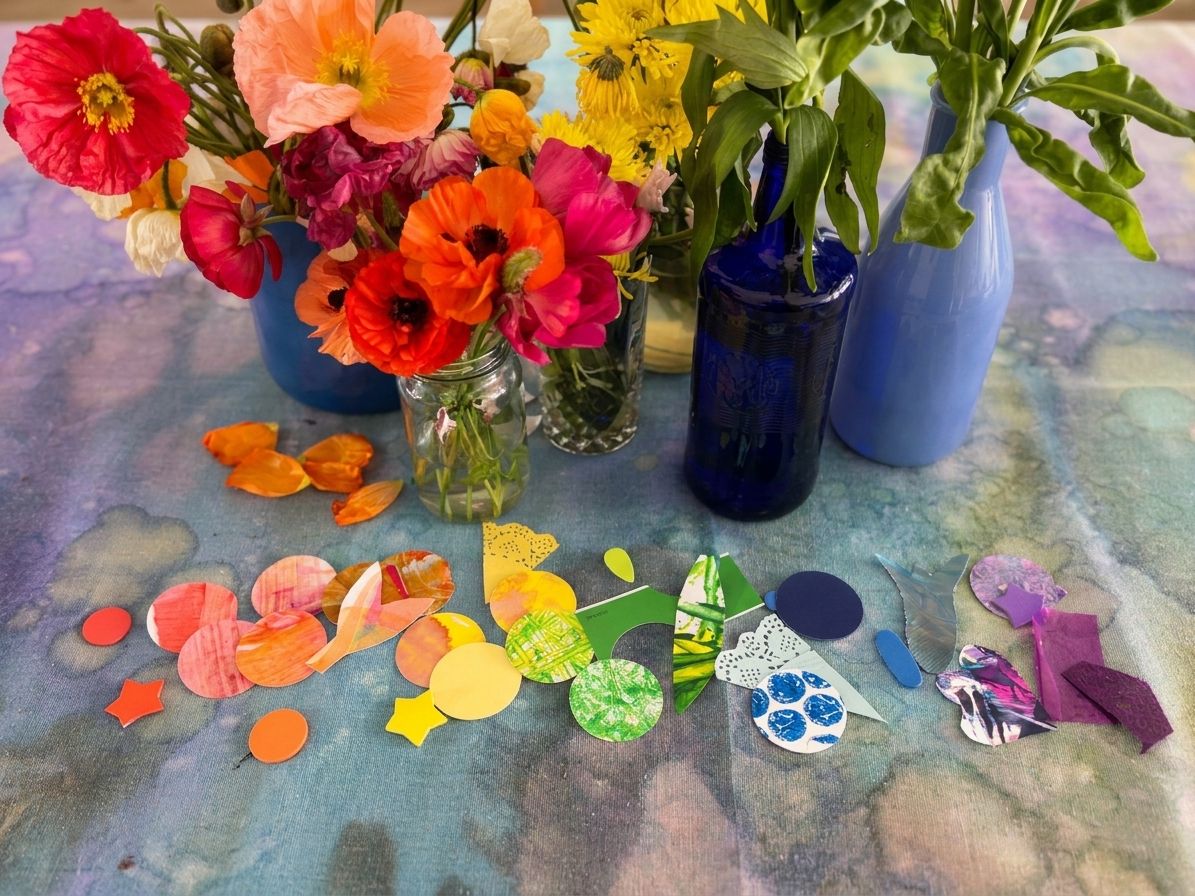
collage
Odds and ends sorted by colour and layered onto a circle
Experience 5
creative-exploration
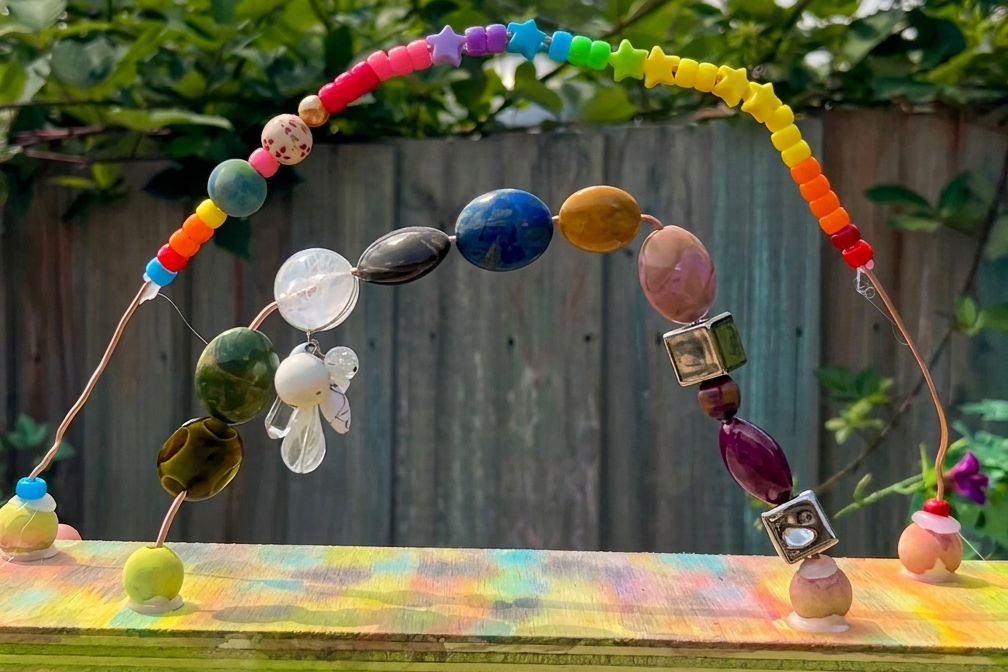
Wire arches threaded with a mix of op-shop beads, no two the same
Gather these before you start.
These beaded rainbows are one of the most loved experiences we've ever run at Smudge, and photos of them have travelled all over the world. They bring together some of my favourite materials in one go: wire, colour, and a big bowl of second-hand beads.
I always start with the beads, because sourcing them brings me oh so much joy! I collect old jewellery from op shops all year round, snapping strands and pulling necklaces apart into a mixed bowl of glass, wood, ceramic, and plastic. That variety is so important, and it's what makes each rainbow feel rich because no two are ever the same. Top up with pony beads for the younger artists and for the long stretches where you just want colour fast.
For the base, wooden boards or rounds work best because they're heavy enough to hold the arches steady. I have found that hardware store off-cuts are ideal, and you might get lucky and find some thrifted breadboards that have lovely character. You can paint the base with watercolour before beading so the colour is dry and ready, or afterwards so the wood and the wash show between the beads.
The arches are flexible and you can design the rainbow to suit the artists and what you have available. Three of them (one large, one medium, one small) tapering in across the board give you that classic rainbow where every layer is visible. Or you could create one or two arches, which are just as striking if you're shorter on time or beads. Cut each length of wire a good bit longer than the span you want to bridge, roughly half as much again, so there's enough to form the curve and still anchor both ends.
To anchor each arch, hot glue a wooden bead to the board where you want the arch to begin. Once it's set, add a little more hot glue into the hole of the bead, push the end of the wire in, and thread one more bead straight down onto the glue to lock it firmly. Leave the other end free! Don't glue the second side down until the arch is fully beaded.
And I definitely recommend having a discussion about wire safety before everyone starts, and be especially aware of any wire ends sitting at eye height.
Once the arches are anchored, the threading can begin! There's no right order to follow, so an artist might work carefully from red through to violet, or thread whatever colours catch their eye as they go. The wire stays forgiving the whole time, with beads coming off, swapping around, and shuffling along right up until that second end is glued down. It's worth scattering a few clear glass beads through the bowl, since they catch the light beautifully once an arch is full. When one is finished, glue the free end into its anchor bead the same way you started, and it holds its shape for good.
Mix colour in water to match the shade of a real flower
Experience 6
installations
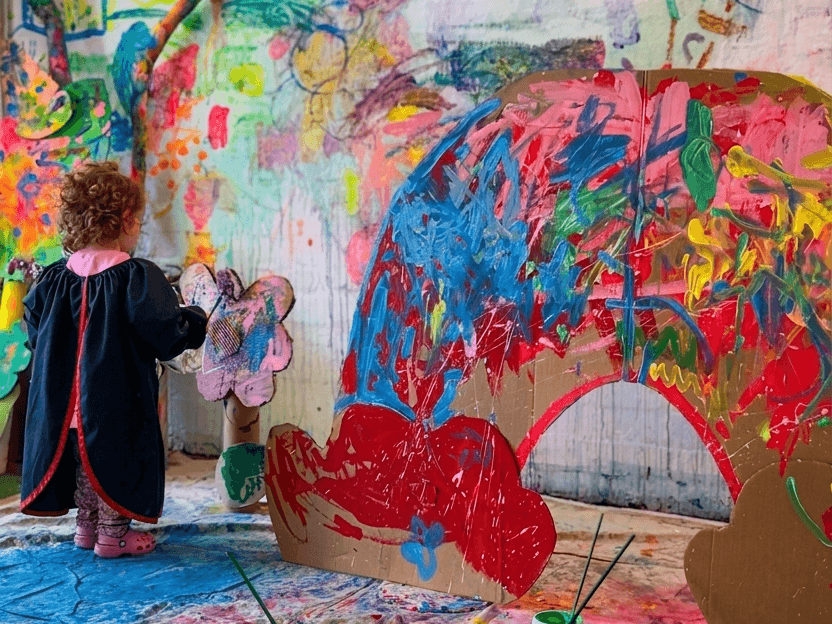
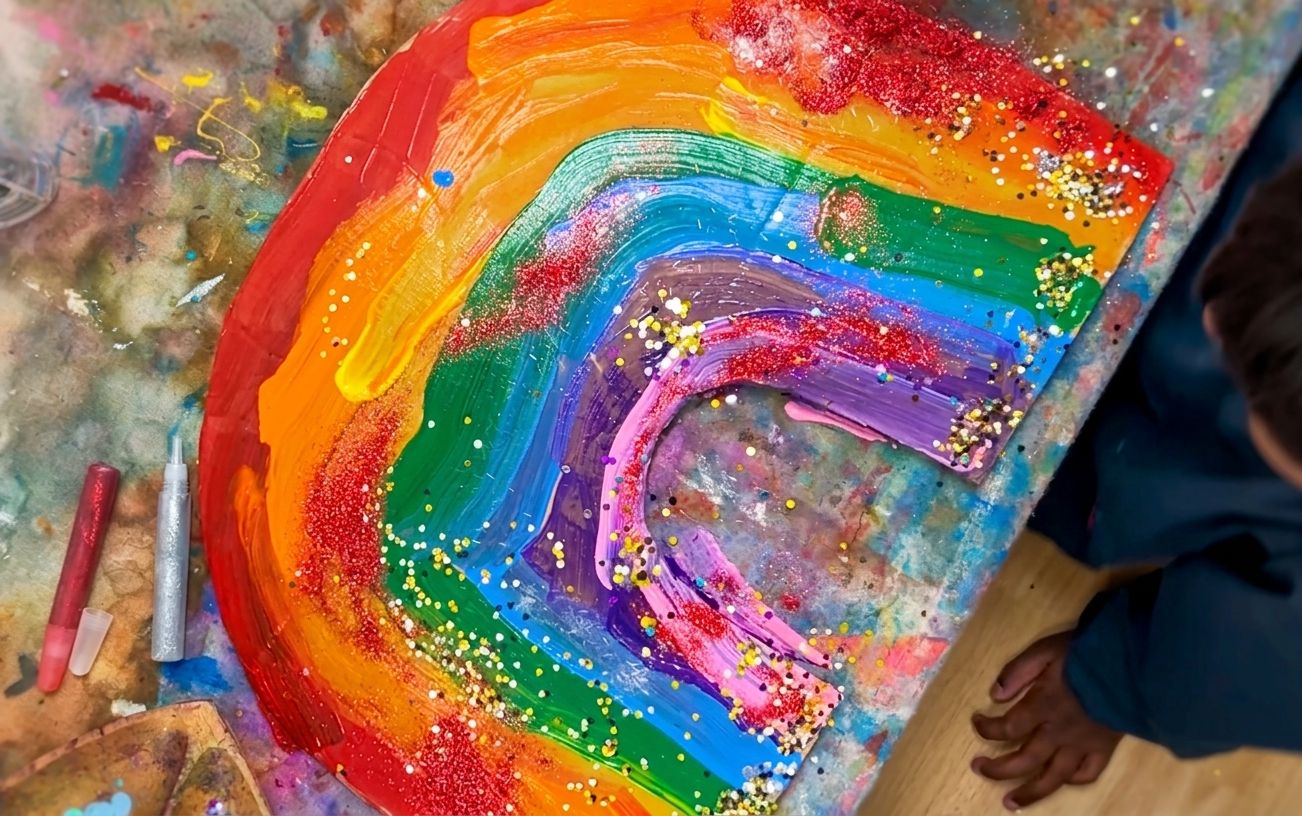
A whole wall or a giant rainbow, painted with your whole body
Experience 7
sensory-play
Tissue and cellophane sun catchers that glow in the window
Experience 8
creative-exploration
Watercolour bled into wet paper and strung up as tie-dye flags
Experience 9
sensory-play
A tray of colour and loose parts to dig and sort through