Build a Bird
Birds bursting with personality.

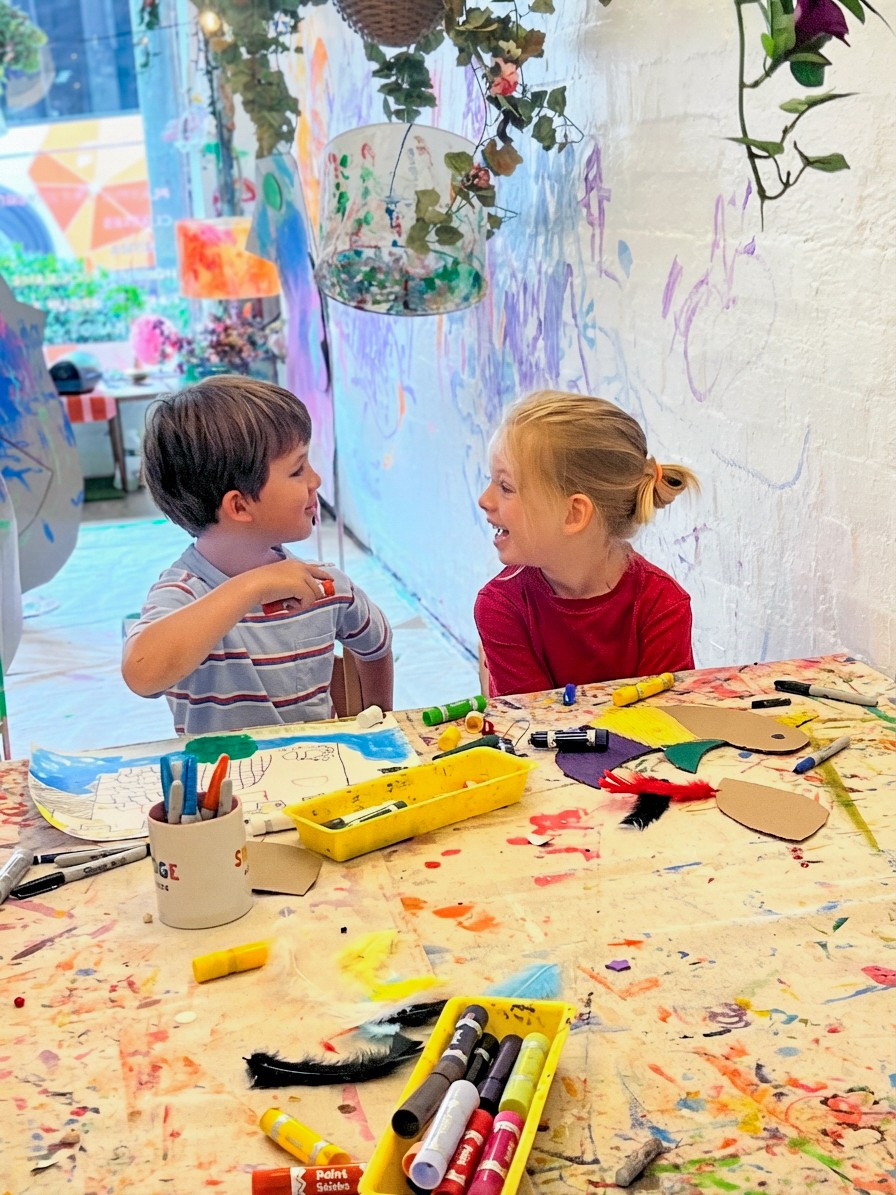
The Set Up
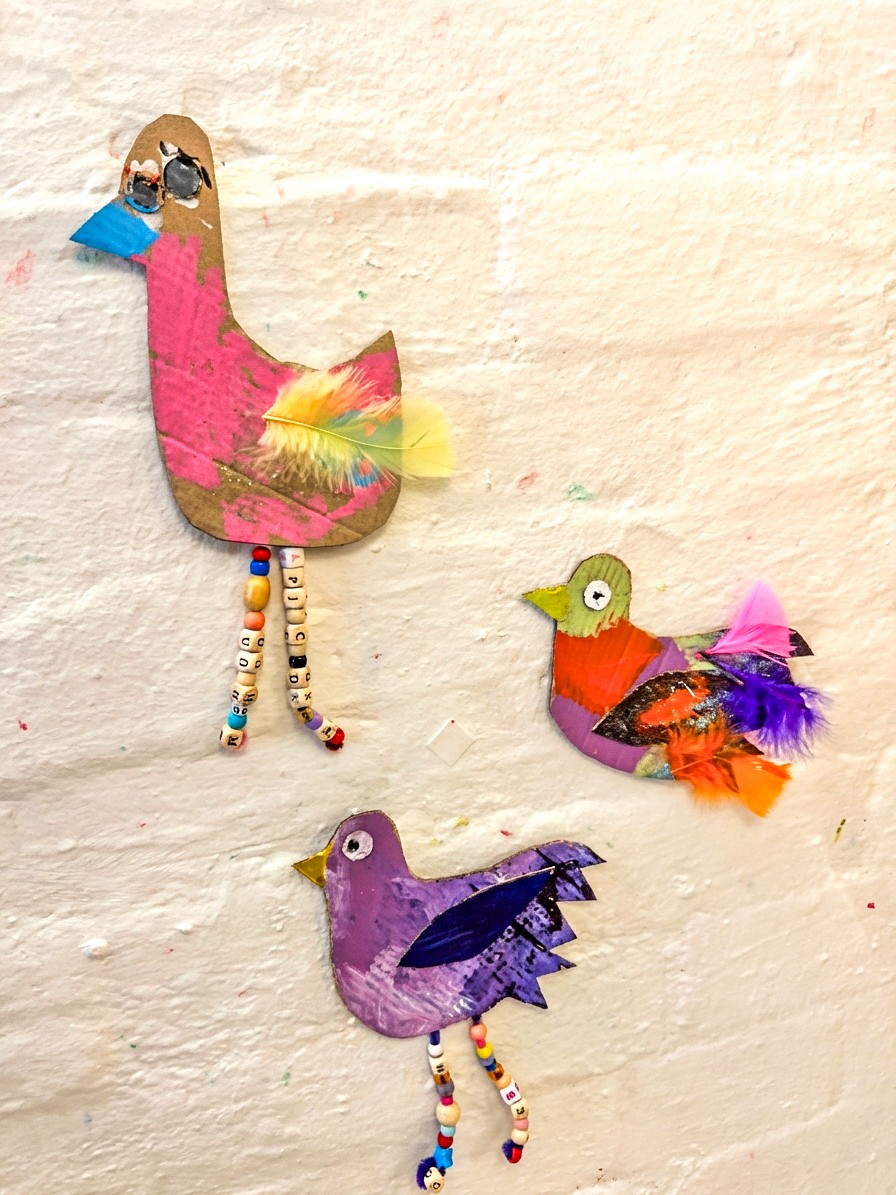
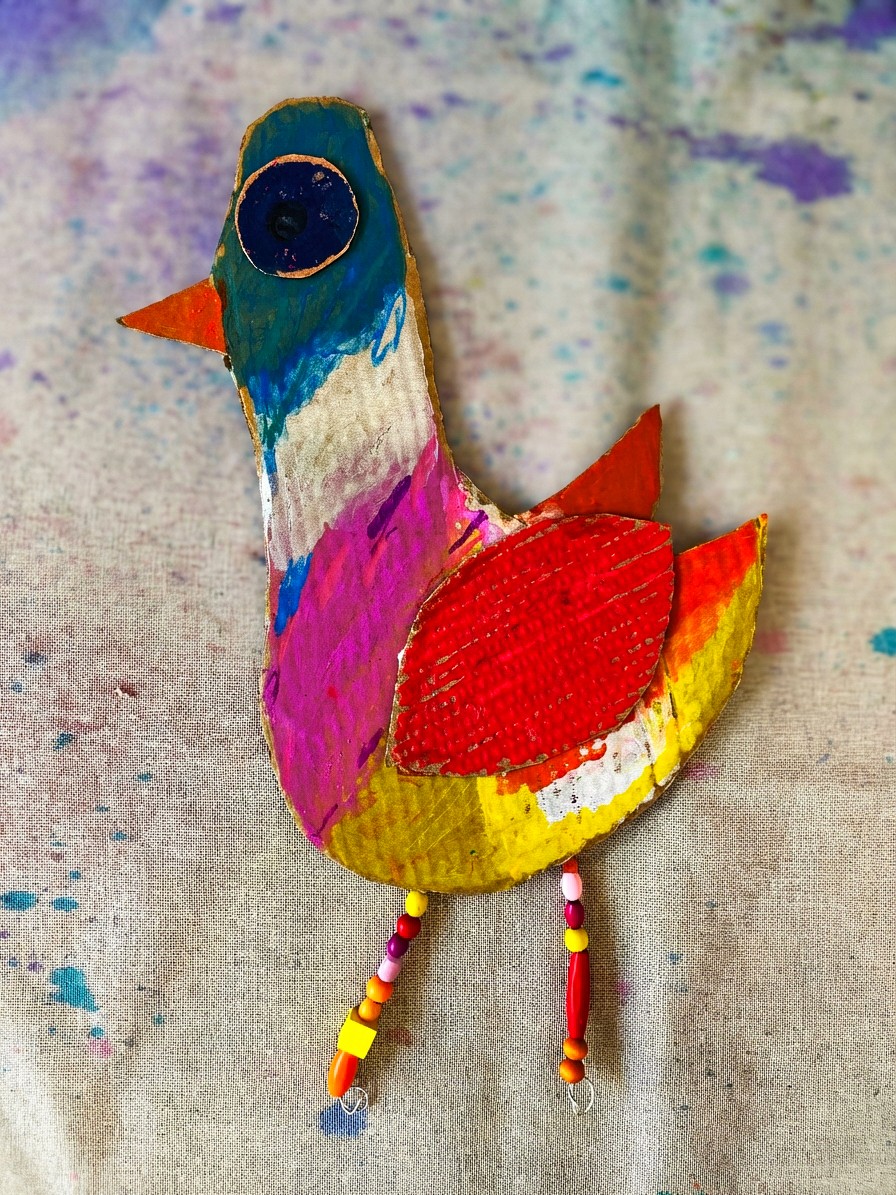
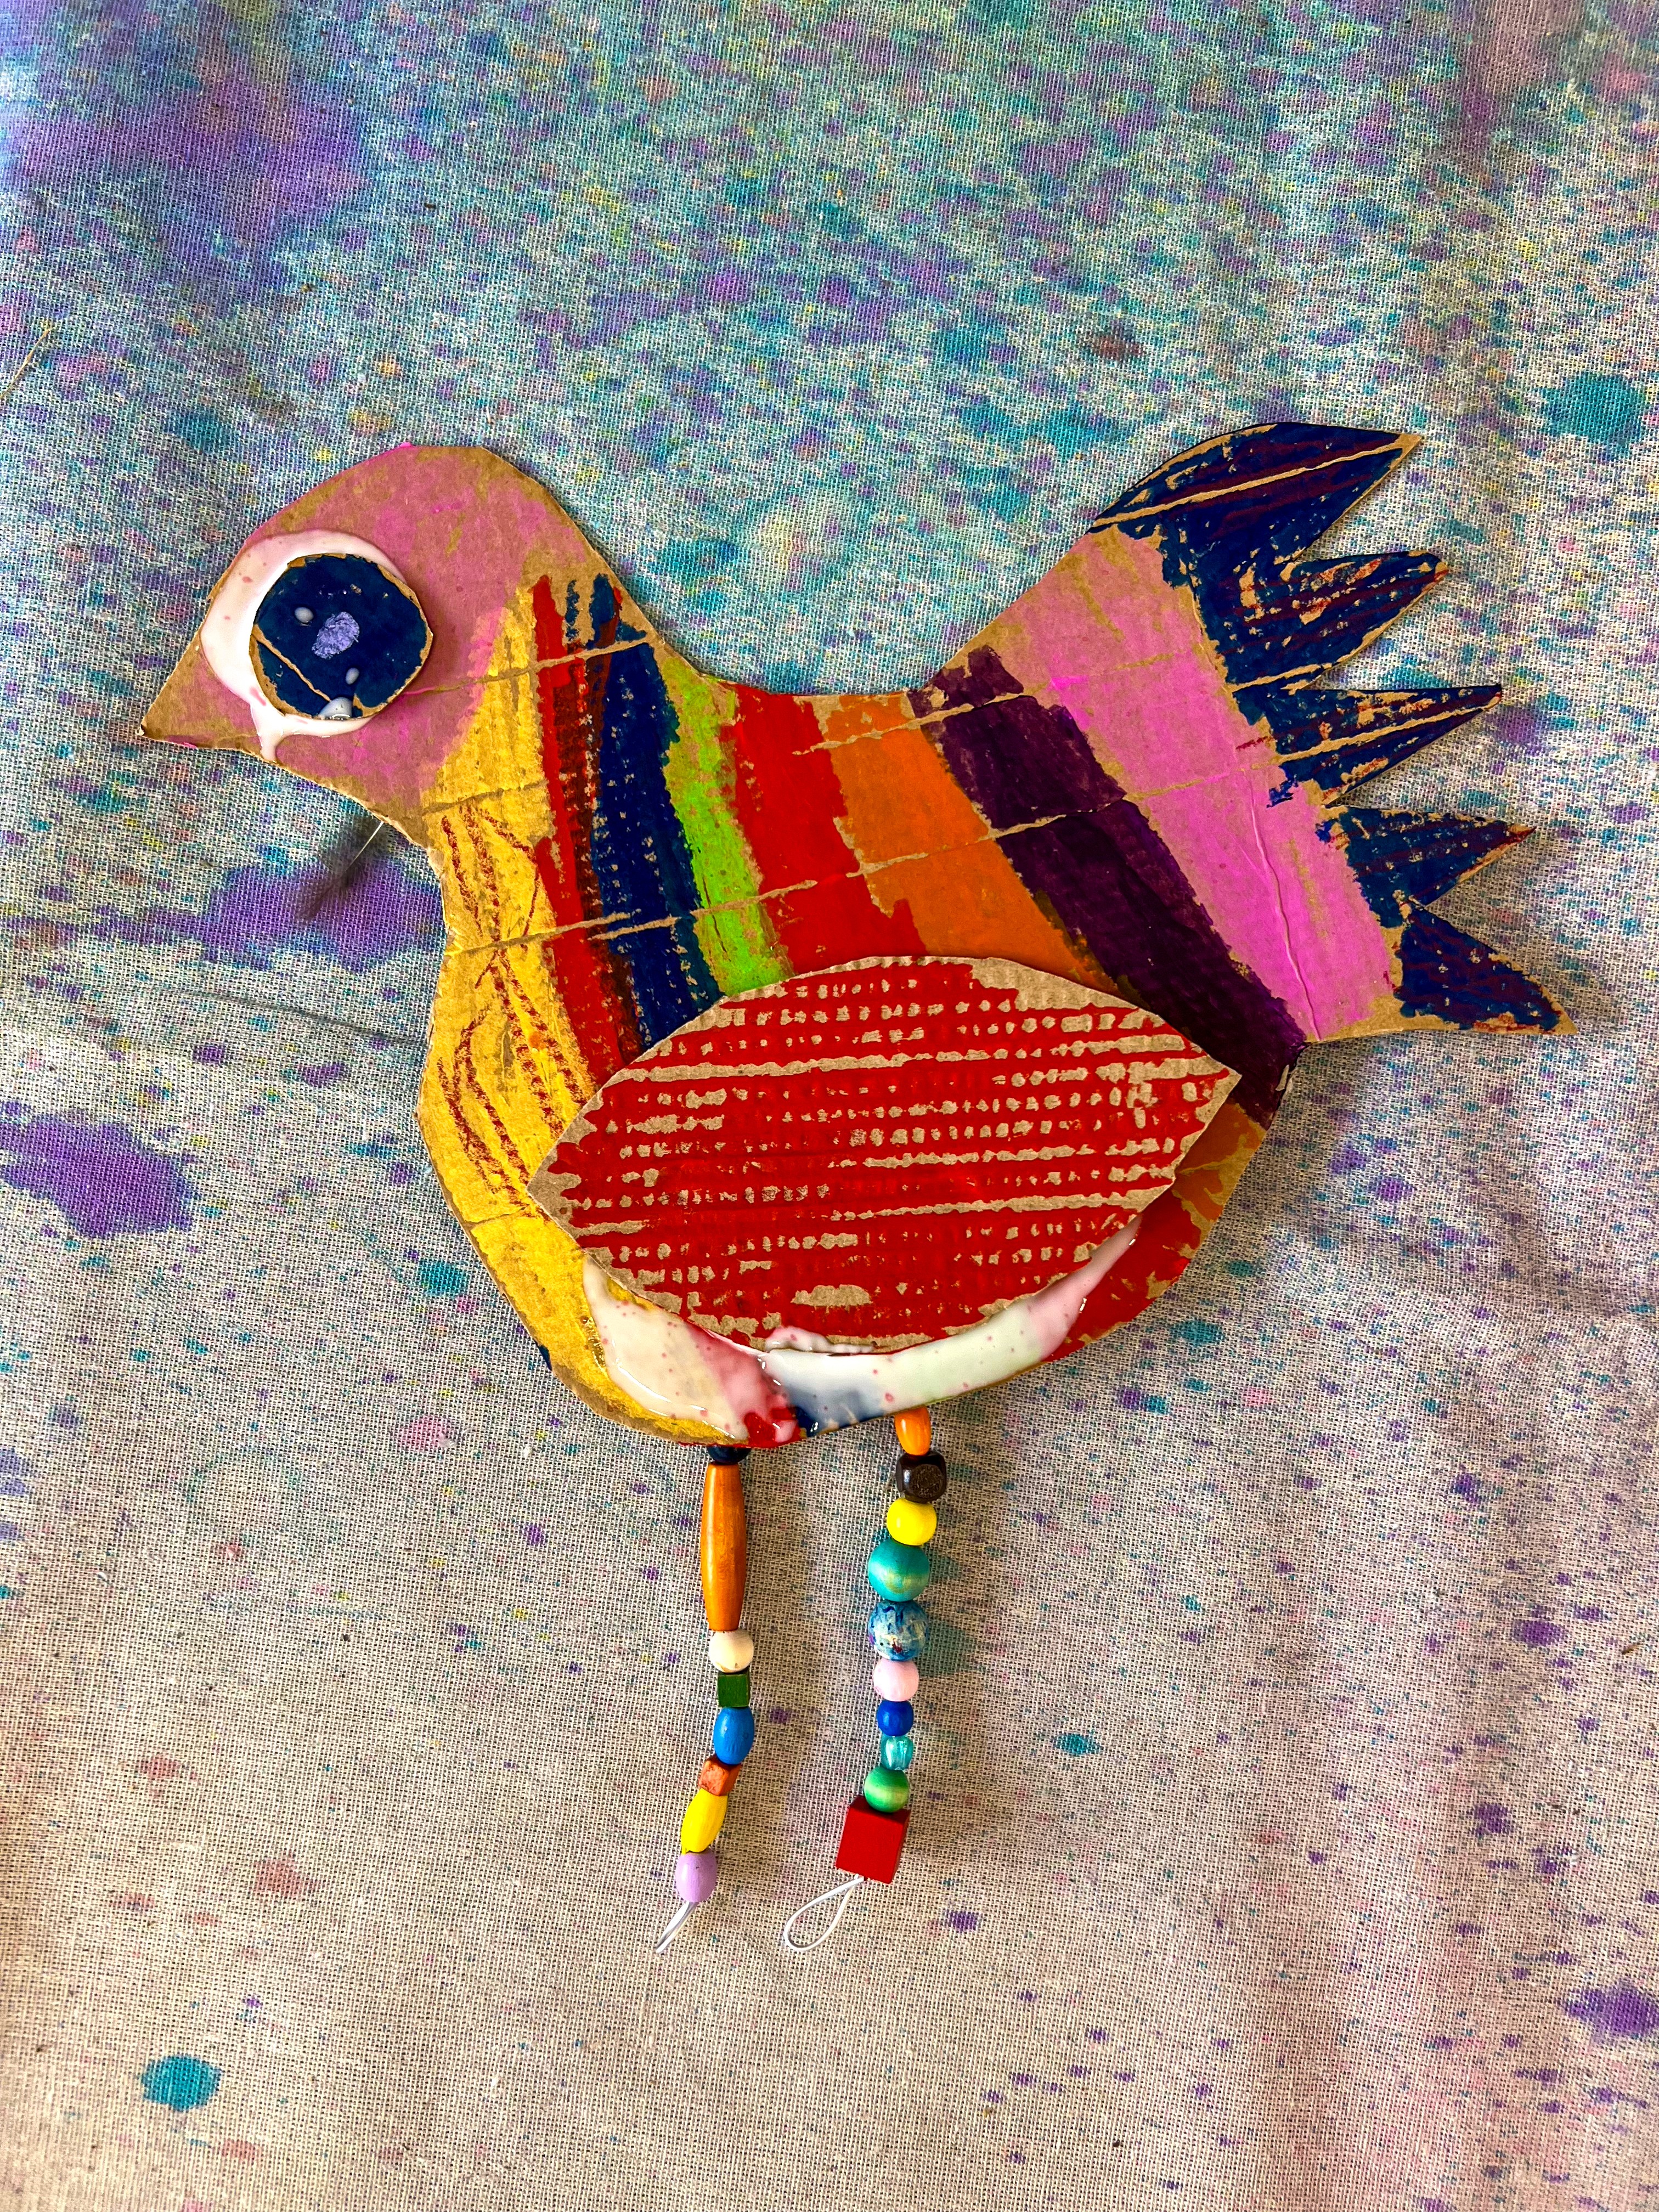
It's all about personality and was inspired by the wonderful Colourful Minds Kids, who themselves were inspired by Chris Haughton's illustrations in his book Shh! We Have a Plan. Every bird turns out completely different, and the placement of the wings is what really brings them to life. Angled up and they look like they're mid-flight, tucked down and they're resting, spread wide and they're showing off. It's amazing how much character a cardboard bird can have!
Pre-cut a selection of bird body shapes in different sizes, along with separate wing pieces and circles for eyes. Lay these out so artists can mix and match. Curate pipe cleaners and beads for creating dangling legs, paper straws for extra structural details, and any kind of collage material you like: feathers (of course!), tissue paper, fabric scraps, buttons, sequins.

The Making
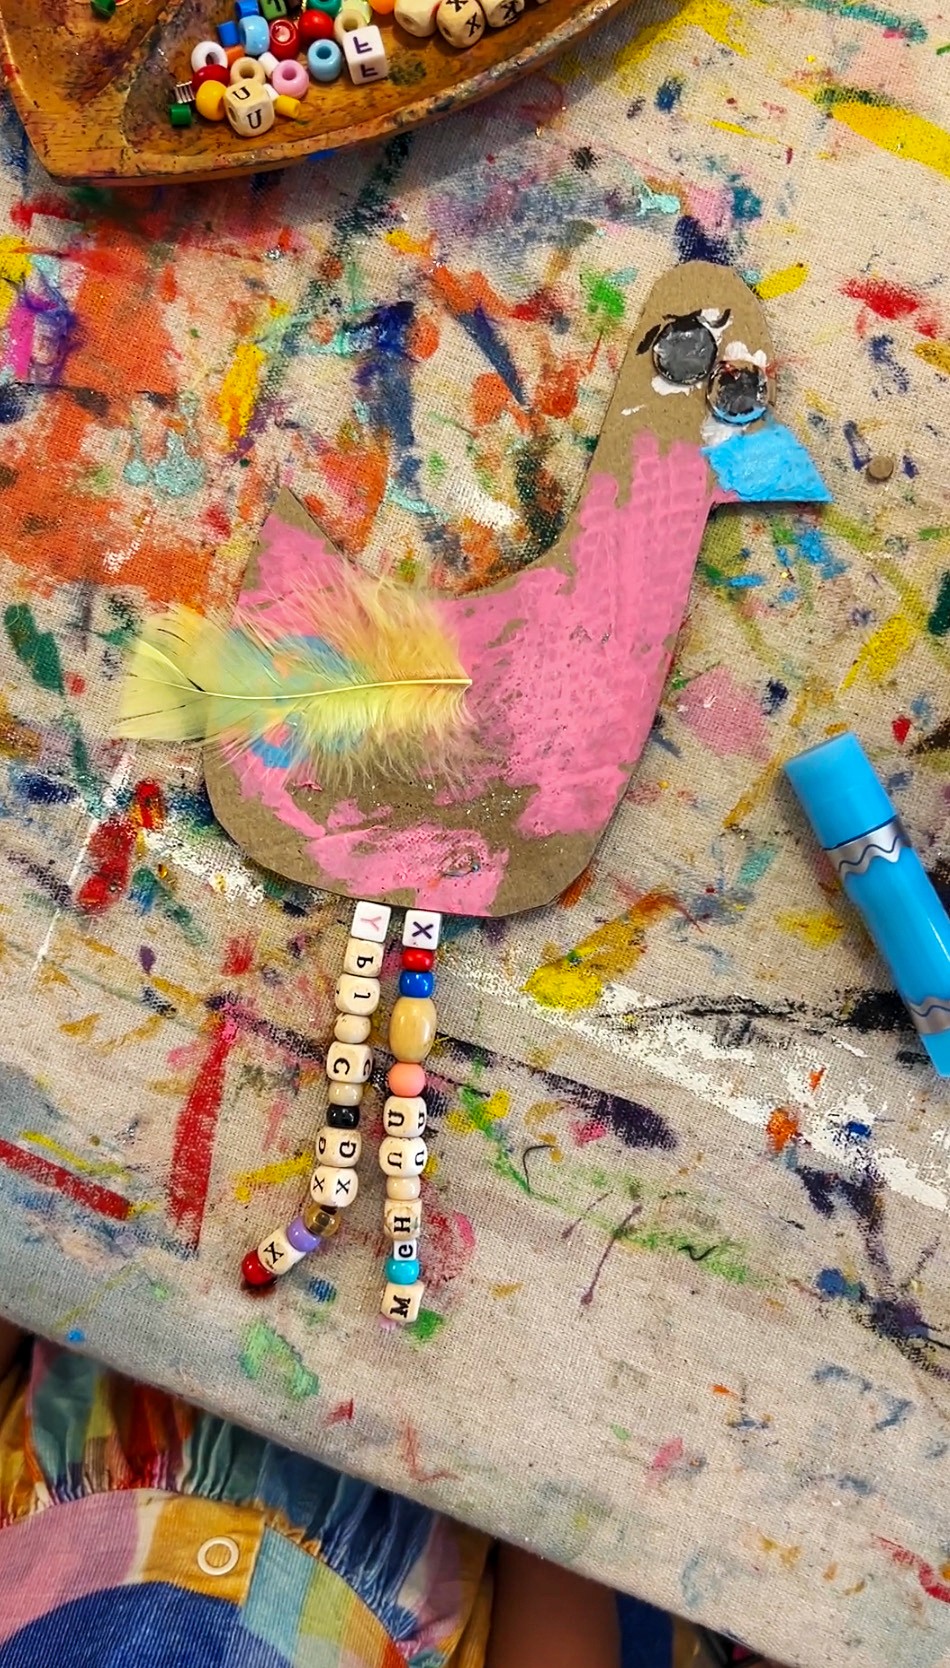
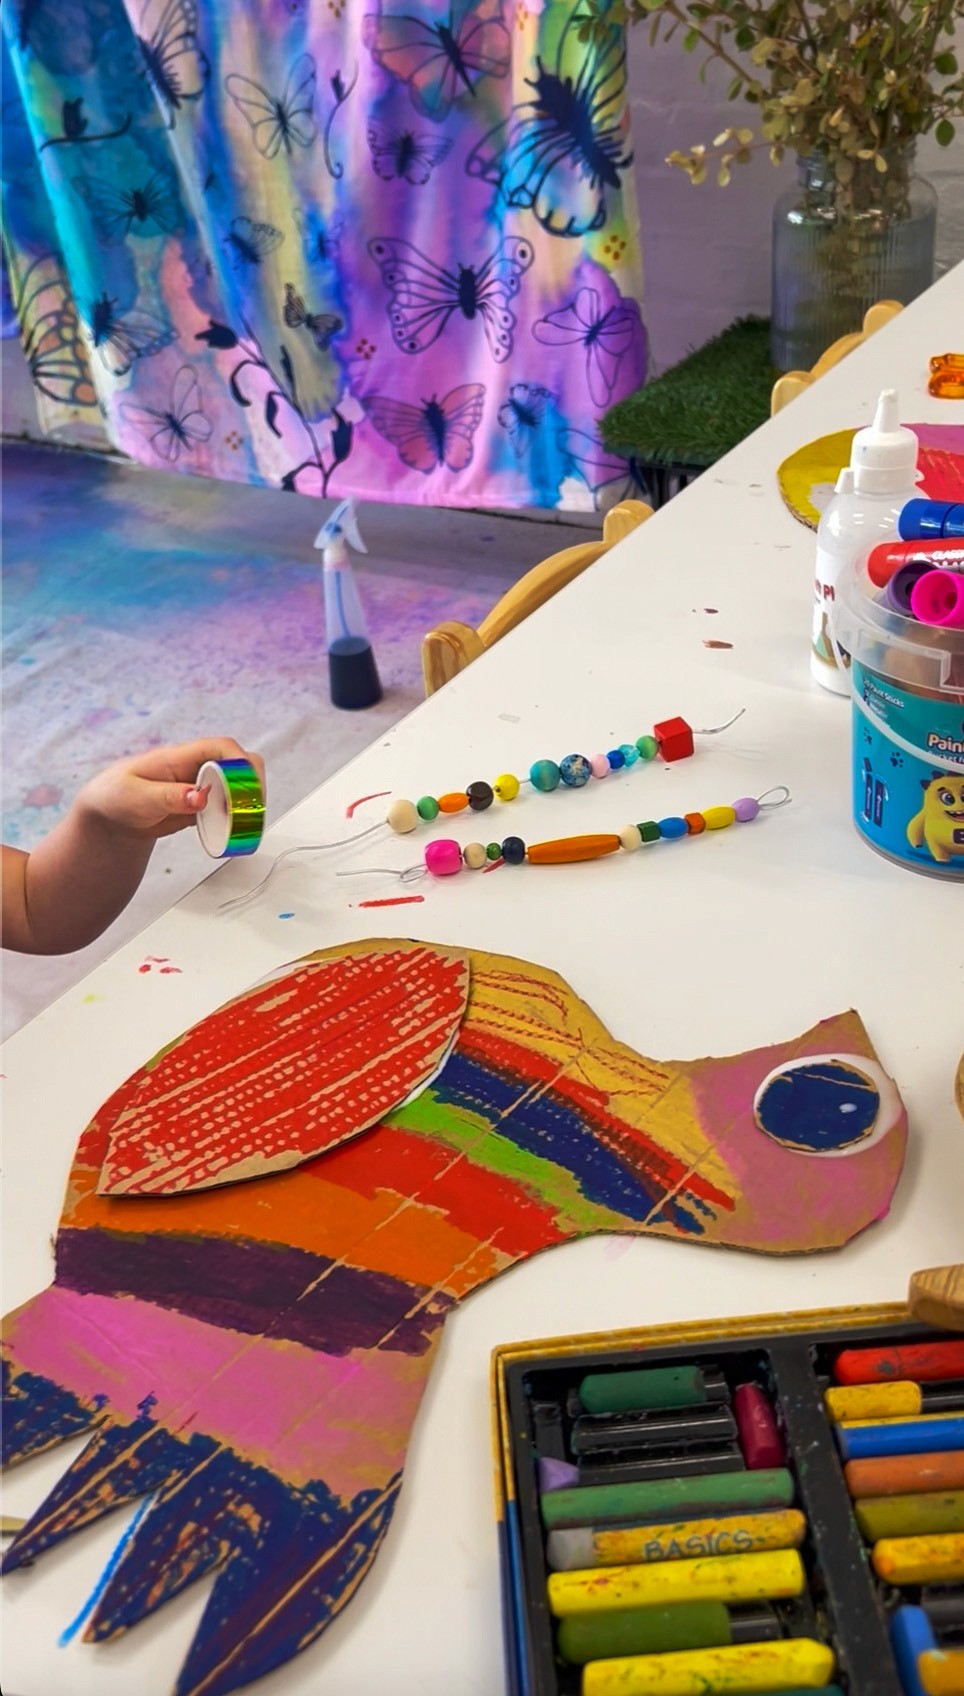
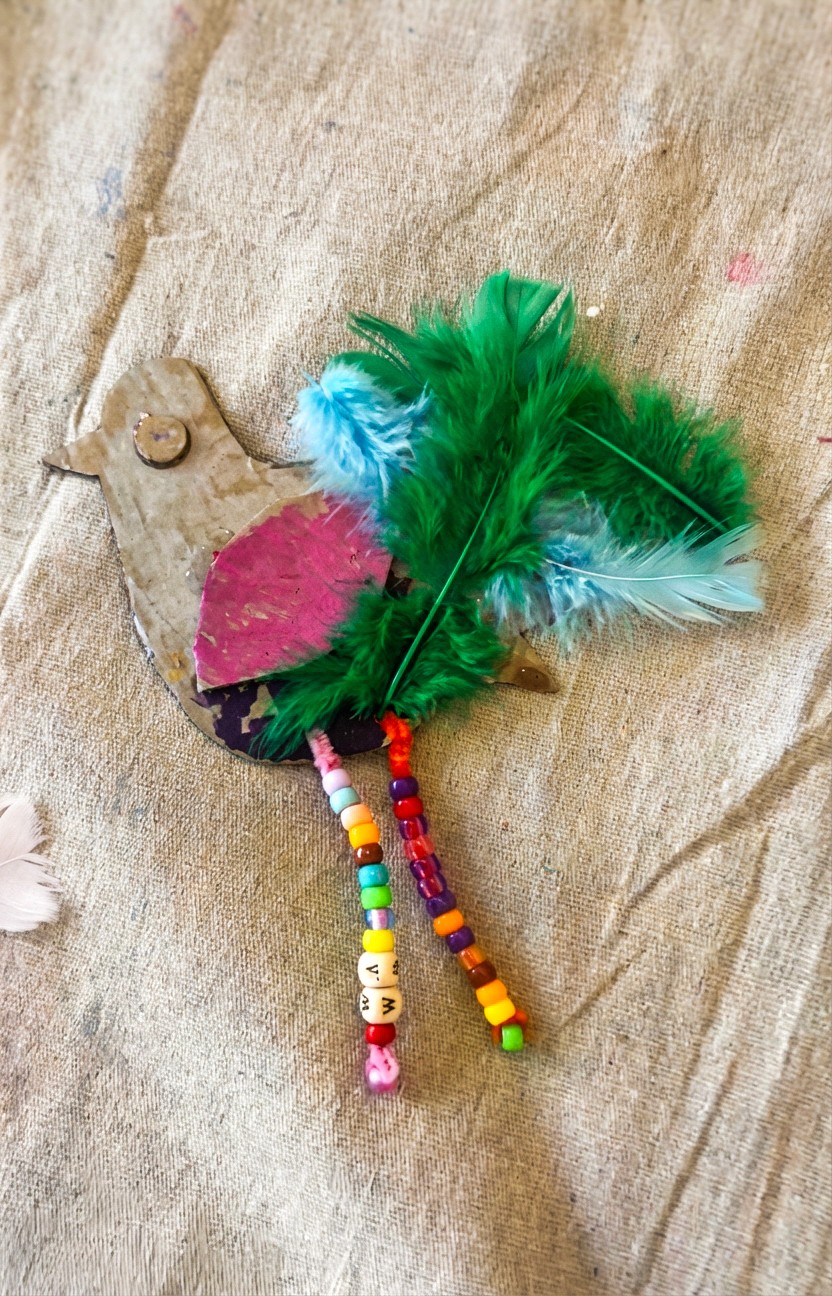
Artists choose a body shape, attach wings wherever they like (this is the fun bit... there's no right place), add eyes, and then decorate to their heart's content. Thread beads onto the pipe cleaner legs before bending the end into a little foot shape. They dangle beautifully and add so much character. If you want the birds to stand, fold the cardboard at the base to create a little stand, or prop them up with a blob of play dough.
These look incredible hung up together as a flock! Connect them back to your Cardboard Aviary if you're running both art experiences.

Materials
• Cardboard bird body shapes (pre-cut or draw your own)
• Separate cardboard wing pieces and eye circles
Paint sticks and oil pastels
• Pipe cleaners and beads for legs
• Paper straws
• Collage materials (feathers, tissue paper, fabric, buttons, sequins)
• Glue sticks and PVA glue
• Scissors
Back to Top
Build a Bird
Birds bursting with personality.
Bookmark
Sculpture
The Set Up
It's all about personality and was inspired by the wonderful Colourful Minds Kids, who themselves were inspired by Chris Haughton's illustrations in his book Shh! We Have a Plan. Every bird turns out completely different, and the placement of the wings is what really brings them to life. Angled up and they look like they're mid-flight, tucked down and they're resting, spread wide and they're showing off. It's amazing how much character a cardboard bird can have!
Pre-cut a selection of bird body shapes in different sizes, along with separate wing pieces and circles for eyes. Lay these out so artists can mix and match. Curate pipe cleaners and beads for creating dangling legs, paper straws for extra structural details, and any kind of collage material you like: feathers (of course!), tissue paper, fabric scraps, buttons, sequins.
The Making
Artists choose a body shape, attach wings wherever they like (this is the fun bit... there's no right place), add eyes, and then decorate to their heart's content. Thread beads onto the pipe cleaner legs before bending the end into a little foot shape. They dangle beautifully and add so much character. If you want the birds to stand, fold the cardboard at the base to create a little stand, or prop them up with a blob of play dough.
These look incredible hung up together as a flock! Connect them back to your Cardboard Aviary if you're running both art experiences.
Materials
• Cardboard bird body shapes (pre-cut or draw your own)
• Separate cardboard wing pieces and eye circles
Paint sticks and oil pastels
• Pipe cleaners and beads for legs
• Paper straws
• Collage materials (feathers, tissue paper, fabric, buttons, sequins)
• Glue sticks and PVA glue
• Scissors
Back to Top
Add this to your favourites
Add this to your favourites
Thoughts?
Would love to hear if youv'e tried this or have any ideas on how to make it even better!
