Buried Clay Treasures
Press the sea’s treasures into clay.
The Set Up
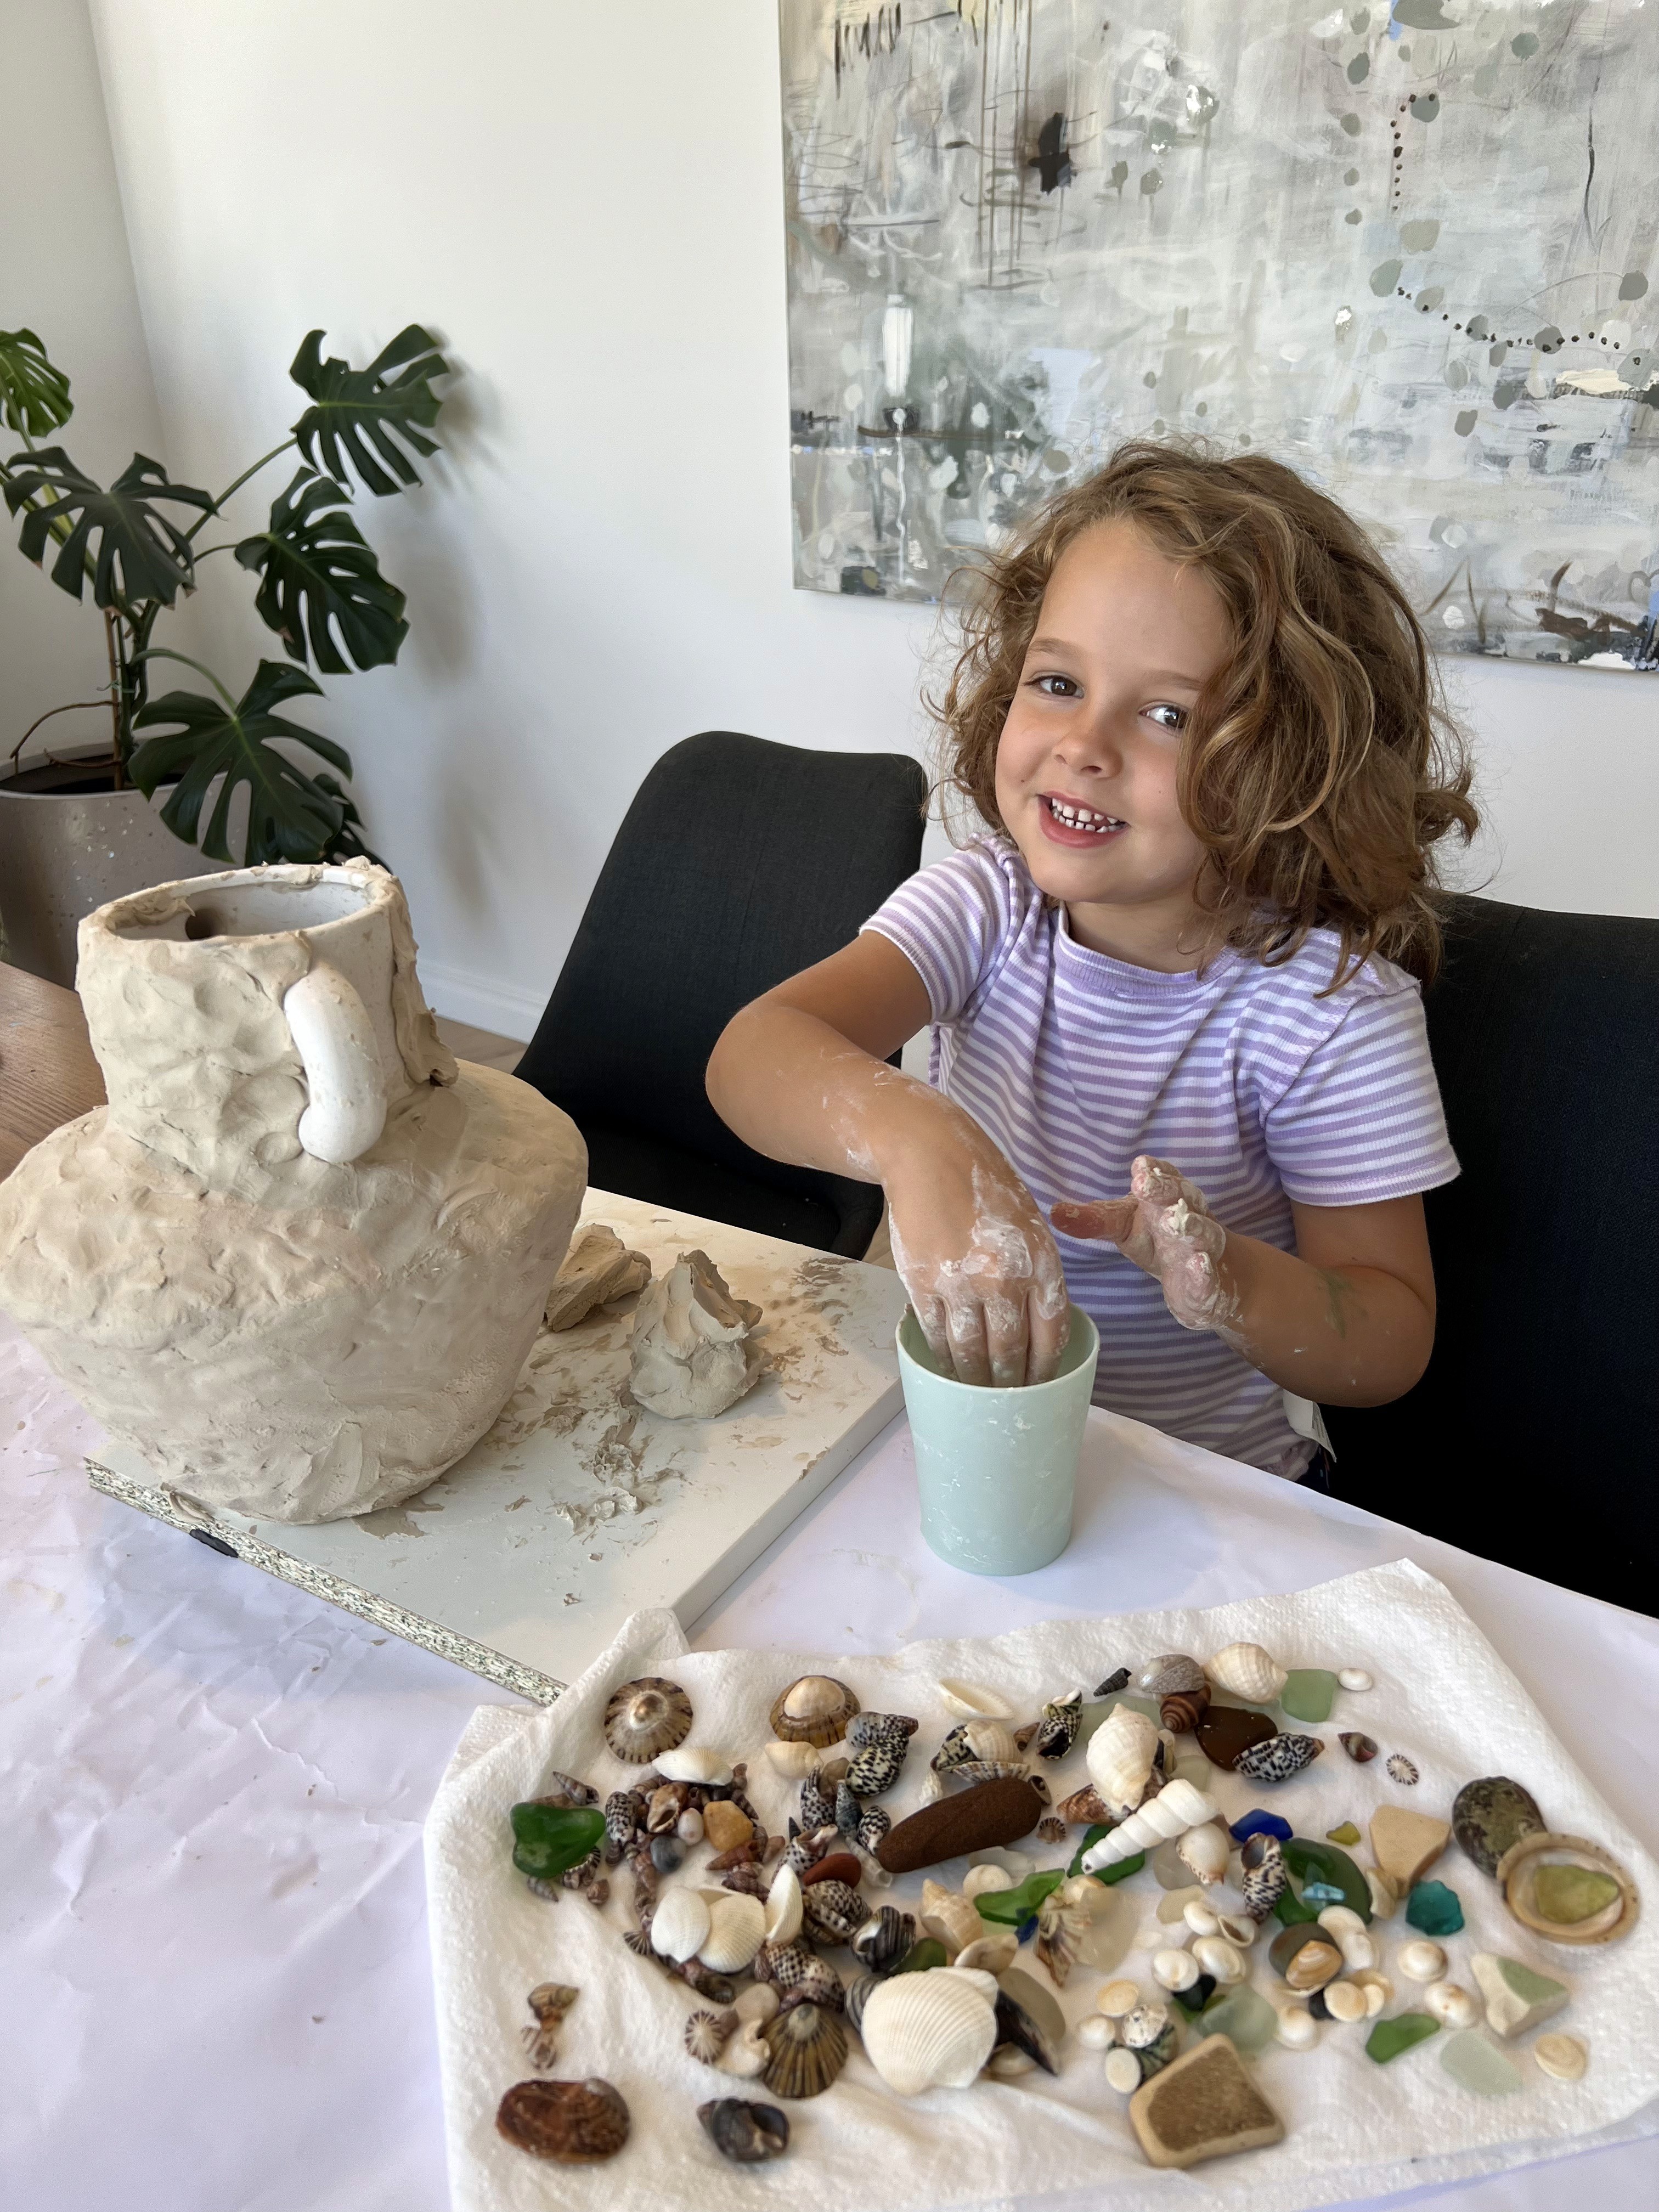
This idea was born from a beachcombing day with our daughter Olive. We came home with gorgeous frosted sea glass, and she sculpted a vase to hold it all, like a little treasure keeper for our Summer!
It was too beautiful not to share with the kids at Smudge, and as always, they took it further than I could have imagined.
We use air-dry clay from Northcote Pottery (our favourite in Melbourne: smooth, strong, no cracking clay).
Set up a “treasure bar” of sea glass, shells, and small beach finds so children can choose their own collection. Rolling pins, clay tools, plastic knives, and trays lined with baking paper all make it easier. A small bowl of water for smoothing is essential.
Before you head out collecting, check what’s allowed on your local beaches. Some spots (especially National Parks) have strict rules about removing natural materials. And always make sure every shell is empty and every creature stays safely at home in the sea!


The Making
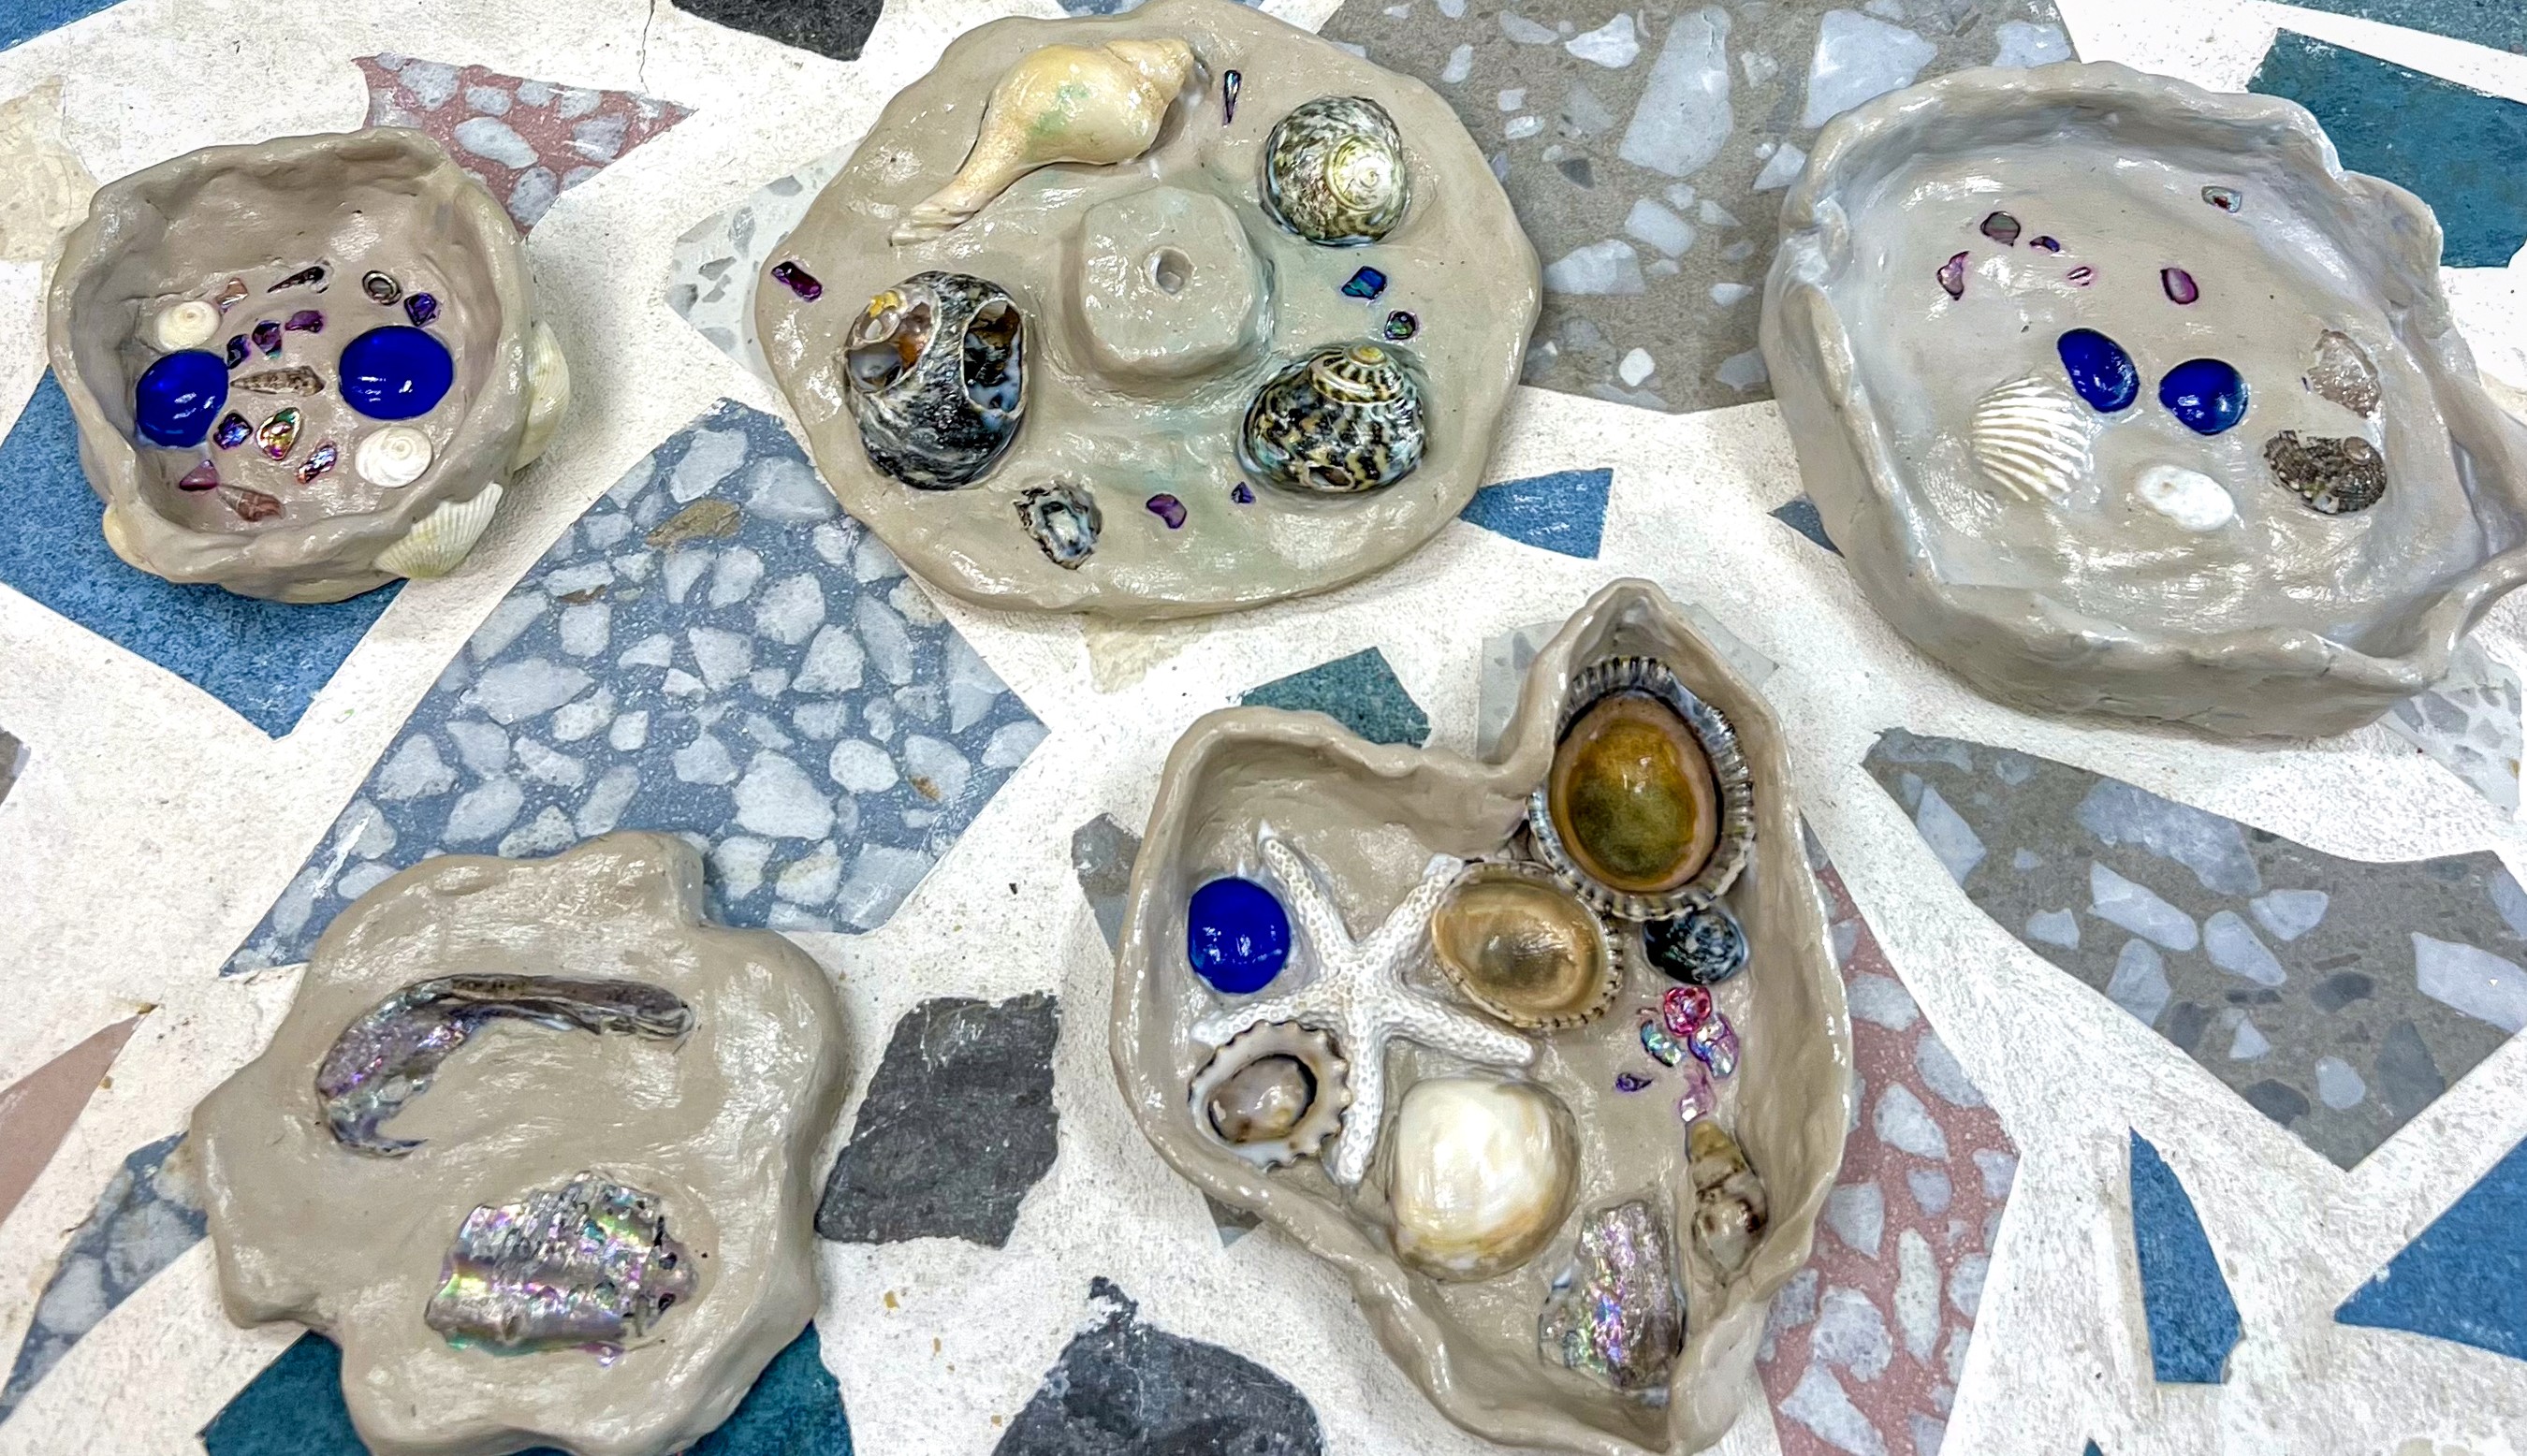
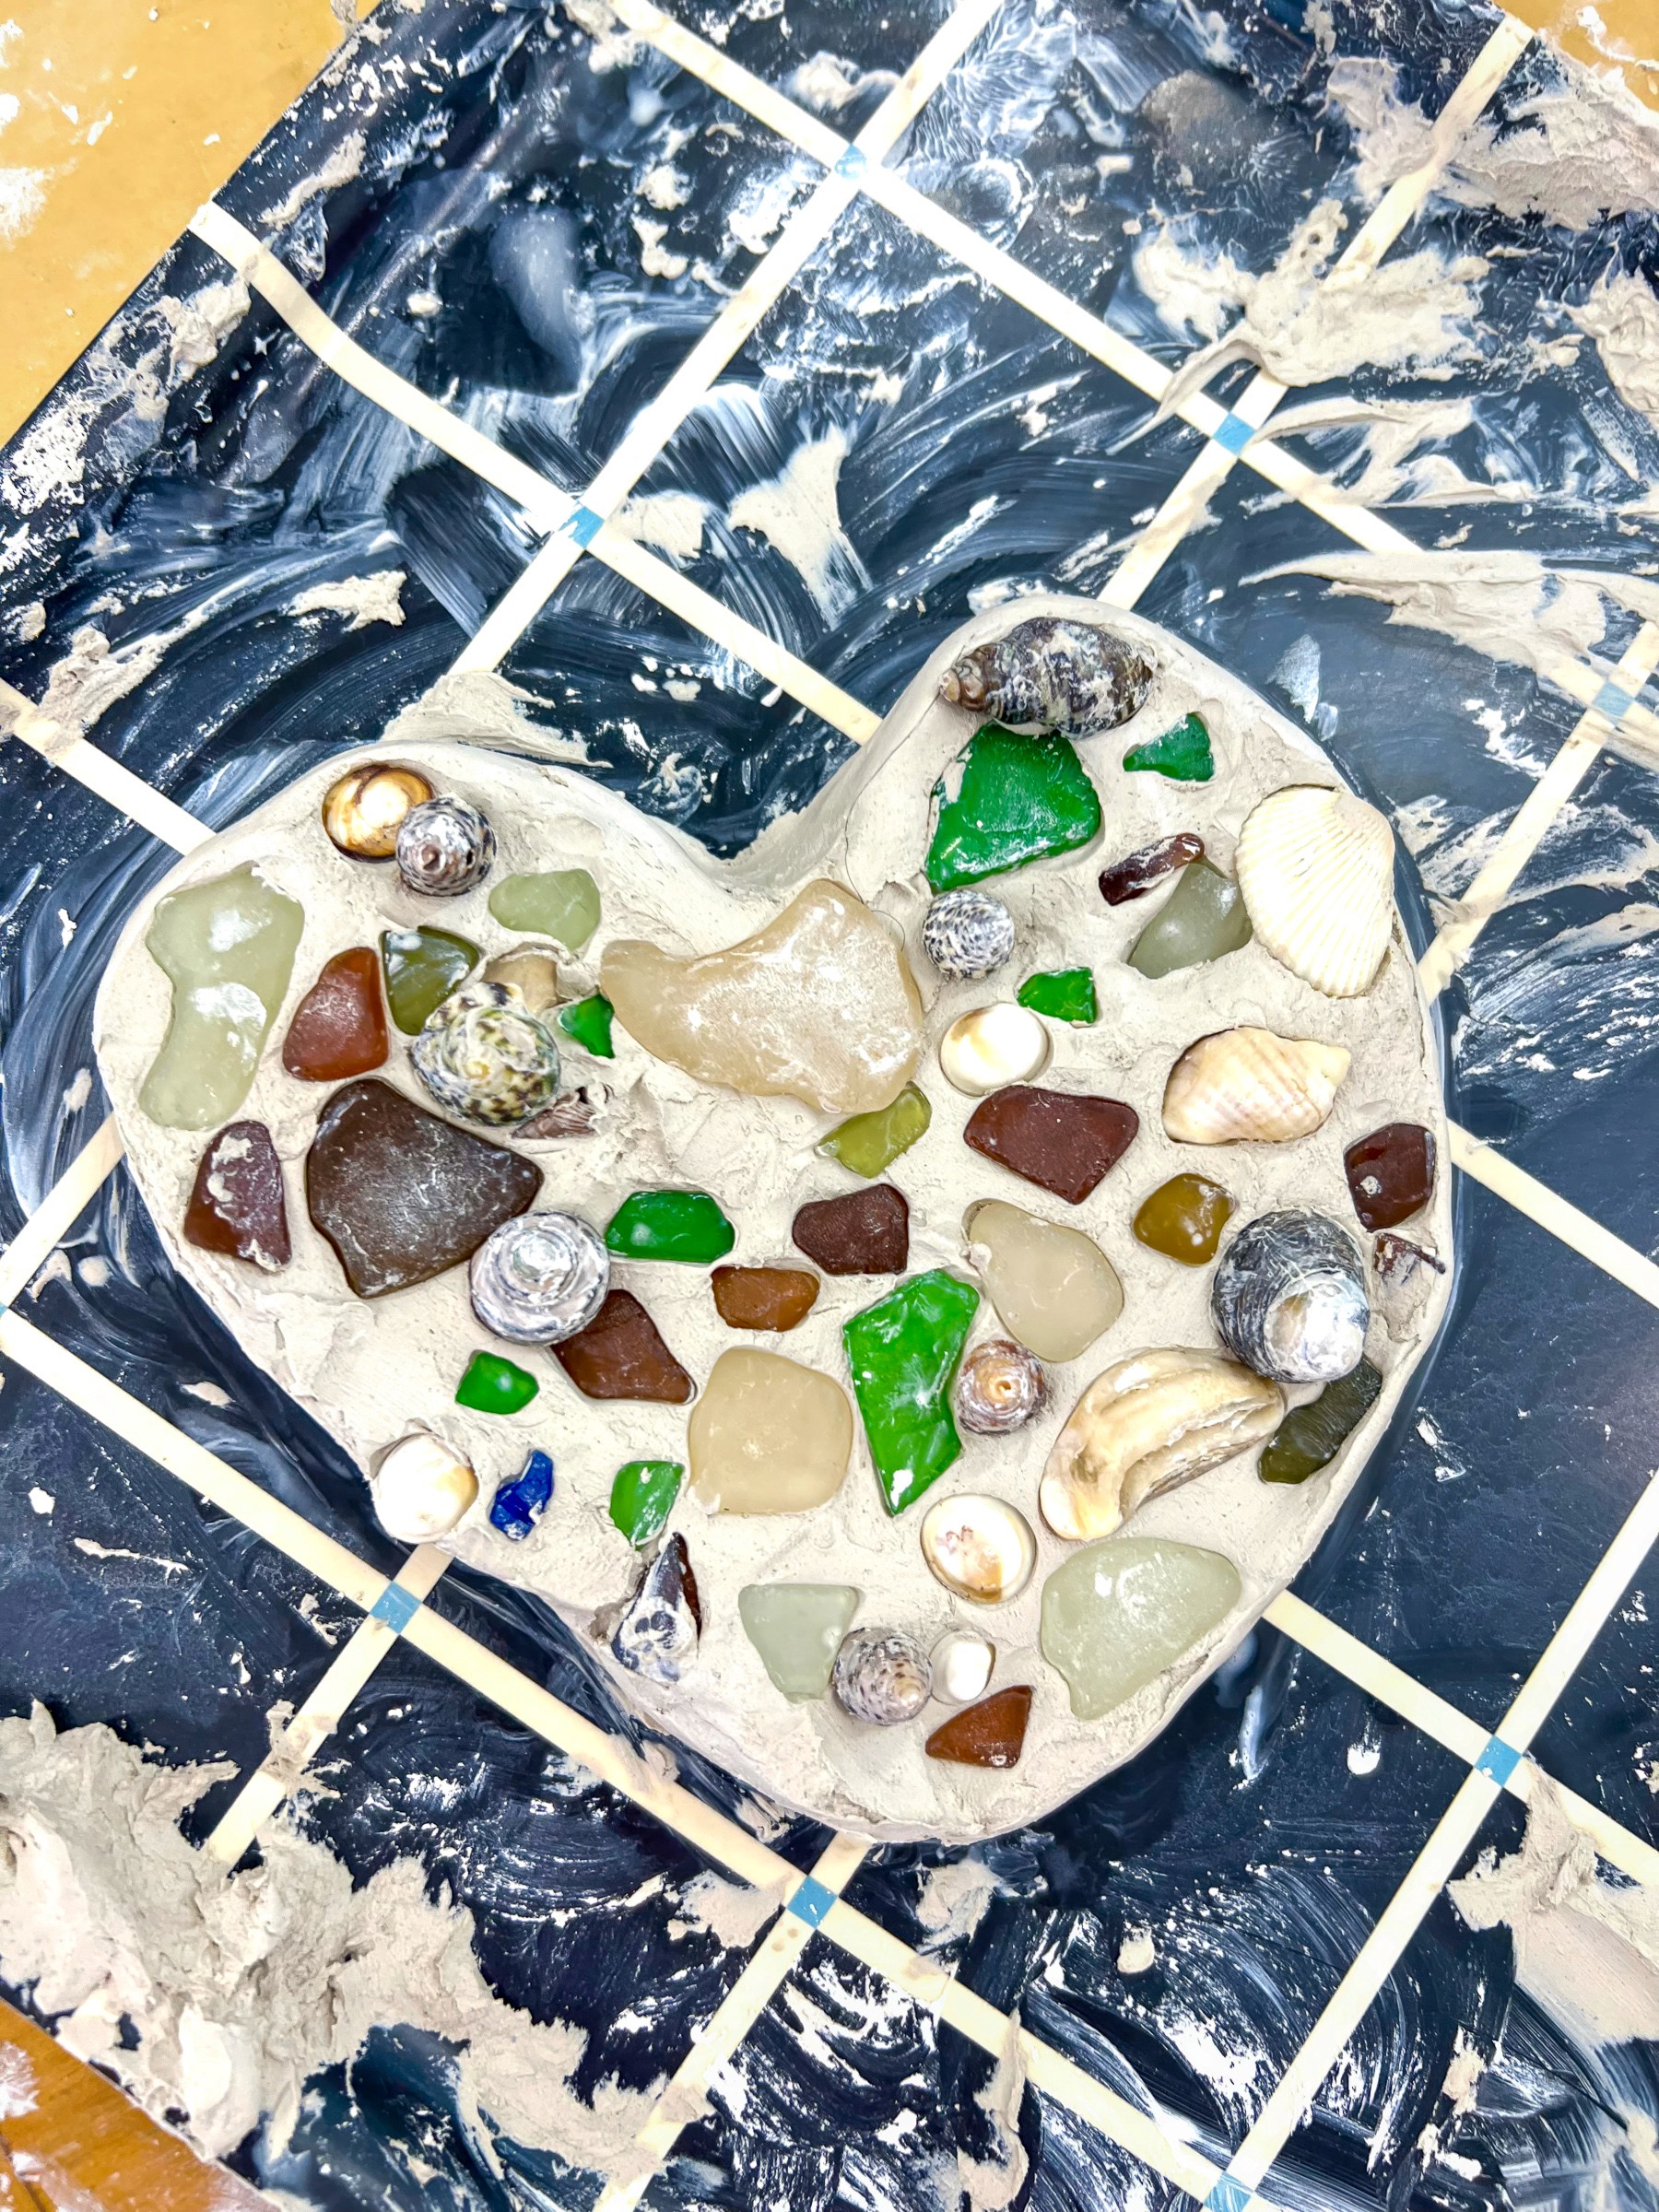
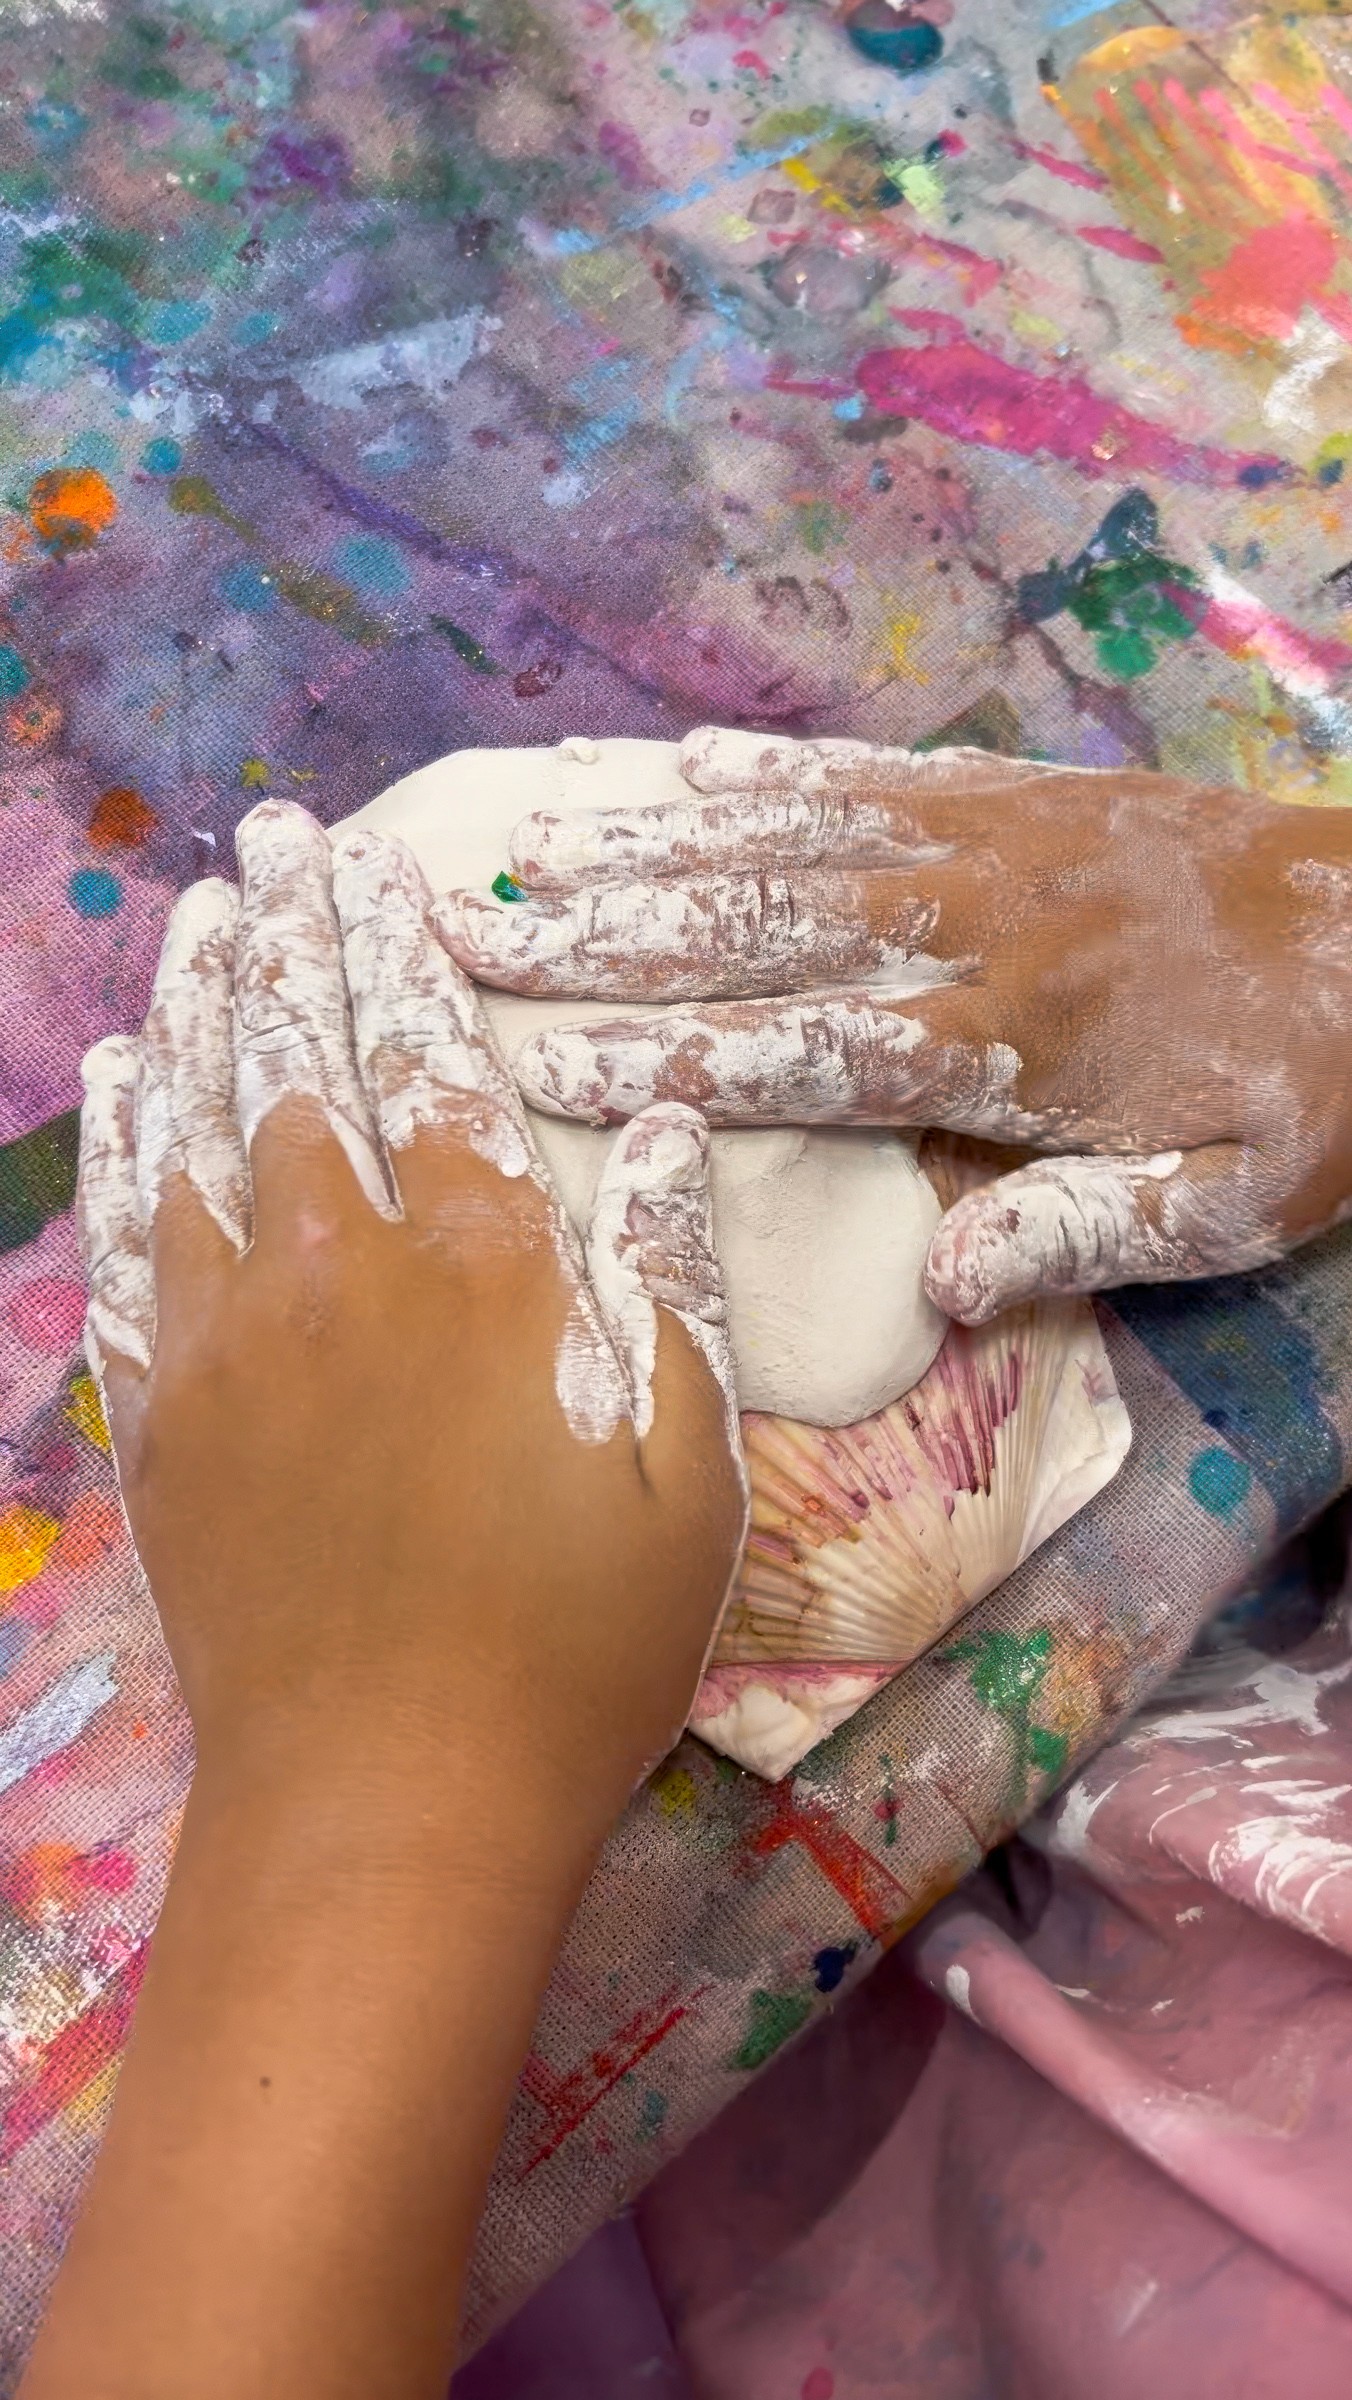
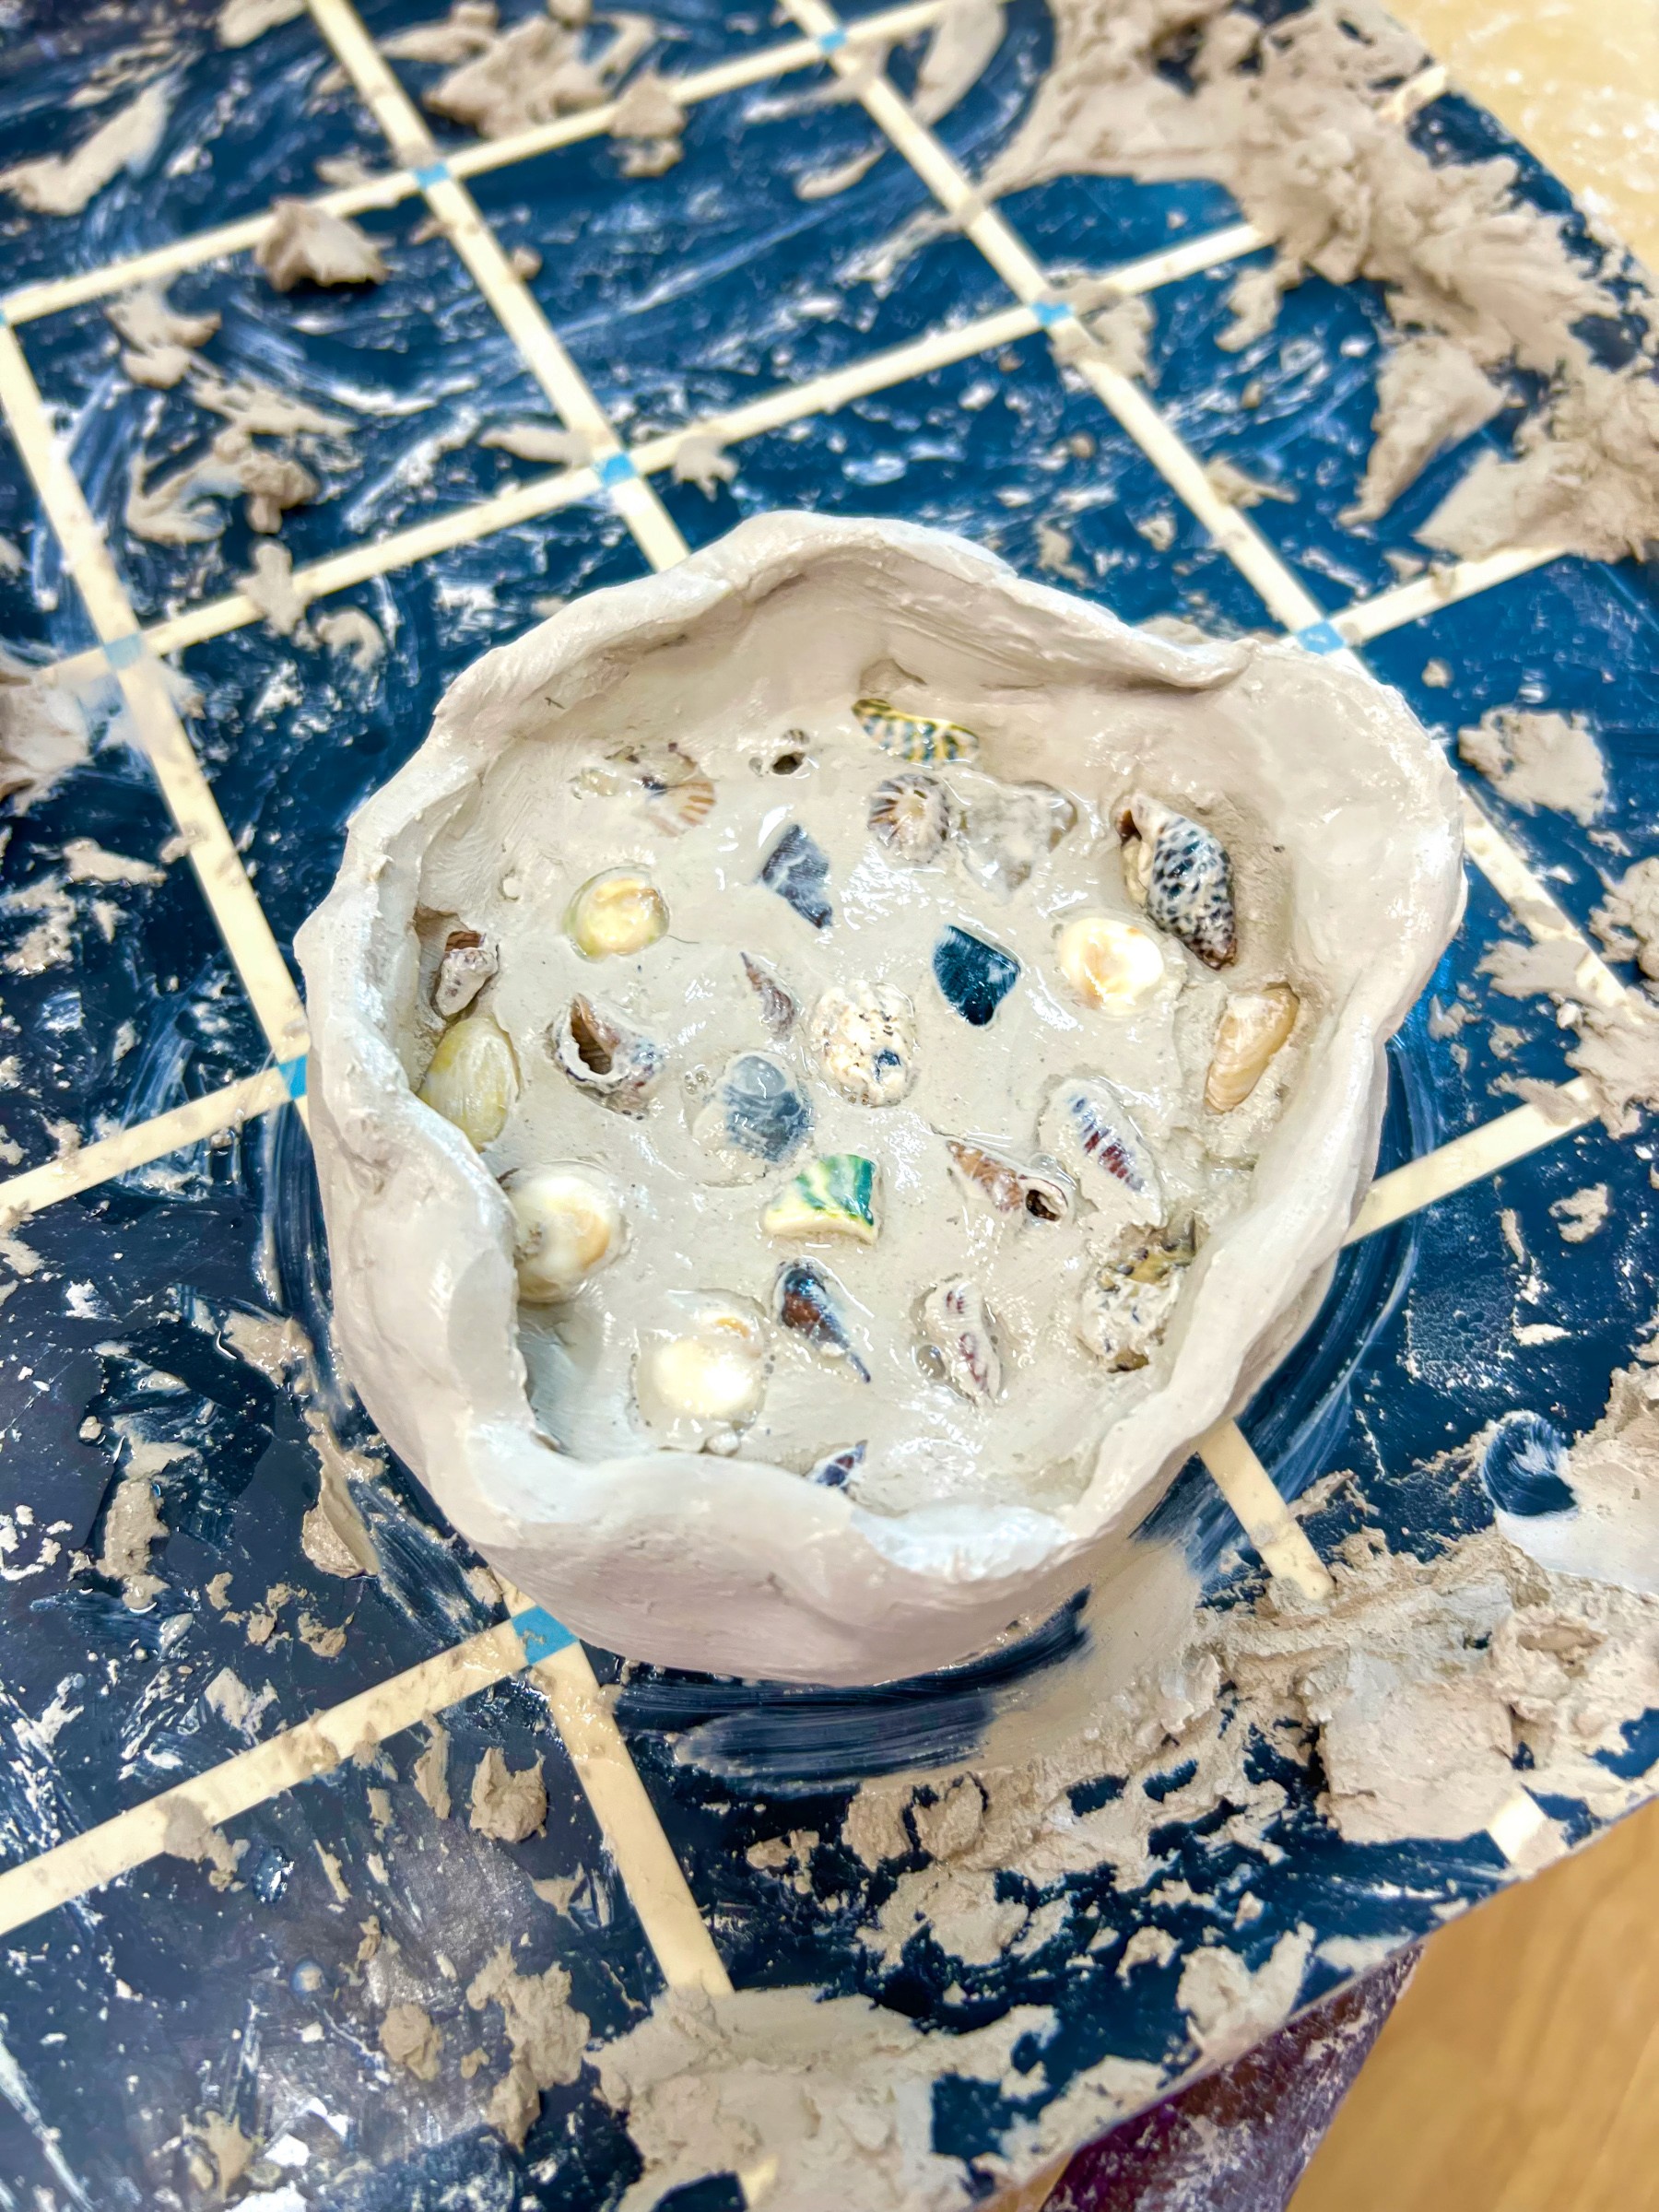
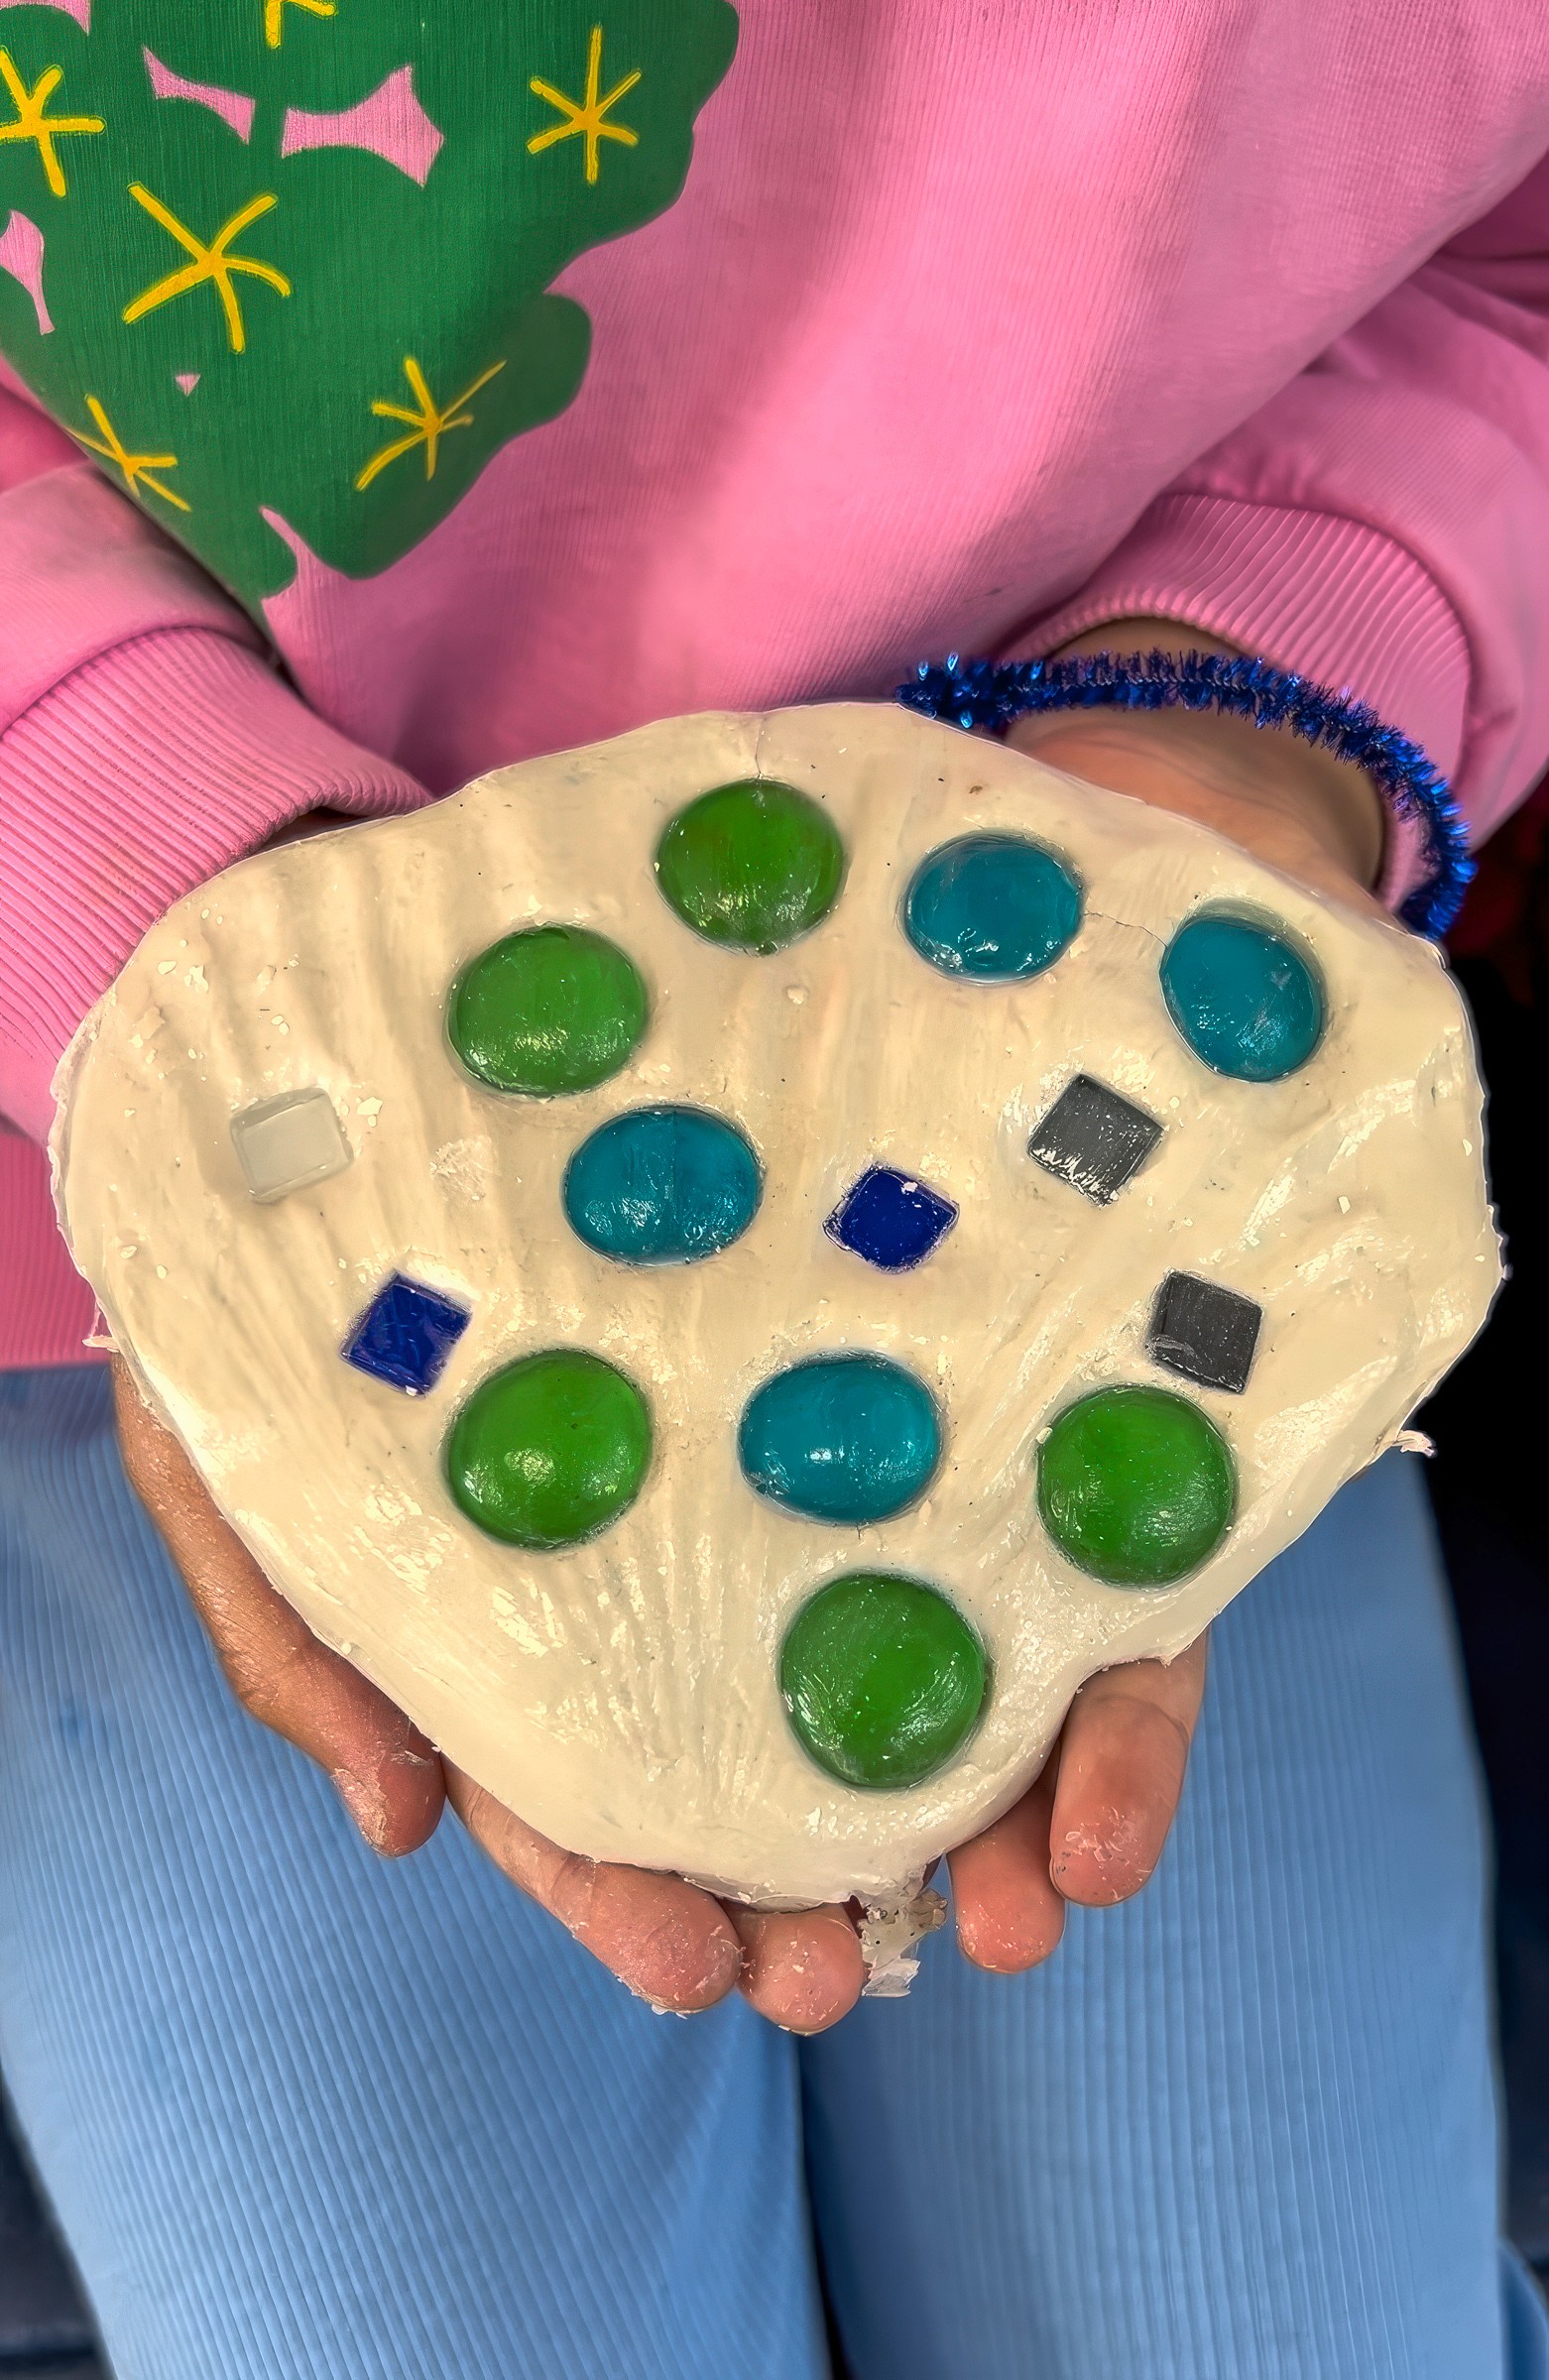
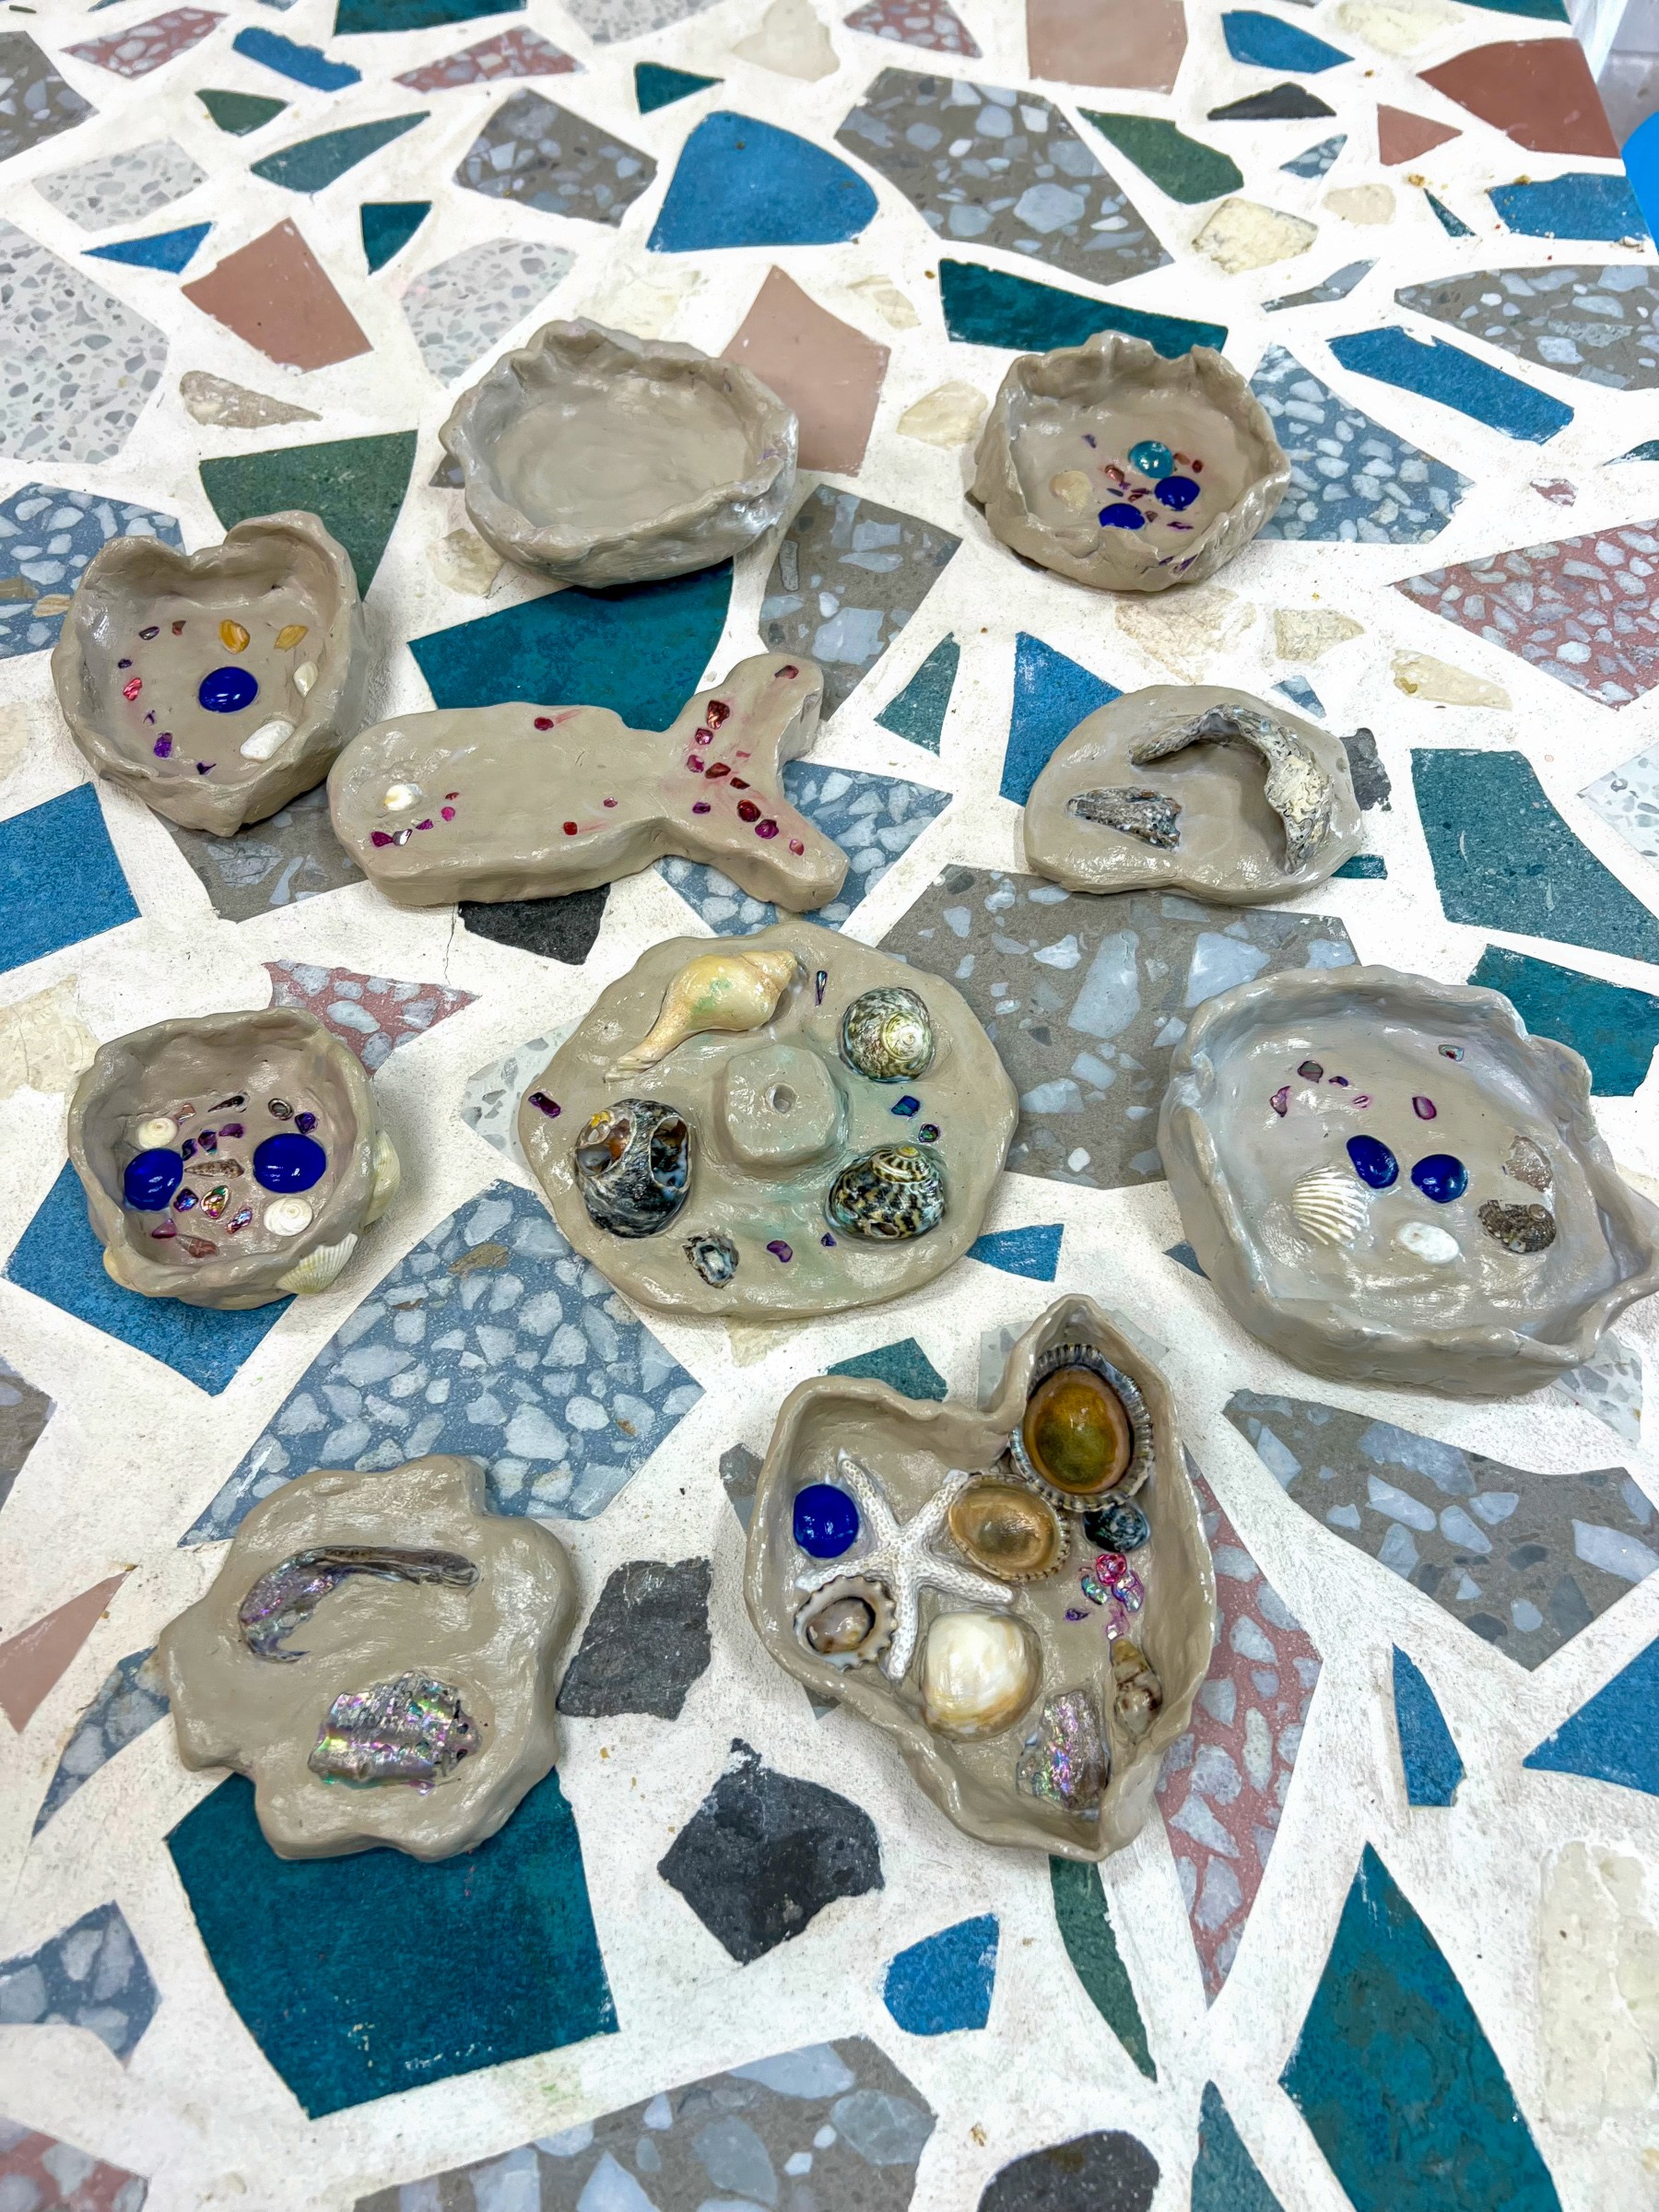
Begin by kneading or “throwing” the clay against the table to warm it up. This makes it easier to shape. Then build! We’ve seen coral reef trays, clam shells, bowls, and abstract ocean forms. The magic comes when kids press their chosen treasures into the clay, embedding them as permanent memories.
Clay definitely has its challenges, and it’s worth talking them through beforehand:
Cracking: if the clay is too thin, it can dry unevenly. Keep walls and bases around 1cm thick.
Pieces falling off: when adding handles, spikes, or extra layers, score both surfaces (cross-hatch with a tool) and dab with water before joining.
Flaking: a fingertip dipped in water smooths rough patches and stops edges from crumbling.
Once shaped, leave the work to dry slowly. Outdoors in the shade works well. I recommend avoiding harsh sun, which can cause warping. (Obviously freezing or wet weather won't work either!).
When dry, seal with Mod Podge or a clear varnish to add shine and secure the treasures.
Variations
Add a splash of colour once dry! You could paint the clay with tempera or watercolours before sealing.
Press textures into the clay before sculpting (netting, shells, fabric) so the surface feels ocean-worn.
Build collaborative “reef bowls” where everyone adds their treasures to one large piece.

Materials
Air-dry clay (Northcote Pottery recommended for anyone here in Melbourne!)
Rolling pins, clay tools, plastic knives
Baking paper or boards for working surfaces
Small bowls of water
Sea glass, shells, and other beach finds
Optional: Mod Podge, clear varnish, or paints for finishing
Back to Top
Buried Clay Treasures
Press the sea’s treasures into clay.
Bookmark
Sculpture
The Set Up
This idea was born from a beachcombing day with our daughter Olive. We came home with gorgeous frosted sea glass, and she sculpted a vase to hold it all, like a little treasure keeper for our Summer!
It was too beautiful not to share with the kids at Smudge, and as always, they took it further than I could have imagined.
We use air-dry clay from Northcote Pottery (our favourite in Melbourne: smooth, strong, no cracking clay).
Set up a “treasure bar” of sea glass, shells, and small beach finds so children can choose their own collection. Rolling pins, clay tools, plastic knives, and trays lined with baking paper all make it easier. A small bowl of water for smoothing is essential.
Before you head out collecting, check what’s allowed on your local beaches. Some spots (especially National Parks) have strict rules about removing natural materials. And always make sure every shell is empty and every creature stays safely at home in the sea!
The Making
Begin by kneading or “throwing” the clay against the table to warm it up. This makes it easier to shape. Then build! We’ve seen coral reef trays, clam shells, bowls, and abstract ocean forms. The magic comes when kids press their chosen treasures into the clay, embedding them as permanent memories.
Clay definitely has its challenges, and it’s worth talking them through beforehand:
Cracking: if the clay is too thin, it can dry unevenly. Keep walls and bases around 1cm thick.
Pieces falling off: when adding handles, spikes, or extra layers, score both surfaces (cross-hatch with a tool) and dab with water before joining.
Flaking: a fingertip dipped in water smooths rough patches and stops edges from crumbling.
Once shaped, leave the work to dry slowly. Outdoors in the shade works well. I recommend avoiding harsh sun, which can cause warping. (Obviously freezing or wet weather won't work either!).
When dry, seal with Mod Podge or a clear varnish to add shine and secure the treasures.
Variations
Add a splash of colour once dry! You could paint the clay with tempera or watercolours before sealing.
Press textures into the clay before sculpting (netting, shells, fabric) so the surface feels ocean-worn.
Build collaborative “reef bowls” where everyone adds their treasures to one large piece.
Materials
Air-dry clay (Northcote Pottery recommended for anyone here in Melbourne!)
Rolling pins, clay tools, plastic knives
Baking paper or boards for working surfaces
Small bowls of water
Sea glass, shells, and other beach finds
Optional: Mod Podge, clear varnish, or paints for finishing
Back to Top
Add this to your favourites
Add this to your favourites
Thoughts?
Would love to hear if youv'e tried this or have any ideas on how to make it even better!
