Collage Cauldrons
A playful mix of texture and sparkle
The Set Up
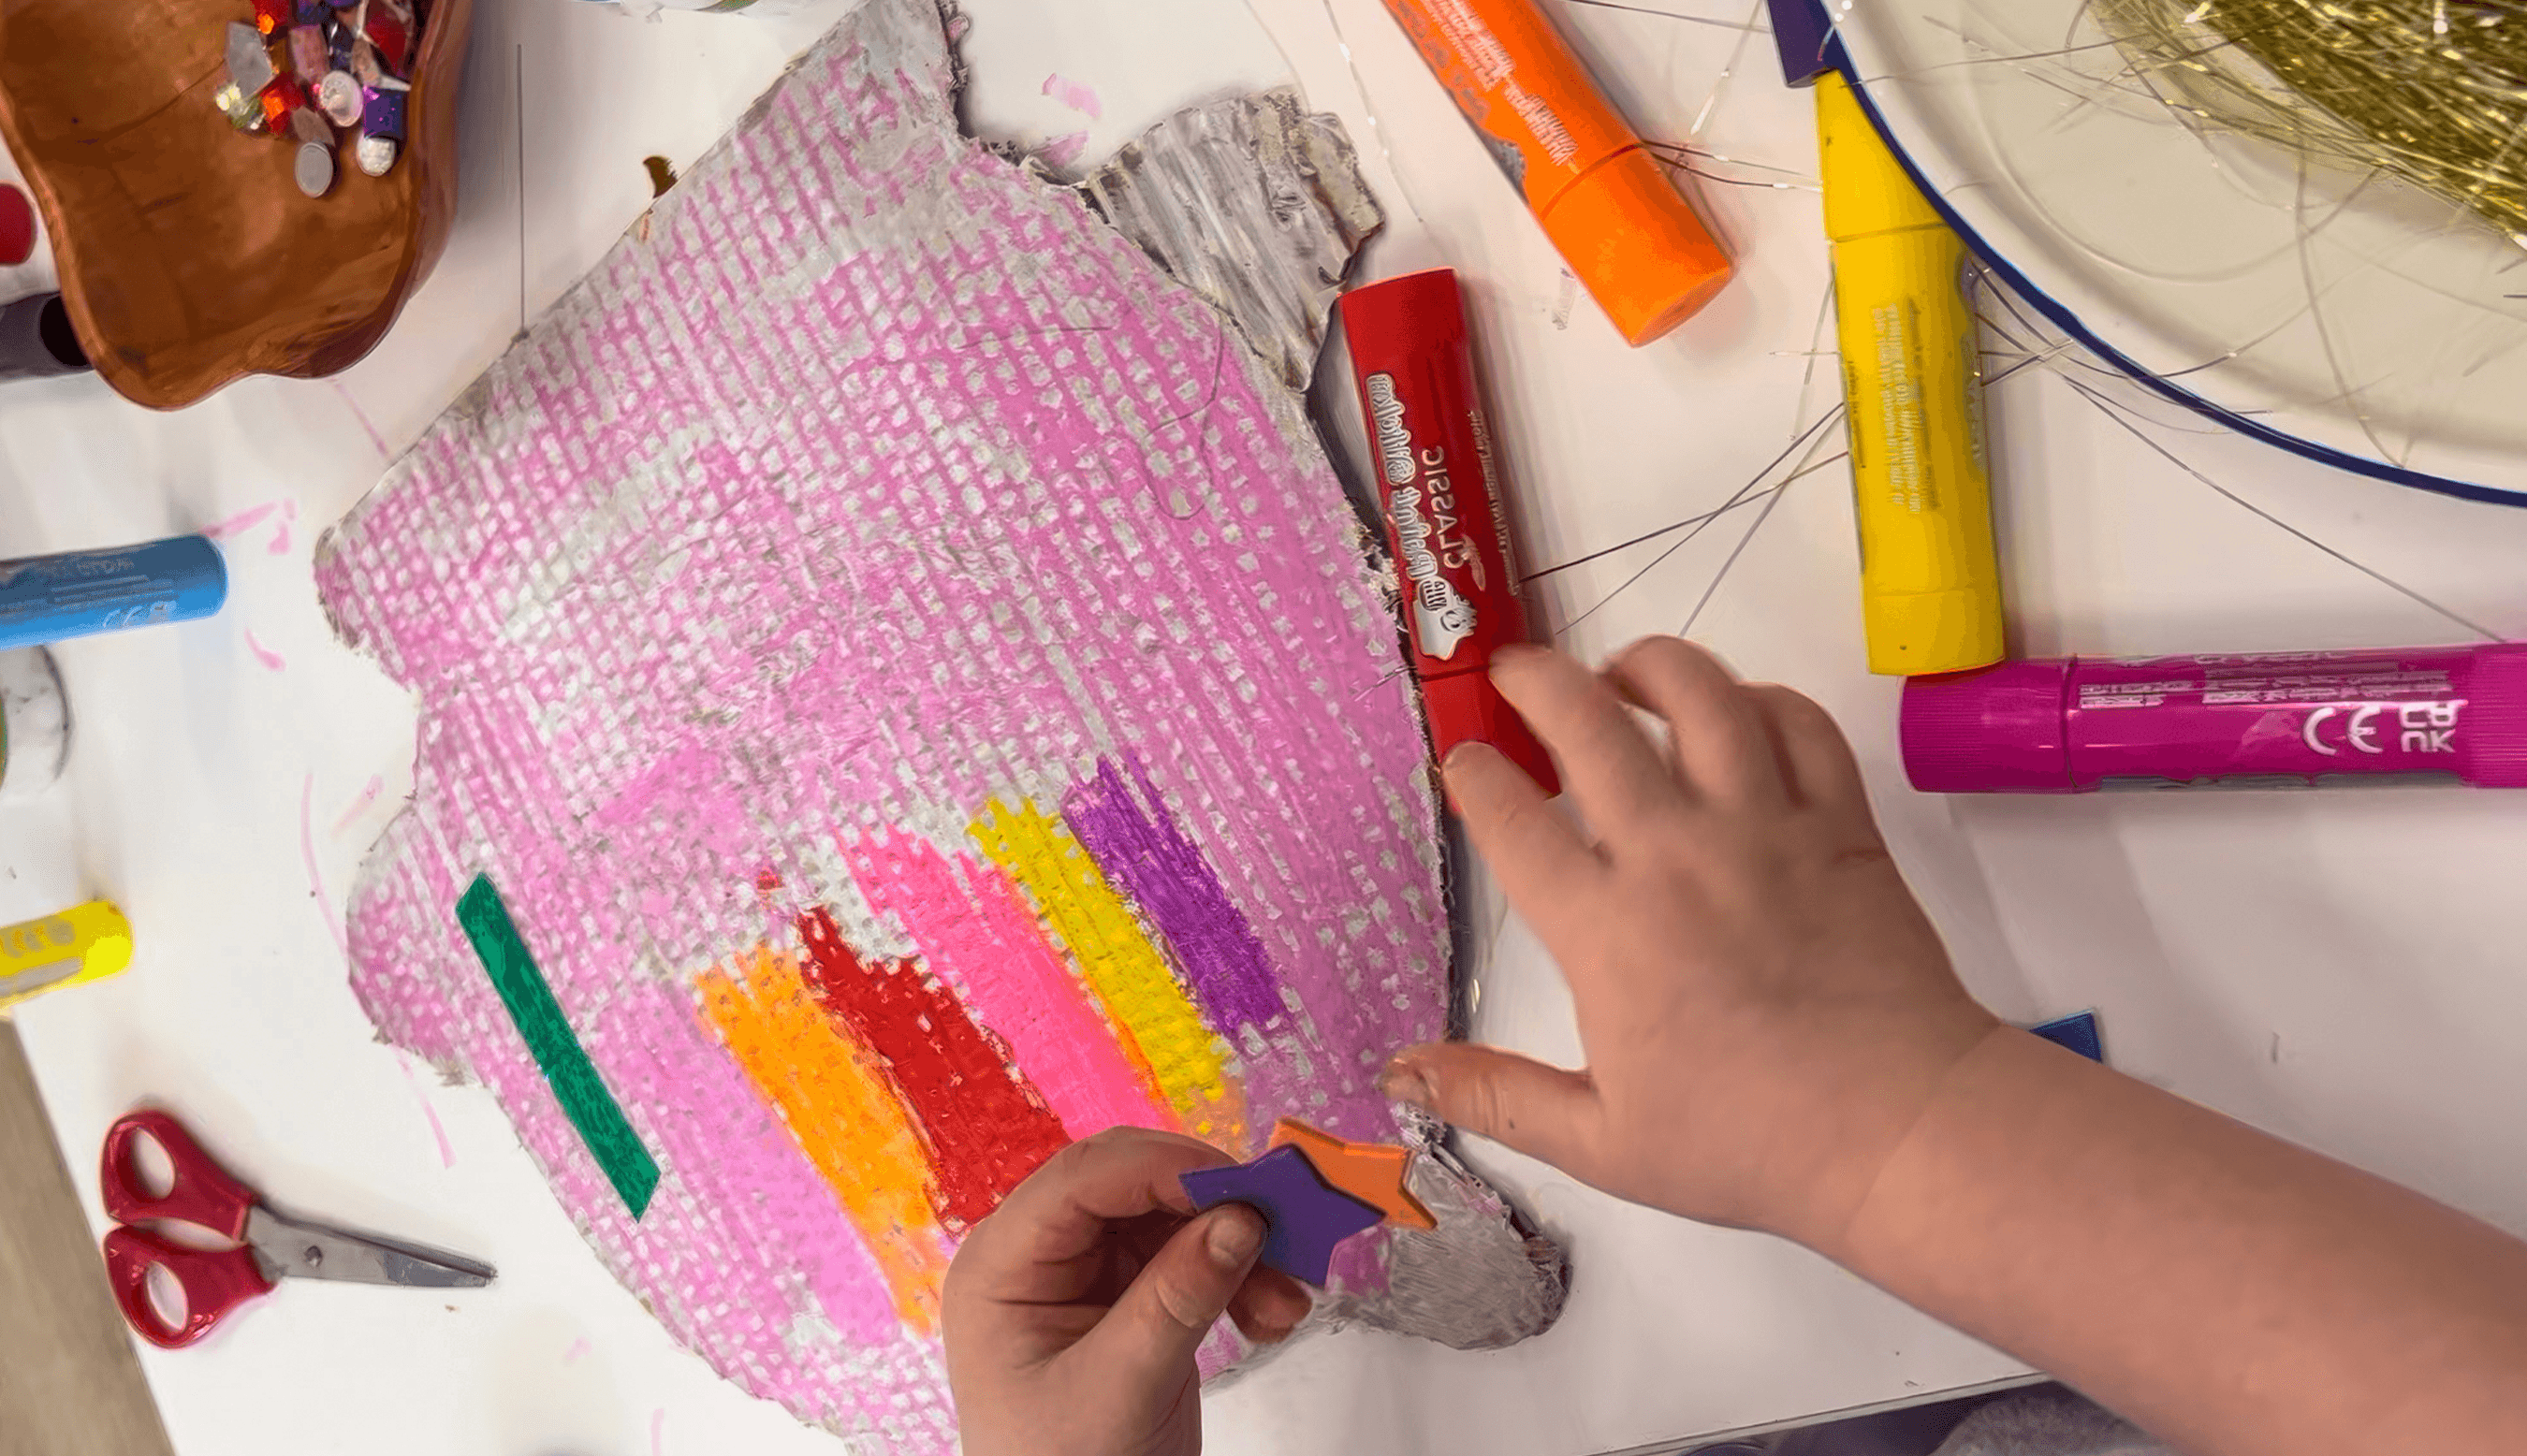
Thick recycled cardboard is perfect for this project. Cut large cauldron shapes before the session or let kids draw and cut their own. The bigger the surface, the better. Punch two small holes at the top and thread wire for handles if you want to hang them later.
If you have more time or want a 3D version, cut two matching cauldrons (more on this later).
Set up paint sticks and oil pastels for base coats.
Add trays of mixed materials: foil, tissue paper, fabric scraps, ribbons, sequins, washi tape, stickers and glue sticks. Keep it open and full of choice!


The Making
Kids don’t need instructions for this one. Once materials are out, they’ll dive straight into building, layering, sticking, and storytelling. The process is rich on its own (resist the urge to direct!).
Spend your time noticing what’s happening. Comment on textures, colour choices, and shapes.
Ask gentle questions: “What’s bubbling inside your cauldron?” or “Where did that idea come from?” These small acts of noticing invite conversation and connection, and kids begin to learn from one another without needing formal steps.
That’s the real work of process art.
3D Extension: Trick or Treat Baskets
Once both sides are decorated and dry, bring the pieces together to create a basket. Use a strip of cardboard about 8 to 10 cm wide (and however long your shapes are).
Run the Makedo Fold Roller tool along the strip horizontally to score it evenly, which helps it bend without cracking.
Curve the strip into a semi-circle between the two cauldrons and line up the bottom edges.
Secure it using Makedo scrus or a glue gun (adult use), or strong tape along the inside.
Add a wire or string handle through the top holes and twist the ends to secure.
Each basket will be different in shape and character, which is exactly the point!


Materials
• Thick recycled cardboard
• Paint or paint sticks for base coats
• Collage materials such as foil, tissue paper, ribbon, sequins, and washi tape
• Glue sticks or PVA
• Oil pastels or markers for detailing
• Hole punch and wire for handles
• Optional: hot glue and Makedo fold roller tool for 3D versions
Back to Top
Collage Cauldrons
A playful mix of texture and sparkle
Bookmark
Collage
The Set Up
Thick recycled cardboard is perfect for this project. Cut large cauldron shapes before the session or let kids draw and cut their own. The bigger the surface, the better. Punch two small holes at the top and thread wire for handles if you want to hang them later.
If you have more time or want a 3D version, cut two matching cauldrons (more on this later).
Set up paint sticks and oil pastels for base coats.
Add trays of mixed materials: foil, tissue paper, fabric scraps, ribbons, sequins, washi tape, stickers and glue sticks. Keep it open and full of choice!
The Making
Kids don’t need instructions for this one. Once materials are out, they’ll dive straight into building, layering, sticking, and storytelling. The process is rich on its own (resist the urge to direct!).
Spend your time noticing what’s happening. Comment on textures, colour choices, and shapes.
Ask gentle questions: “What’s bubbling inside your cauldron?” or “Where did that idea come from?” These small acts of noticing invite conversation and connection, and kids begin to learn from one another without needing formal steps.
That’s the real work of process art.
3D Extension: Trick or Treat Baskets
Once both sides are decorated and dry, bring the pieces together to create a basket. Use a strip of cardboard about 8 to 10 cm wide (and however long your shapes are).
Run the Makedo Fold Roller tool along the strip horizontally to score it evenly, which helps it bend without cracking.
Curve the strip into a semi-circle between the two cauldrons and line up the bottom edges.
Secure it using Makedo scrus or a glue gun (adult use), or strong tape along the inside.
Add a wire or string handle through the top holes and twist the ends to secure.
Each basket will be different in shape and character, which is exactly the point!
Materials
• Thick recycled cardboard
• Paint or paint sticks for base coats
• Collage materials such as foil, tissue paper, ribbon, sequins, and washi tape
• Glue sticks or PVA
• Oil pastels or markers for detailing
• Hole punch and wire for handles
• Optional: hot glue and Makedo fold roller tool for 3D versions
Back to Top
Add this to your favourites
Add this to your favourites
Thoughts?
Would love to hear if youv'e tried this or have any ideas on how to make it even better!
