Deep Space Collage
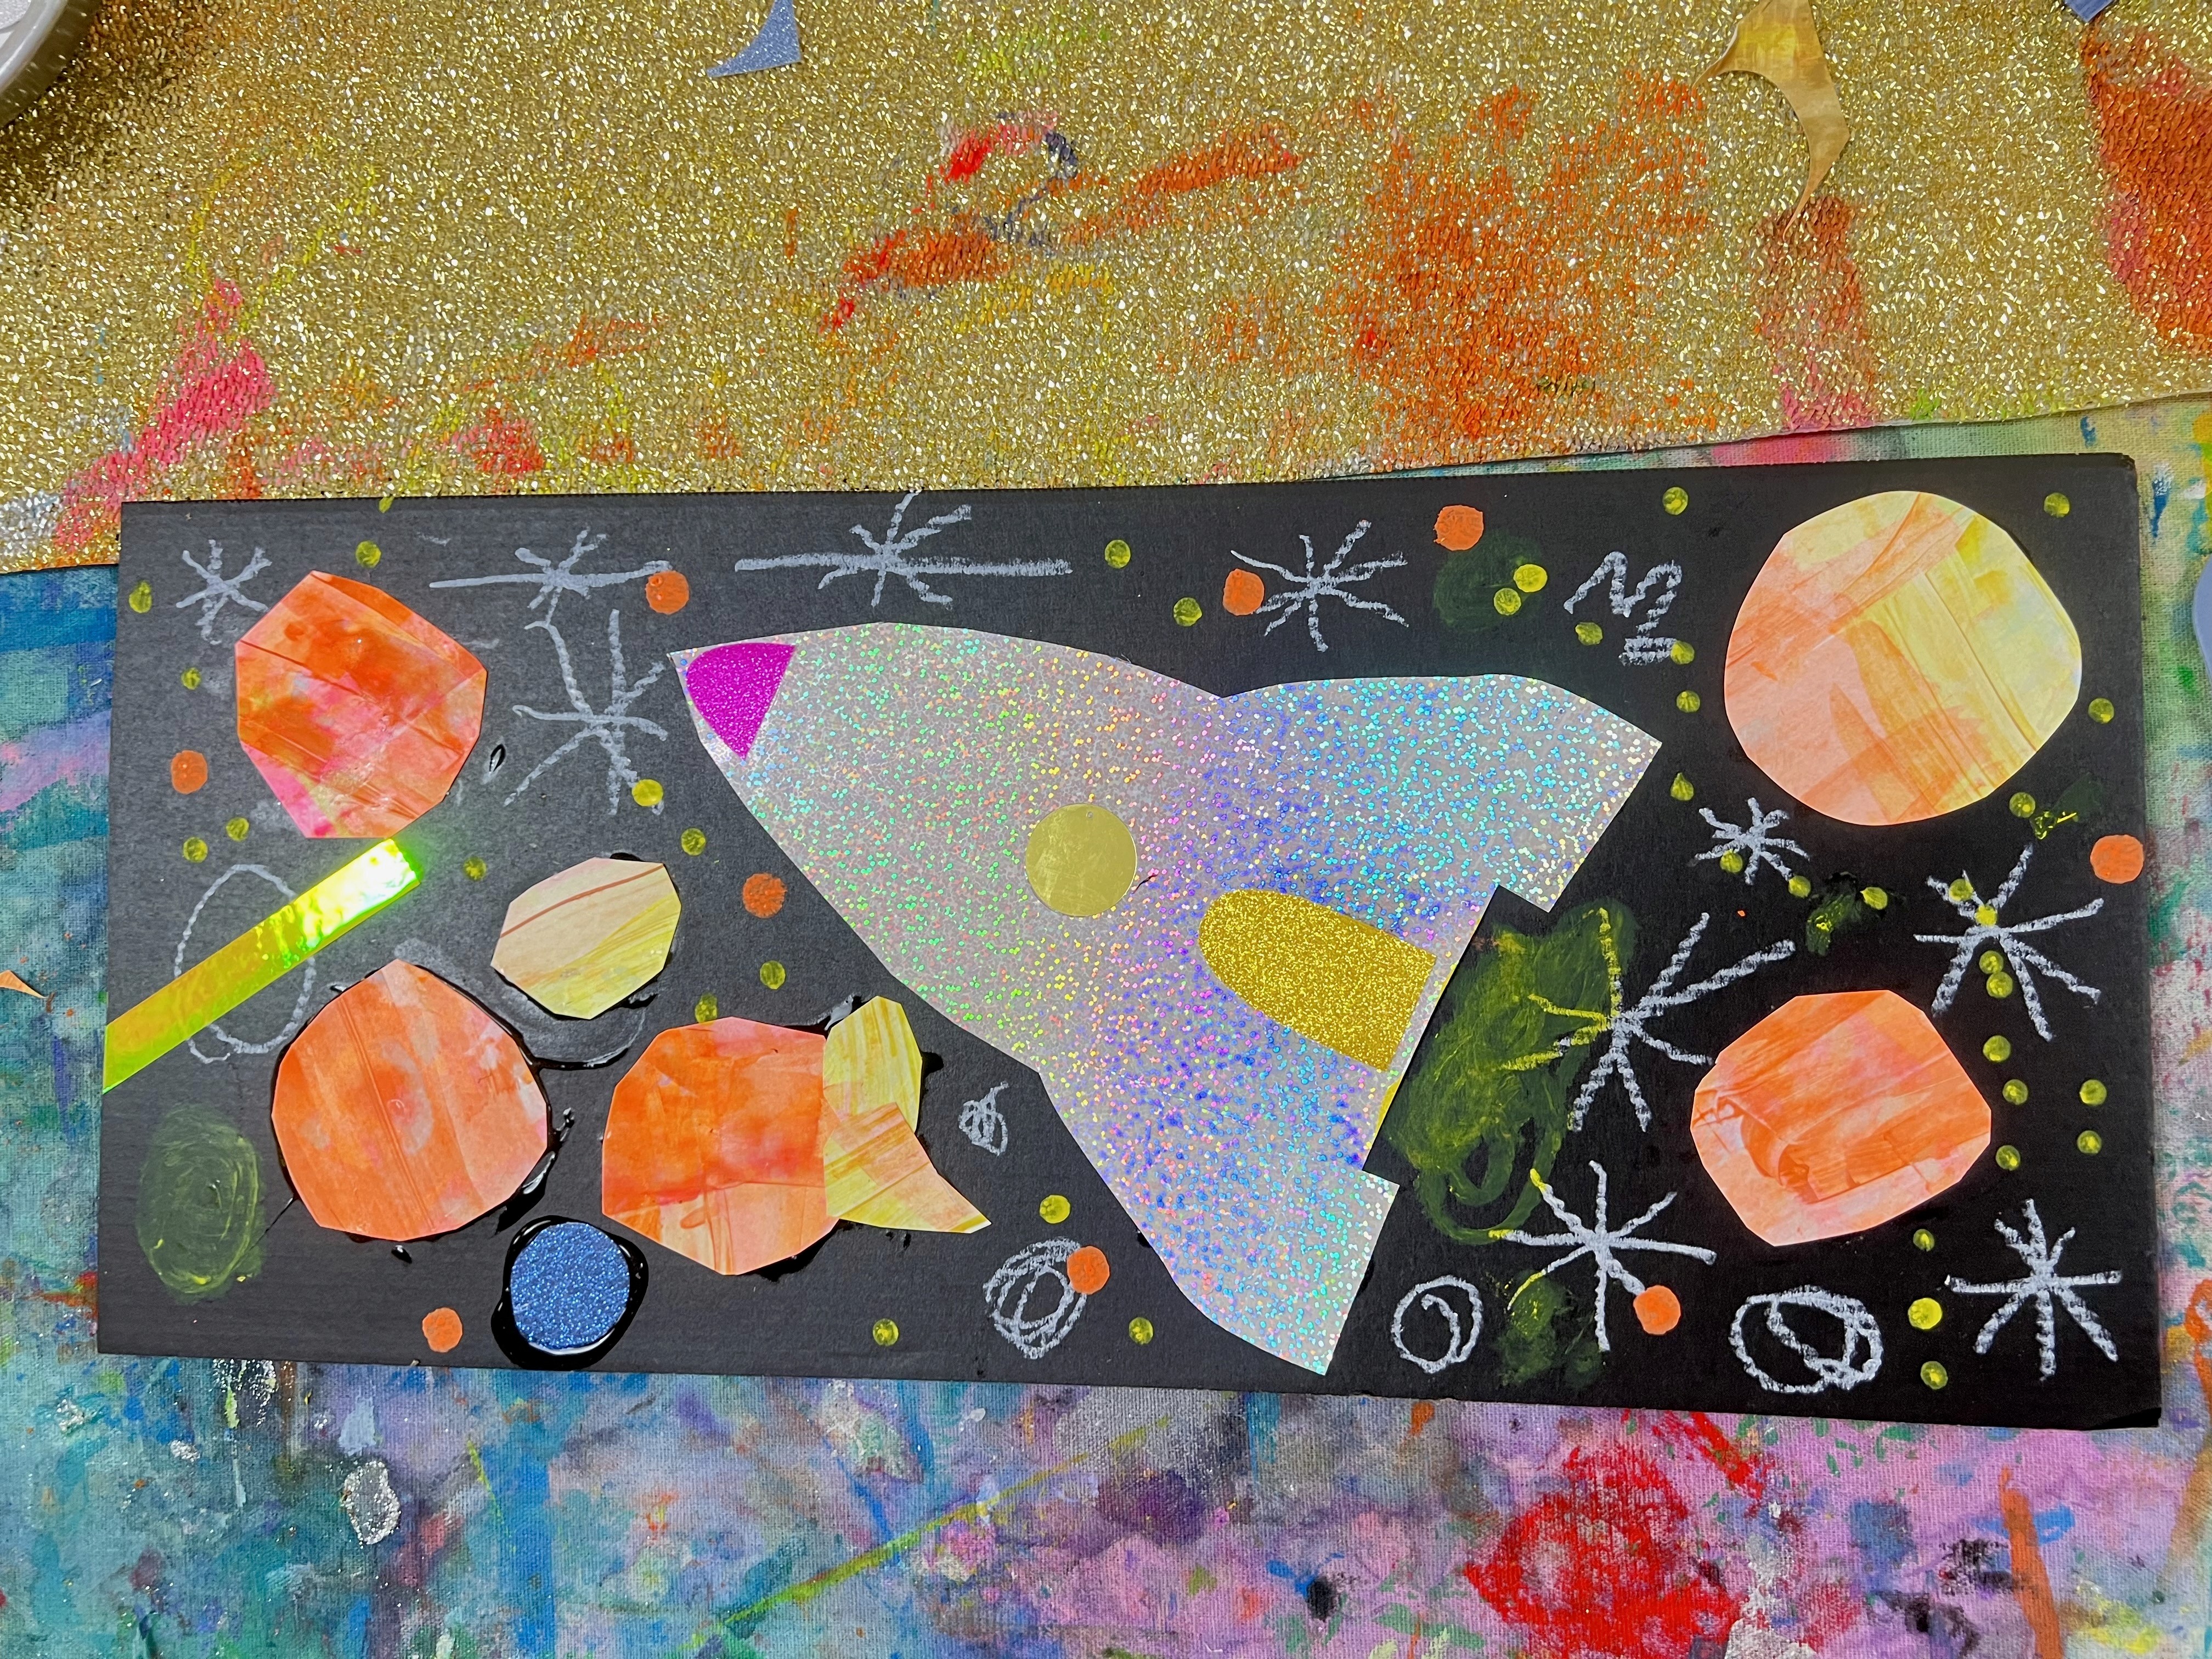
Black skies and shimmery planets
The Set Up
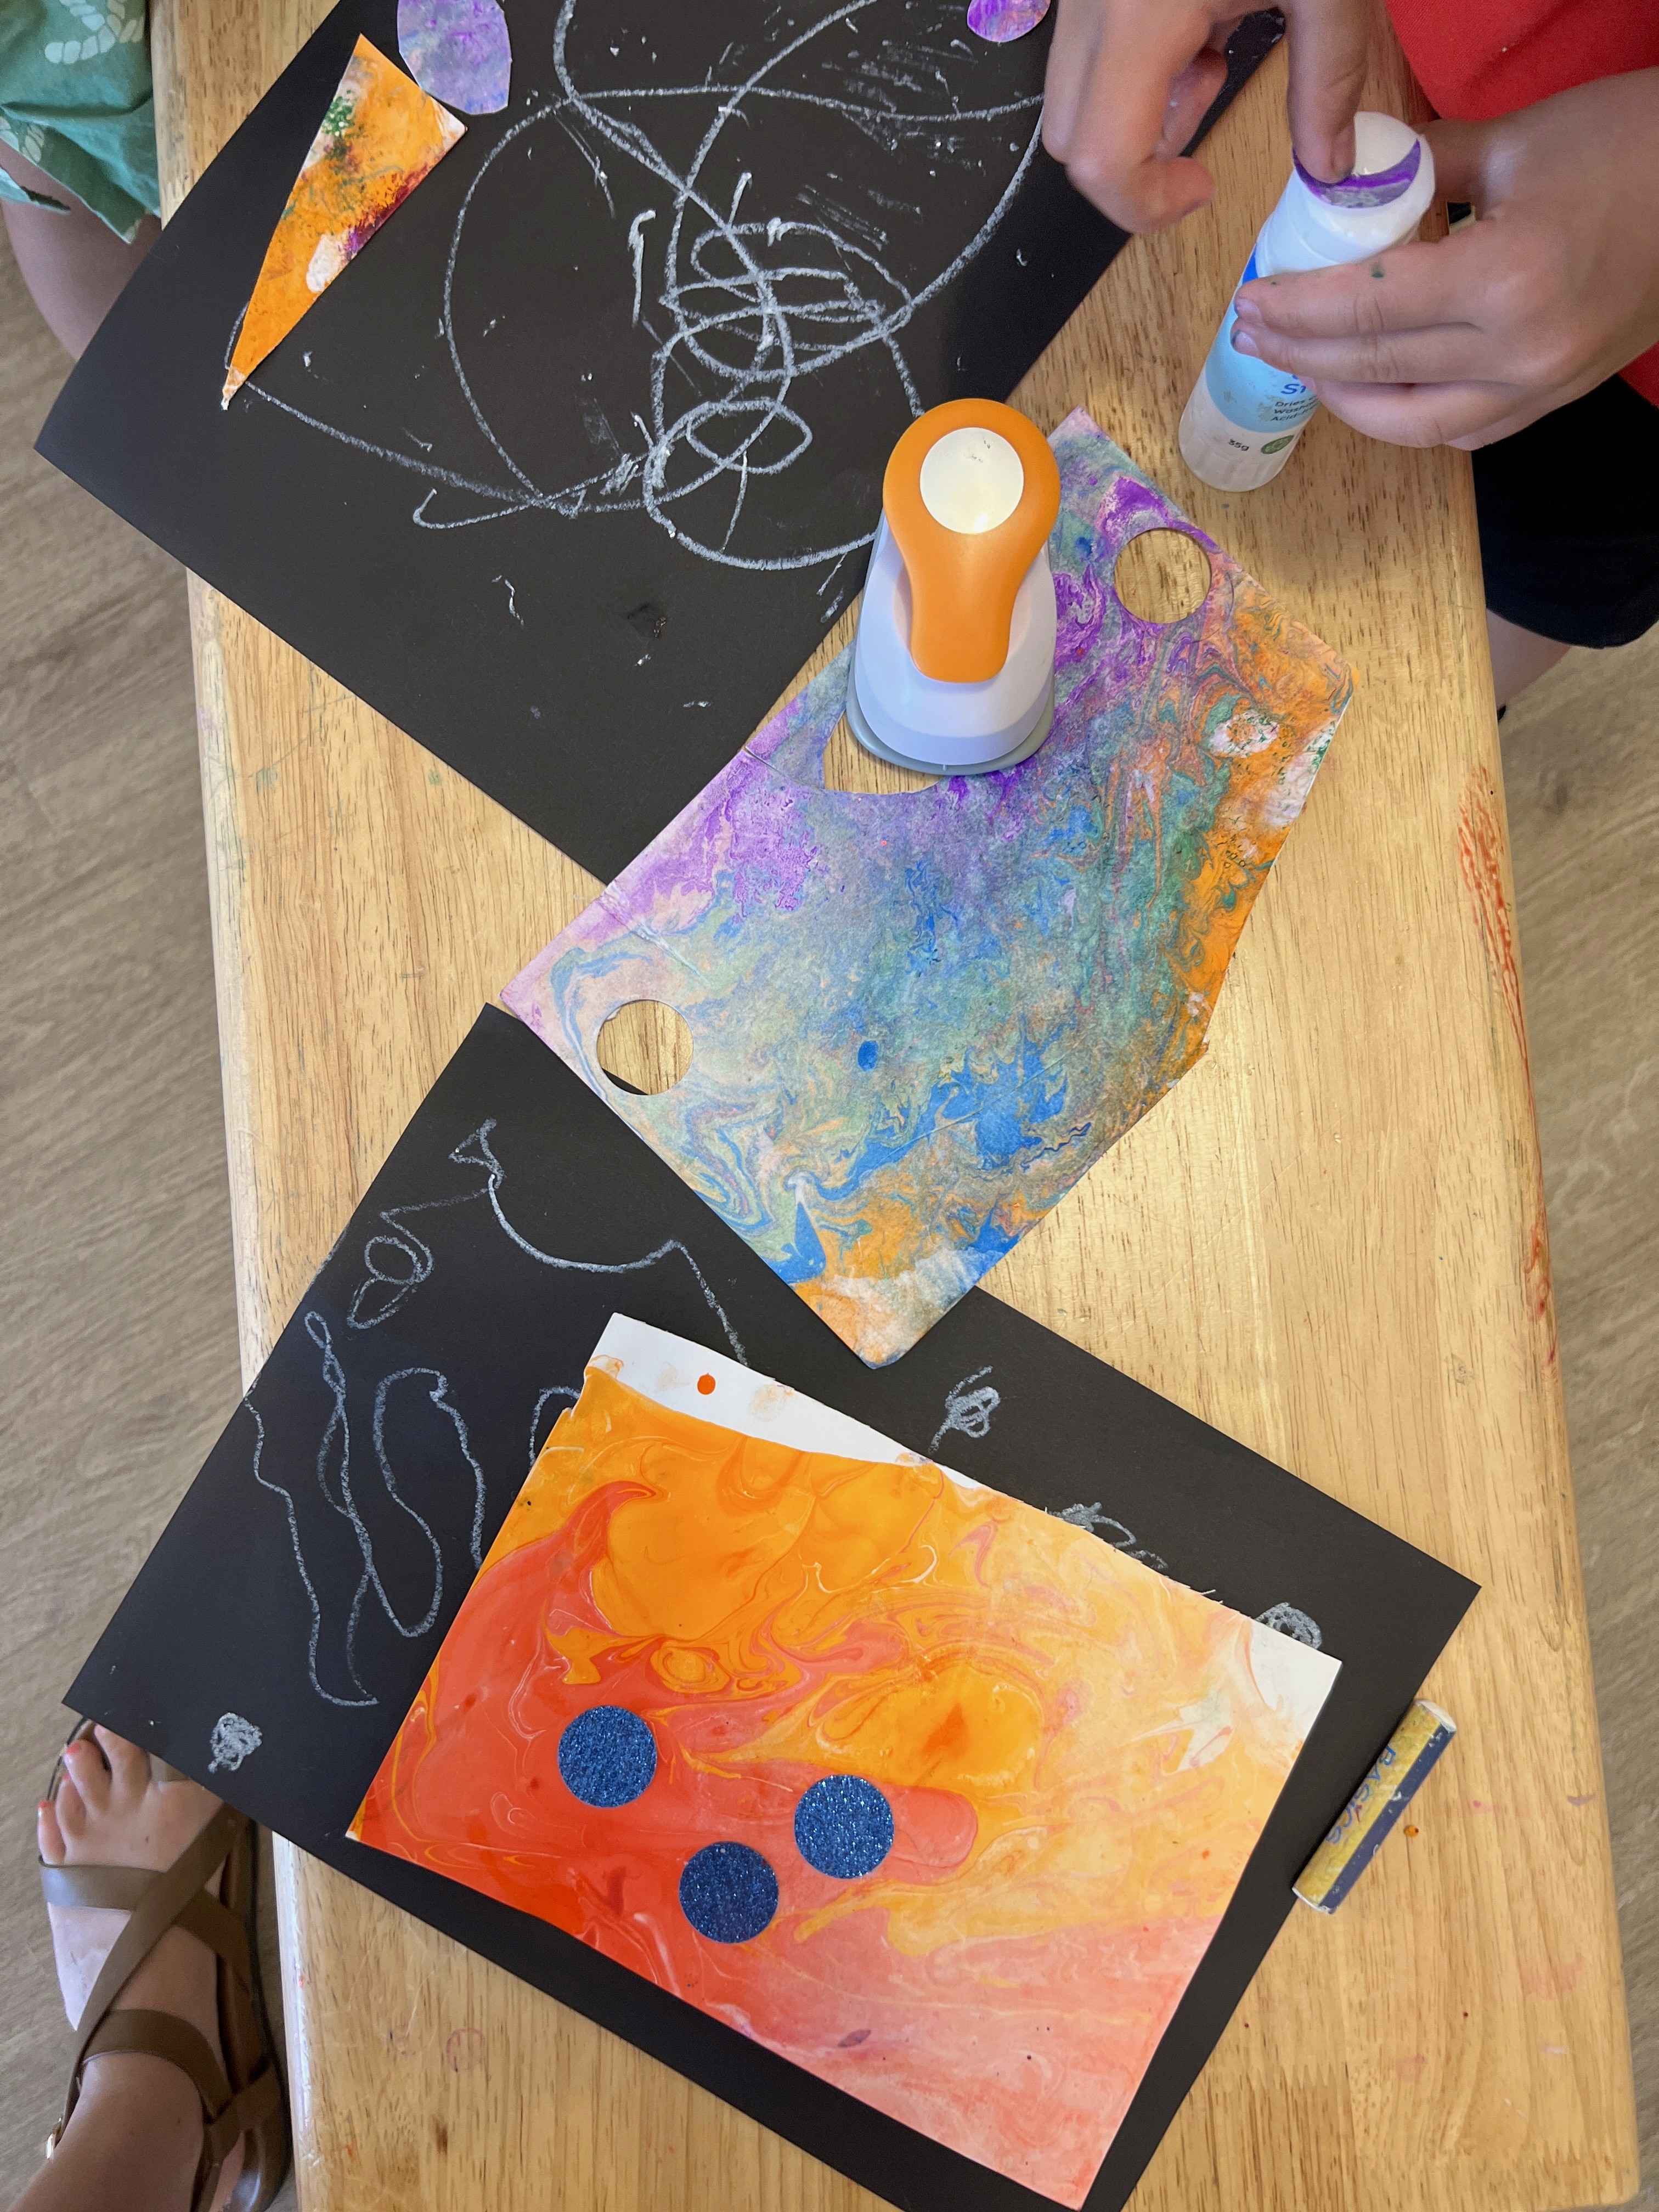
Start with a base of deep black cardstock or heavy black paper. Lay out a whole spread of planet materials. The marbled discs from the previous activity are perfect for this, but any painted or patterned papers from the offcuts drawer work too. Shaving-foam-marbled paper, drippy painted papers, old Modern Mosaics pieces. Anything with colour and texture.
Fiskars circle hole punches come out again here to punch perfect planet shapes, or let artists free-hand any size they like with scissors. Large planet, small planet, ringed planet, crescent planet. The variety is what makes the final scene feel rich.
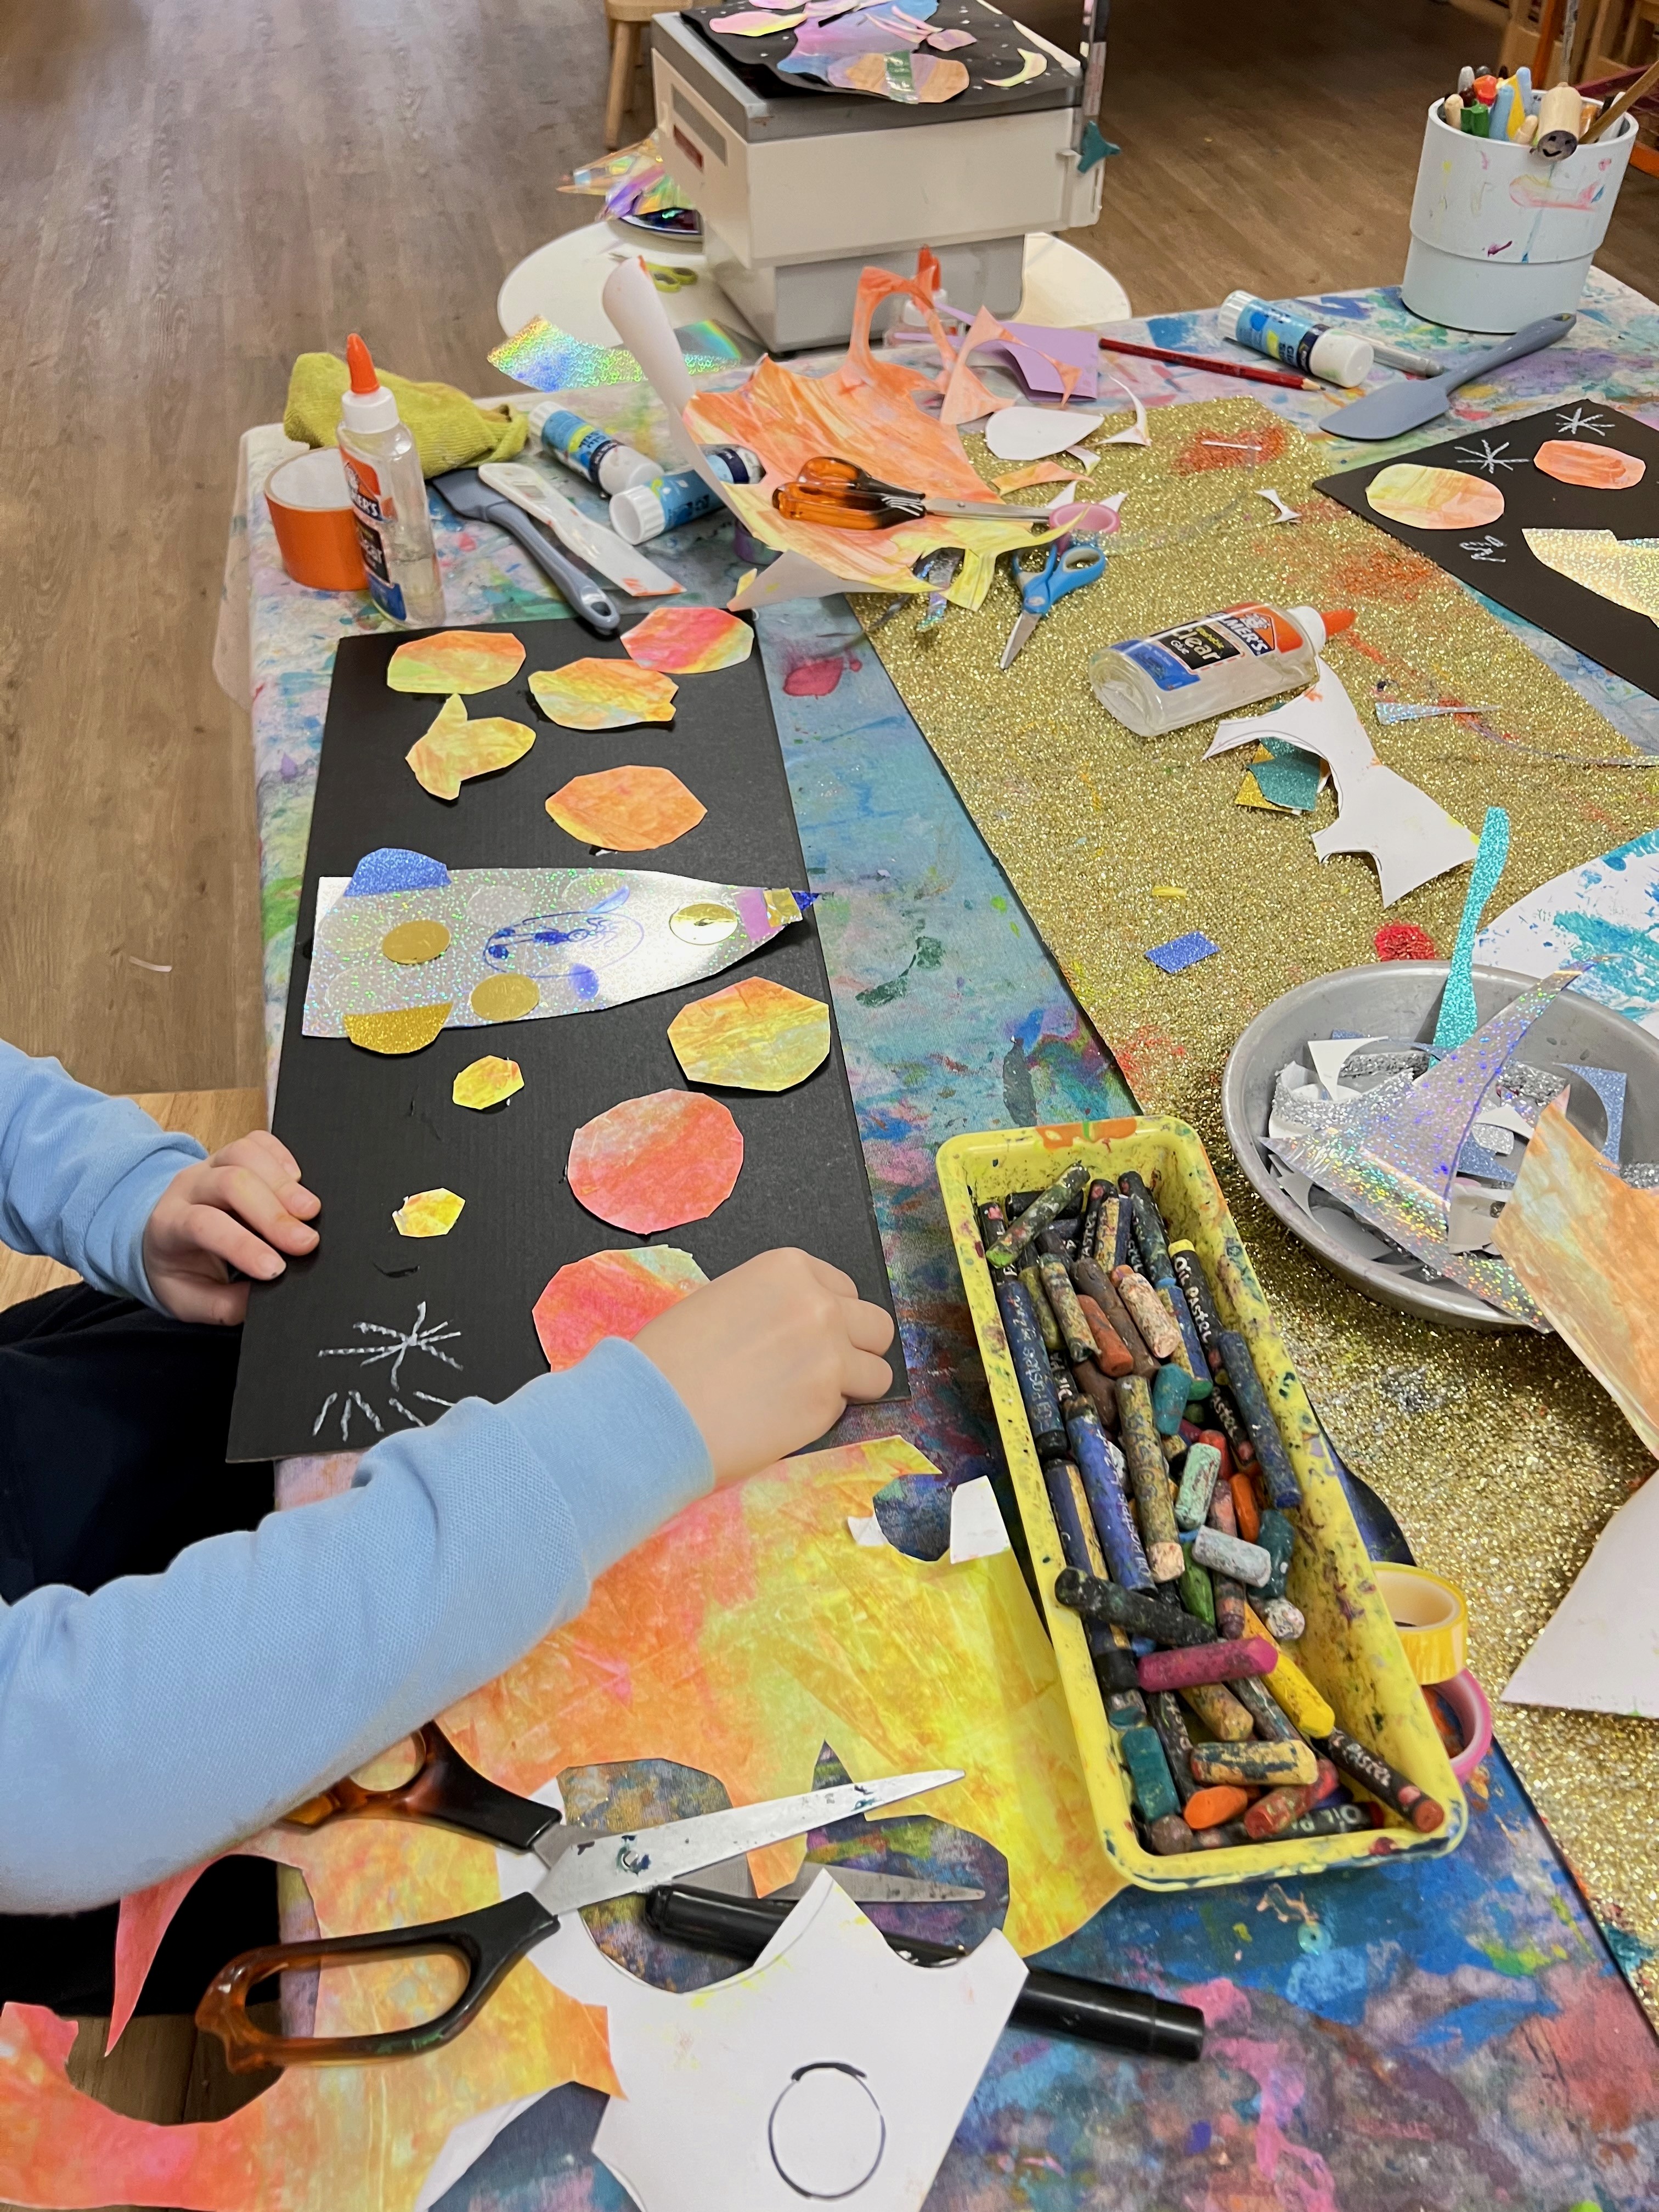
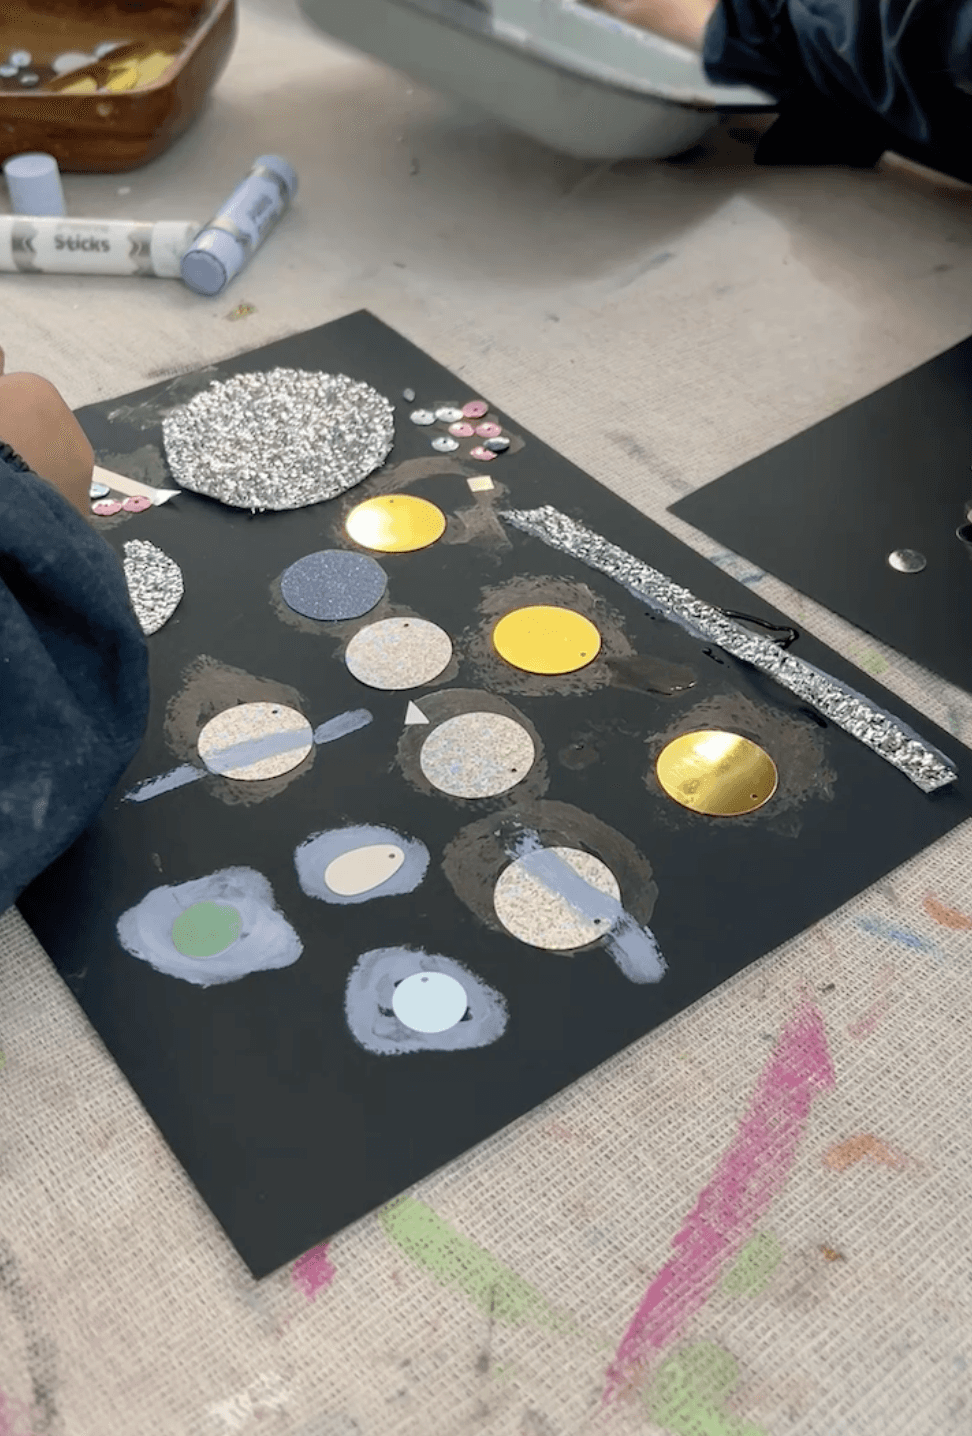
Alongside the planets, lay out shiny foil squares, iridescent cellophane scraps, fabric off-cuts in silver and gold, metallic stickers, sequins, gemstones, and white oil pastels or chalk for drawing stars and constellations directly onto the black base. Have a glue stick and PVA both ready. The glue stick is faster for flat paper pieces, the PVA holds the heavier bits like sequins and stones.
The Making
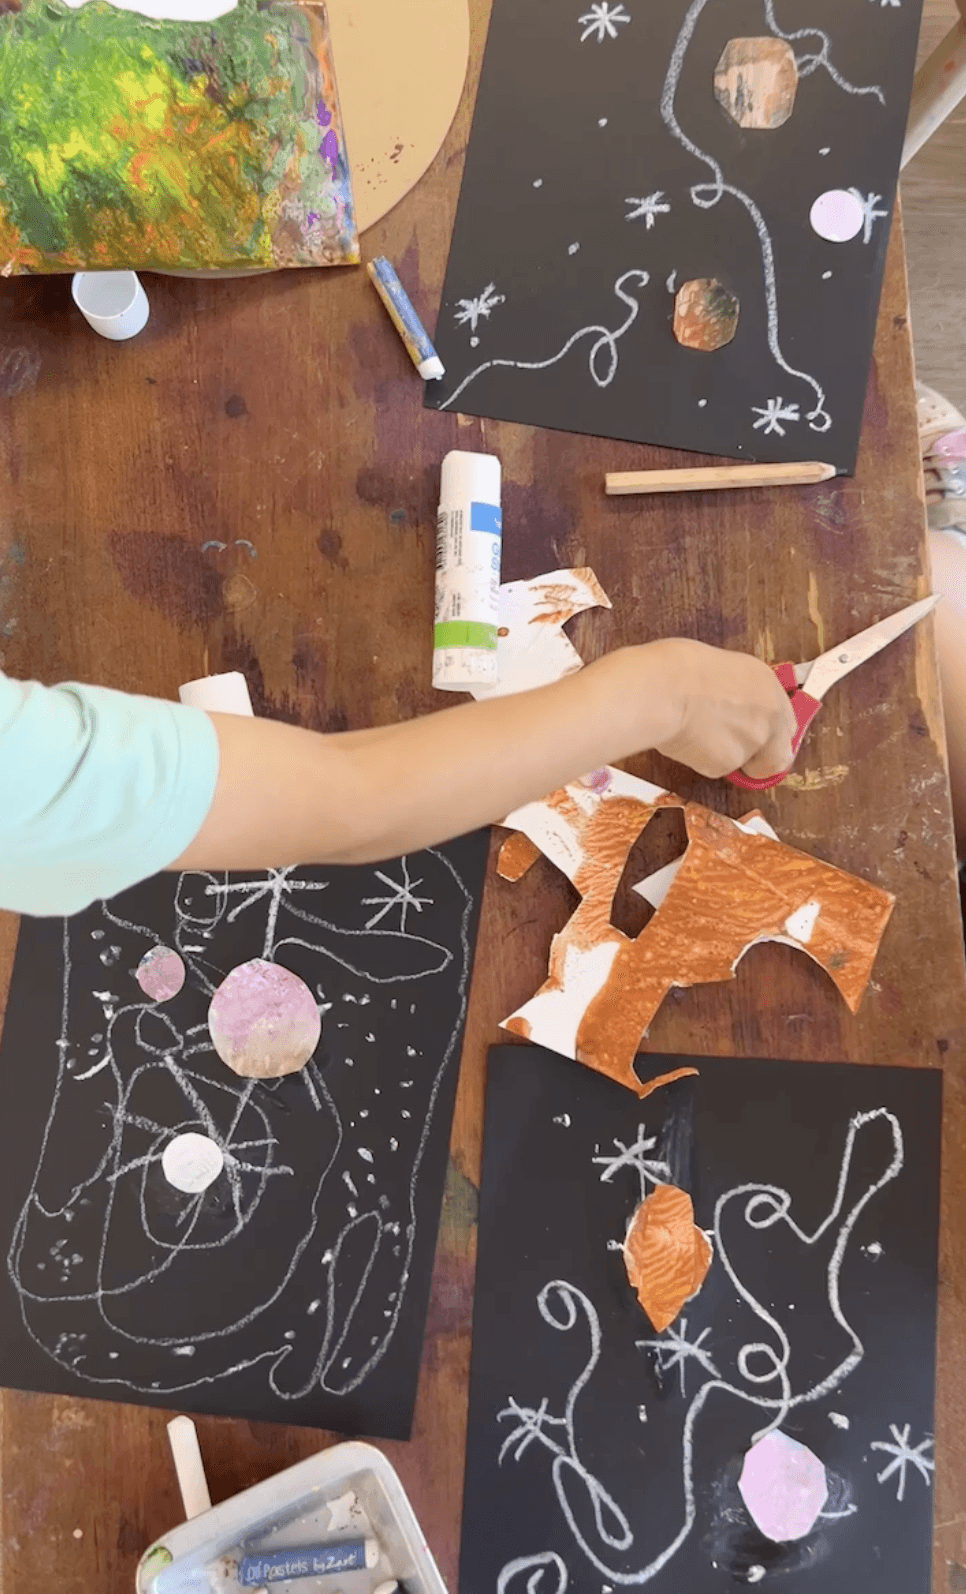
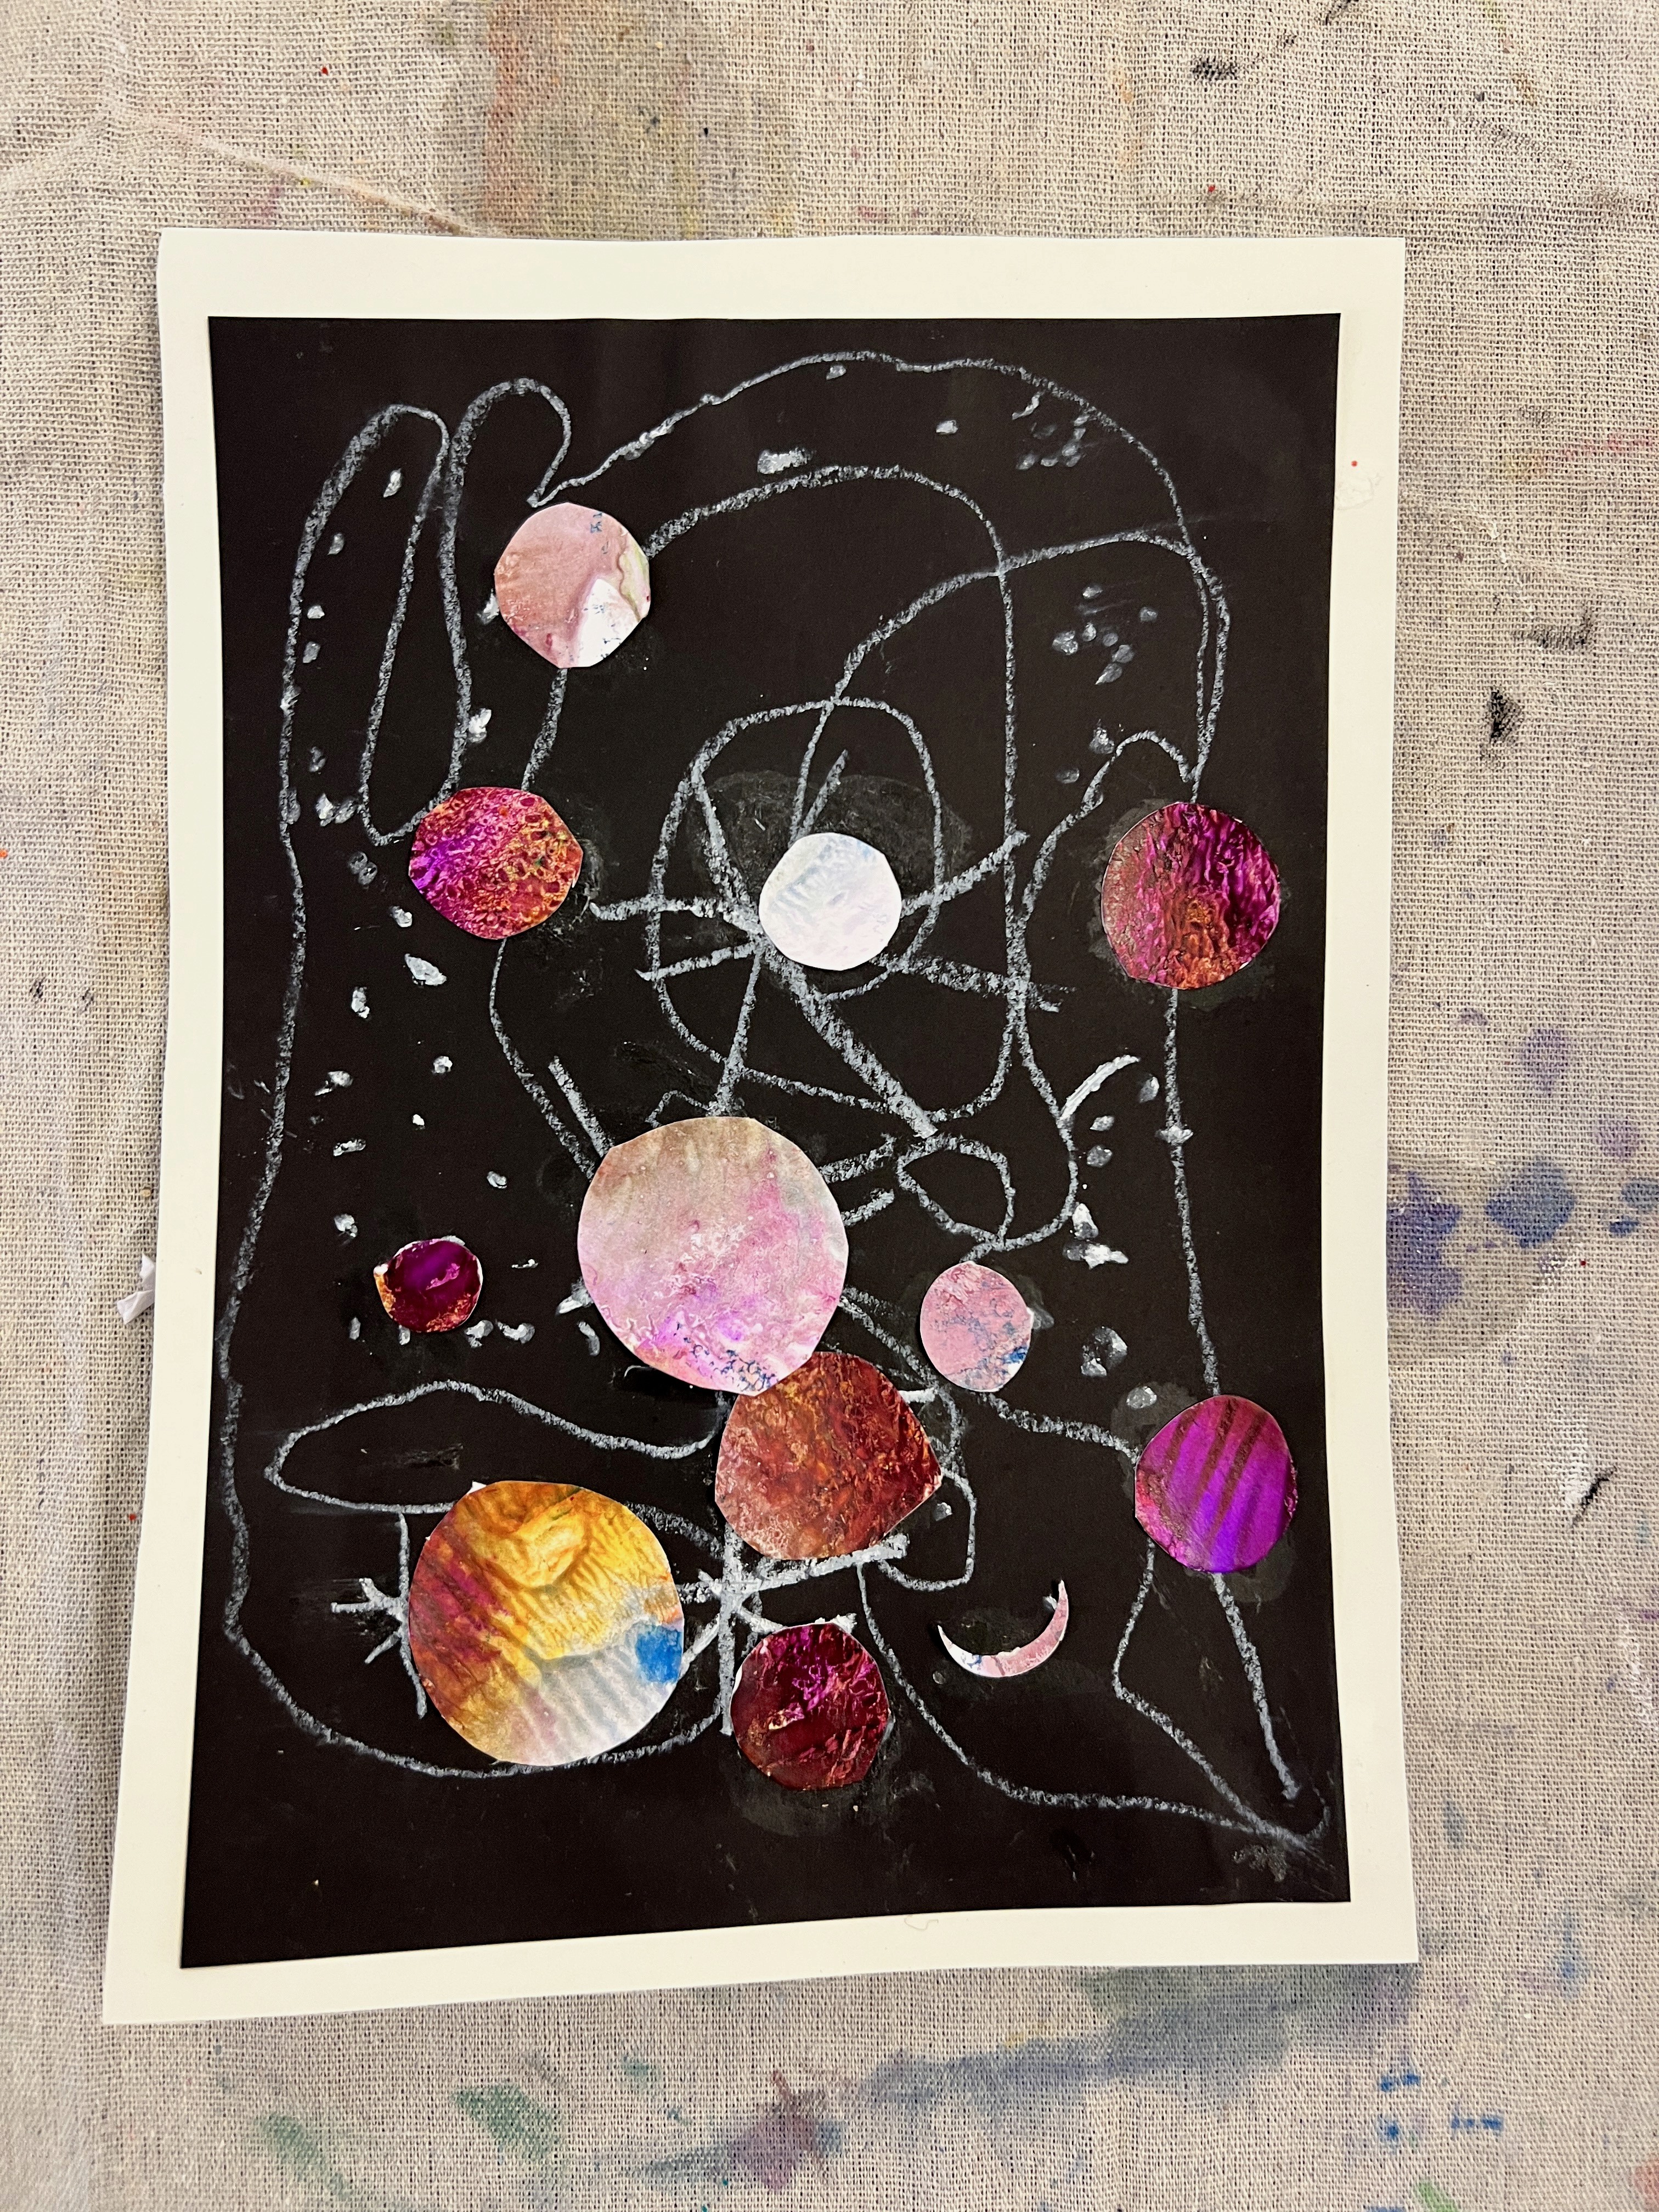
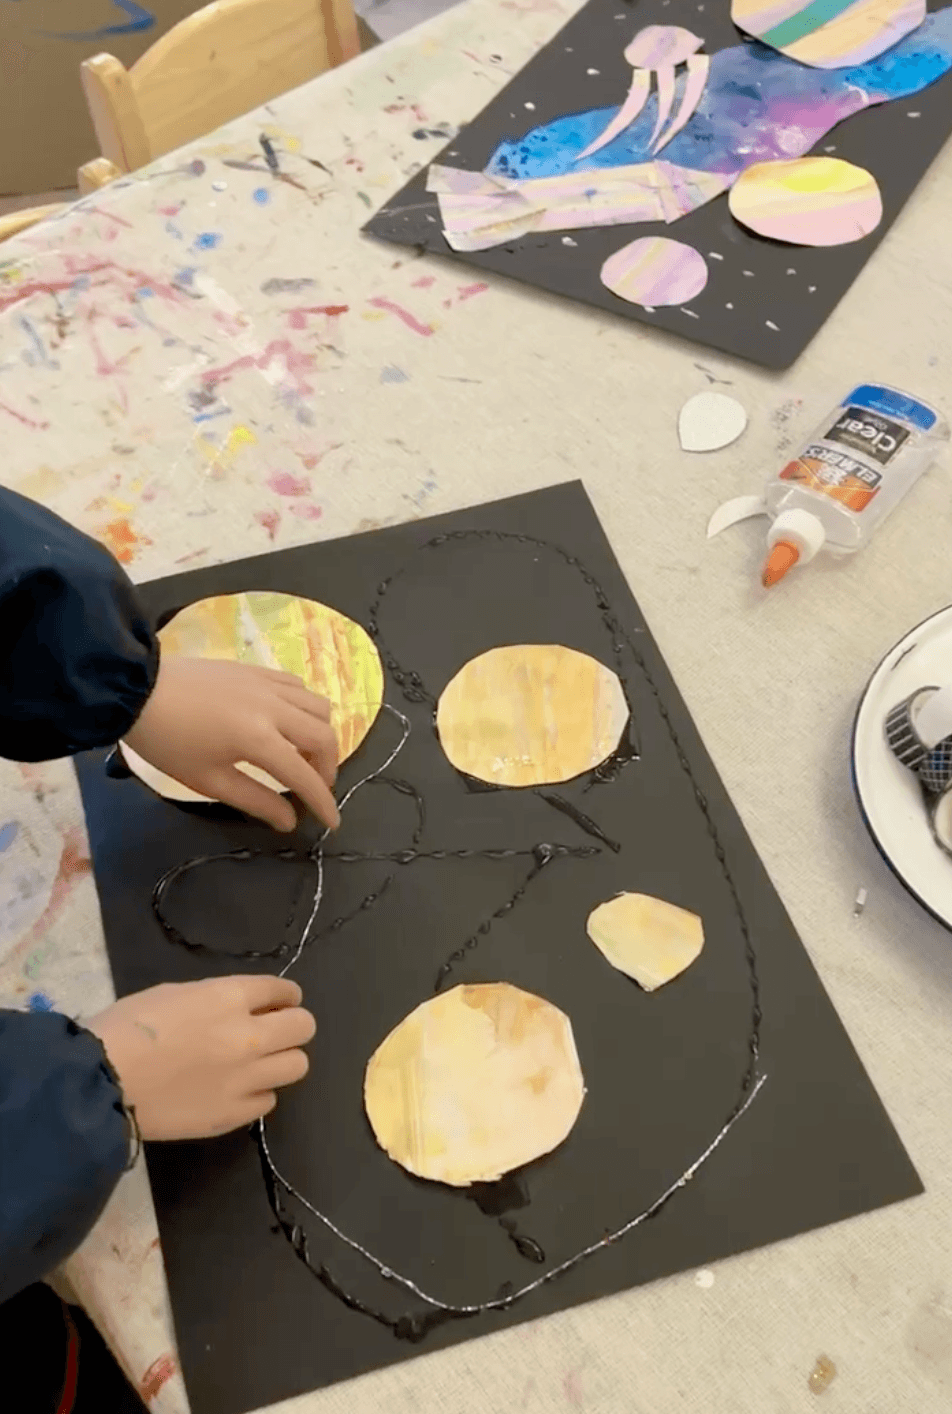
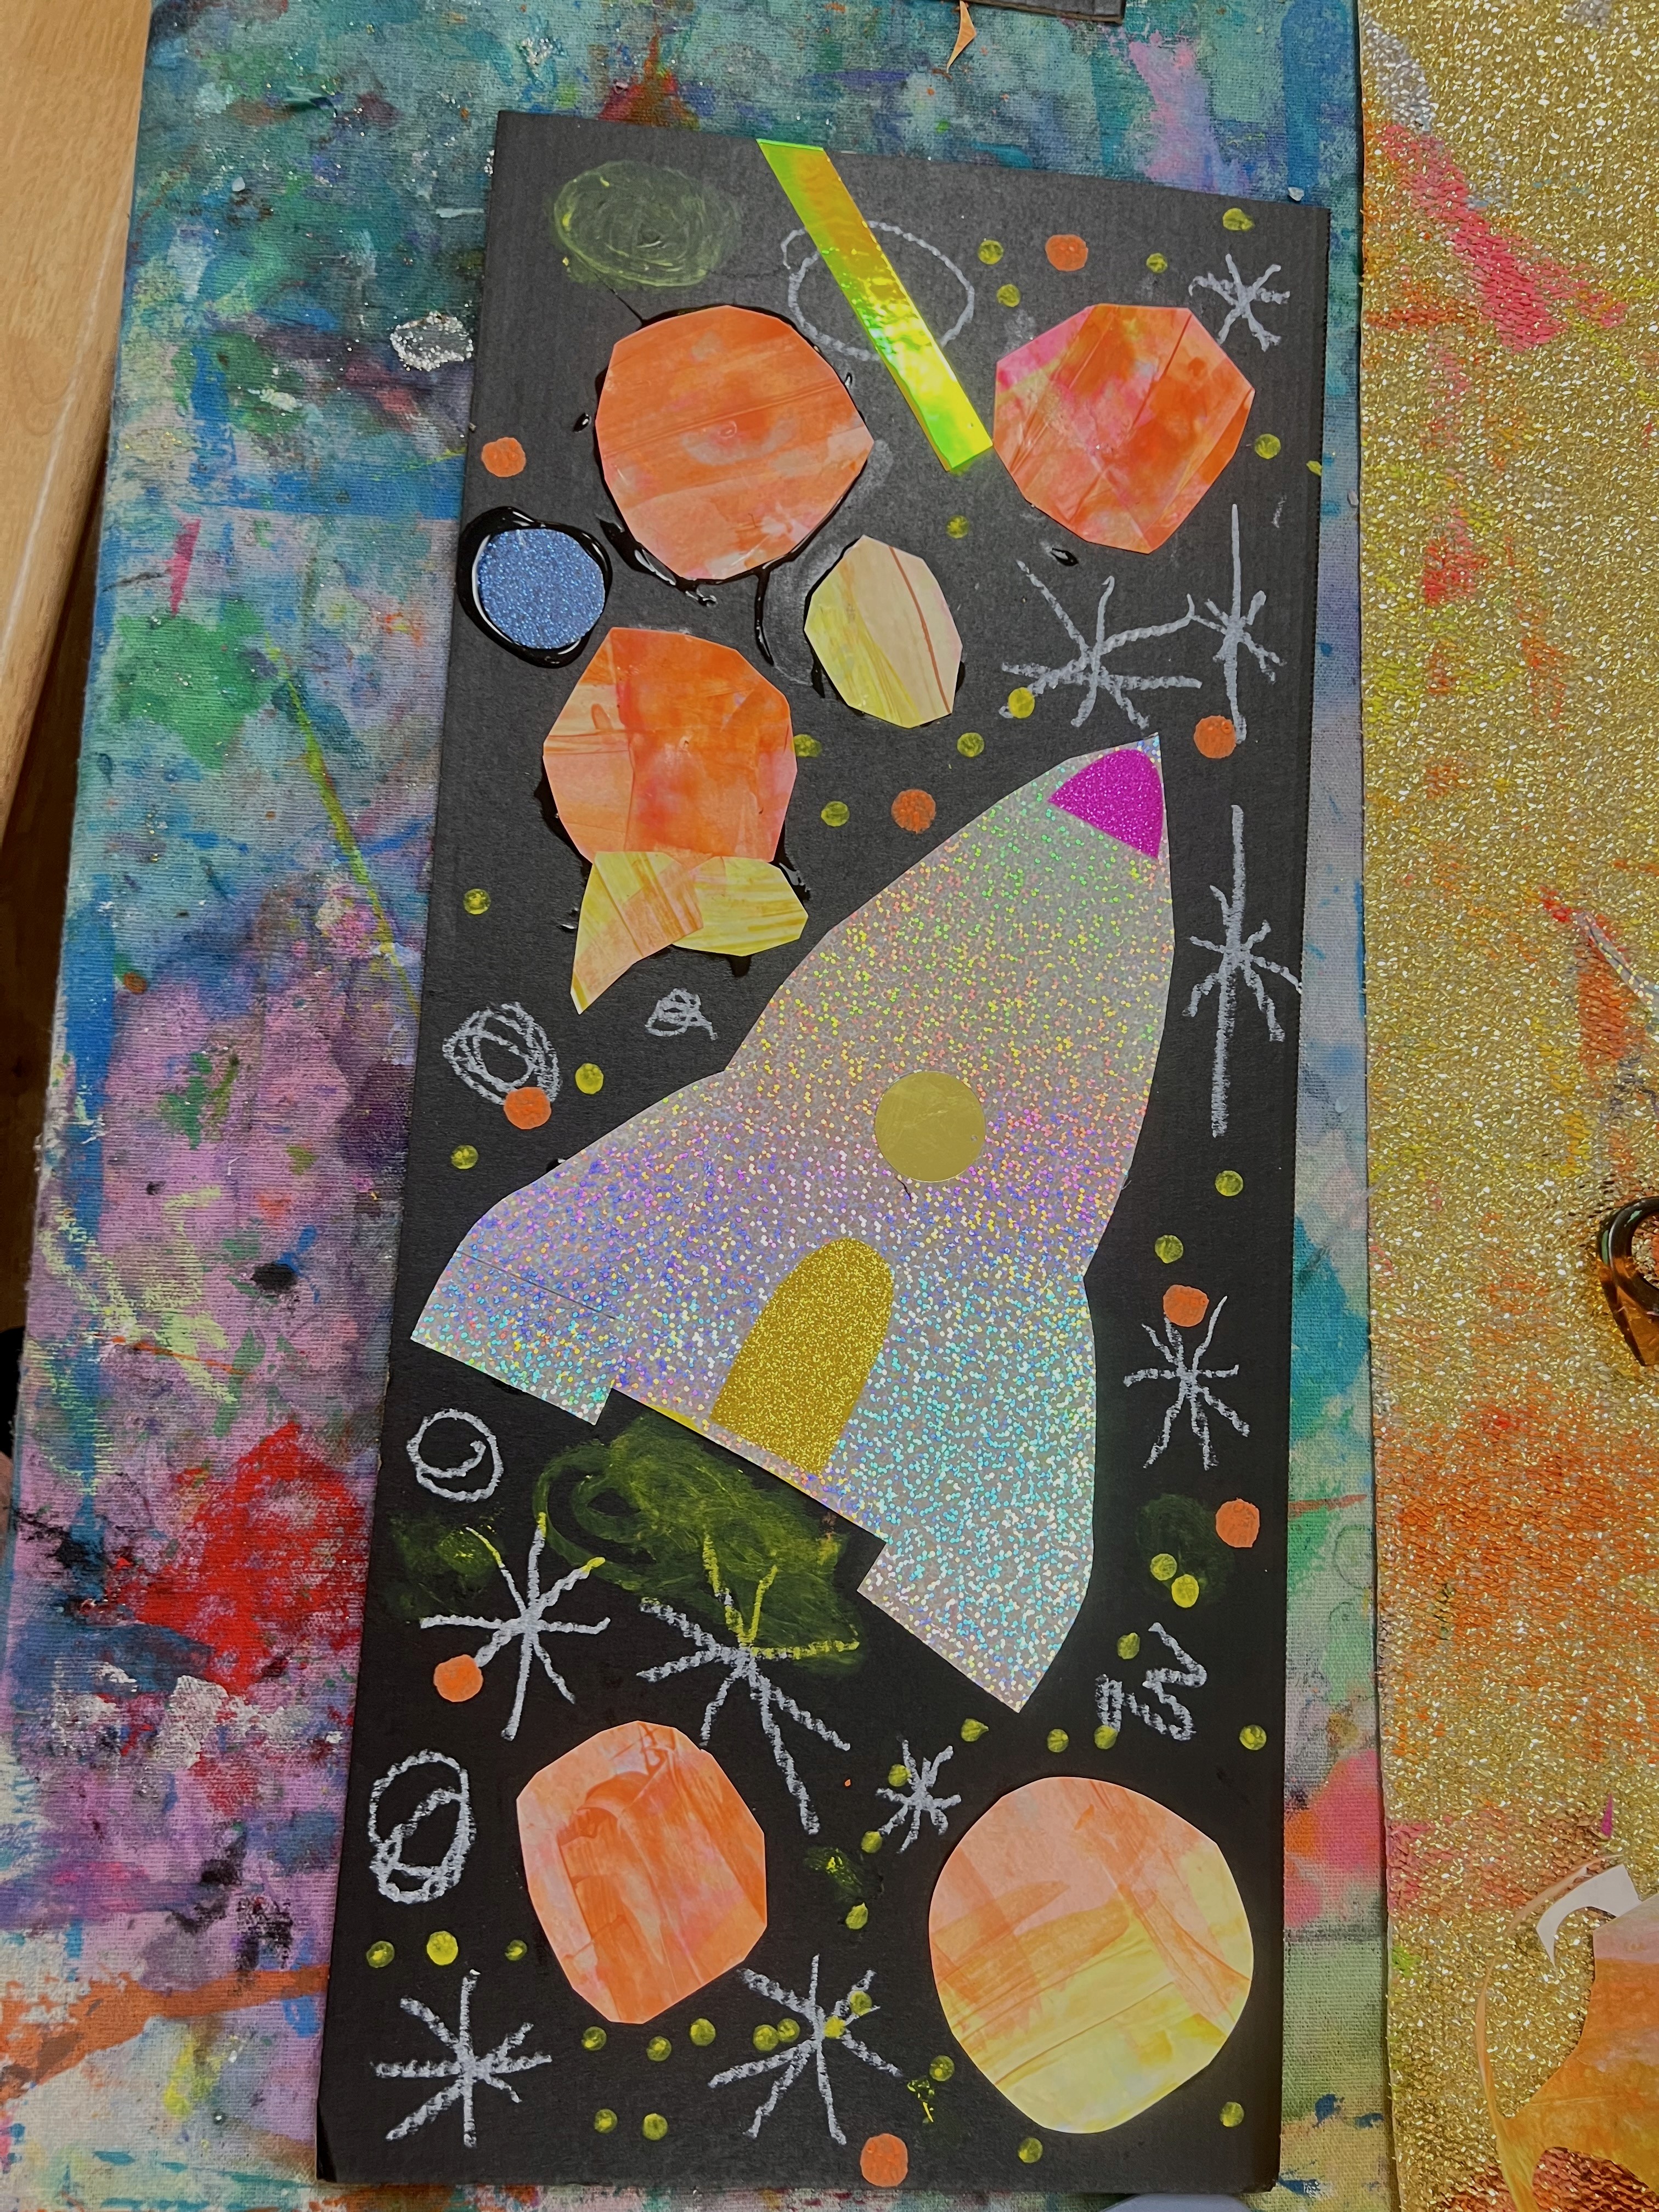
Composition is the whole experience! Arranging planets across the black sky, moving them around, swapping bigger for smaller, adding and removing until the whole thing feels balanced. There's no wrong layout. Some pages end up completely full. Others leave great stretches of empty black, which somehow looks the most like real space.
Once the planets are placed and glued down, the gorgeous details come next. White chalk or oil pastel for constellations drawn between the planets, little X-shaped stars scattered across the sky, a sprinkle of silver sequins as distant stars. Strips of iridescent cellophane or foil across the middle become shooting stars or a nebula streak. Gold fabric off-cuts become star clusters. The finished pieces look like gallery work, especially if you hang them against a white wall to dry (the contrast is unbelievable!).
Variations
Go three-dimensional. Instead of a flat collage, build the scene into a shadow box or a shoebox for a layered diorama effect. Planets on different levels of depth, the foil of a nebula streak catching real light.
Swap the black base for a deep navy or midnight blue for a slightly softer take. Works beautifully if you want a dreamier feel rather than deep-space intensity.
Materials
Black cardstock or heavy black paper
Marbled paper discs (saved from Marbled Milky Ways)
Shaving-foam-marbled paper or saved painted papers
Fiskars circle hole punches in various sizes
Scissors
Shiny foil, iridescent cellophane, metallic paper
Fabric off-cuts in silver and gold
Metallic stickers, sequins, gemstones
White oil pastels, white chalk, silver gel pens
Glue sticks and PVA
Back to Top
Deep Space Collage
Black skies and shimmery planets
Bookmark
Collage
The Set Up
Start with a base of deep black cardstock or heavy black paper. Lay out a whole spread of planet materials. The marbled discs from the previous activity are perfect for this, but any painted or patterned papers from the offcuts drawer work too. Shaving-foam-marbled paper, drippy painted papers, old Modern Mosaics pieces. Anything with colour and texture.
Fiskars circle hole punches come out again here to punch perfect planet shapes, or let artists free-hand any size they like with scissors. Large planet, small planet, ringed planet, crescent planet. The variety is what makes the final scene feel rich.
Alongside the planets, lay out shiny foil squares, iridescent cellophane scraps, fabric off-cuts in silver and gold, metallic stickers, sequins, gemstones, and white oil pastels or chalk for drawing stars and constellations directly onto the black base. Have a glue stick and PVA both ready. The glue stick is faster for flat paper pieces, the PVA holds the heavier bits like sequins and stones.
The Making
Composition is the whole experience! Arranging planets across the black sky, moving them around, swapping bigger for smaller, adding and removing until the whole thing feels balanced. There's no wrong layout. Some pages end up completely full. Others leave great stretches of empty black, which somehow looks the most like real space.
Once the planets are placed and glued down, the gorgeous details come next. White chalk or oil pastel for constellations drawn between the planets, little X-shaped stars scattered across the sky, a sprinkle of silver sequins as distant stars. Strips of iridescent cellophane or foil across the middle become shooting stars or a nebula streak. Gold fabric off-cuts become star clusters. The finished pieces look like gallery work, especially if you hang them against a white wall to dry (the contrast is unbelievable!).
Variations
Go three-dimensional. Instead of a flat collage, build the scene into a shadow box or a shoebox for a layered diorama effect. Planets on different levels of depth, the foil of a nebula streak catching real light.
Swap the black base for a deep navy or midnight blue for a slightly softer take. Works beautifully if you want a dreamier feel rather than deep-space intensity.
Materials
Black cardstock or heavy black paper
Marbled paper discs (saved from Marbled Milky Ways)
Shaving-foam-marbled paper or saved painted papers
Fiskars circle hole punches in various sizes
Scissors
Shiny foil, iridescent cellophane, metallic paper
Fabric off-cuts in silver and gold
Metallic stickers, sequins, gemstones
White oil pastels, white chalk, silver gel pens
Glue sticks and PVA
Back to Top
Add this to your favourites
Add this to your favourites
Thoughts?
Would love to hear if youv'e tried this or have any ideas on how to make it even better!