Embroidery Hoop Sewing
Threads and Textures
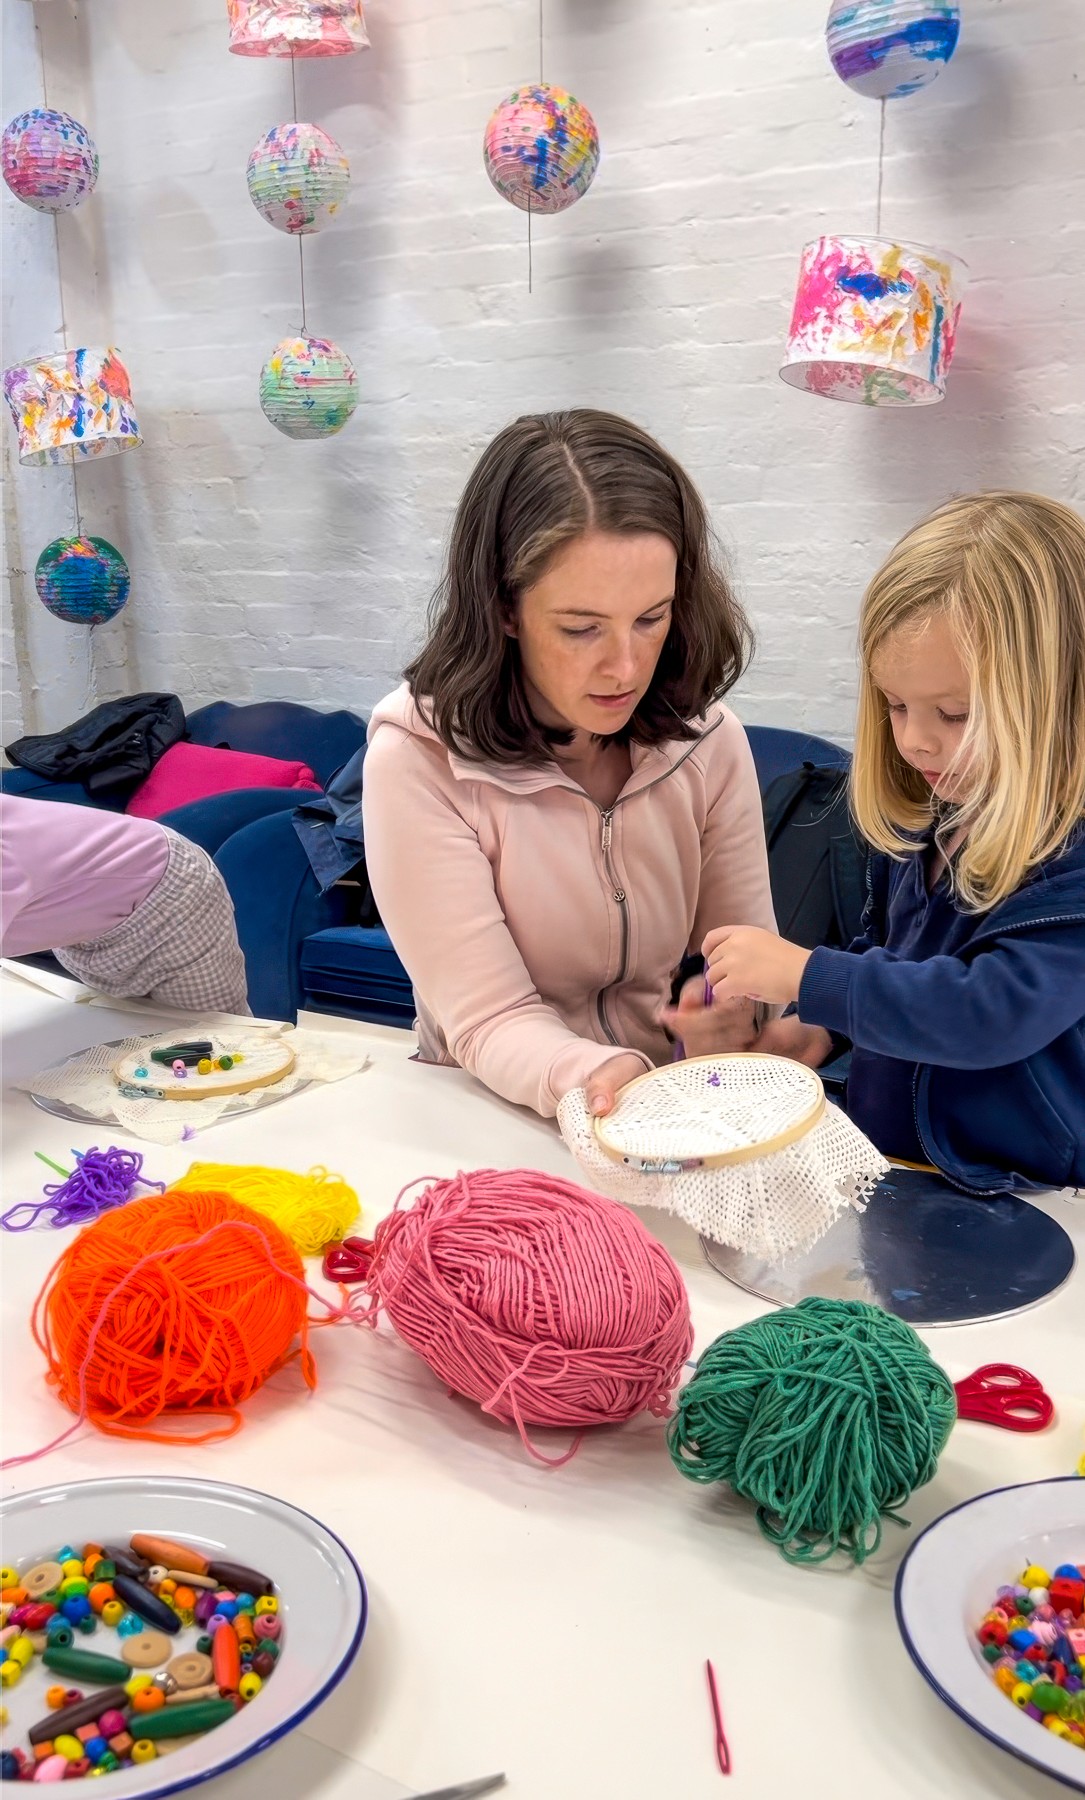
The Set Up
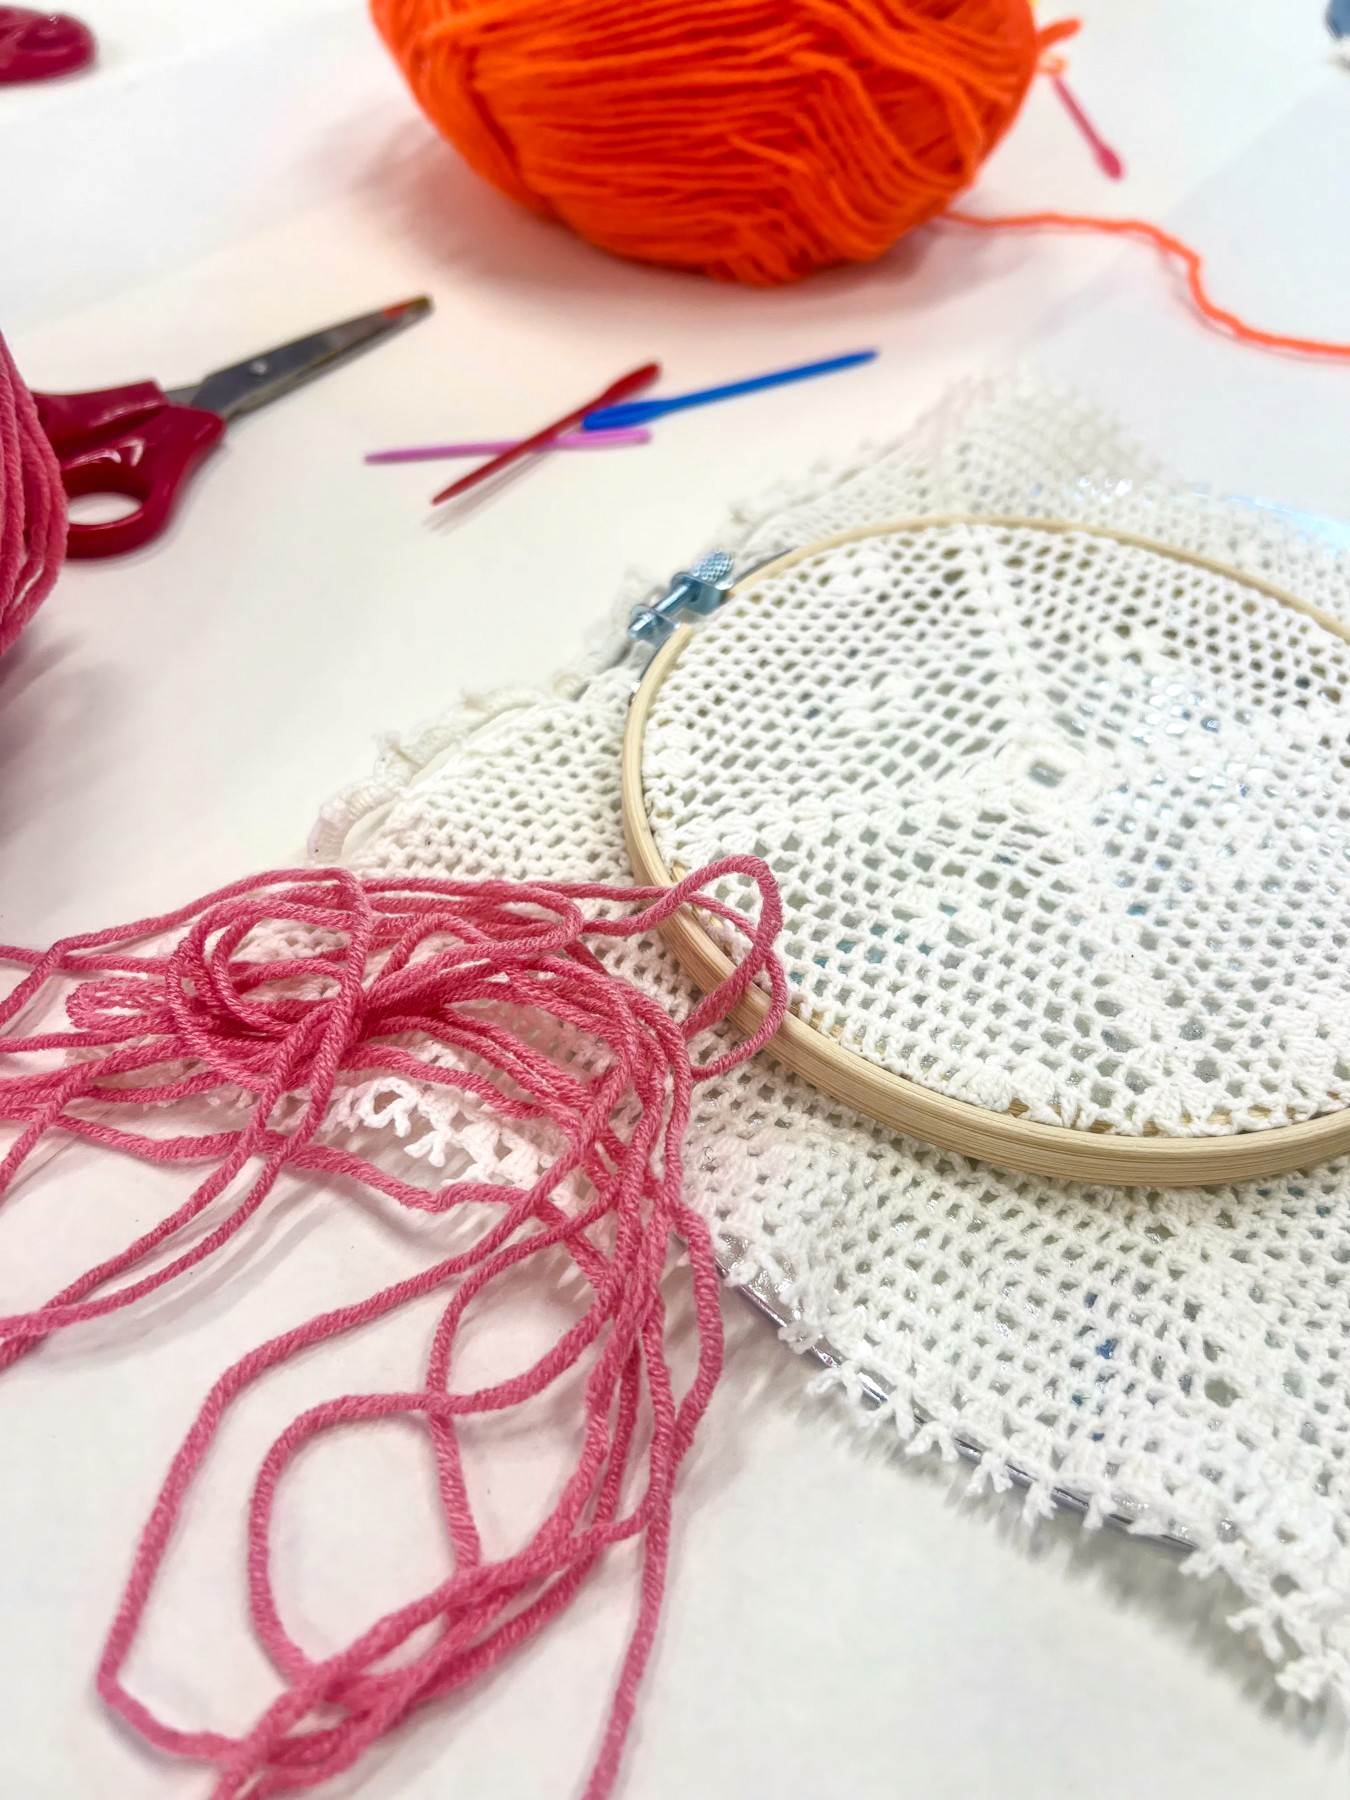
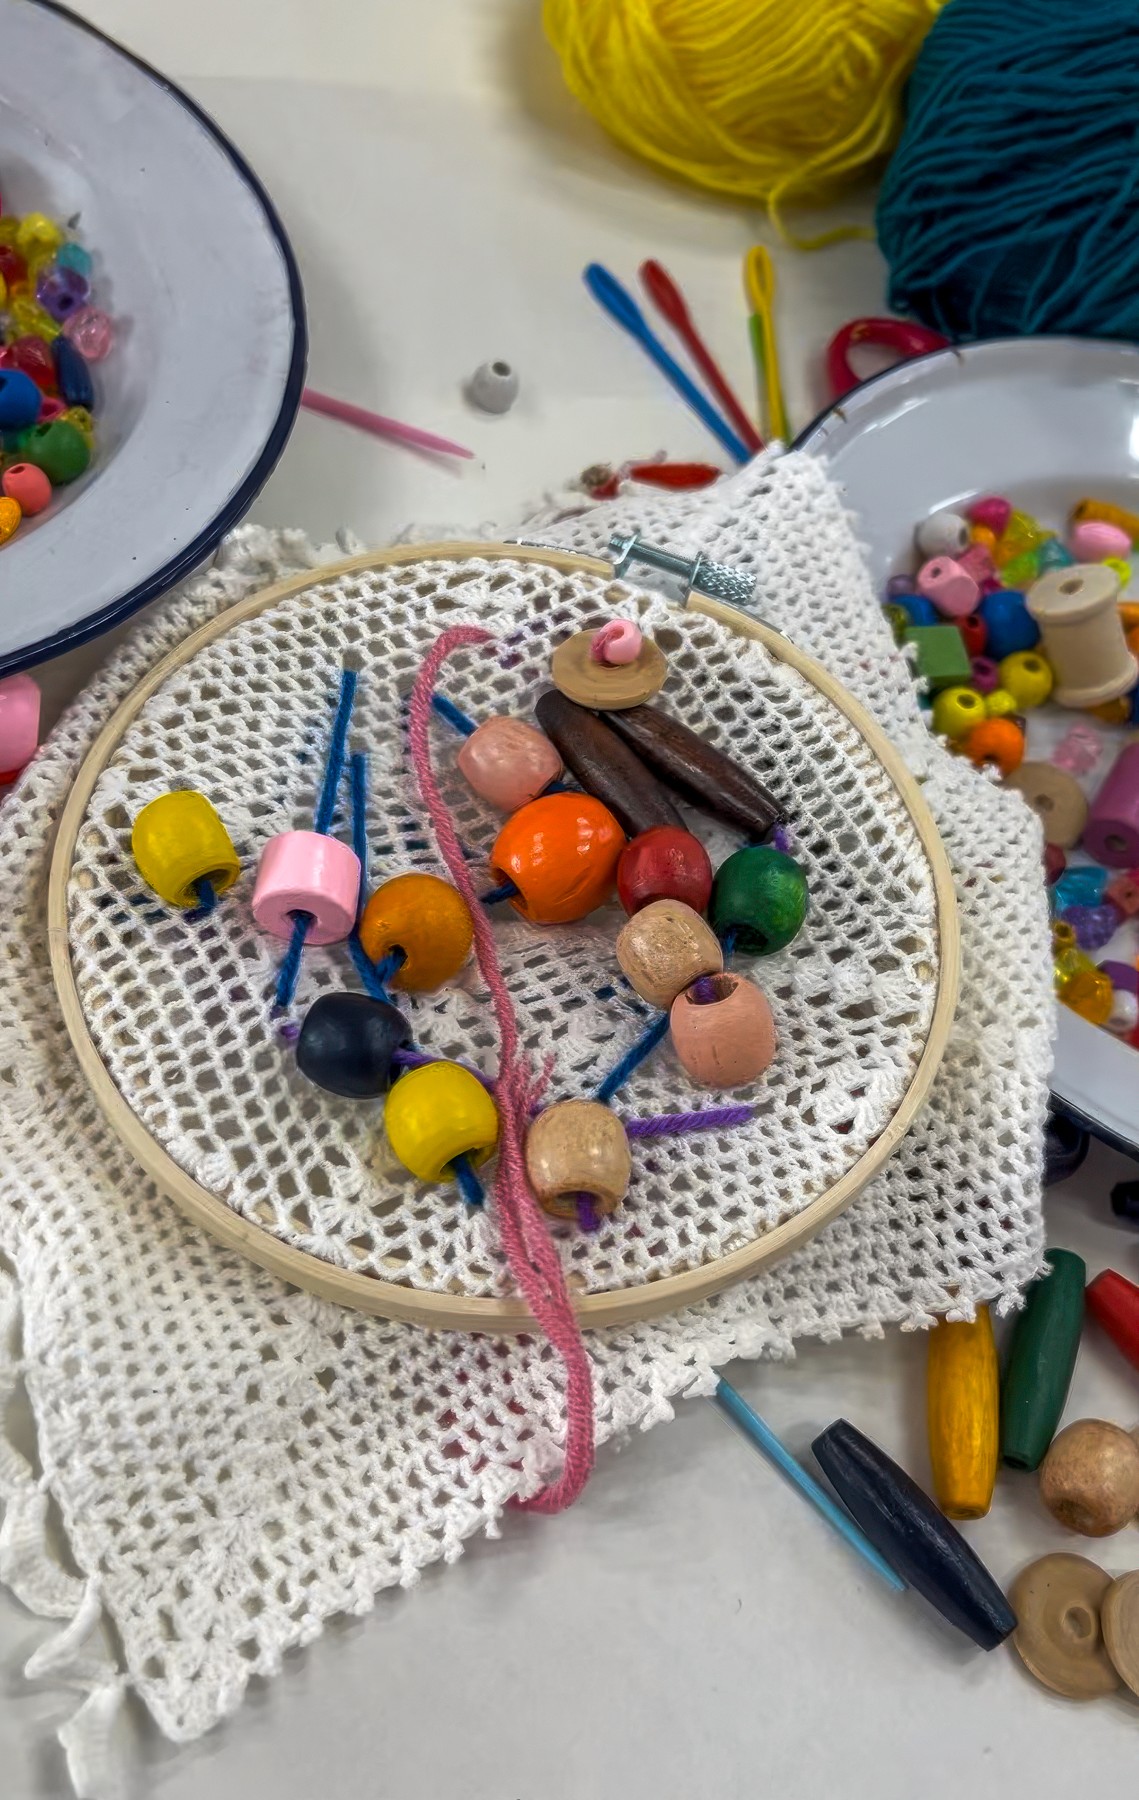
Embroidery hoops are brilliant for kids because they hold the fabric tight, which means far less frustration and far more flow. Choose thin cotton, calico, or any light fabric they can sew through with ease. Sprayed or painted fabric from past projects works beautifully too. Lace and old doilies from op shops are magic because the holes are already there waiting for thread.
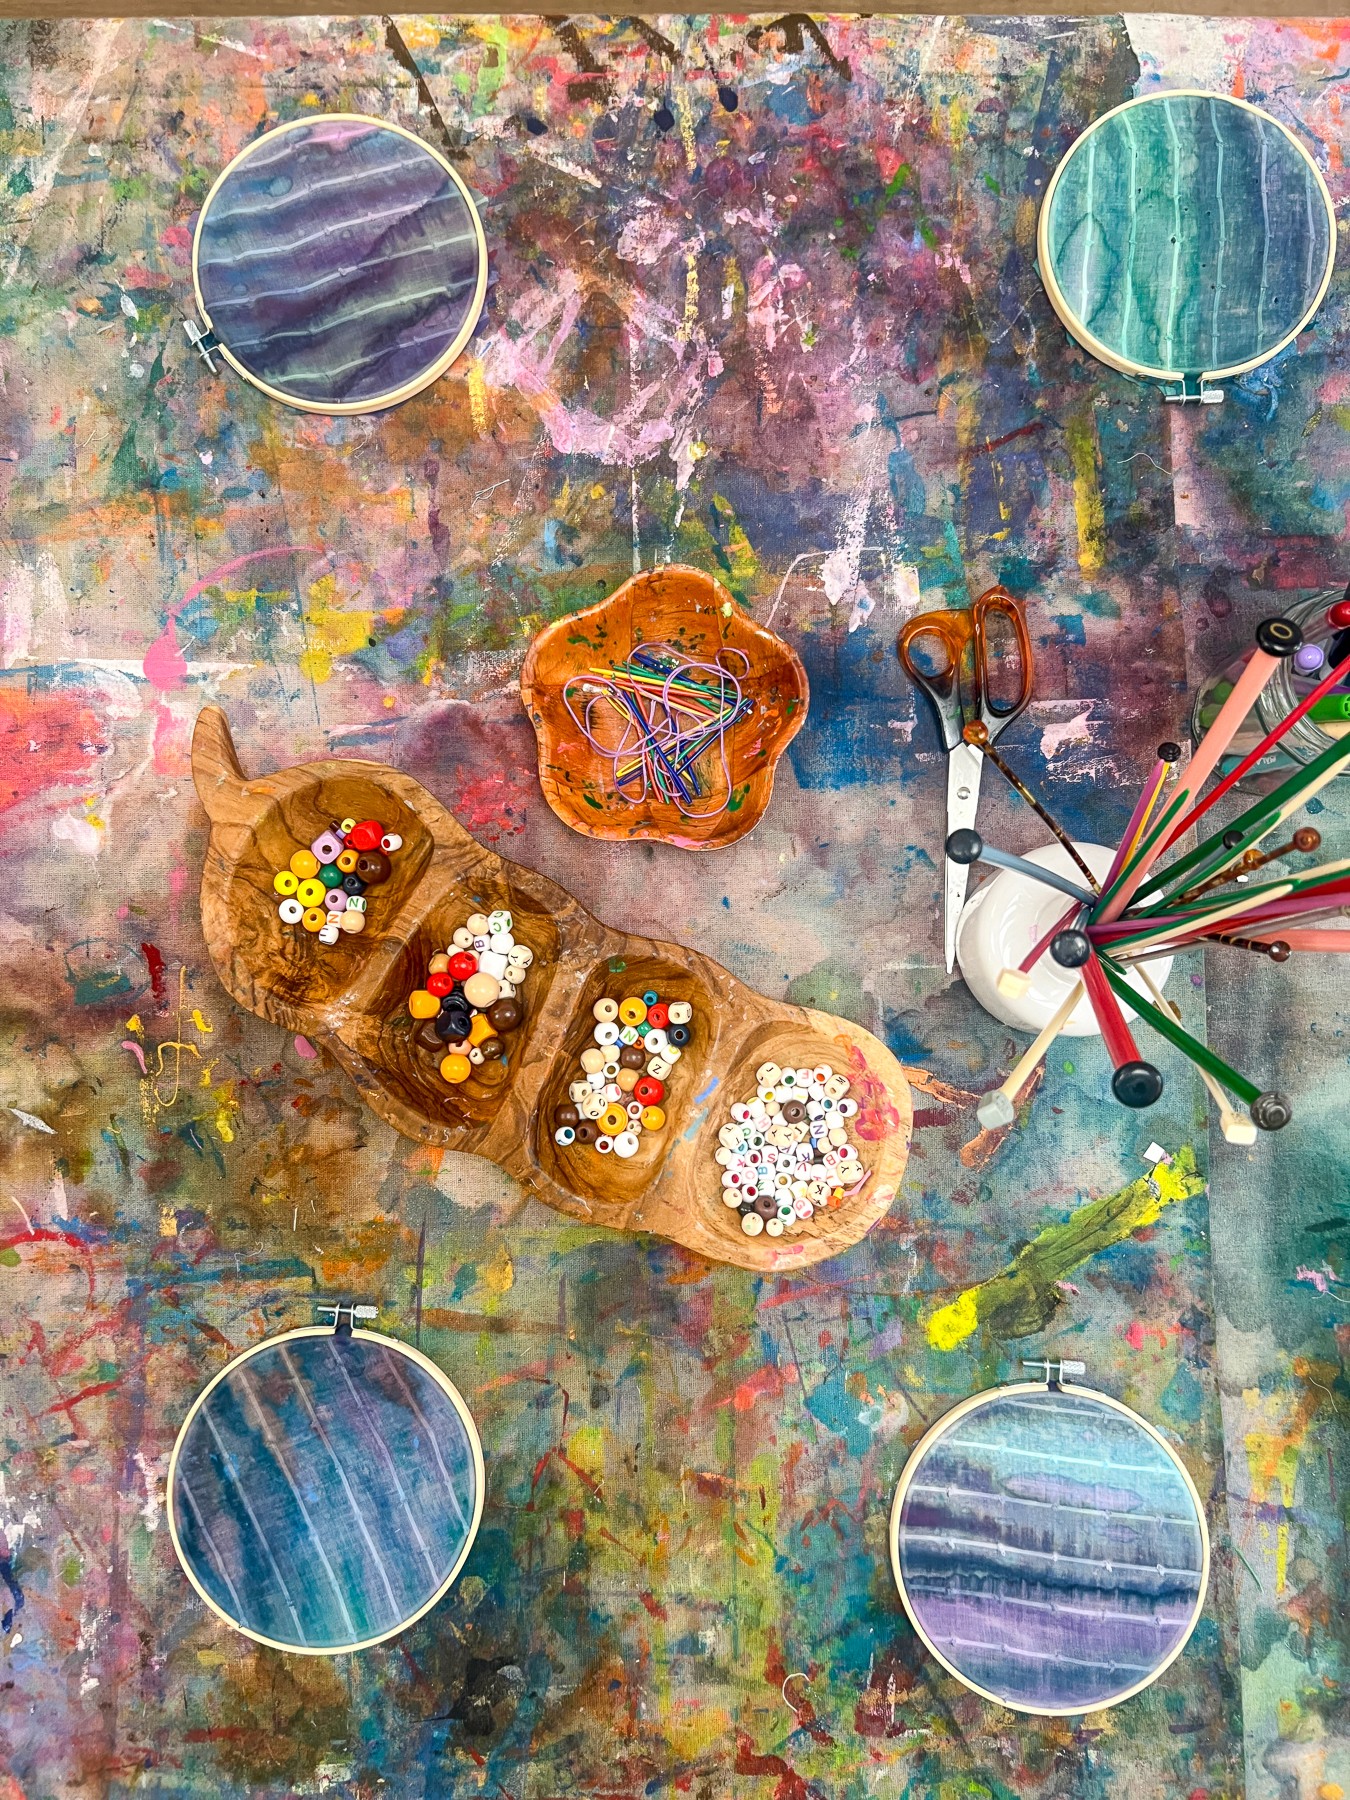
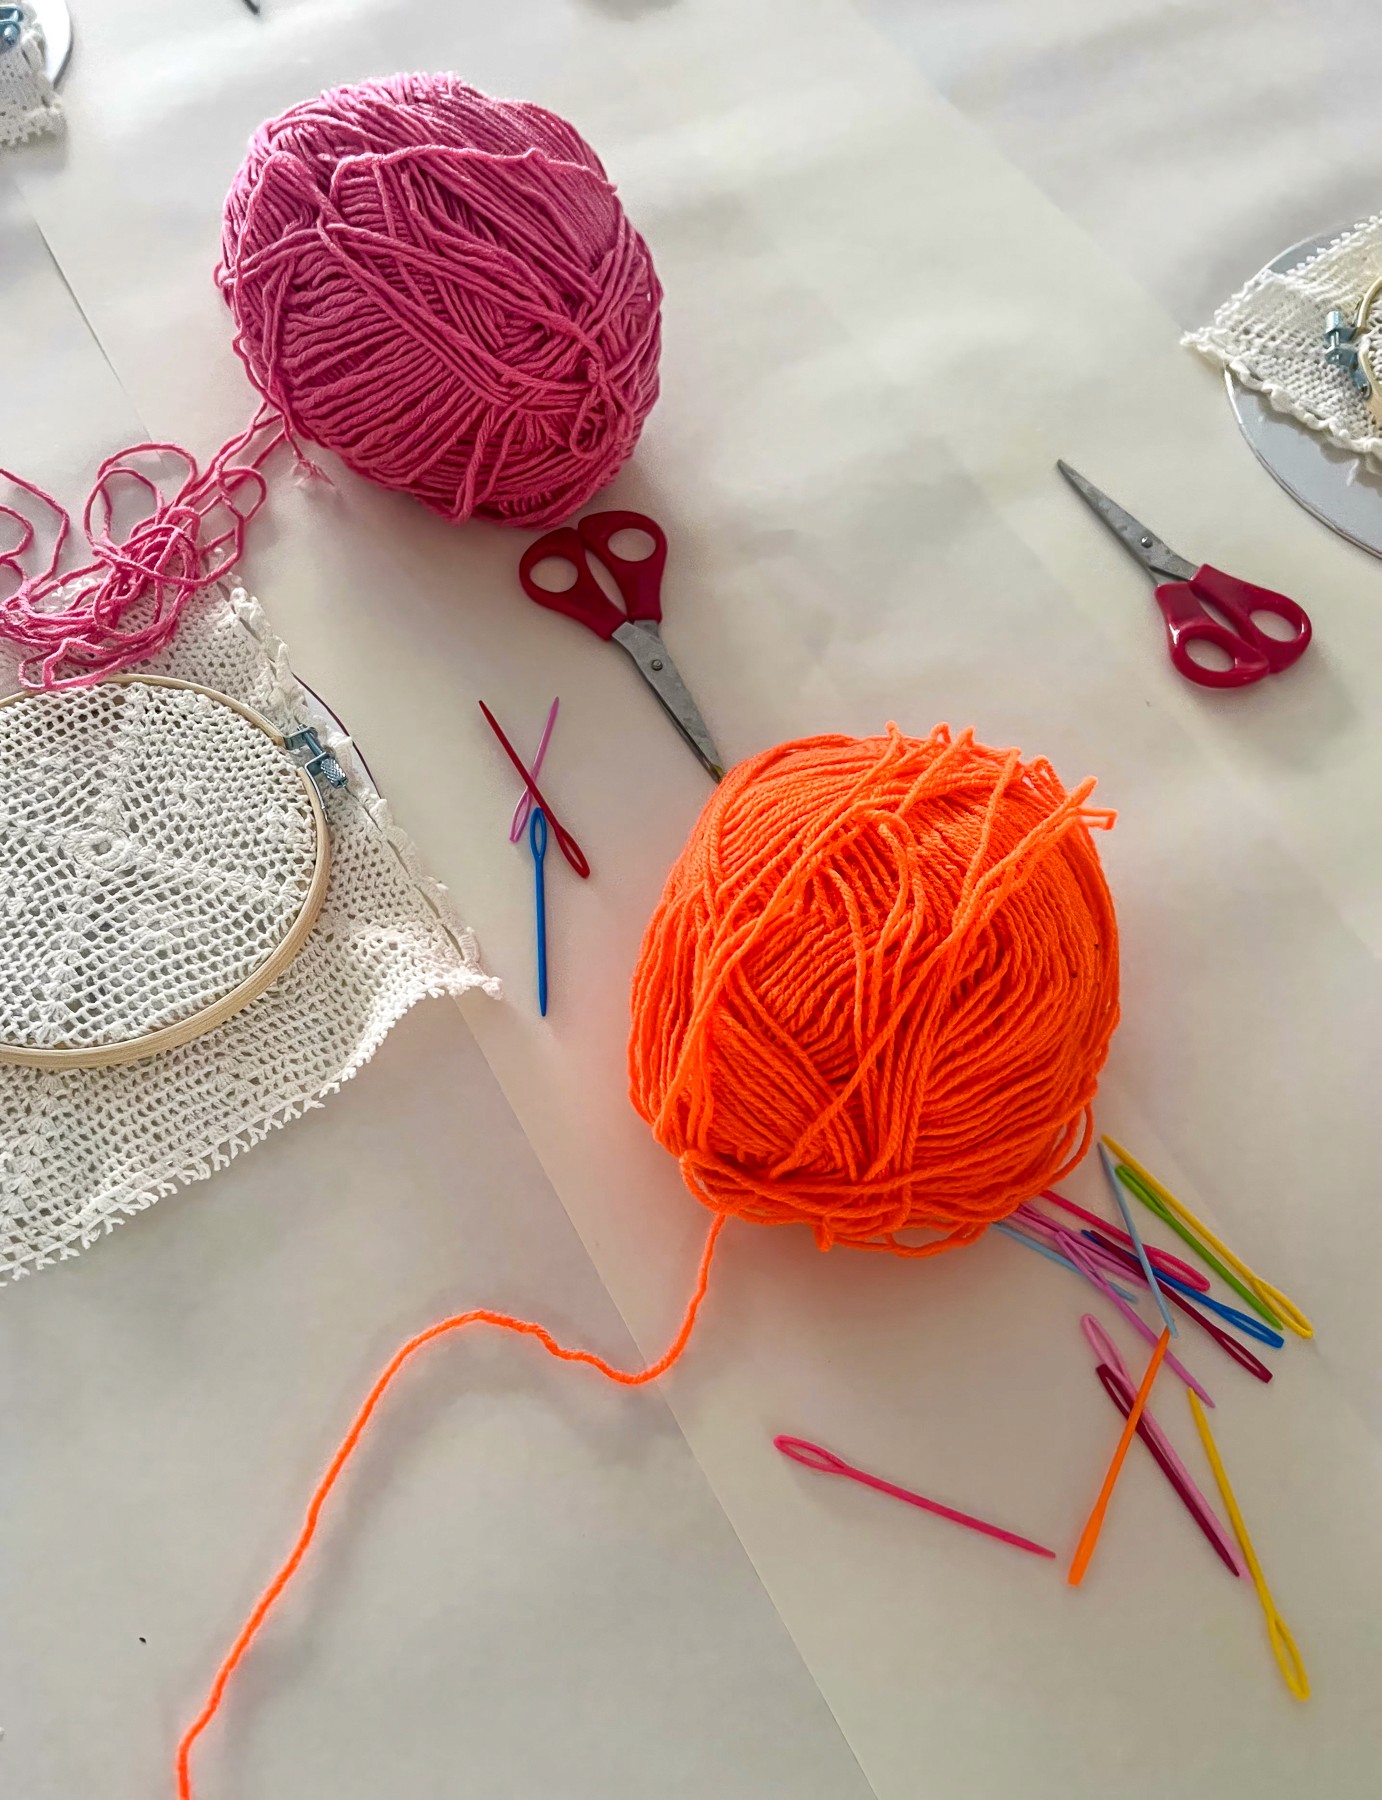
Lay out pre-threaded needles (plastic for beginners, blunt metal tapestry needles for confident hands), embroidery threads in a mix of bright and soft tones, and a small tray of beads. Make sure the beads have holes big enough for the needle head. Shorter thread lengths are best for kids because long ones tangle fast. A handful of hoops, a pair of scissors, and you’re ready!
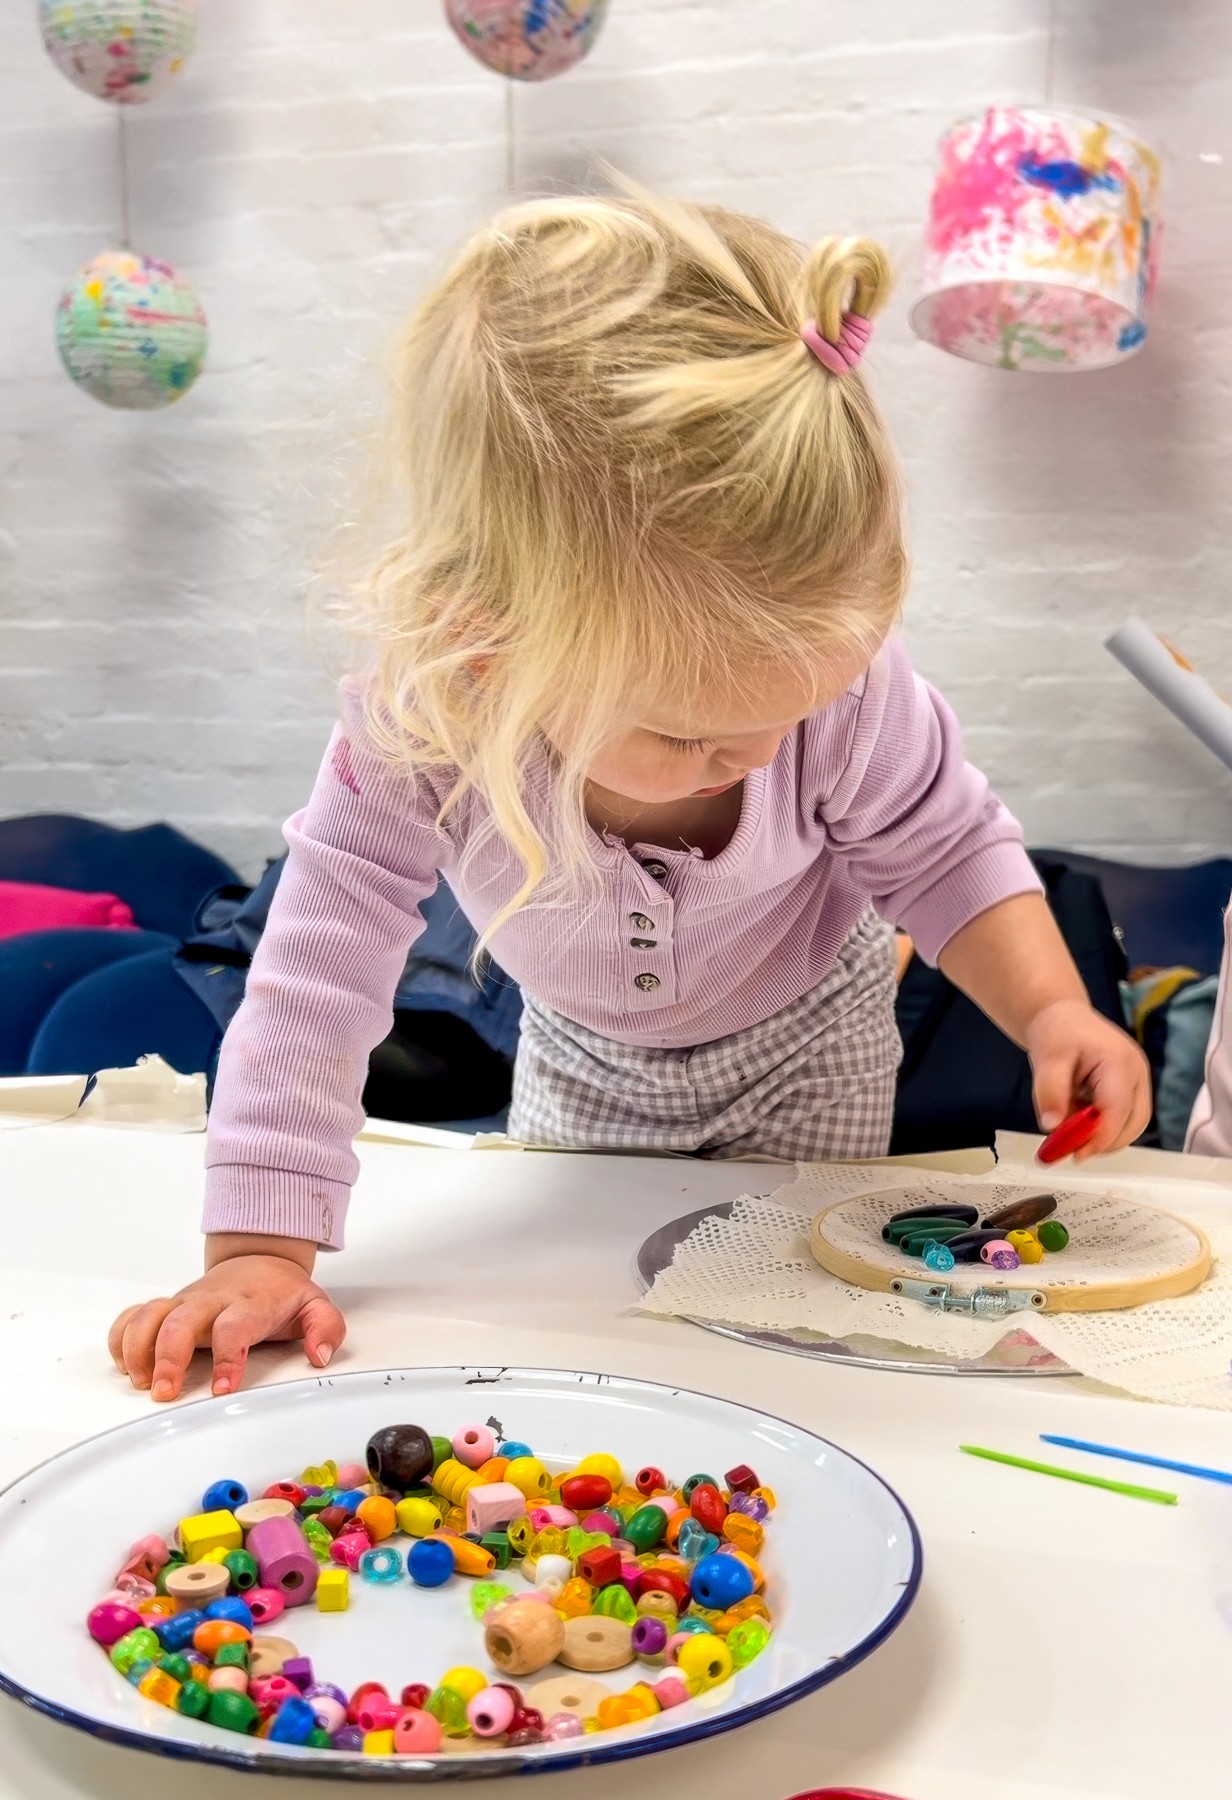
The Making
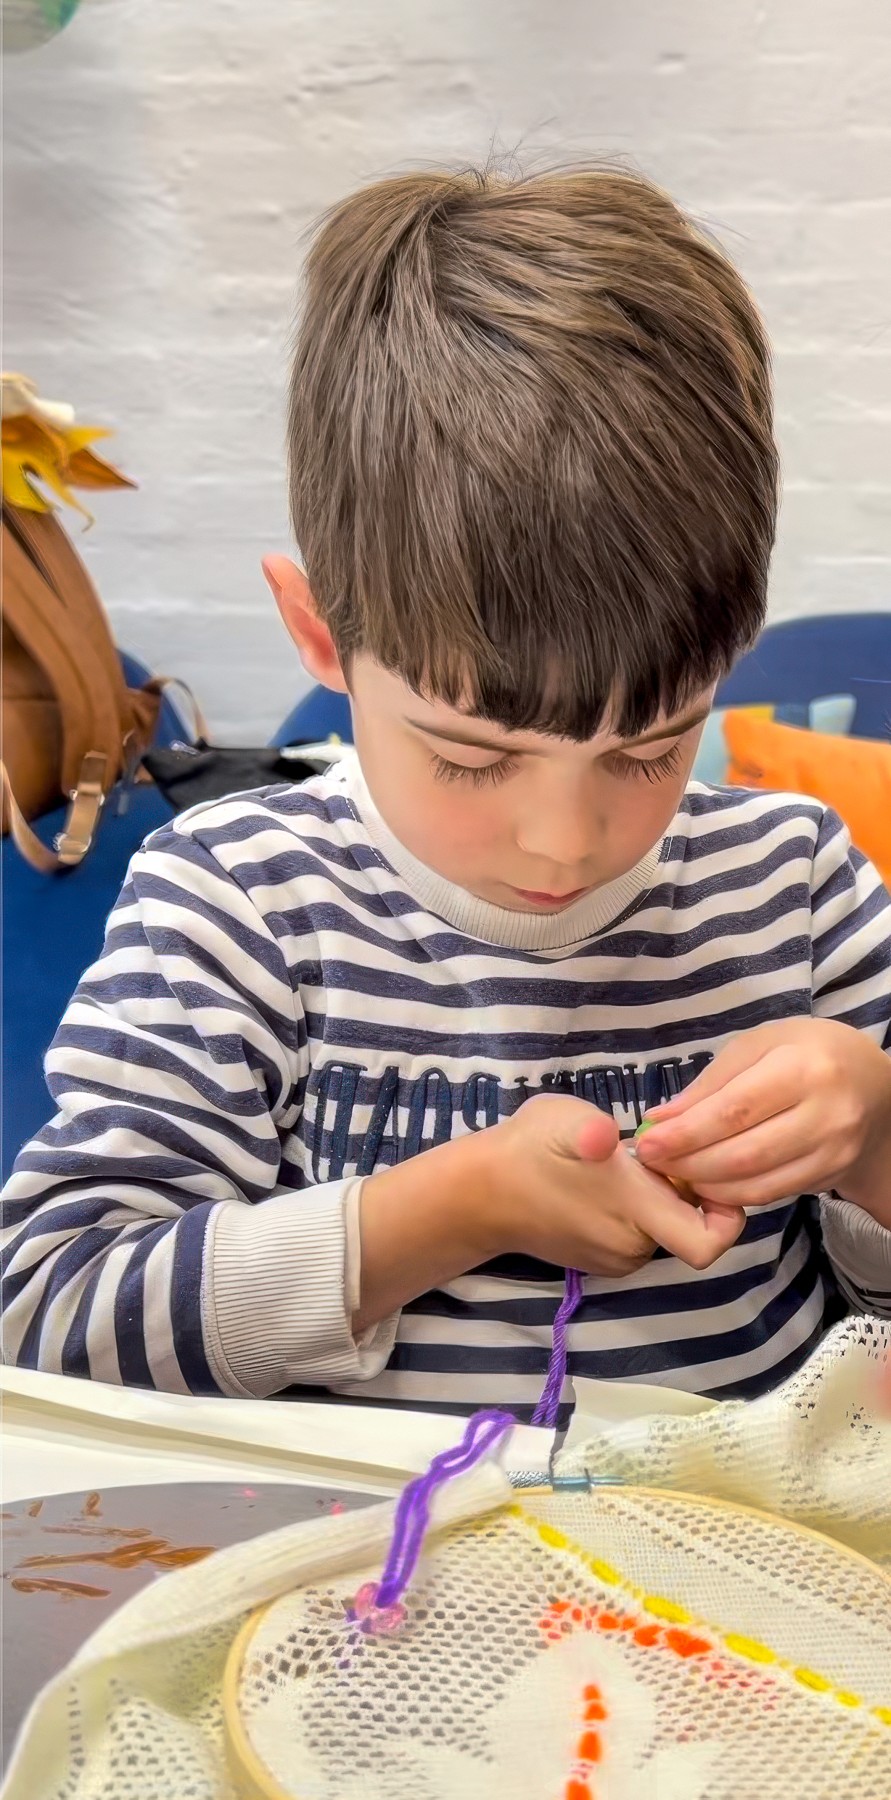
There is something grounding about sewing. Kids settle into it almost instantly. They find their own pace, their own rhythm. Encourage them to flip the hoop every few stitches to check for loops or tangles. It helps them feel in control of the process instead of getting stuck with a giant knot at the back.
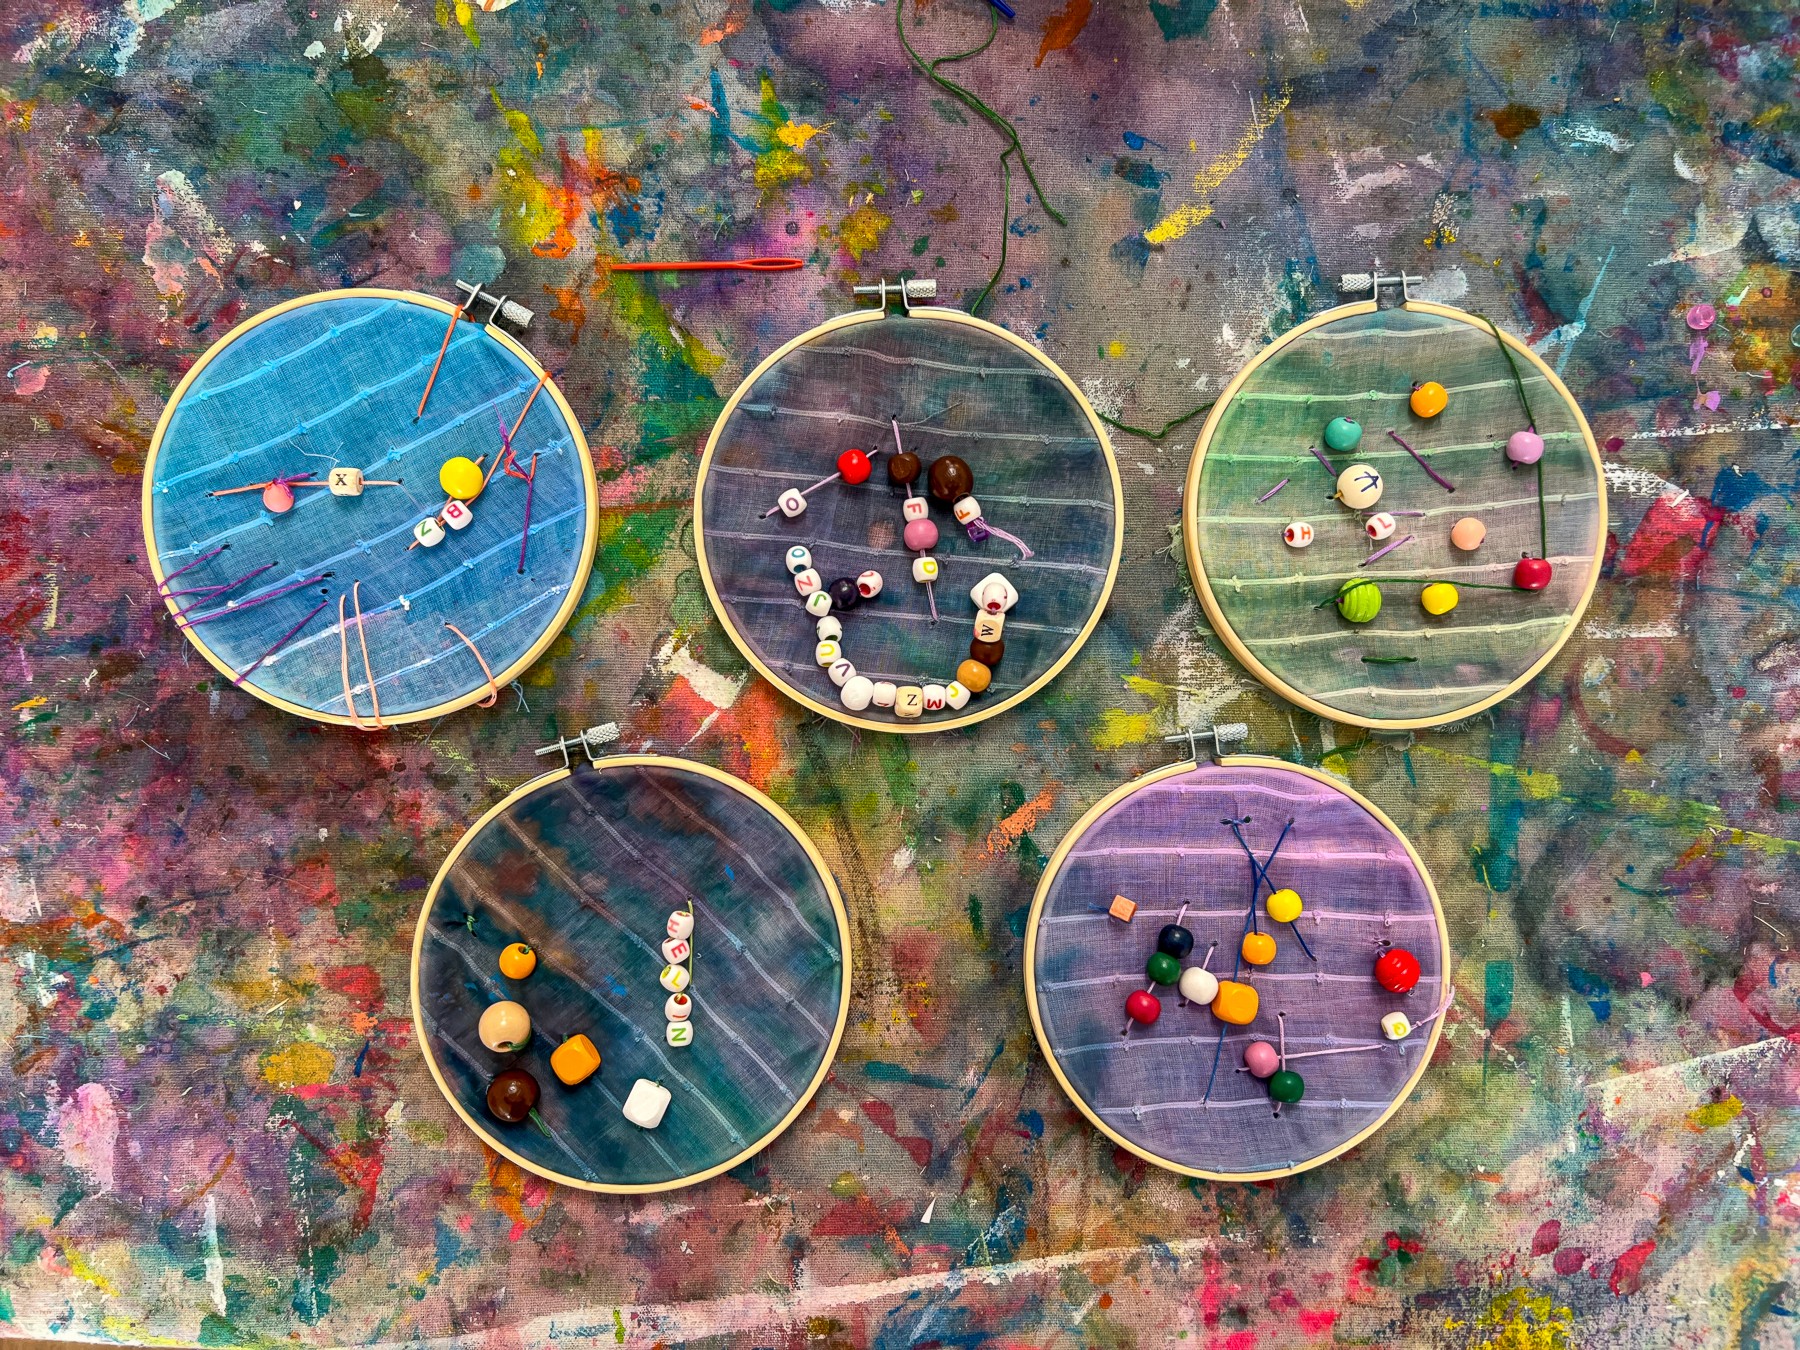
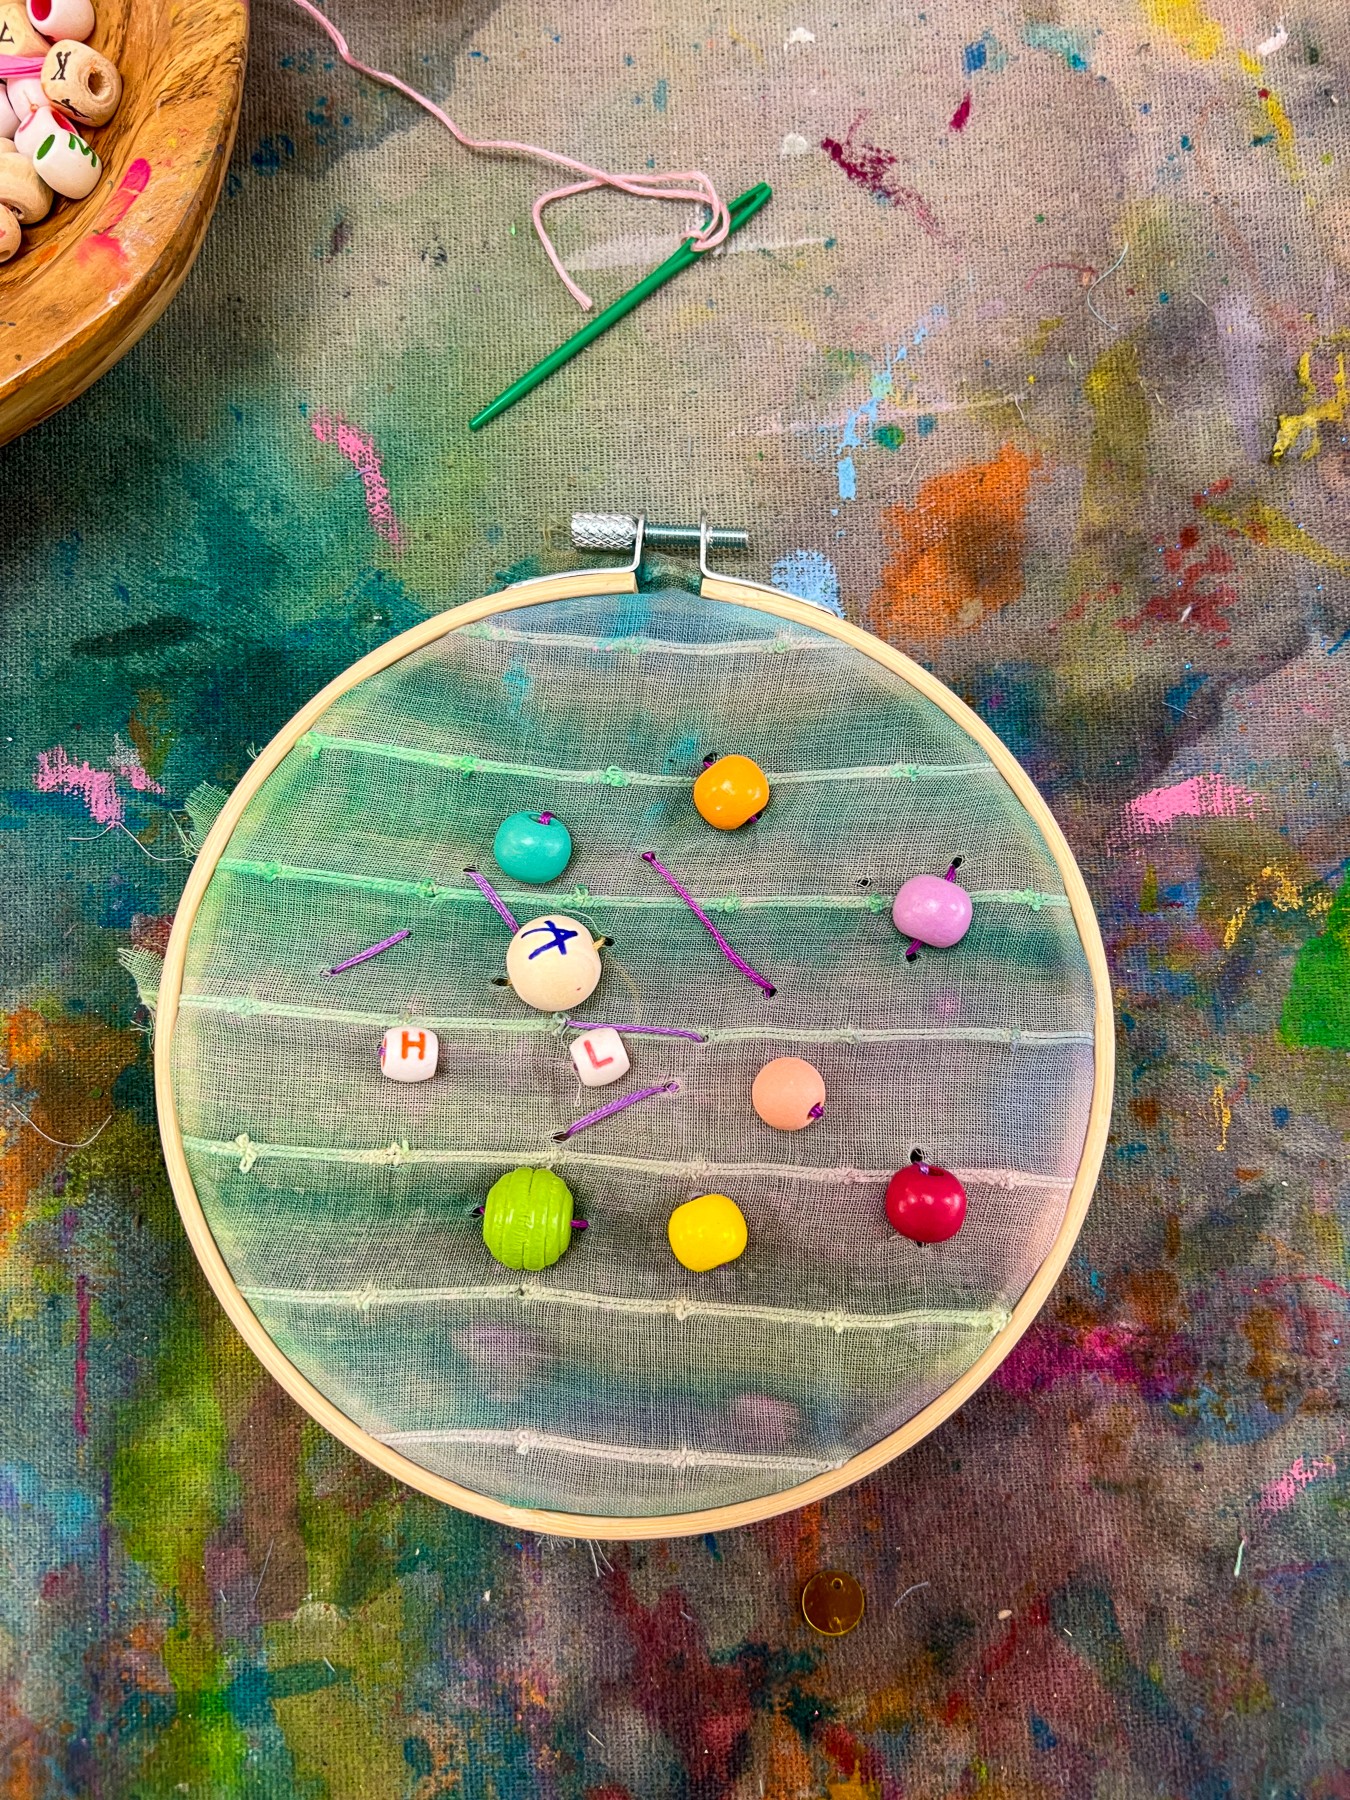
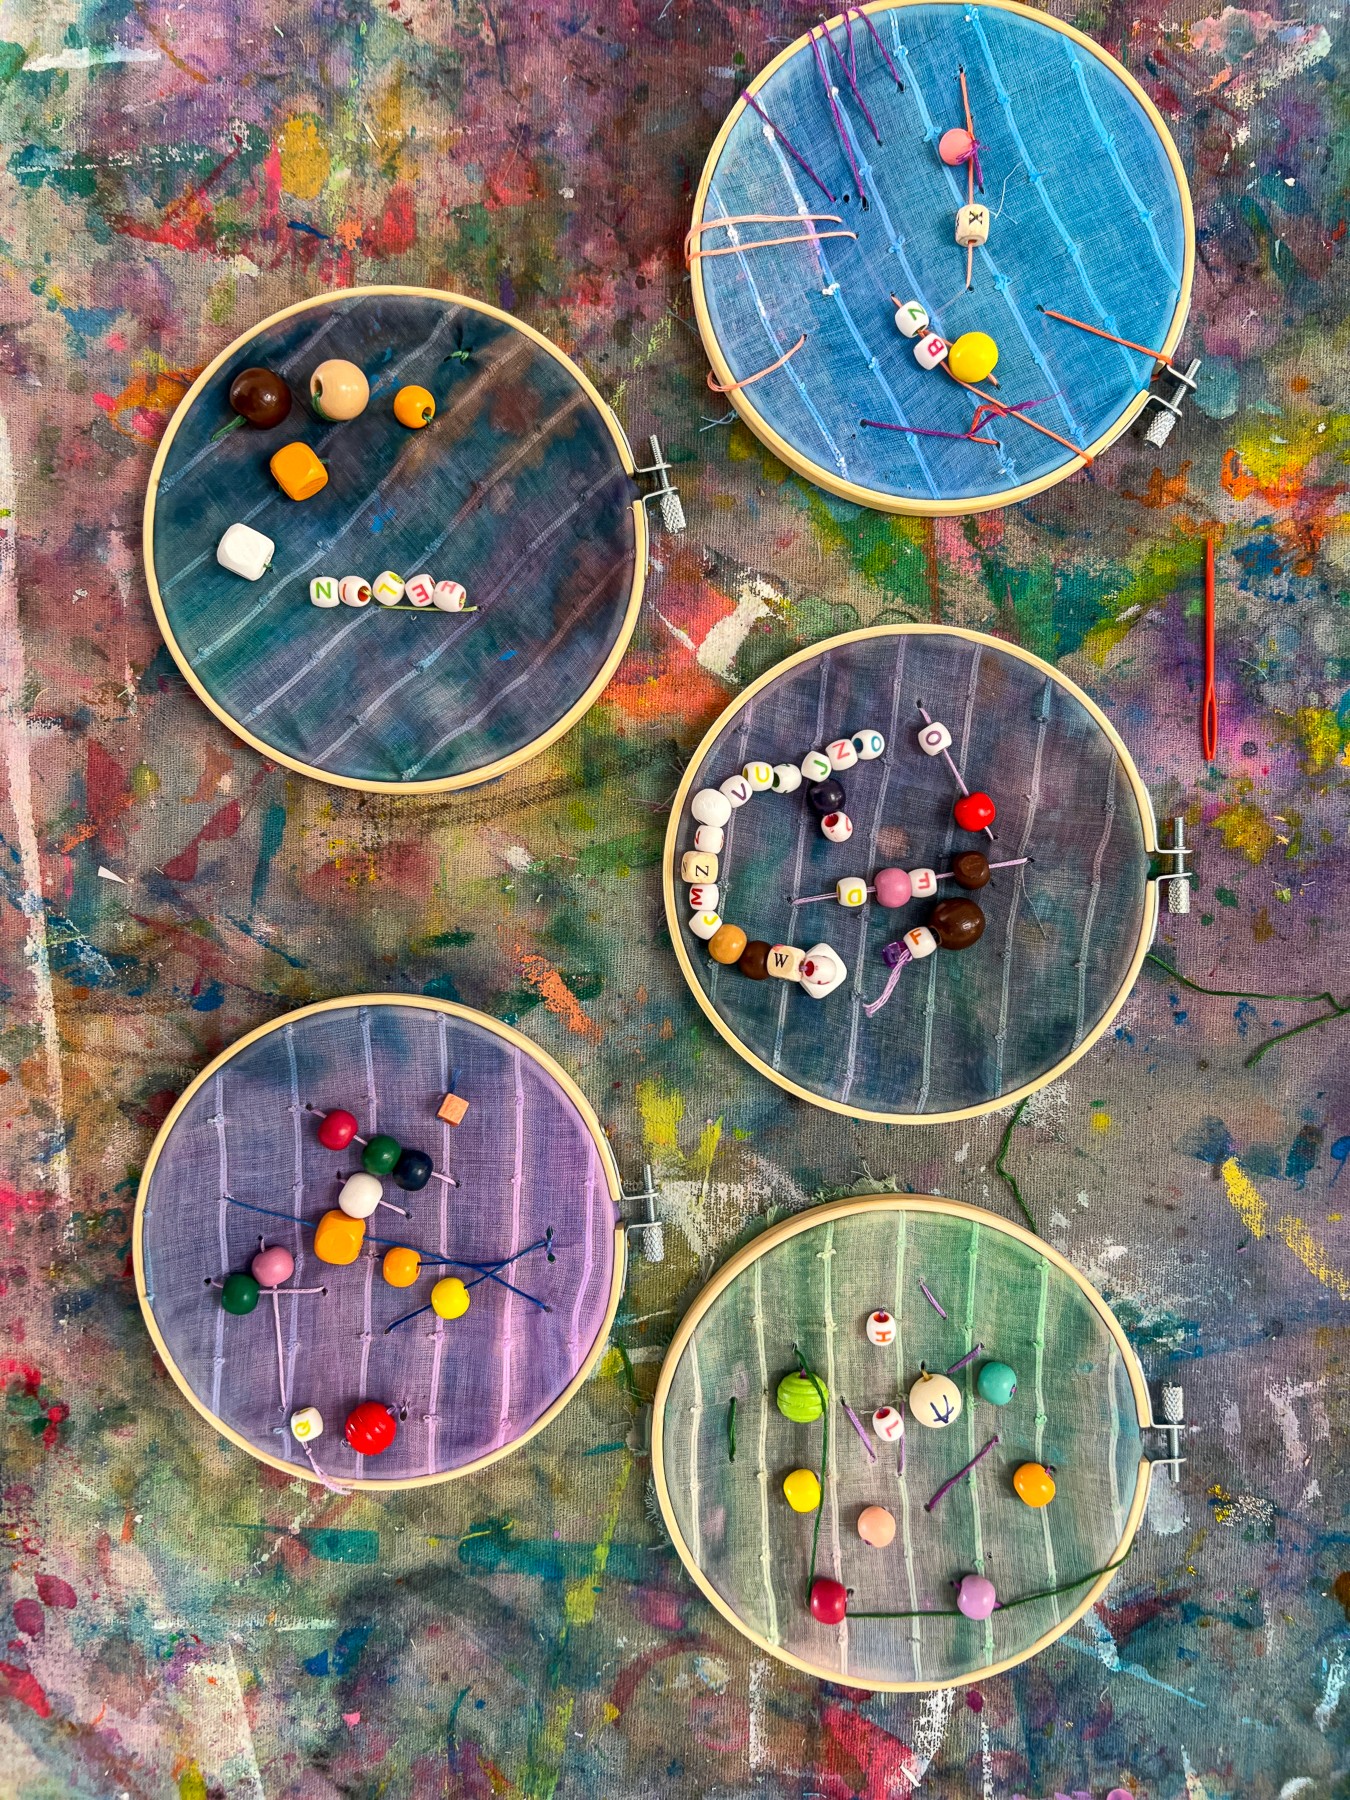
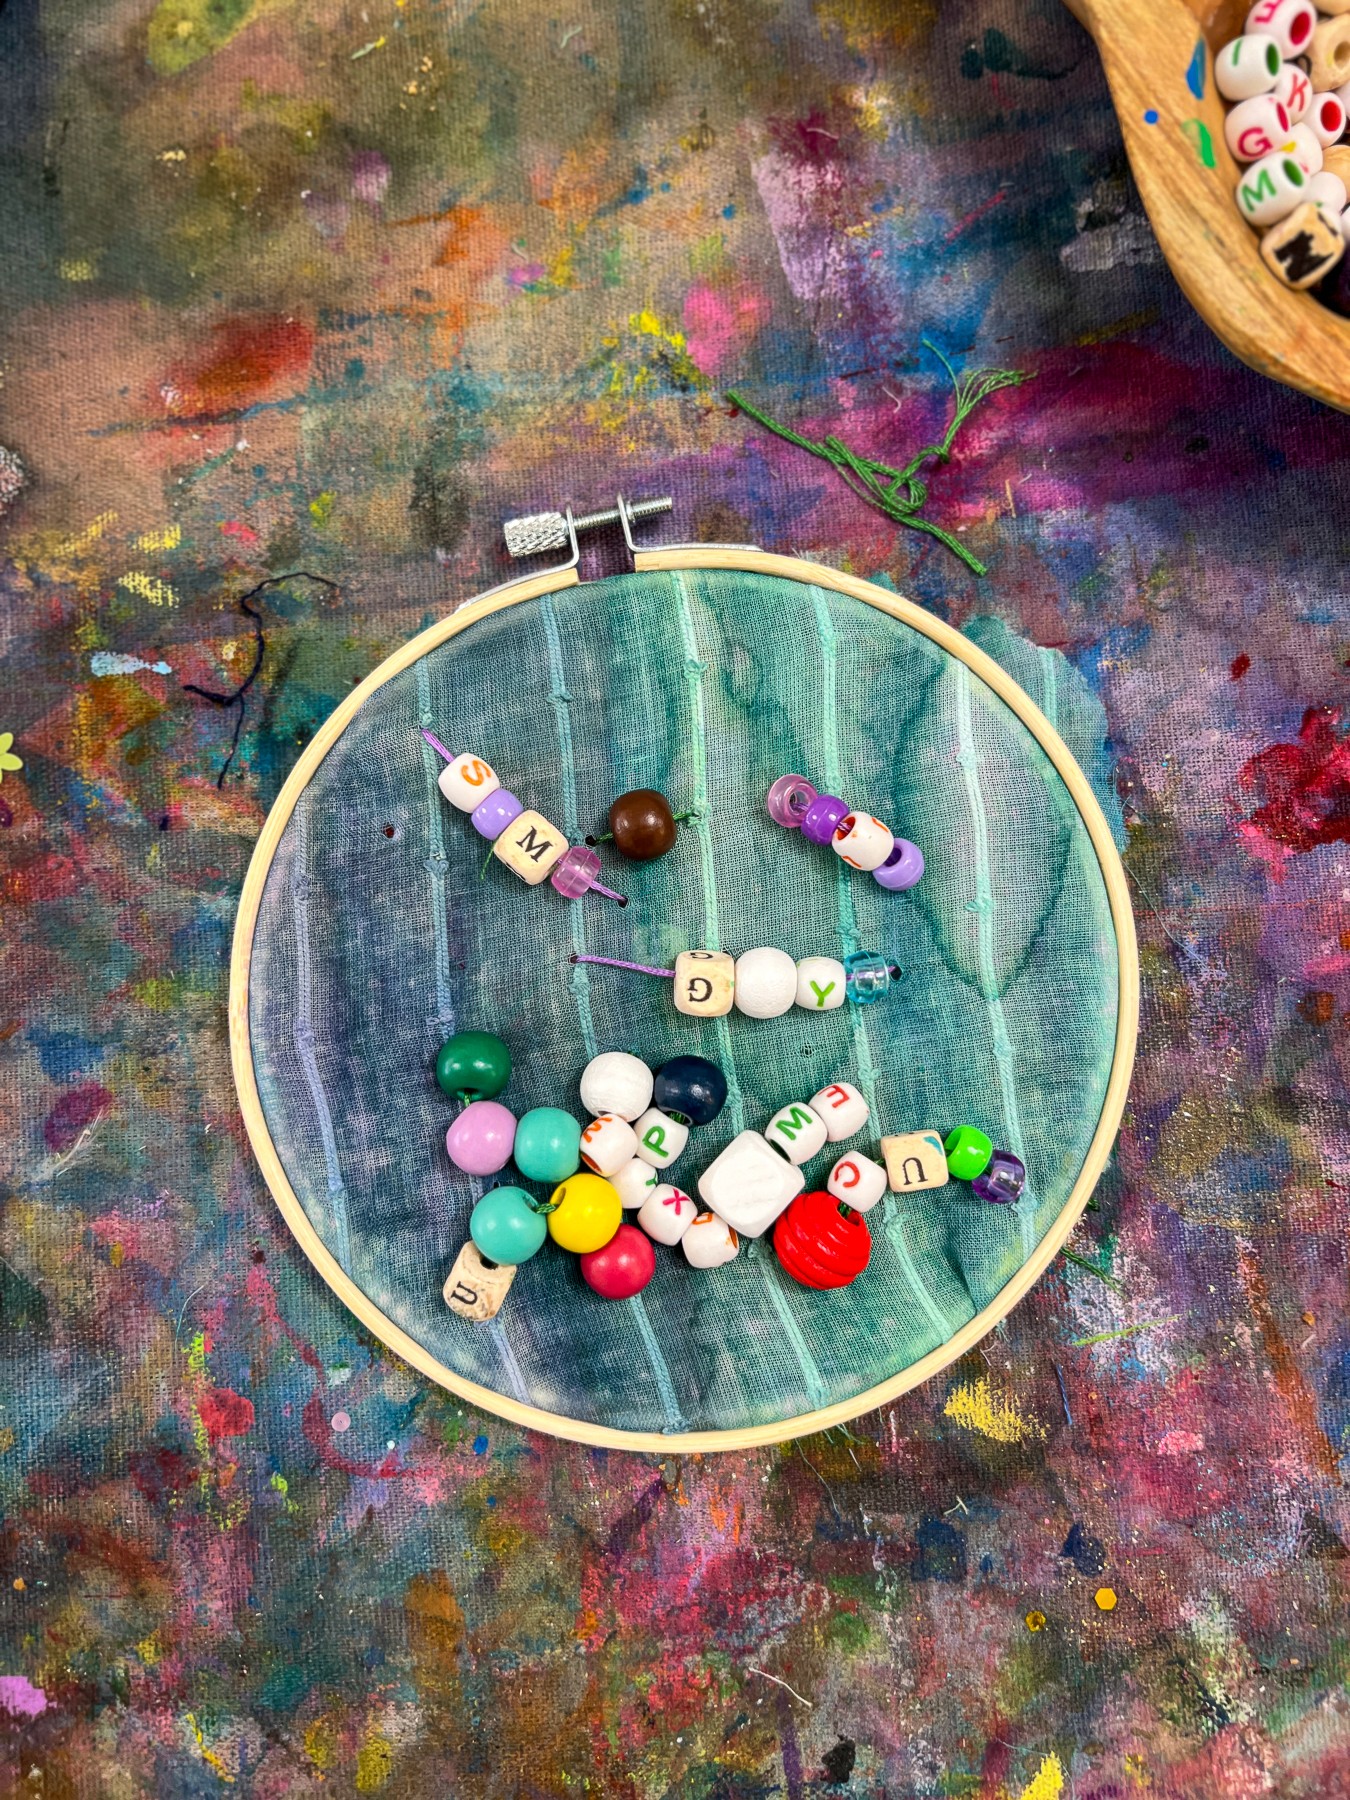
Guide them to explore: straight lines, clusters of tiny stitches, loops, little zigzags, even rows of beads if they feel brave. You can invite them to try contrast too. Thick thread against thin thread. Bright colours paired with quiet ones. A handful of stitches that wander across the fabric or gather in a little burst of texture.
Smudge Tips to weave in as needed:
1. Pre-thread needles in advance
Game changer for younger makers. Have a little tray of pre-threaded needles with different colours so they can start immediately.
2. Anchor the thread so it won’t slip out
Tie a slightly larger knot at the end of the thread than you think you need. Kids pull with enthusiasm and tiny knots often pop straight through the weave.
3. Trim the thread shorter than adult length
Long threads tangle quickly. Thirty centimetres (ish) is perfect. Less frustration, more success.
4. Use fabric that’s already “punched”
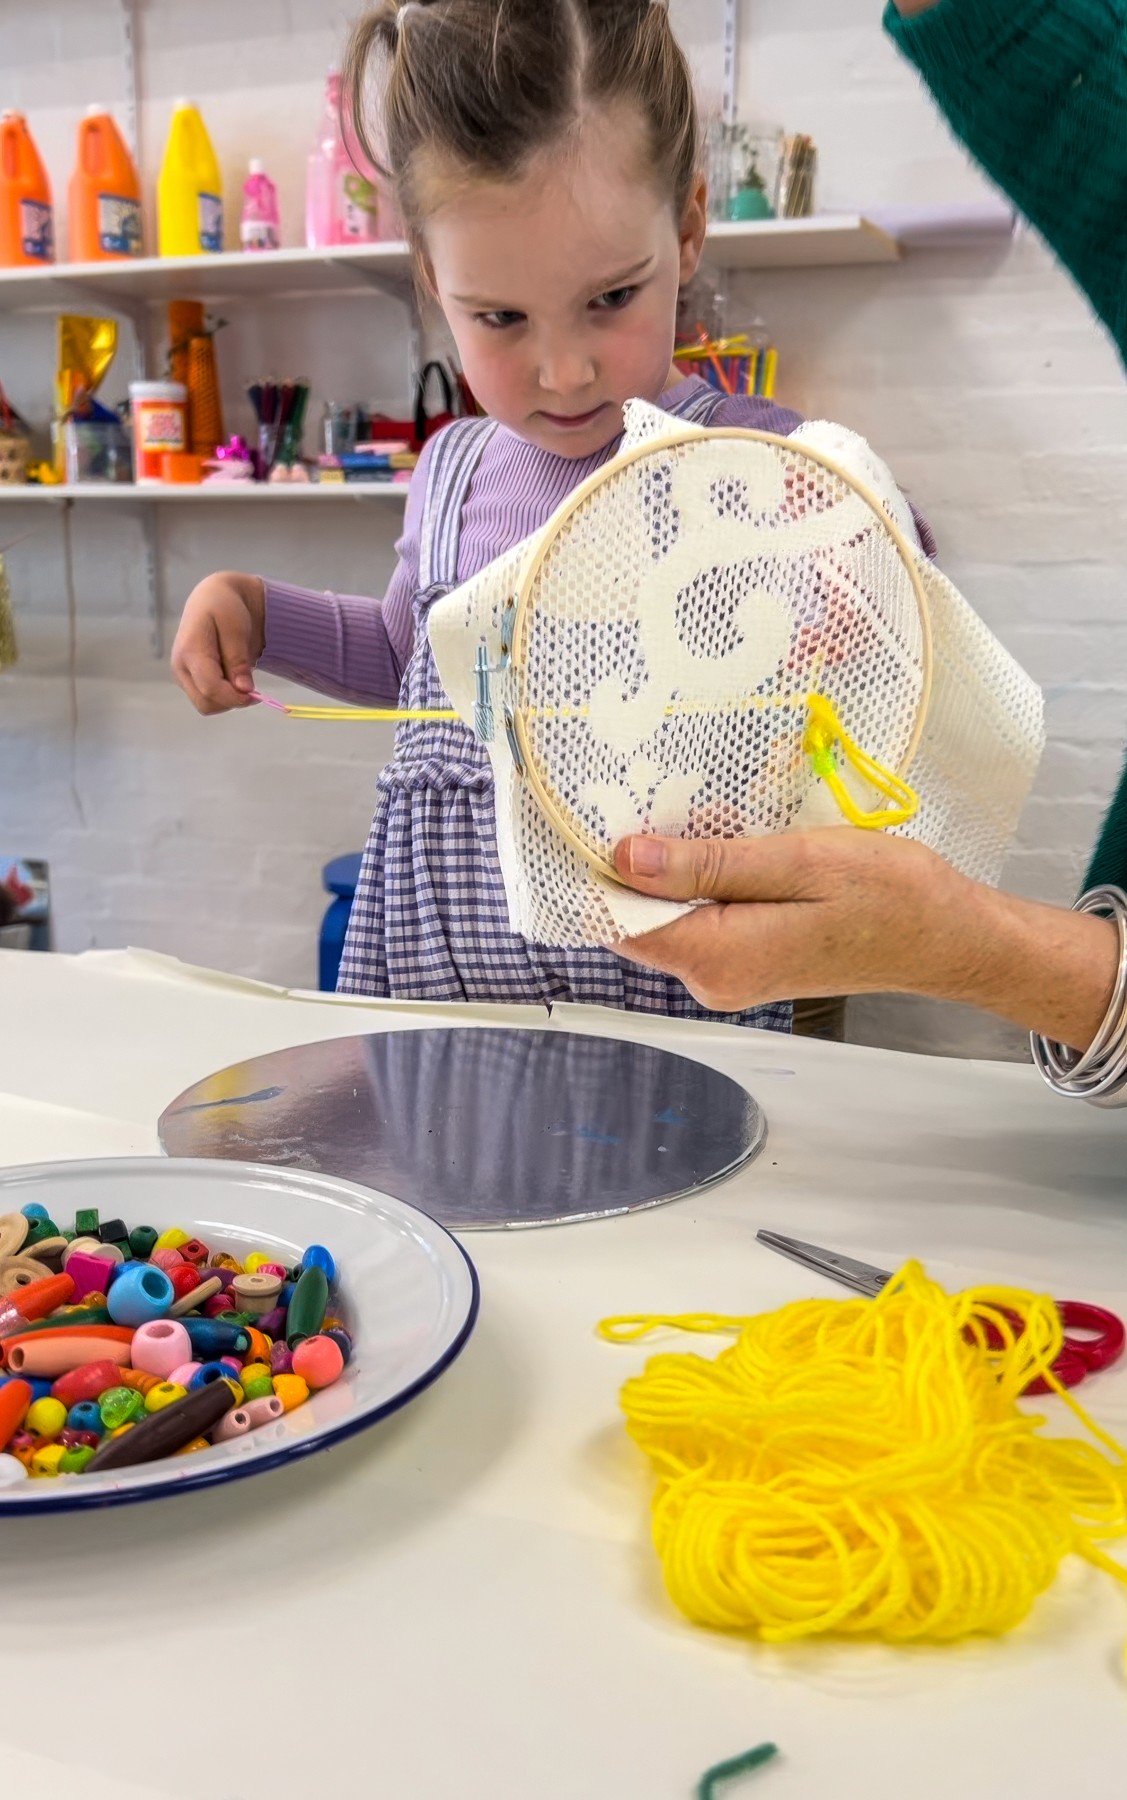
Lace, mesh, or loosely woven cotton gives them instant wins because the needle glides through. It’s especially good for first-timers.
5. Hold the hoop steady for the first few stitches
Those first three stitches are the learning moment. After that, most kids settle straight into it.
6. Teach the “stop and check” habit
Encourage them to flip the hoop every few stitches to check for loops or tangles. It saves the dreaded giant knot on the back.
7. Swap needles if needed
Plastic needles are great for safety, but metal tapestry needles (blunt tip) with a big eye glide through fabric much more easily. Great for confident sewers.
8. Let them choose the thread thickness
They naturally experiment. Single strand, double strand, chunky yarn. All give different effects and help them understand texture.
Materials
Embroidery hoops
Thin cotton, calico, lace or pre-painted fabric
Plastic or blunt metal tapestry needles
Embroidery threads
Fabric scissors
Beads with large holes
Optional: fabric markers, sequins or tiny loose parts for embellishing
Back to Top
Embroidery Hoop Sewing
Threads and Textures
Bookmark
Sculpture
The Set Up
Embroidery hoops are brilliant for kids because they hold the fabric tight, which means far less frustration and far more flow. Choose thin cotton, calico, or any light fabric they can sew through with ease. Sprayed or painted fabric from past projects works beautifully too. Lace and old doilies from op shops are magic because the holes are already there waiting for thread.
Lay out pre-threaded needles (plastic for beginners, blunt metal tapestry needles for confident hands), embroidery threads in a mix of bright and soft tones, and a small tray of beads. Make sure the beads have holes big enough for the needle head. Shorter thread lengths are best for kids because long ones tangle fast. A handful of hoops, a pair of scissors, and you’re ready!
The Making
There is something grounding about sewing. Kids settle into it almost instantly. They find their own pace, their own rhythm. Encourage them to flip the hoop every few stitches to check for loops or tangles. It helps them feel in control of the process instead of getting stuck with a giant knot at the back.
Guide them to explore: straight lines, clusters of tiny stitches, loops, little zigzags, even rows of beads if they feel brave. You can invite them to try contrast too. Thick thread against thin thread. Bright colours paired with quiet ones. A handful of stitches that wander across the fabric or gather in a little burst of texture.
Smudge Tips to weave in as needed:
1. Pre-thread needles in advance
Game changer for younger makers. Have a little tray of pre-threaded needles with different colours so they can start immediately.
2. Anchor the thread so it won’t slip out
Tie a slightly larger knot at the end of the thread than you think you need. Kids pull with enthusiasm and tiny knots often pop straight through the weave.
3. Trim the thread shorter than adult length
Long threads tangle quickly. Thirty centimetres (ish) is perfect. Less frustration, more success.
4. Use fabric that’s already “punched”
Lace, mesh, or loosely woven cotton gives them instant wins because the needle glides through. It’s especially good for first-timers.
5. Hold the hoop steady for the first few stitches
Those first three stitches are the learning moment. After that, most kids settle straight into it.
6. Teach the “stop and check” habit
Encourage them to flip the hoop every few stitches to check for loops or tangles. It saves the dreaded giant knot on the back.
7. Swap needles if needed
Plastic needles are great for safety, but metal tapestry needles (blunt tip) with a big eye glide through fabric much more easily. Great for confident sewers.
8. Let them choose the thread thickness
They naturally experiment. Single strand, double strand, chunky yarn. All give different effects and help them understand texture.
Materials
Embroidery hoops
Thin cotton, calico, lace or pre-painted fabric
Plastic or blunt metal tapestry needles
Embroidery threads
Fabric scissors
Beads with large holes
Optional: fabric markers, sequins or tiny loose parts for embellishing
Back to Top
Add this to your favourites
Add this to your favourites
Thoughts?
Would love to hear if youv'e tried this or have any ideas on how to make it even better!
