Explorer Binoculars
Make it, wear it, start exploring!
The Set Up
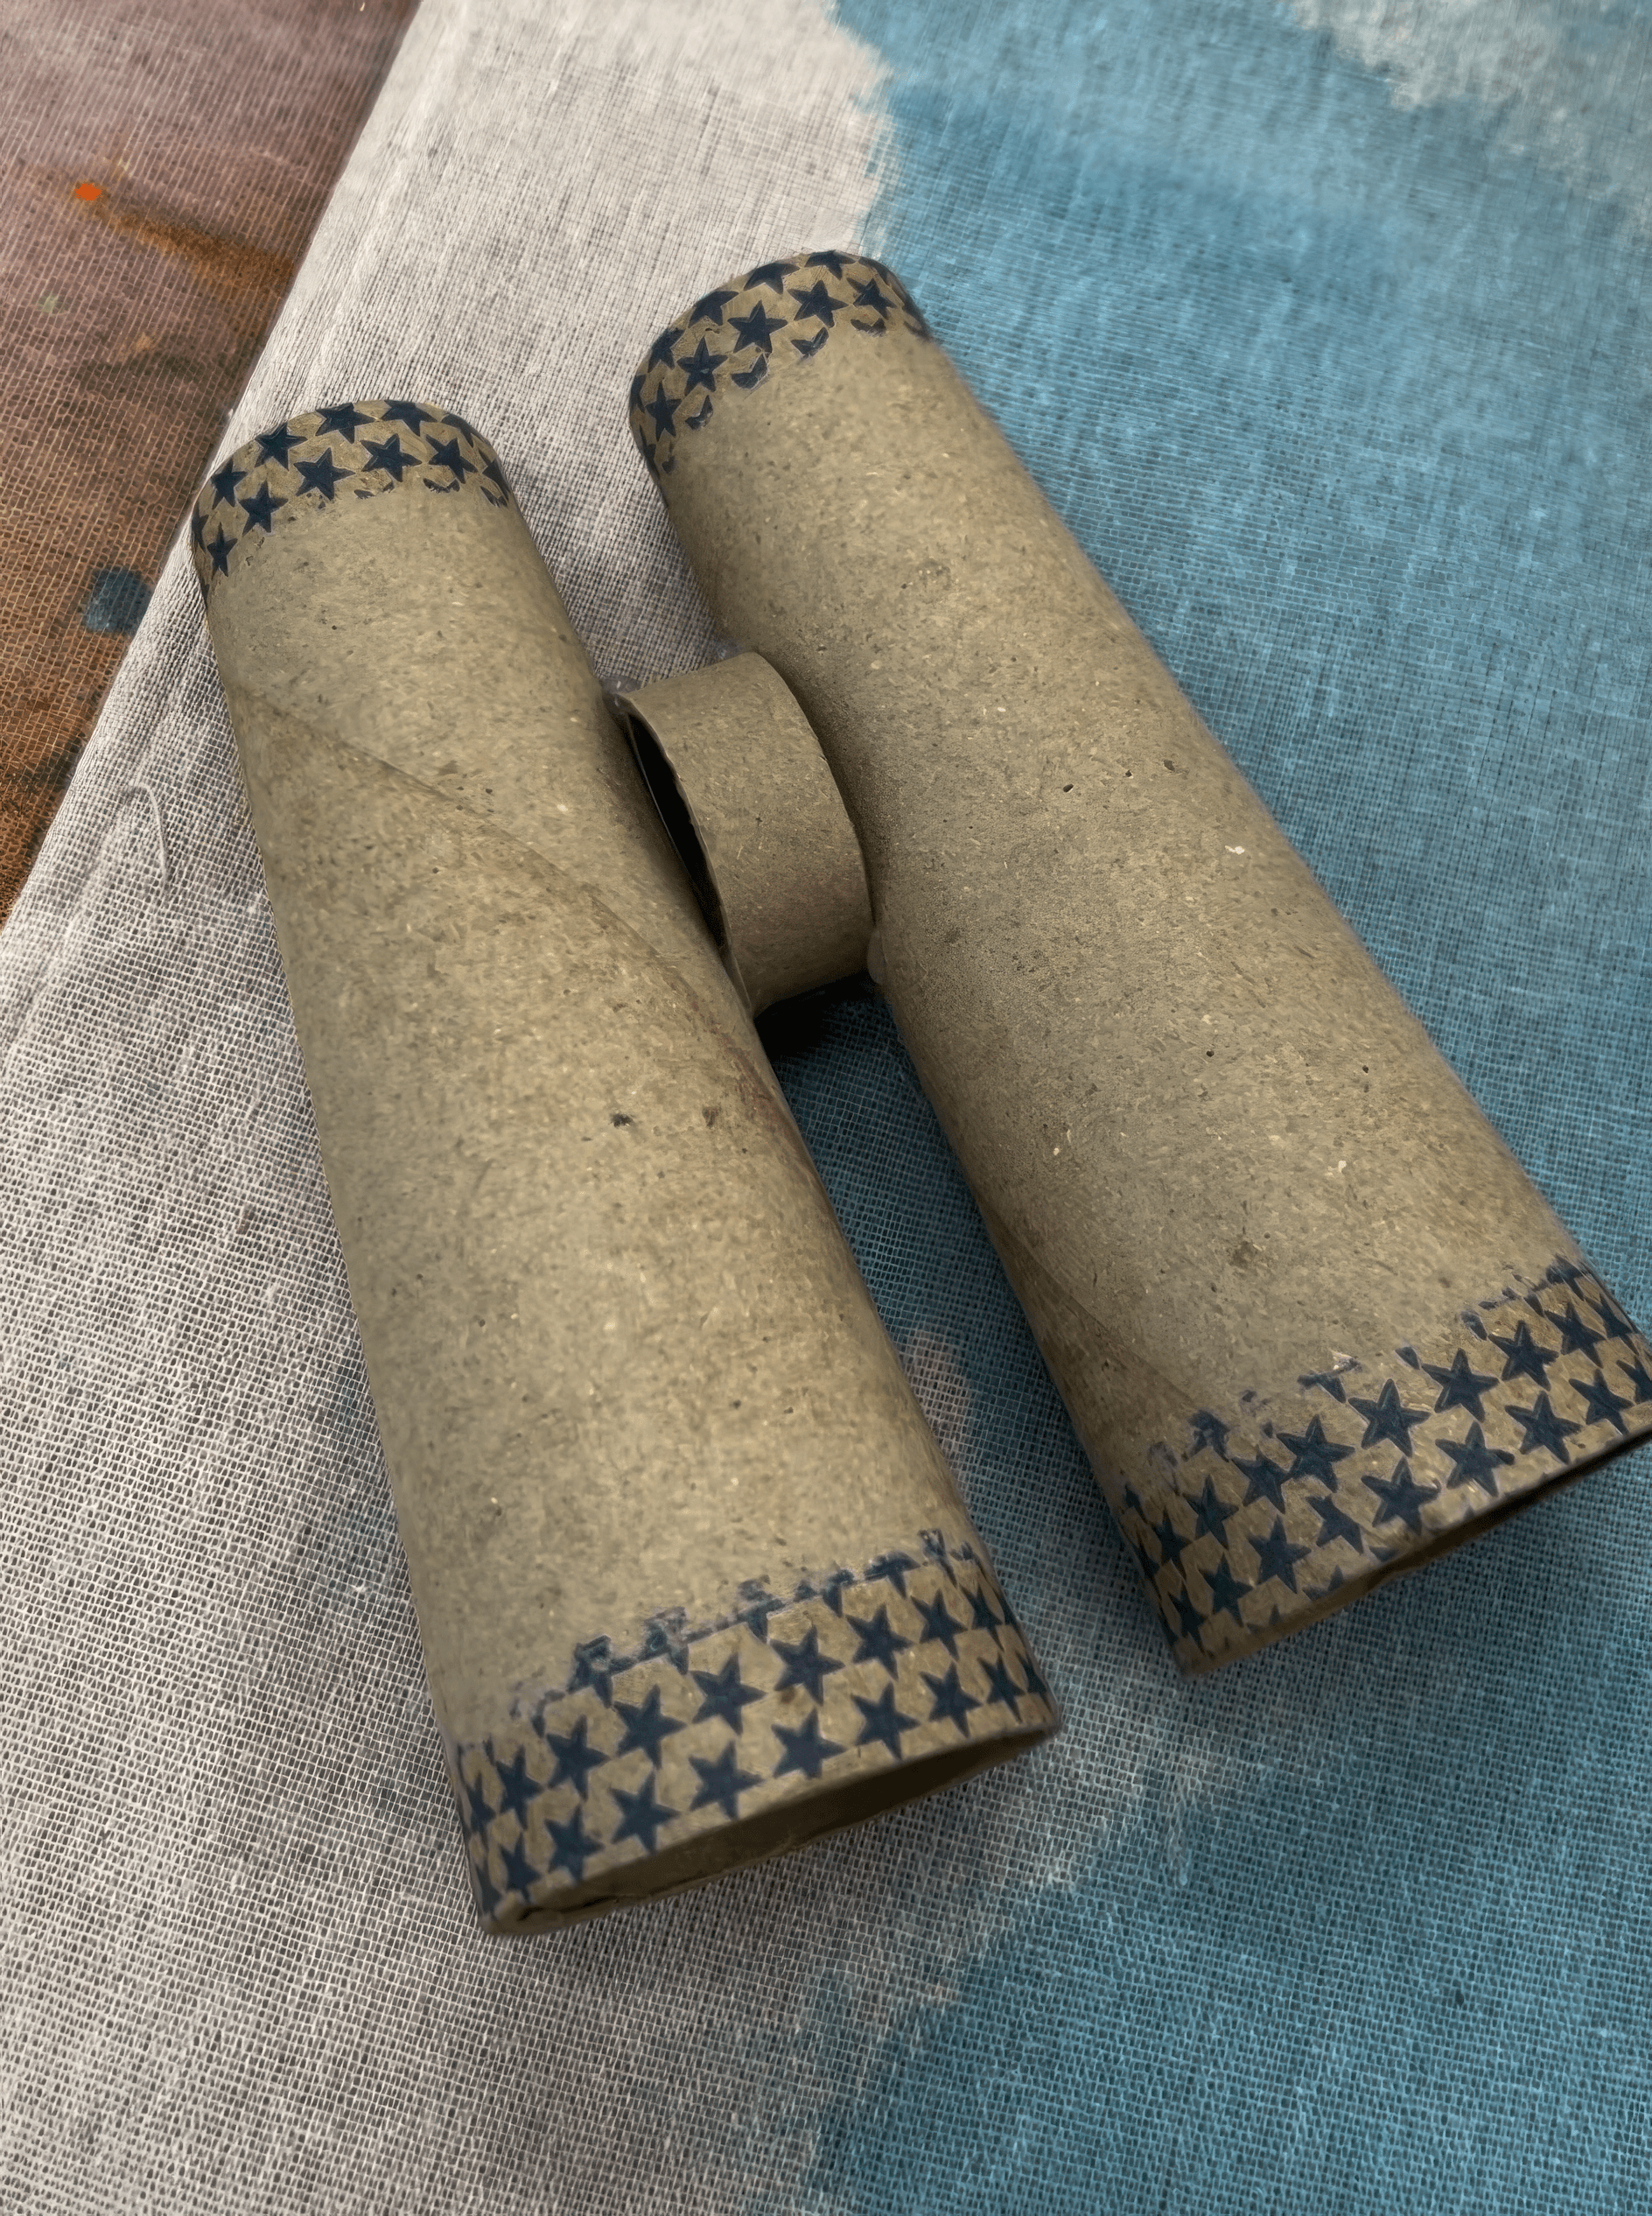
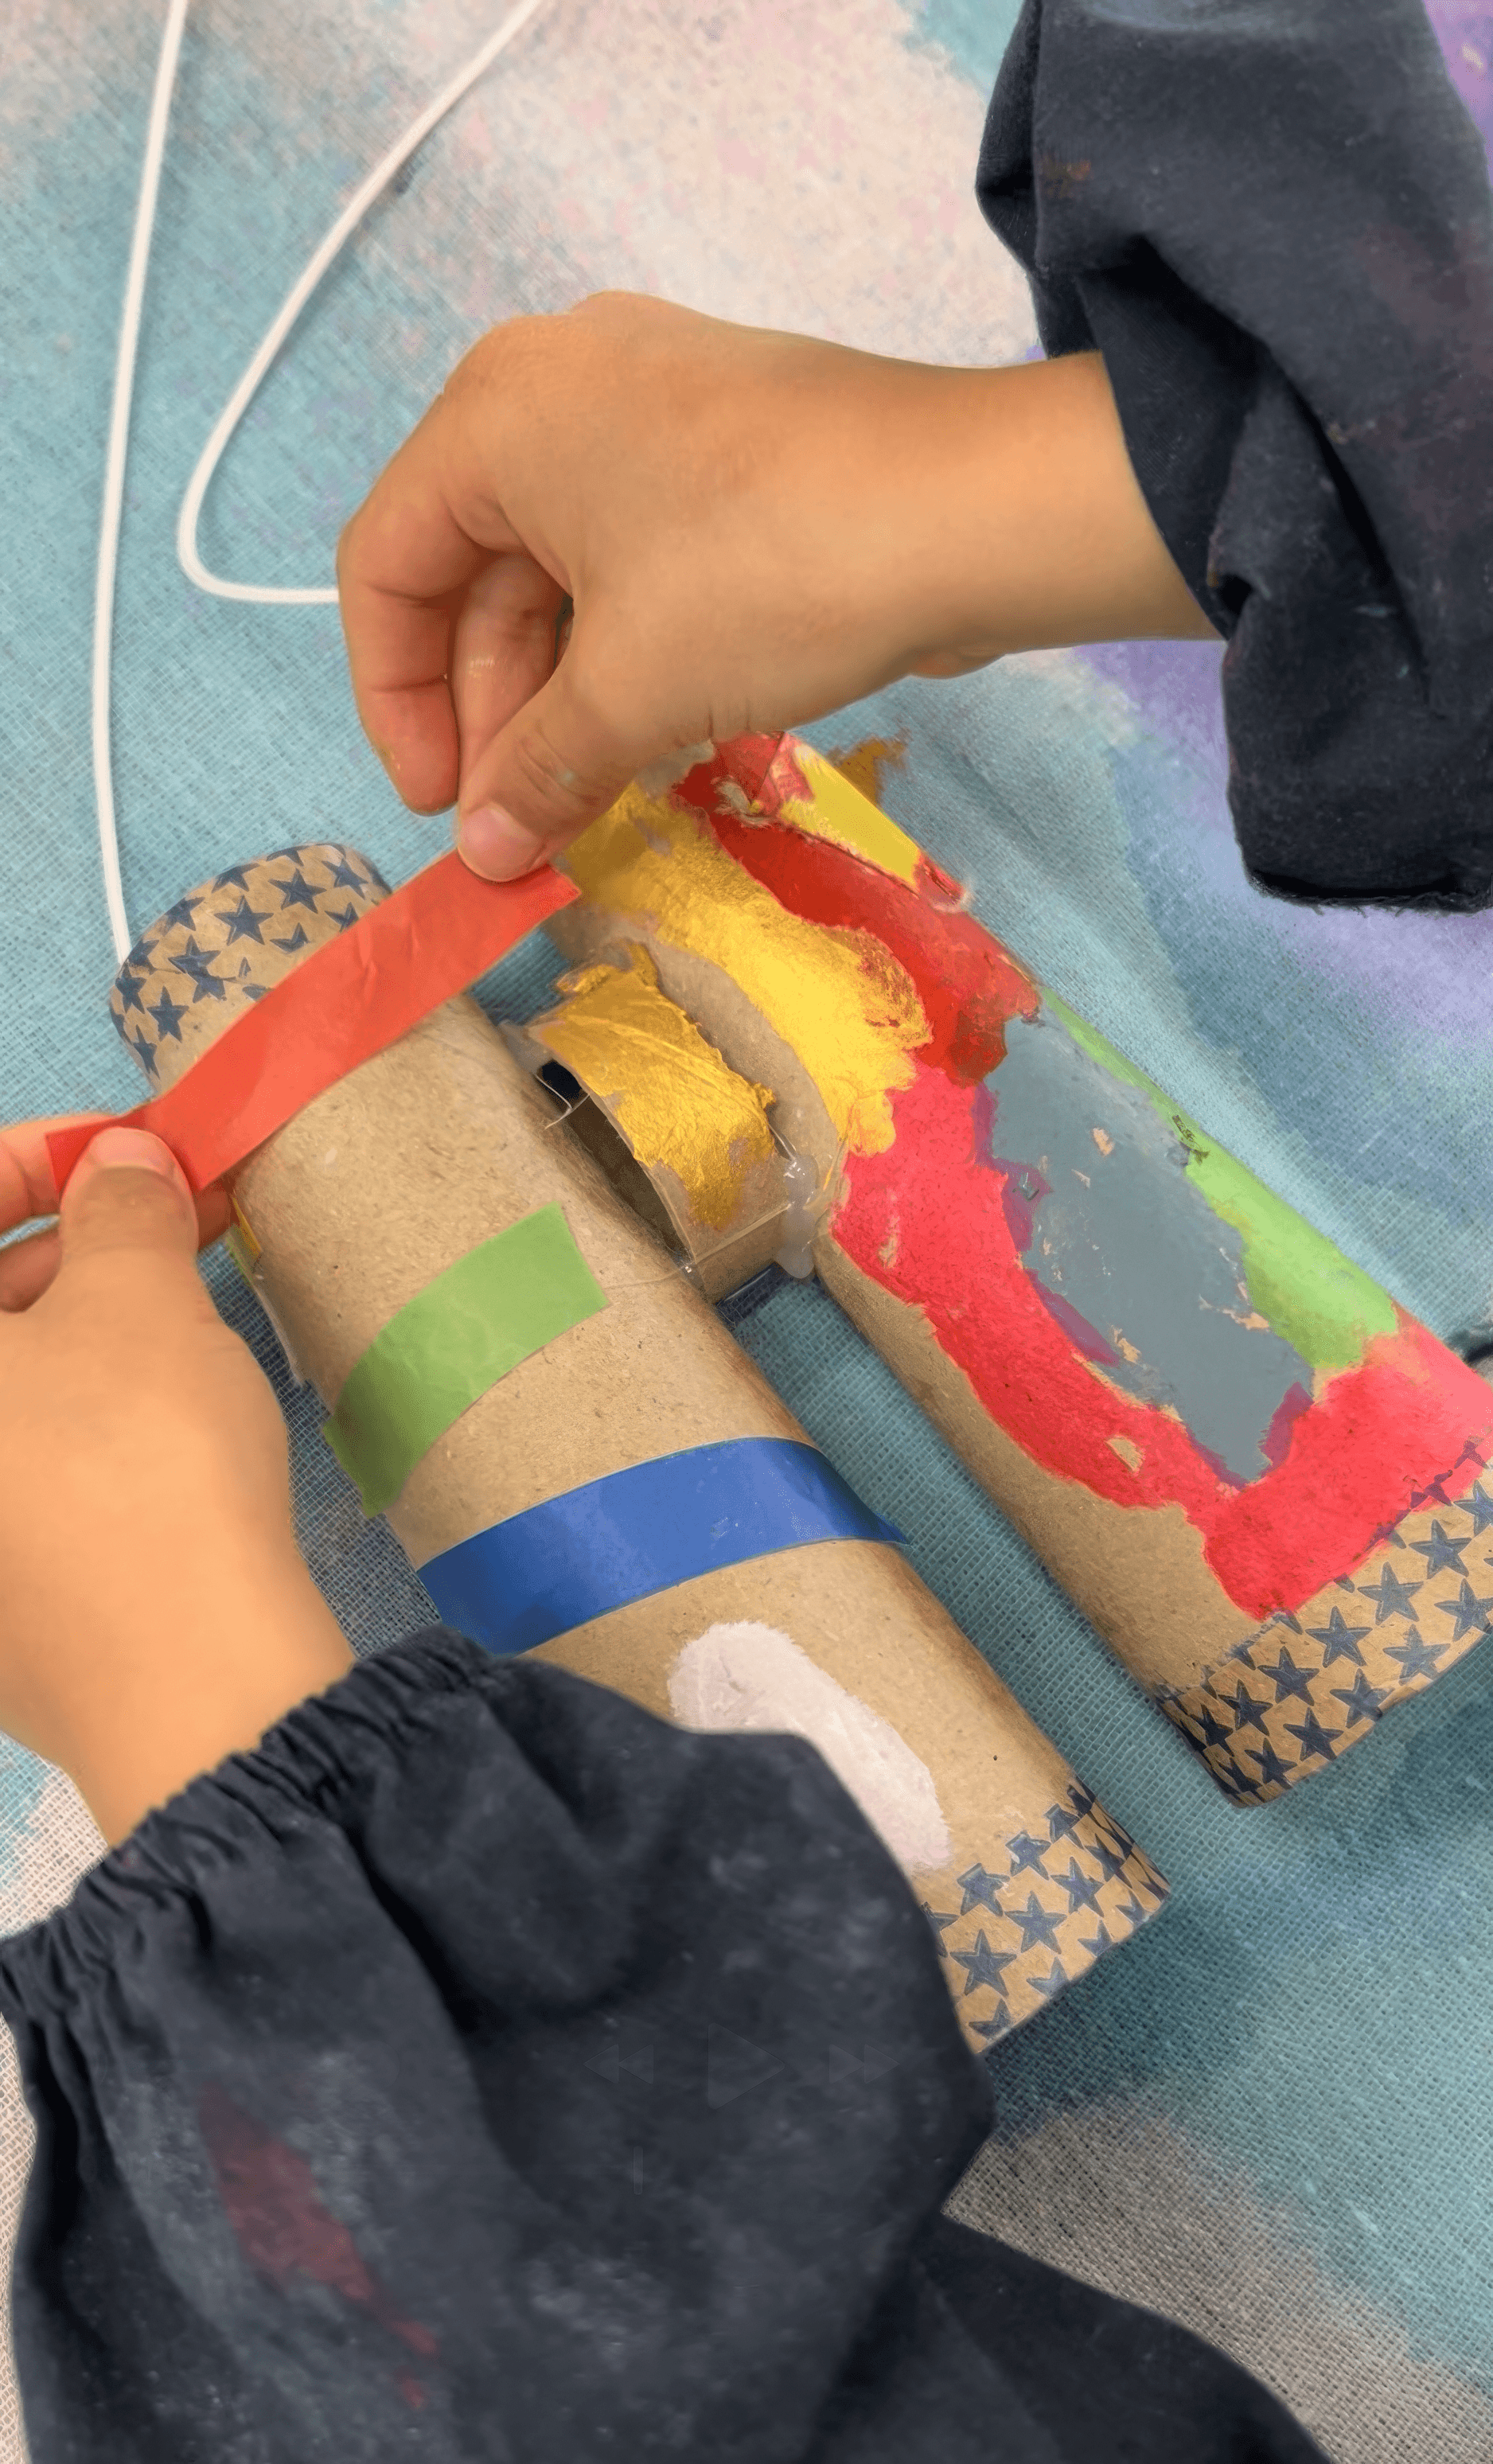
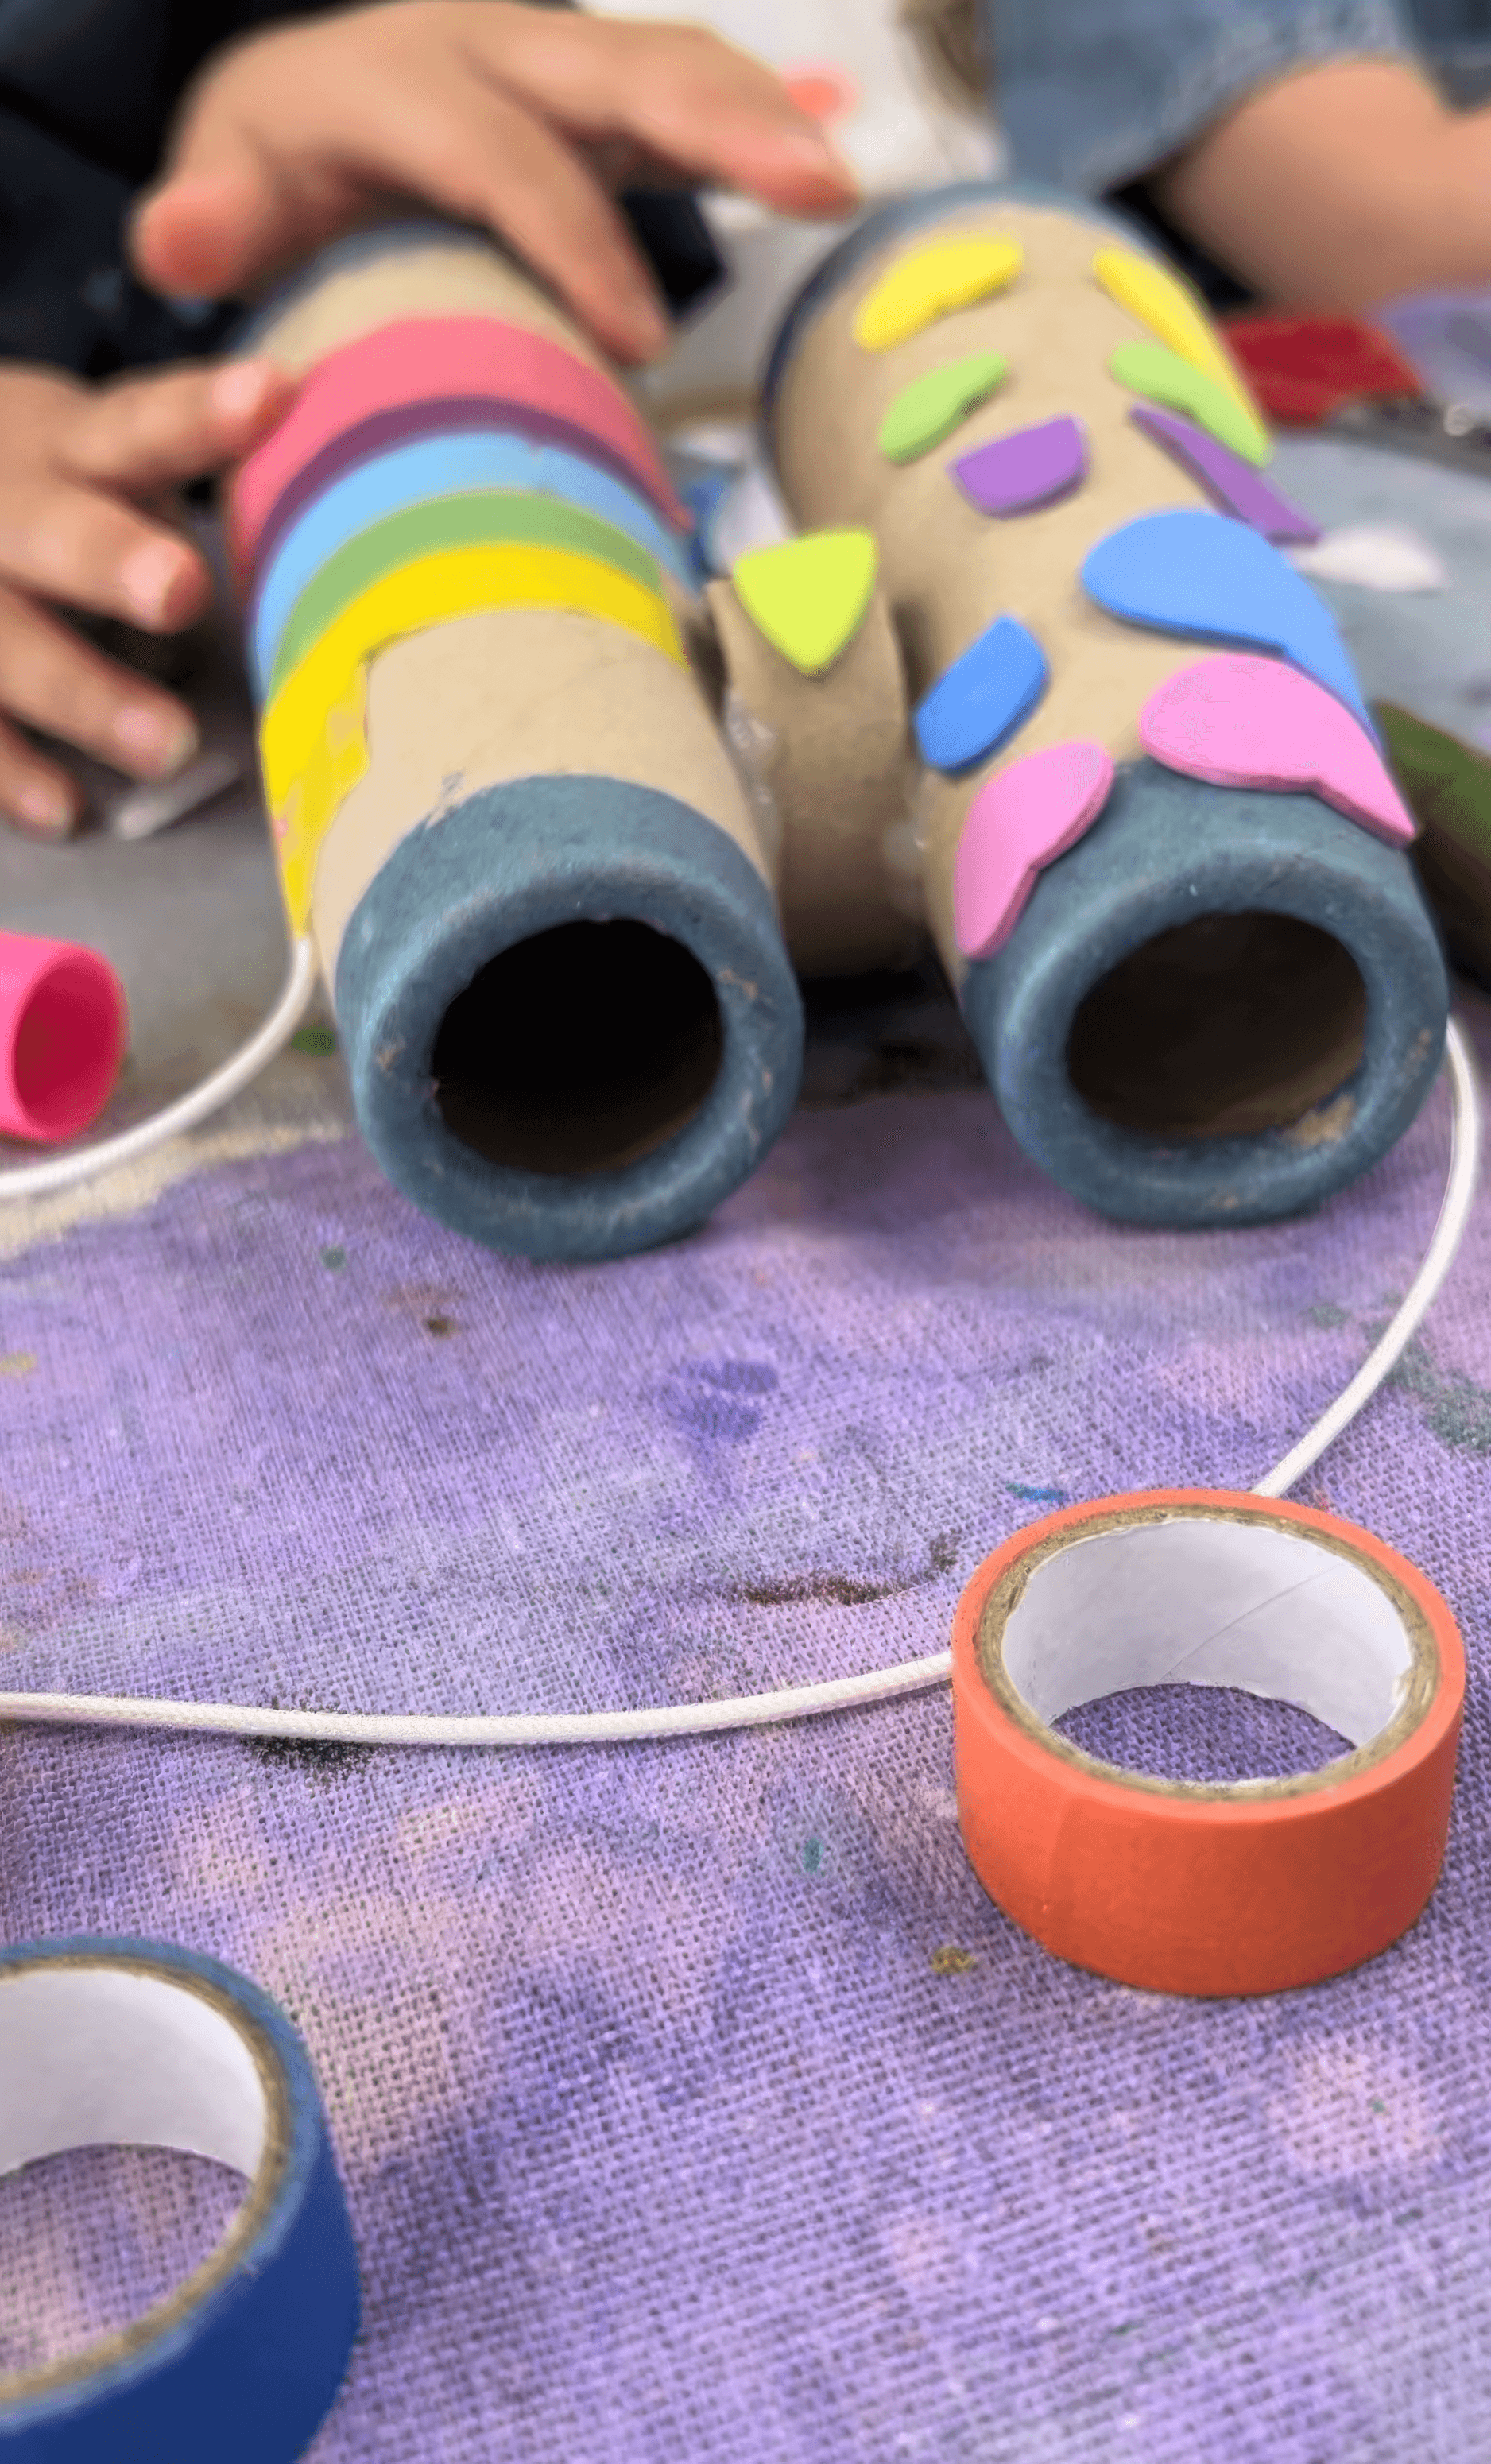
Gather cardboard tubes. I love using yarn cones from Reverse Art Truck style reuse places because they are sturdy and tapered, but regular paper towel rolls cut in half work well too. Hold two tubes side by side and have a look. Sometimes they sit a little too close together for comfortable eyes. A small spacer in the middle helps. You can hot glue a short strip of scrap wood or thick cardboard between them so they angle just right and feel like real binoculars in little hands. Hot glue is adult work only.
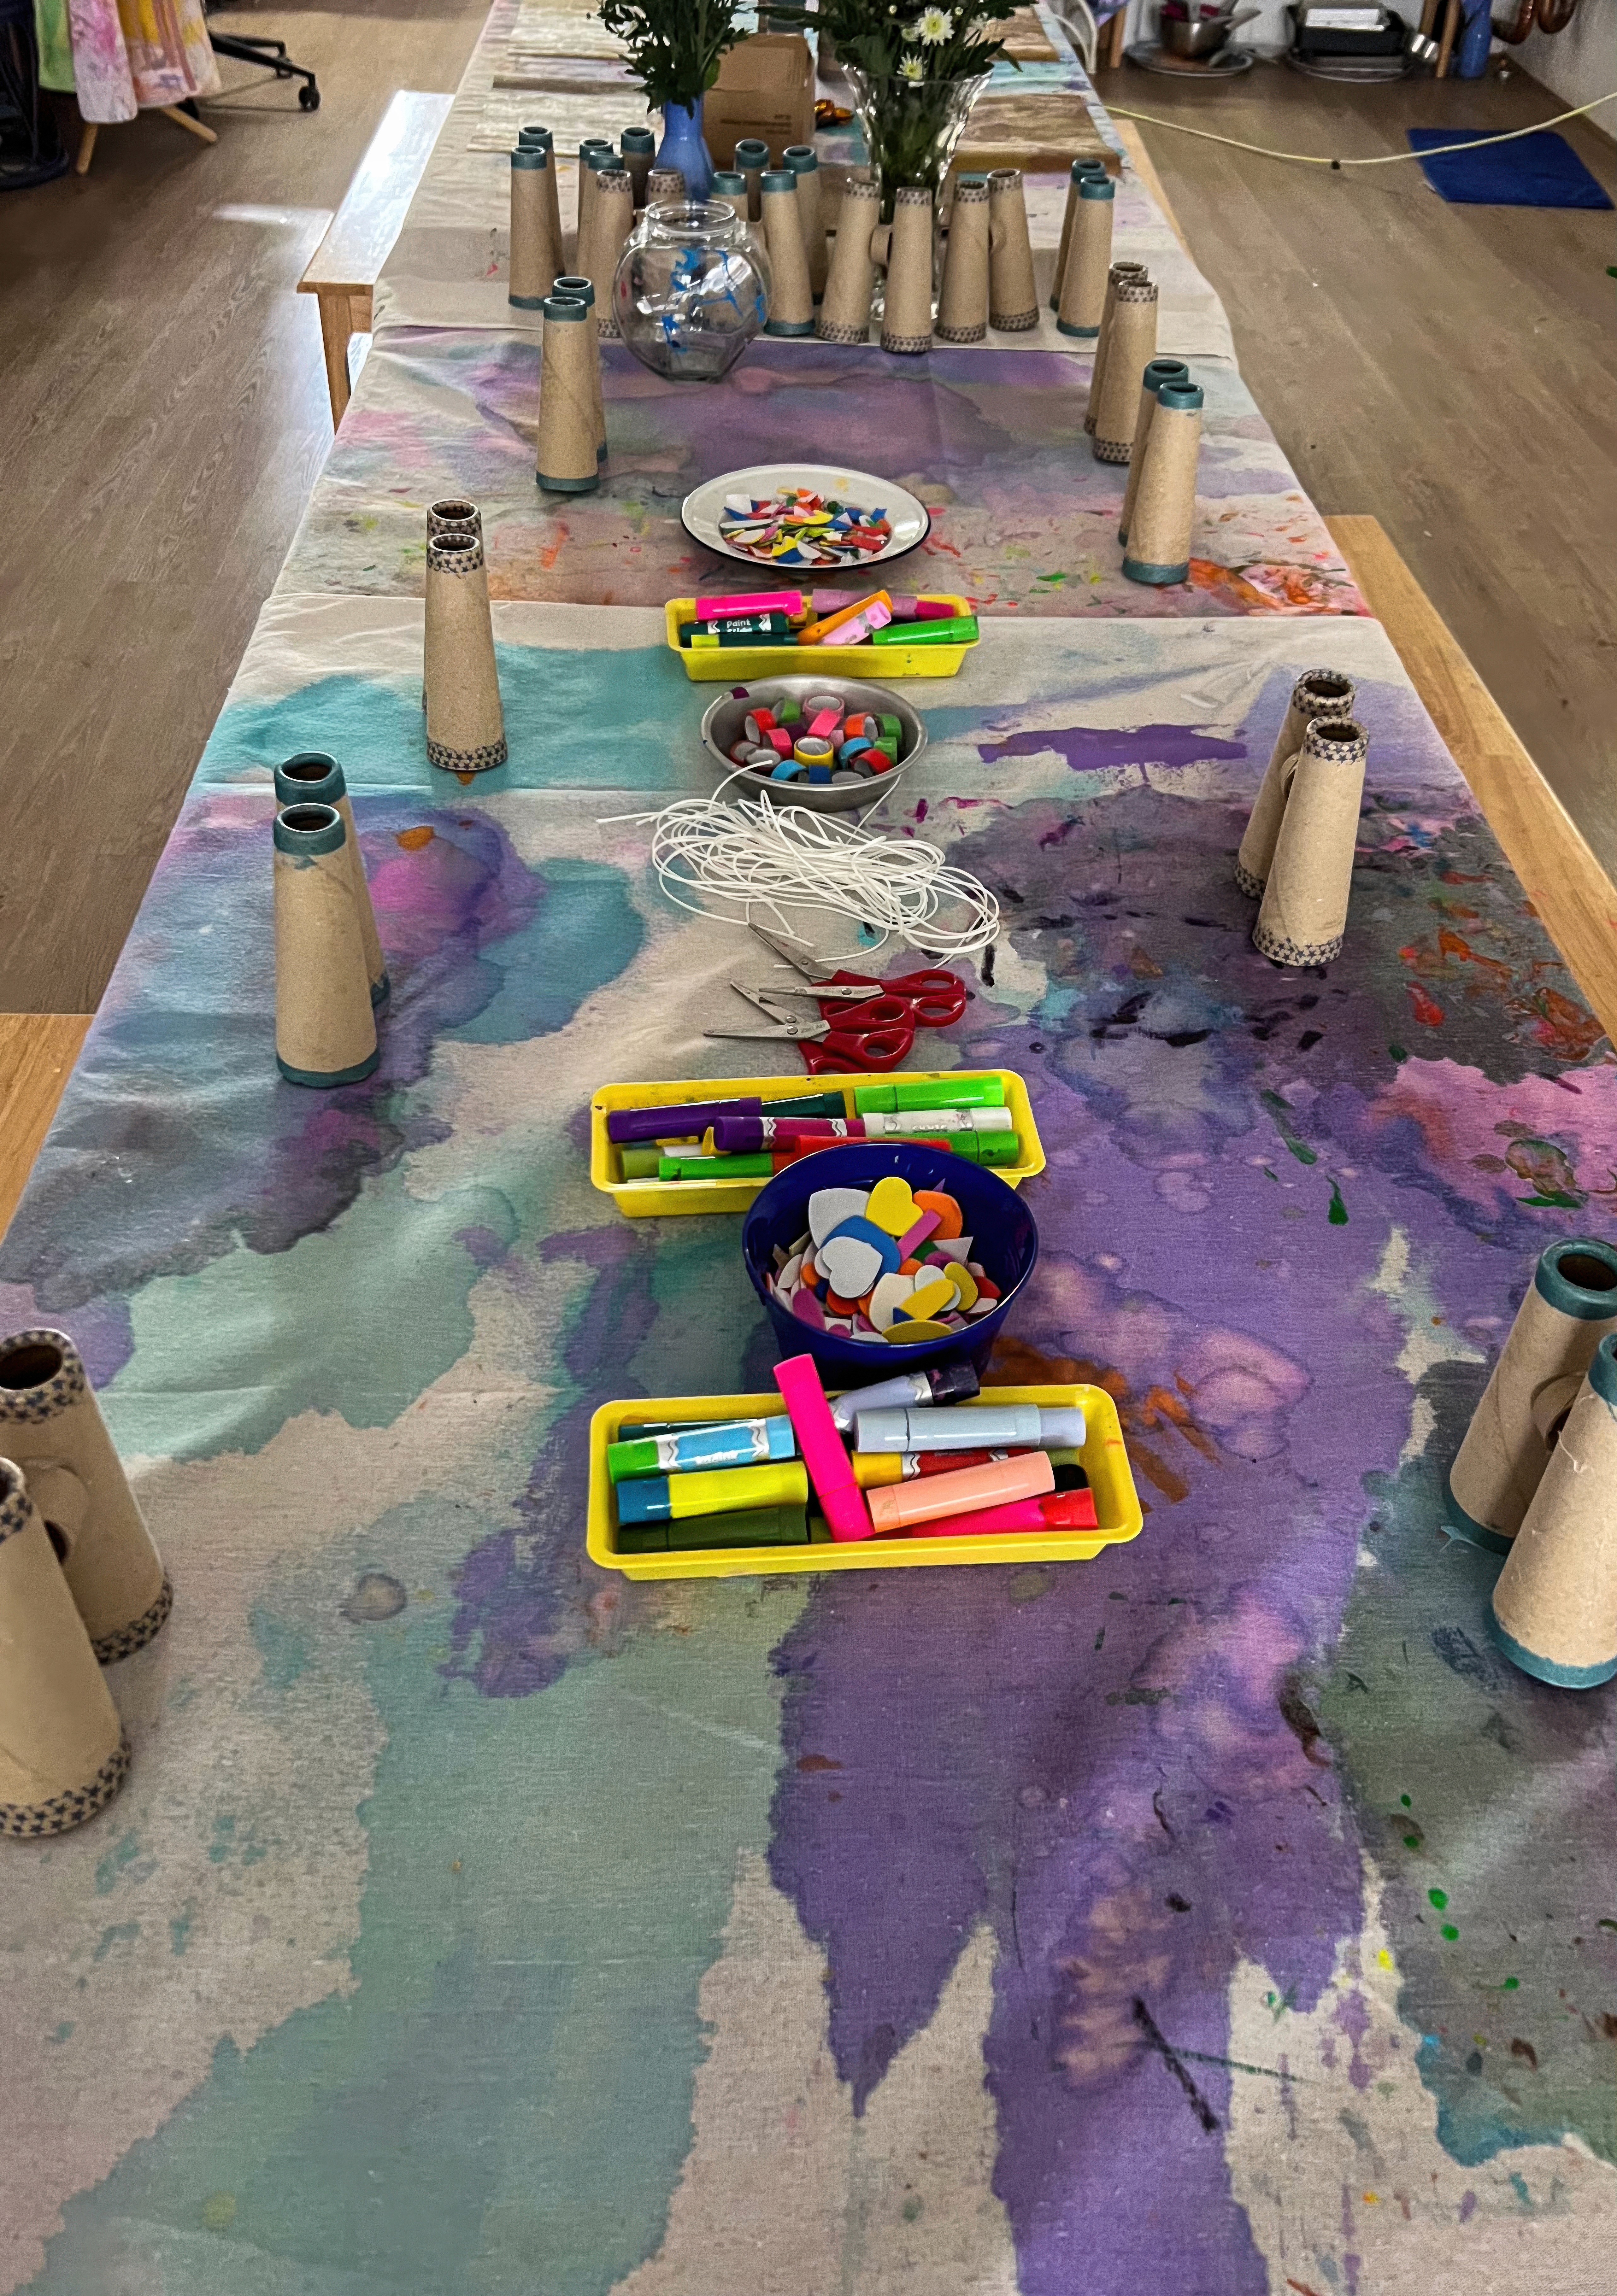
Lay out fast colour. Paint sticks are perfect here because they glide on smoothly, they are vivid, and they dry almost instantly, which means kids can decorate and then play right away without waiting. Add oil pastels, foam stickers, sequins, cord, yarn, string for straps, anything that sparks a story. Set scissors and tape or more hot glue within adult reach if you are adding a strap so the binoculars can hang around a neck.
The Making
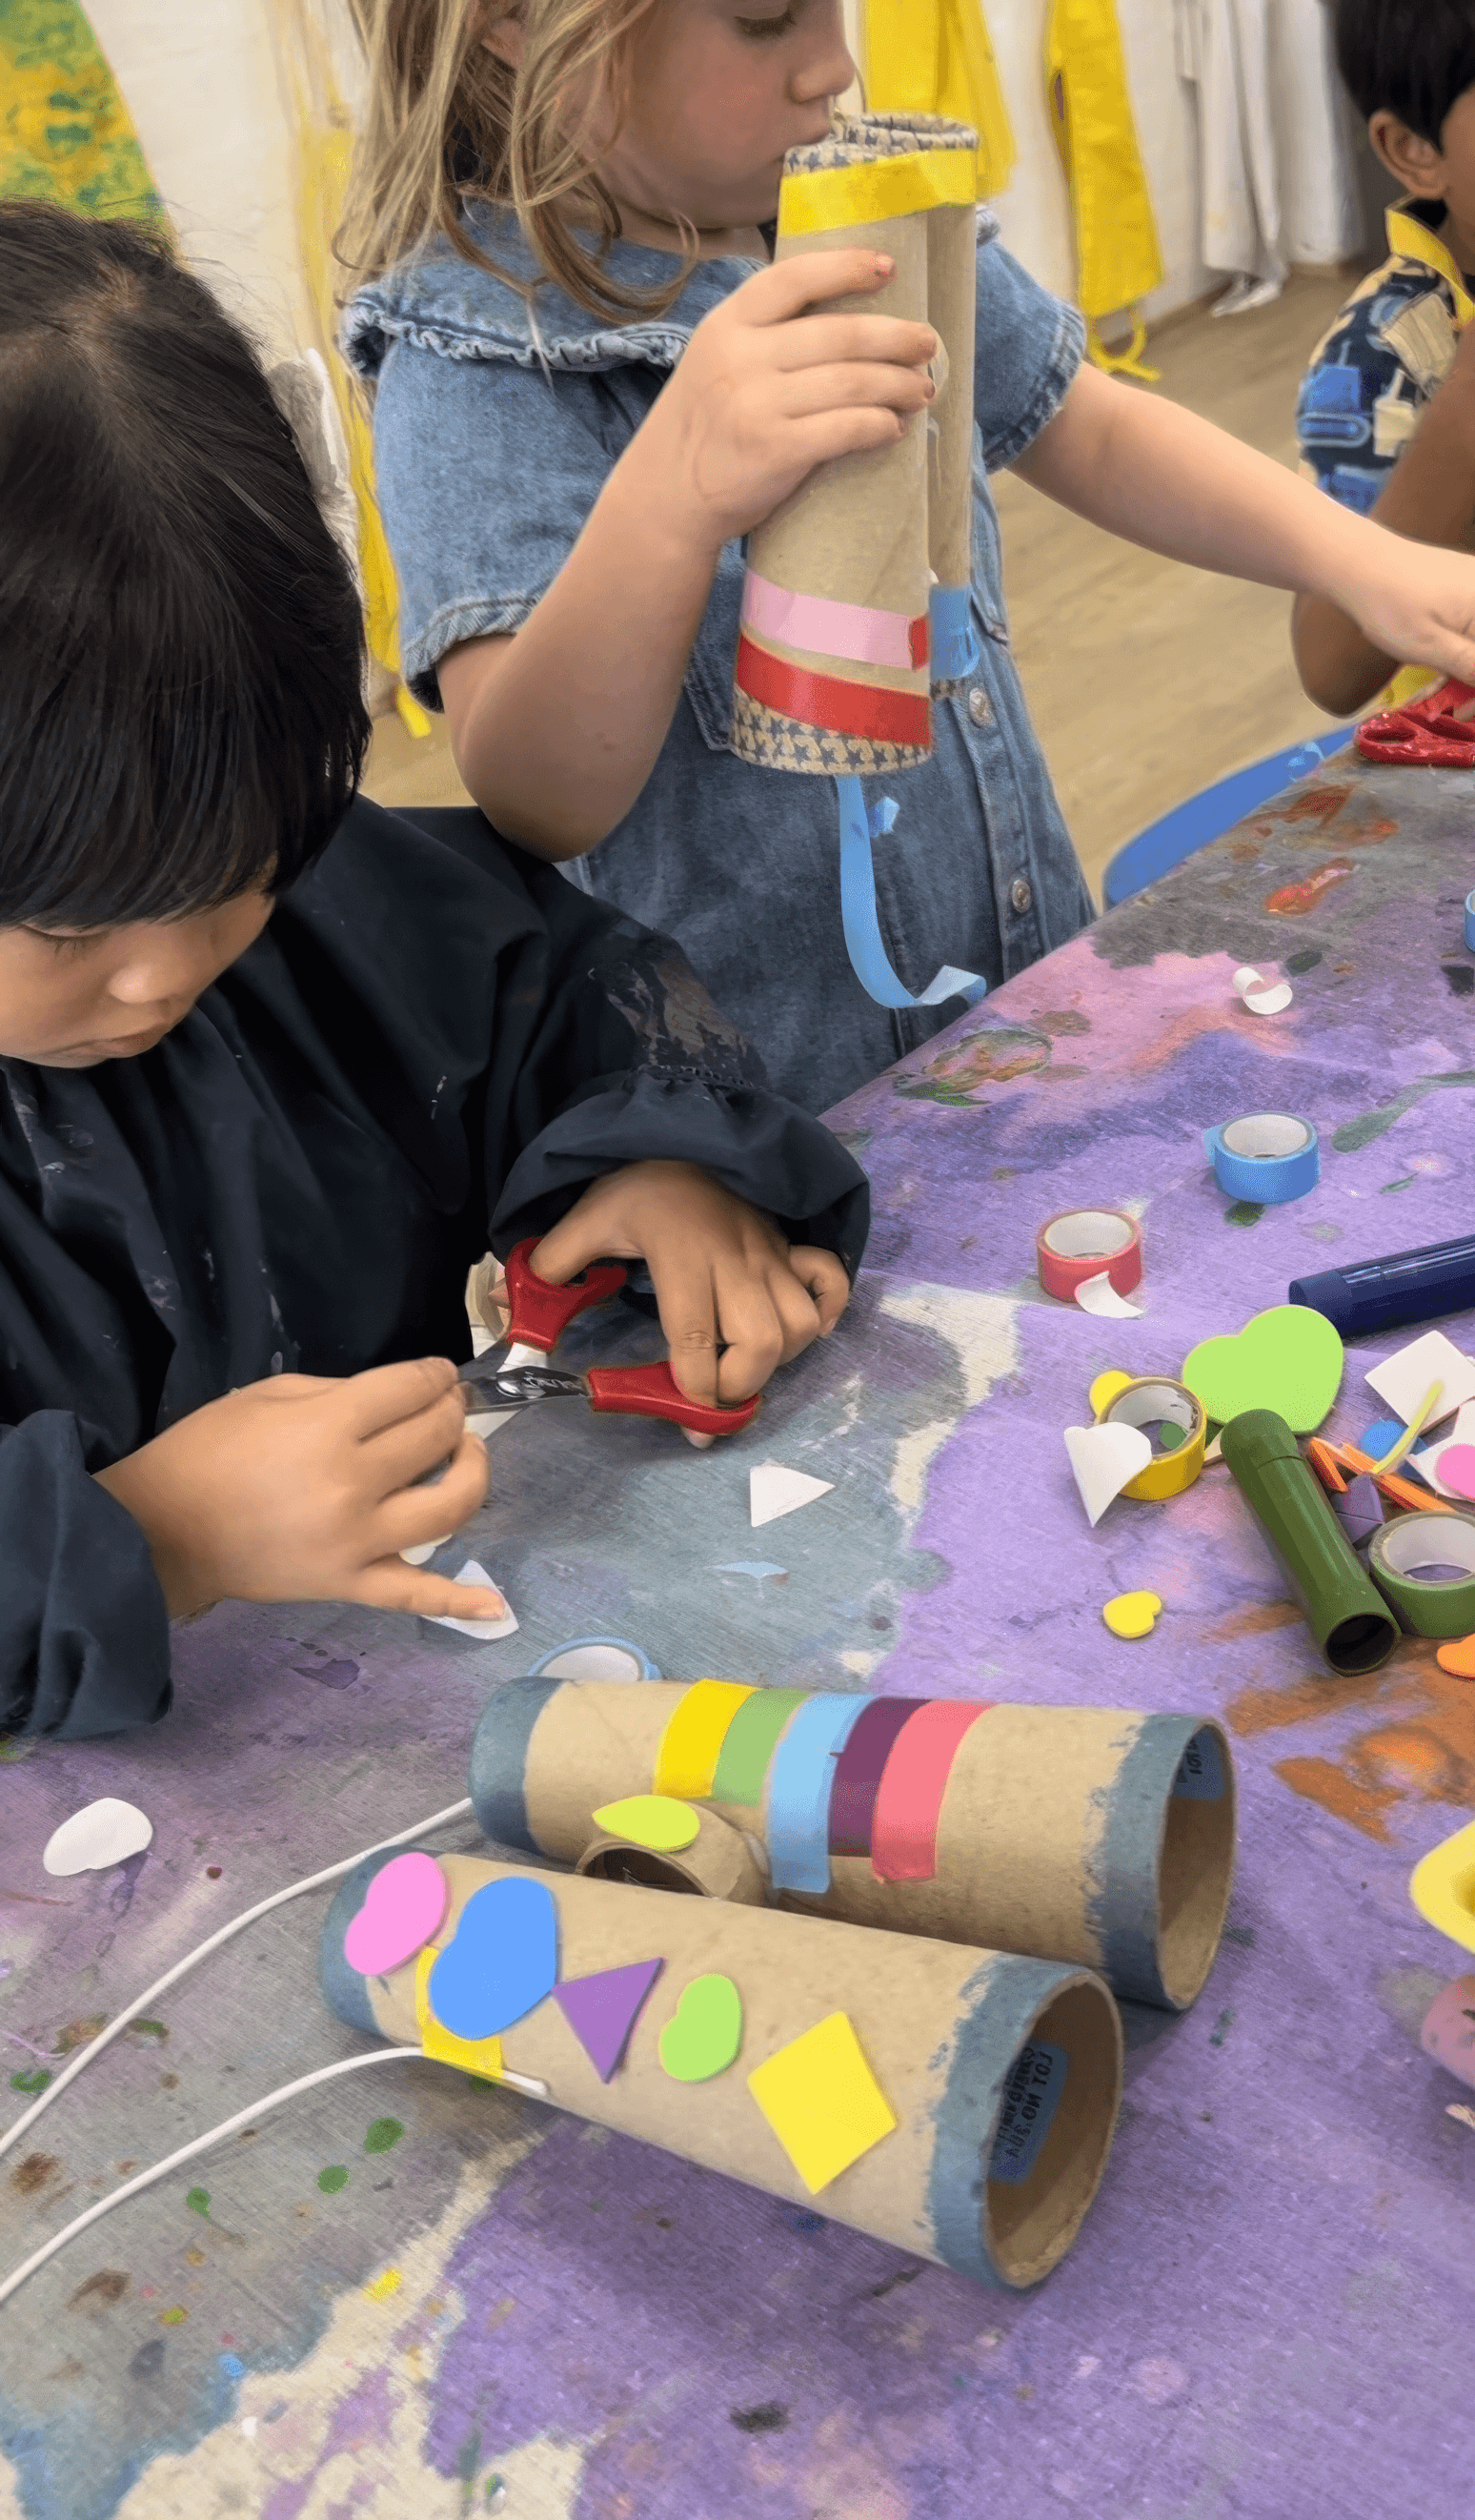
Invite each artist to design their own field kit, and they'll instinctively cover, wrap, stick, draw, and build in layers. We’ve learned that if you offer the strap too early, adults tend to try to engineer while kids are still imagining. Plus if you wait until the decoration feels finished (according to the artist!), kids are clearer about where they want the strap to sit and why.
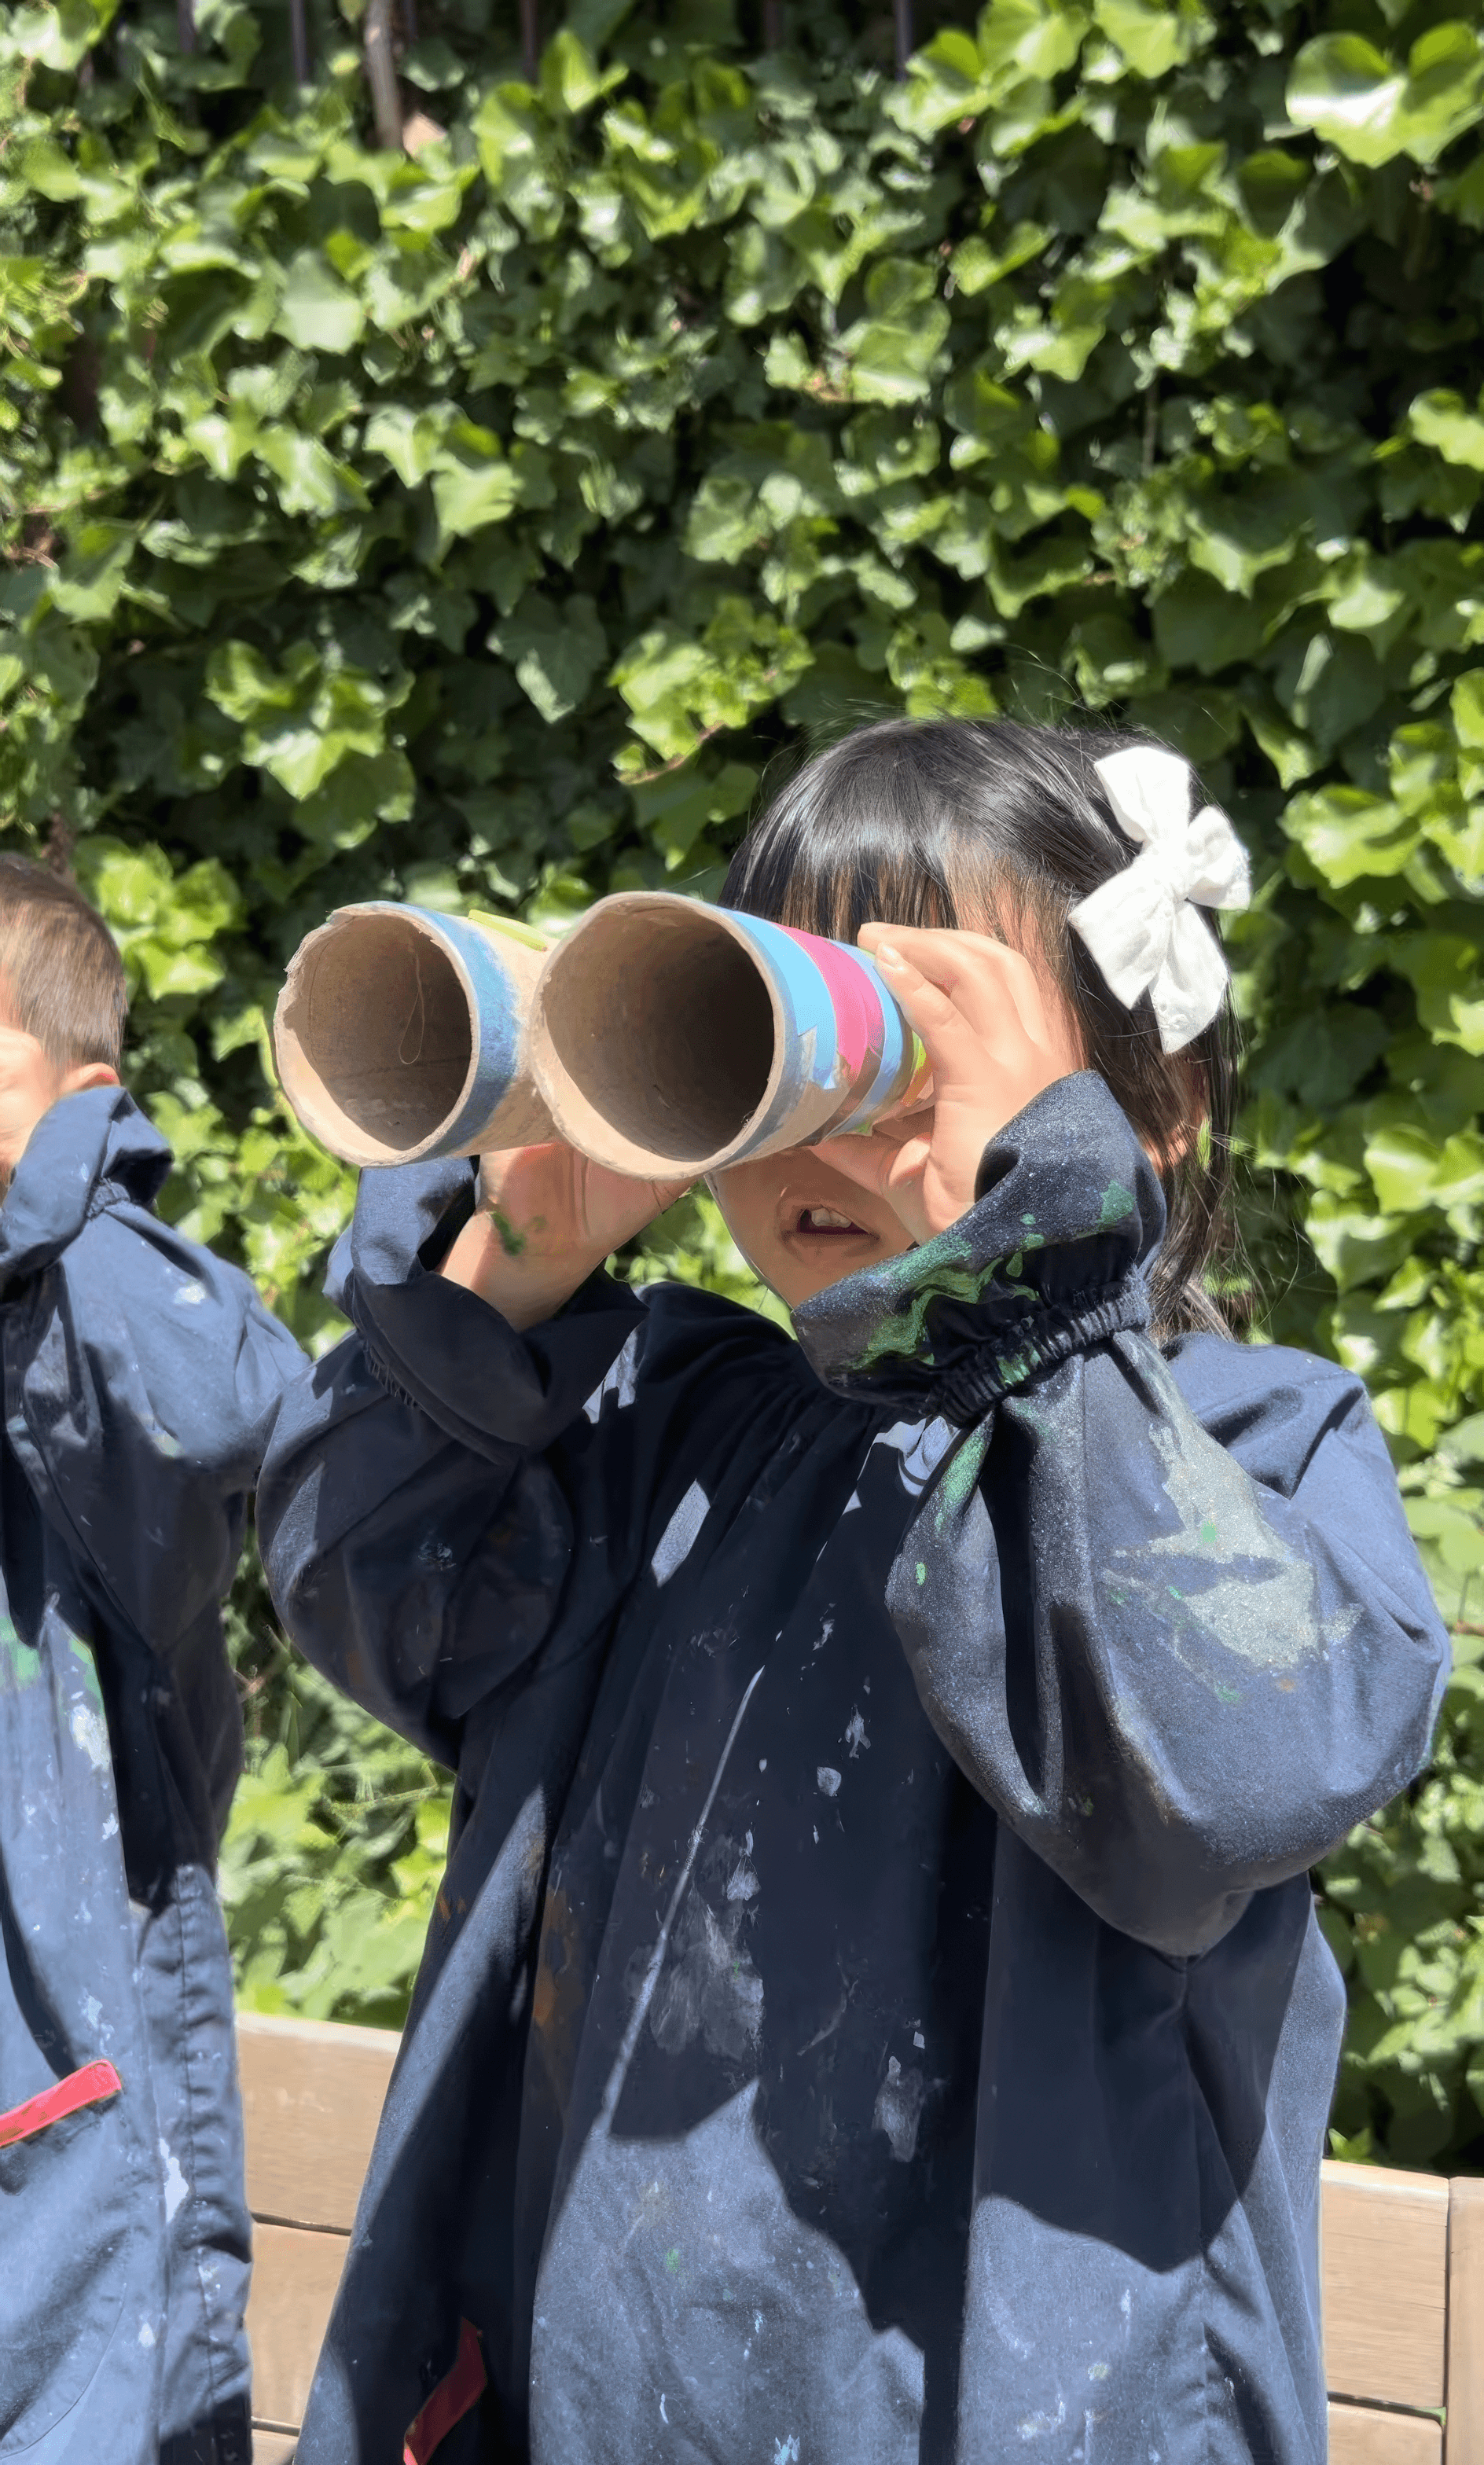
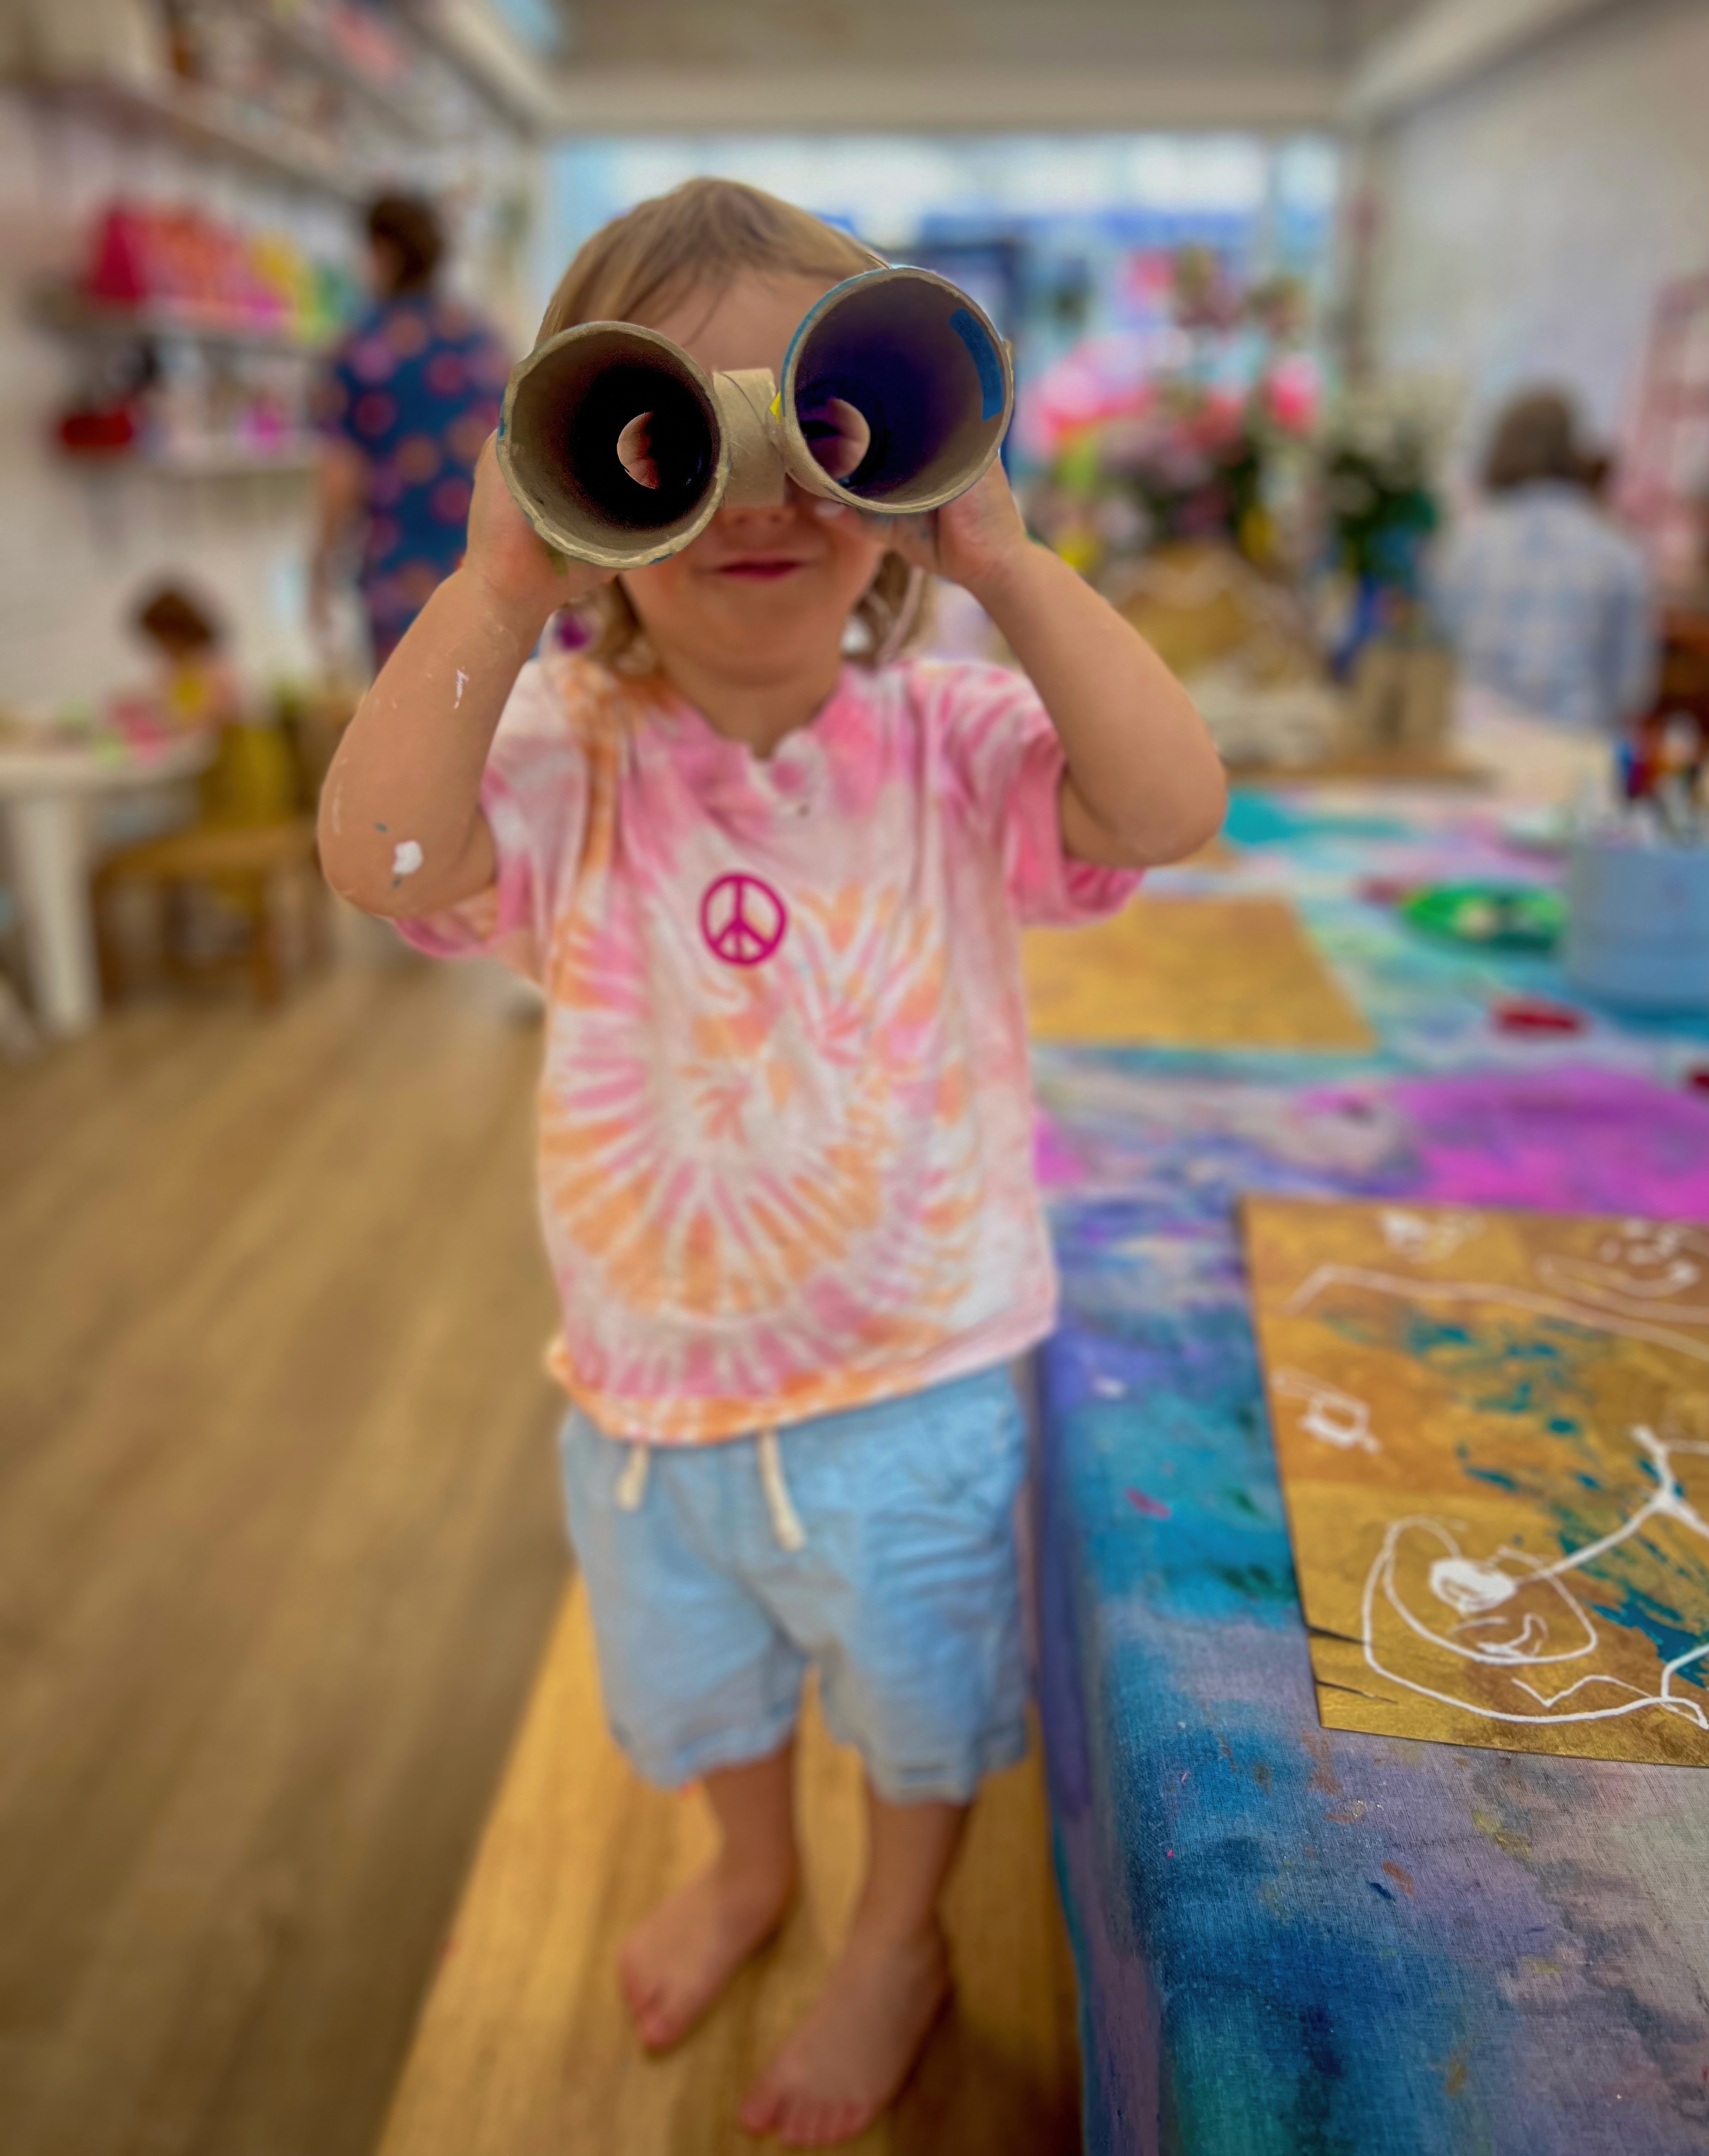
As soon as a pair is wearable, give them room to use them. Movement and role play are not an add on here, they're definitely part of the making. Watching through self made binoculars changes how kids move through the rest of the space!
Variations
Tape a layer of coloured cellophane over one end for a tinted world view
Make a shared set of binoculars for a classroom explorer station
Add a small notebook and pencil to create a field journal kit

Materials
Cardboard yarn cones or paper towel tubes
Short scrap of wood or thick cardboard as a spacer
Paint sticks
Oil pastels and foam stickers
Cord, yarn, string for straps
Scissors
Tape or hot glue for adult assembly
Optional cellophane squares and rubber bands
Back to Top
Explorer Binoculars
Make it, wear it, start exploring!
Bookmark
Sculpture
The Set Up
Gather cardboard tubes. I love using yarn cones from Reverse Art Truck style reuse places because they are sturdy and tapered, but regular paper towel rolls cut in half work well too. Hold two tubes side by side and have a look. Sometimes they sit a little too close together for comfortable eyes. A small spacer in the middle helps. You can hot glue a short strip of scrap wood or thick cardboard between them so they angle just right and feel like real binoculars in little hands. Hot glue is adult work only.
Lay out fast colour. Paint sticks are perfect here because they glide on smoothly, they are vivid, and they dry almost instantly, which means kids can decorate and then play right away without waiting. Add oil pastels, foam stickers, sequins, cord, yarn, string for straps, anything that sparks a story. Set scissors and tape or more hot glue within adult reach if you are adding a strap so the binoculars can hang around a neck.
The Making
Invite each artist to design their own field kit, and they'll instinctively cover, wrap, stick, draw, and build in layers. We’ve learned that if you offer the strap too early, adults tend to try to engineer while kids are still imagining. Plus if you wait until the decoration feels finished (according to the artist!), kids are clearer about where they want the strap to sit and why.
As soon as a pair is wearable, give them room to use them. Movement and role play are not an add on here, they're definitely part of the making. Watching through self made binoculars changes how kids move through the rest of the space!
Variations
Tape a layer of coloured cellophane over one end for a tinted world view
Make a shared set of binoculars for a classroom explorer station
Add a small notebook and pencil to create a field journal kit
Materials
Cardboard yarn cones or paper towel tubes
Short scrap of wood or thick cardboard as a spacer
Paint sticks
Oil pastels and foam stickers
Cord, yarn, string for straps
Scissors
Tape or hot glue for adult assembly
Optional cellophane squares and rubber bands
Back to Top
Add this to your favourites
Add this to your favourites
Thoughts?
Would love to hear if youv'e tried this or have any ideas on how to make it even better!
