Felt Banners & Pennants
A little triangle with a lot to say!
The Set Up
Pennant flags always take me straight to old sports carnivals I mostly know from movies. Cut grass. A brassy little band. Locker rooms and grandstands and team colours that suddenly mean everything. That Perfect energy for kids!
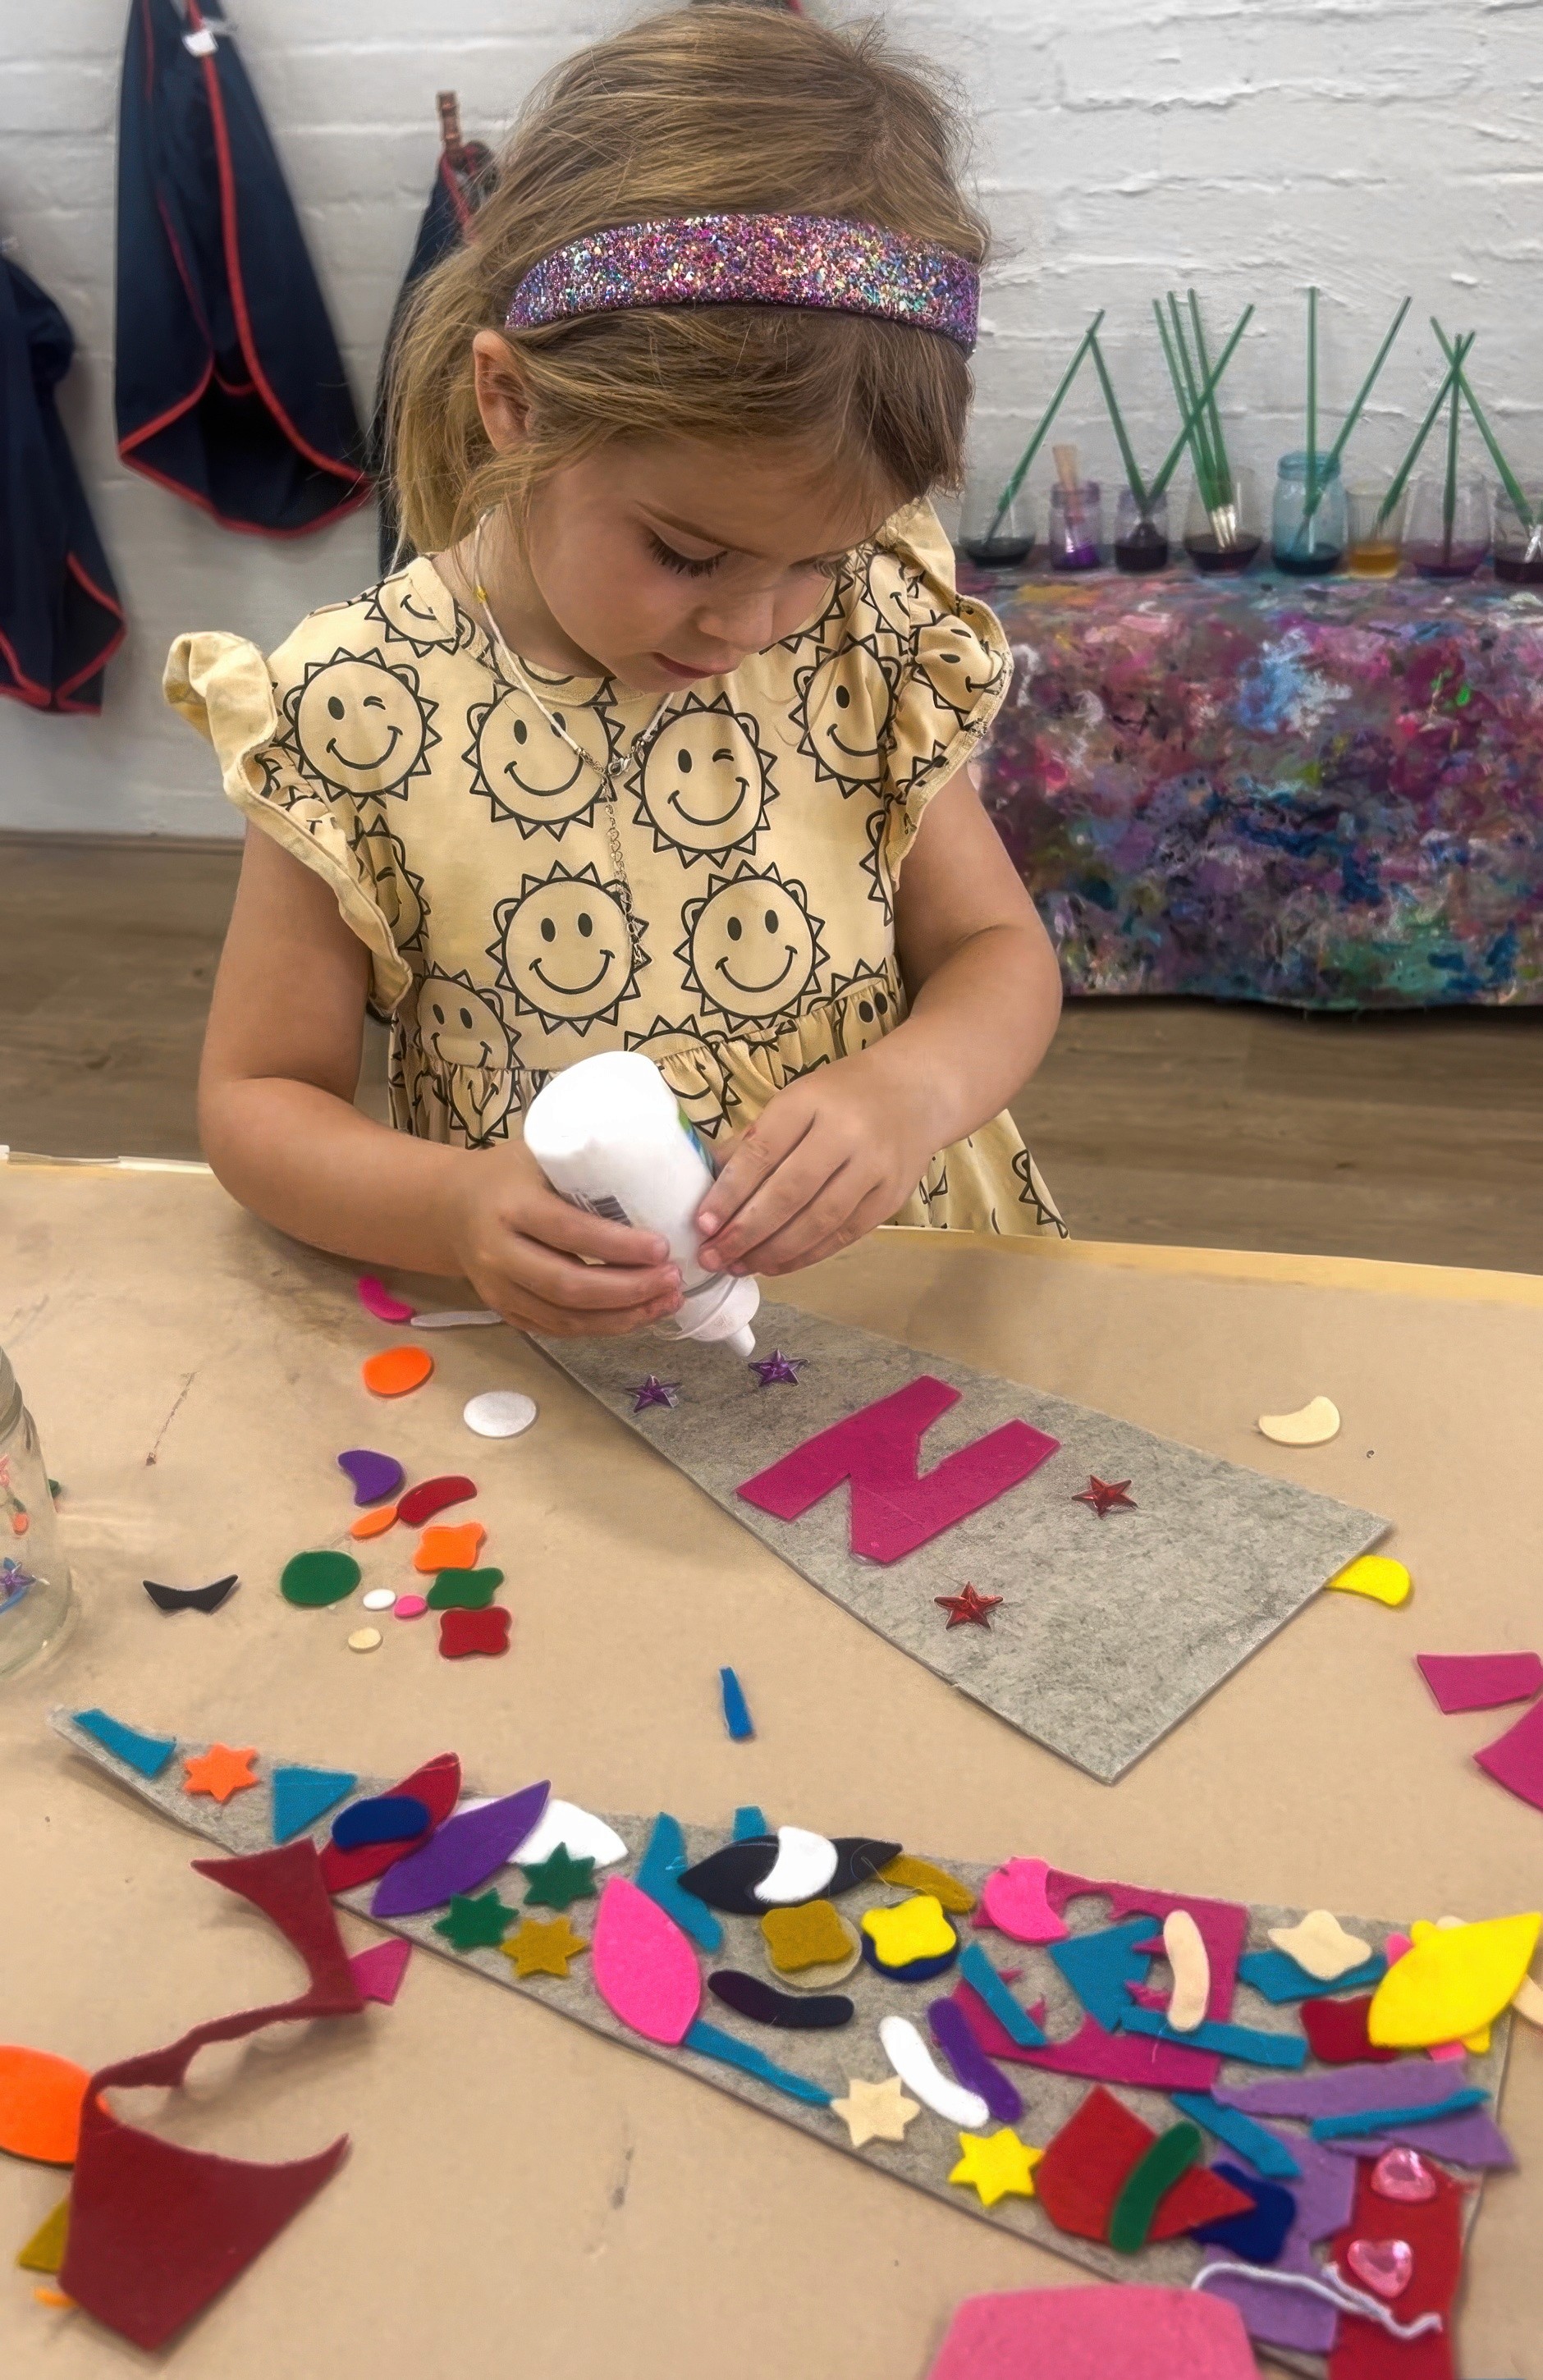
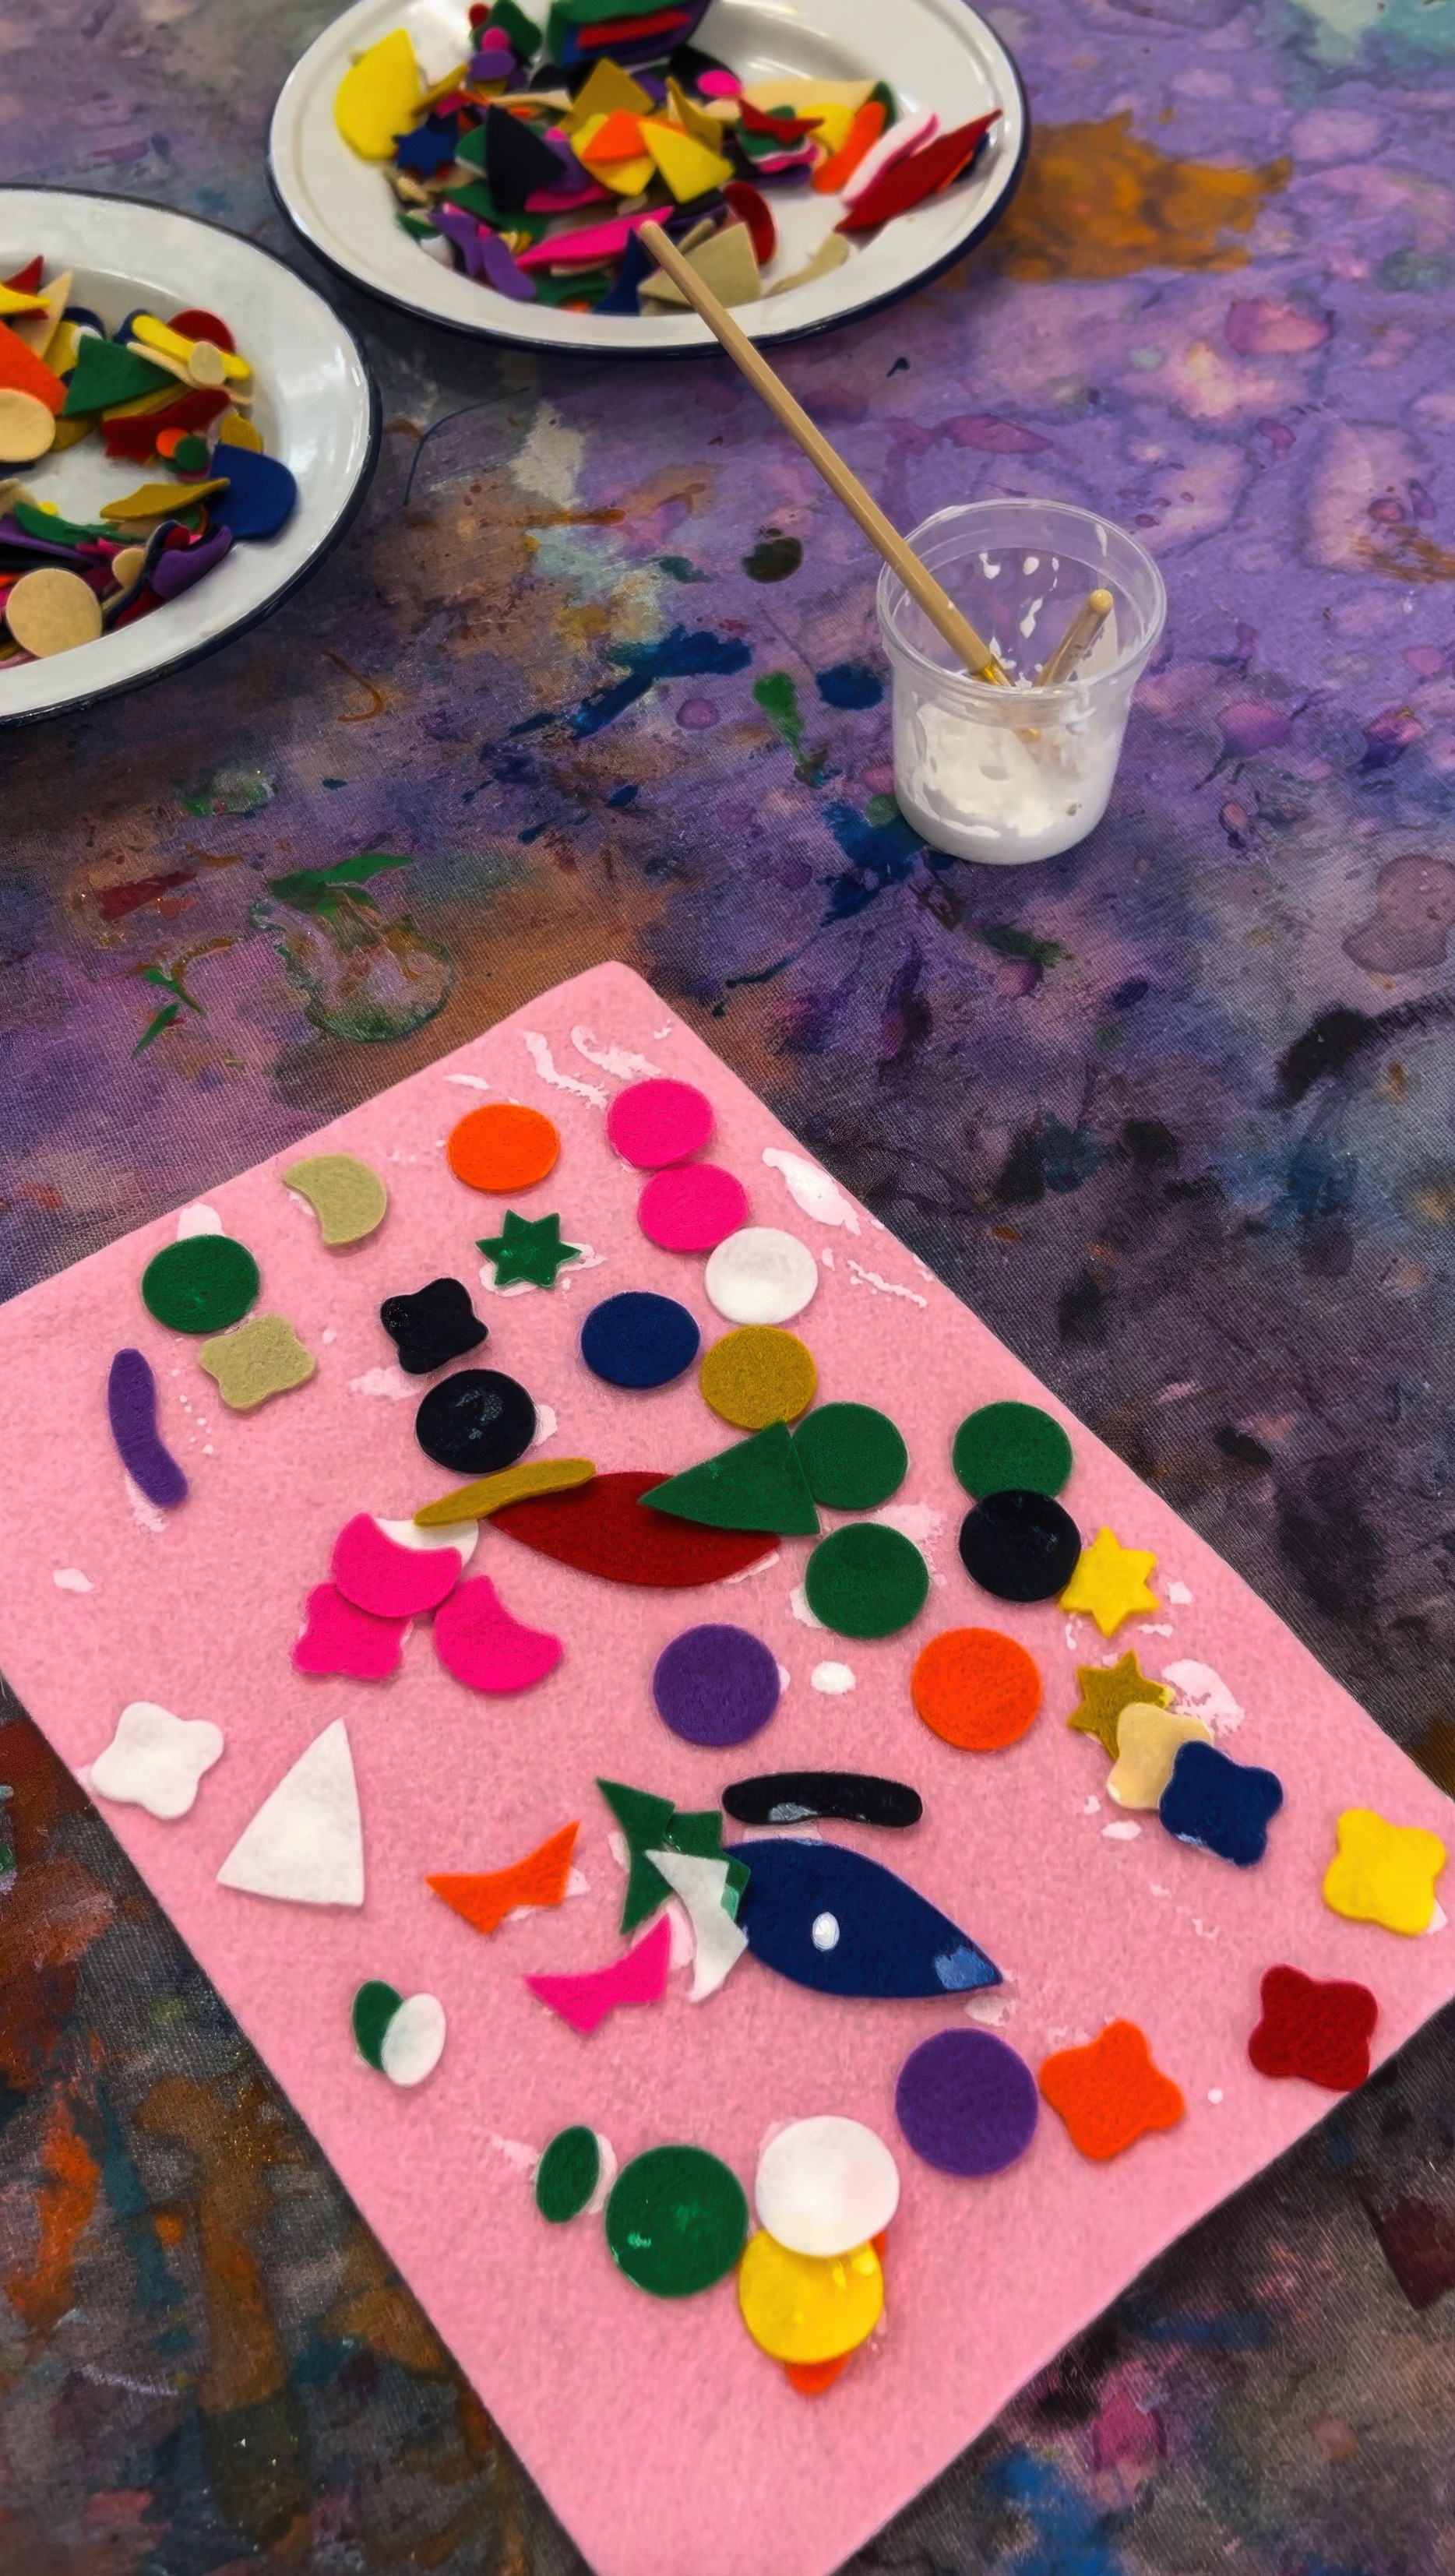
Leave a pile of smaller felt sheets for letters and shapes. Glue sits beside needles and thread so makers can choose sticky or stitchy. Bowls of extras within reach… ribbon, sequins, a few pom poms. Pencils for the lightest guide dots (they disappear under felt, no tracing drama).
Size guide for banners and pennants
If you have A4 felt
A4 is 21 × 29.7 cm (8.3 × 11.7 in). Perfect for a rectangular drop banner. Use the sheet as is, portrait. Add a 2 to 3 cm header strip along the top or side for your dowel.
If you have A3 felt
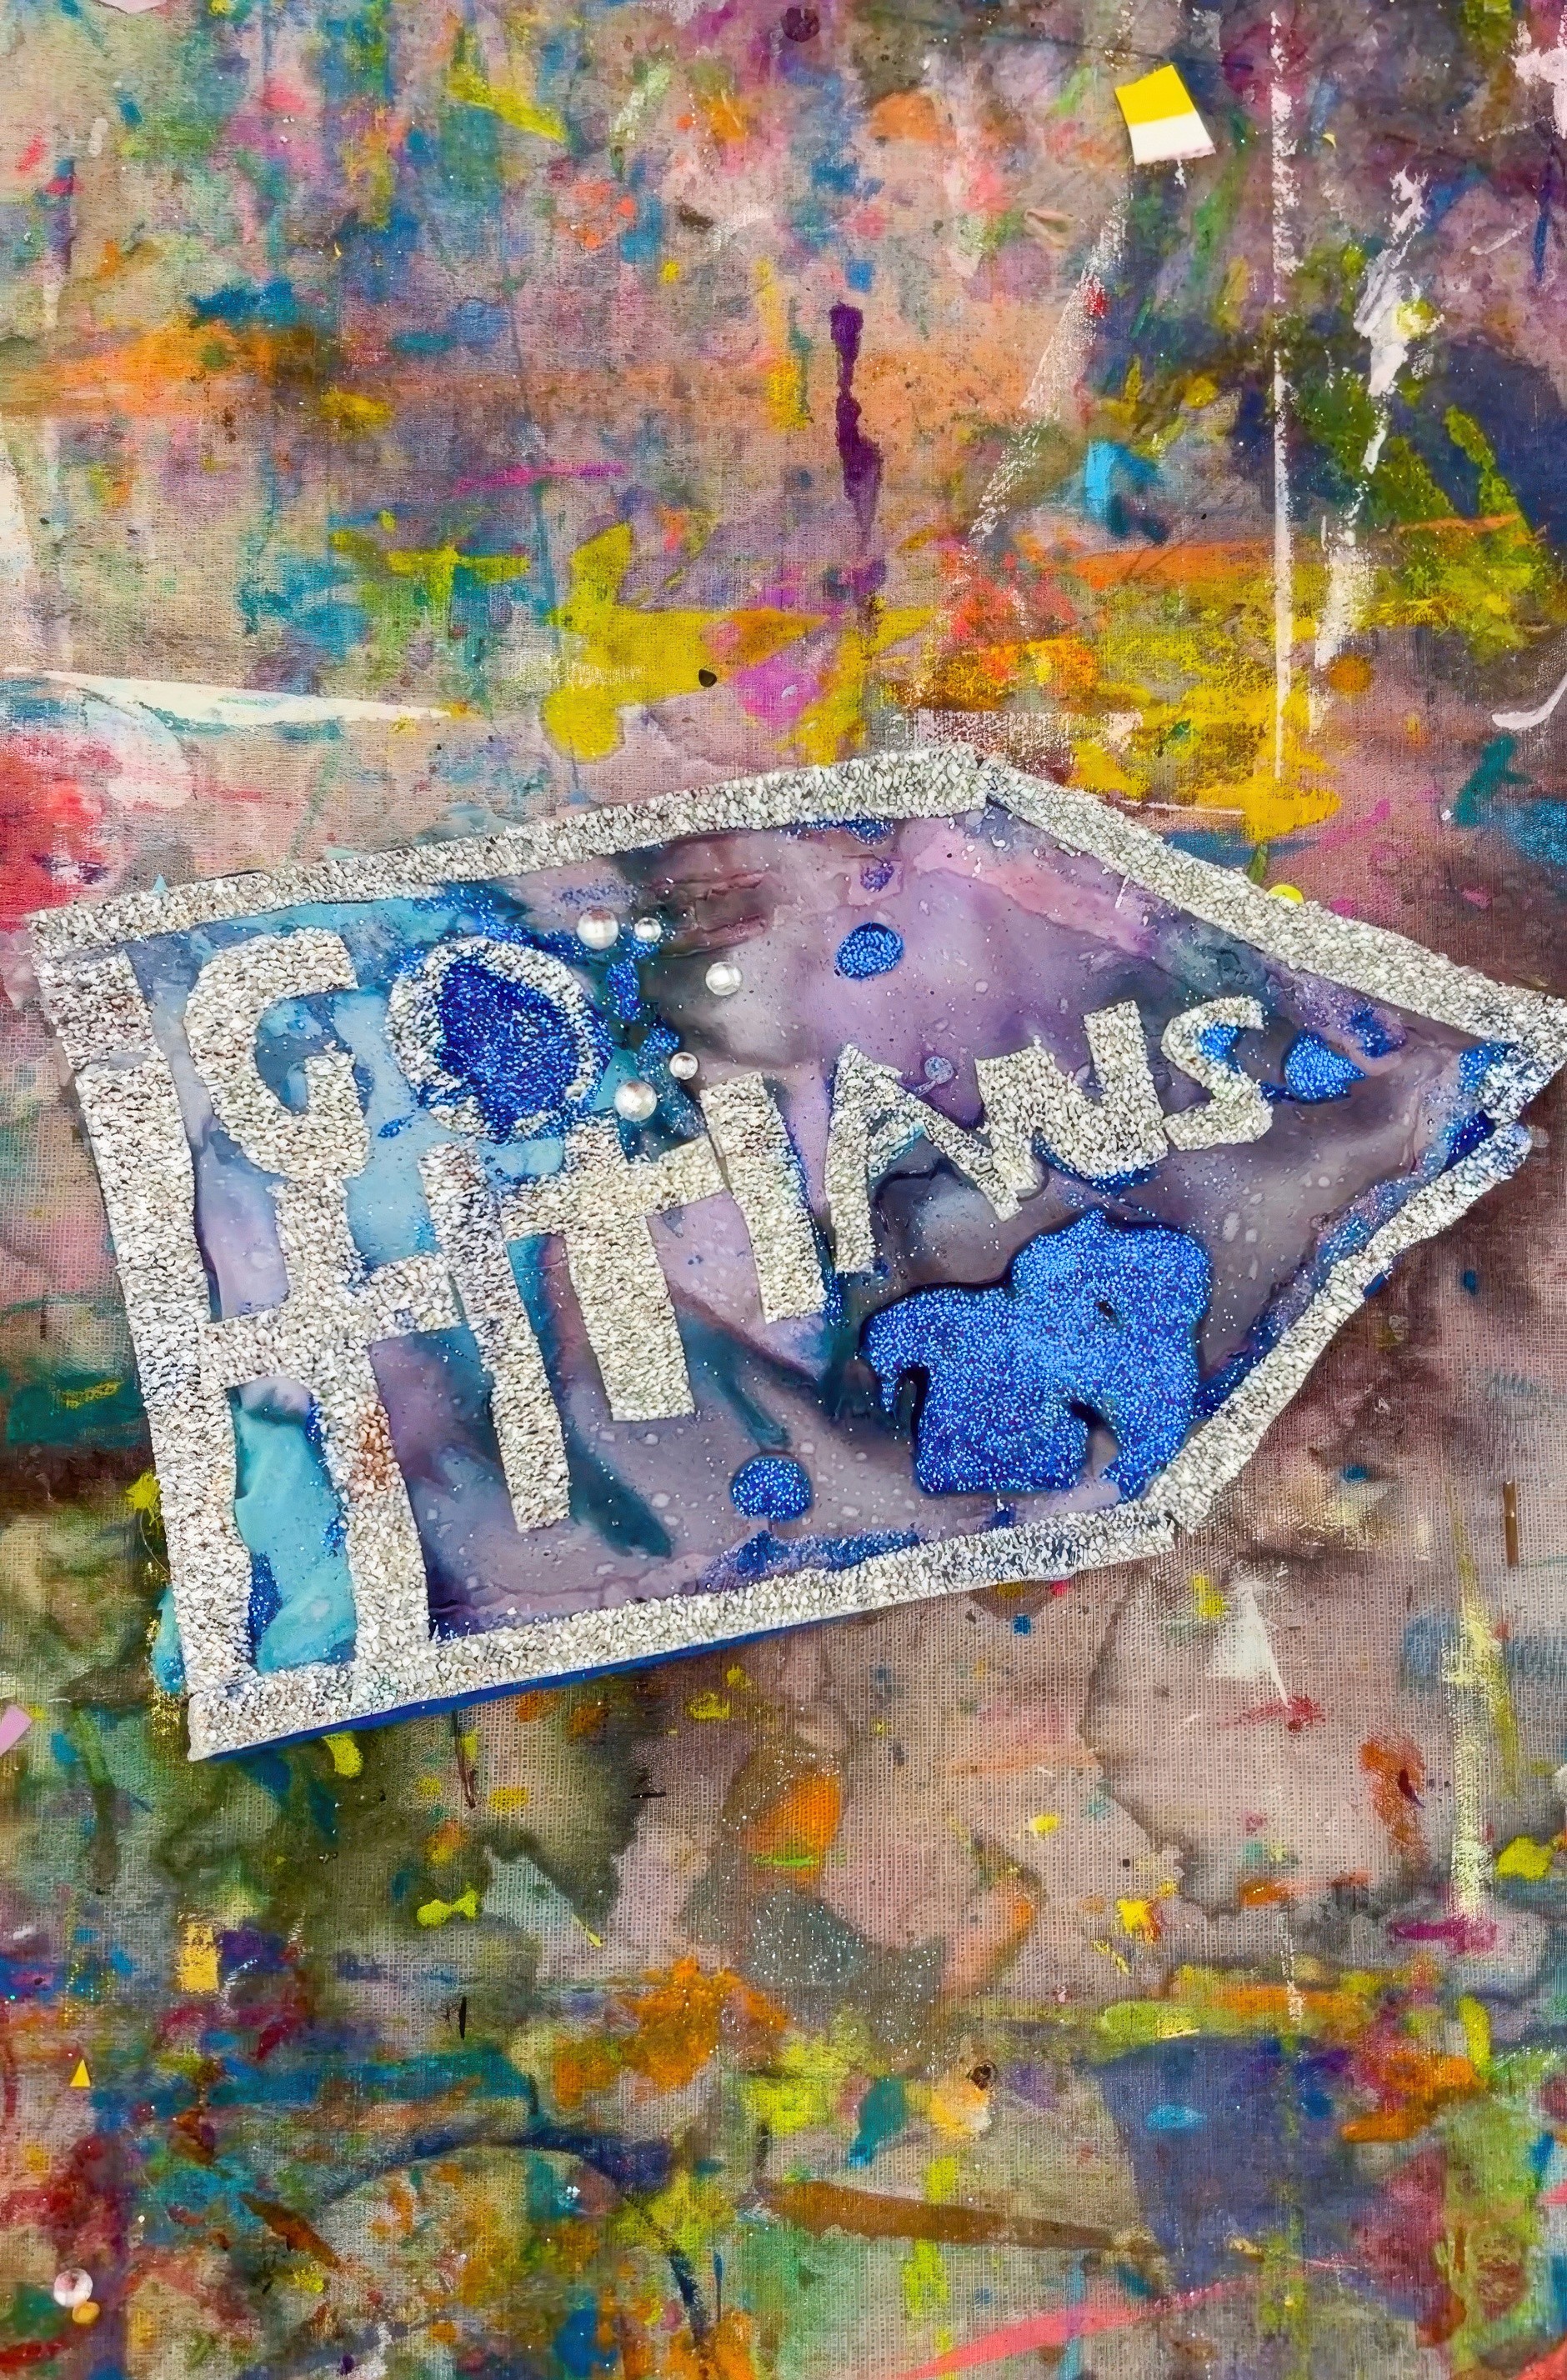
A3 is 29.7 × 42 cm (11.7 × 16.5 in). Great for a triangular pennant. Place the sheet landscape. Measure 17 cm in from the left along the top edge and make a mark. Draw a line from that mark to the bottom right corner and cut. You get a clean, classic triangle that reads beautifully on a wall.
If you want a little bigger
Head to your local craft store and buy felt off the roll. Ask for wool-blend if you can. Cut rectangles to 23 × 61 cm (9 × 24 in) for that traditional sport-pennant look, or go 30 × 45 cm (12 × 18 in) for a sturdy classroom size that is big enough to share but not enormous.
Header strip and hanging
Keep the header 2 to 3 cm wide so a thin dowel or skewer fits.
Or sometimes I just use a hole punch to make holes in the felt, thread through some wire and they're ready for hanging!
Hot gluing on a skewer or bamboo chopstick works brilliantly too.
The Making
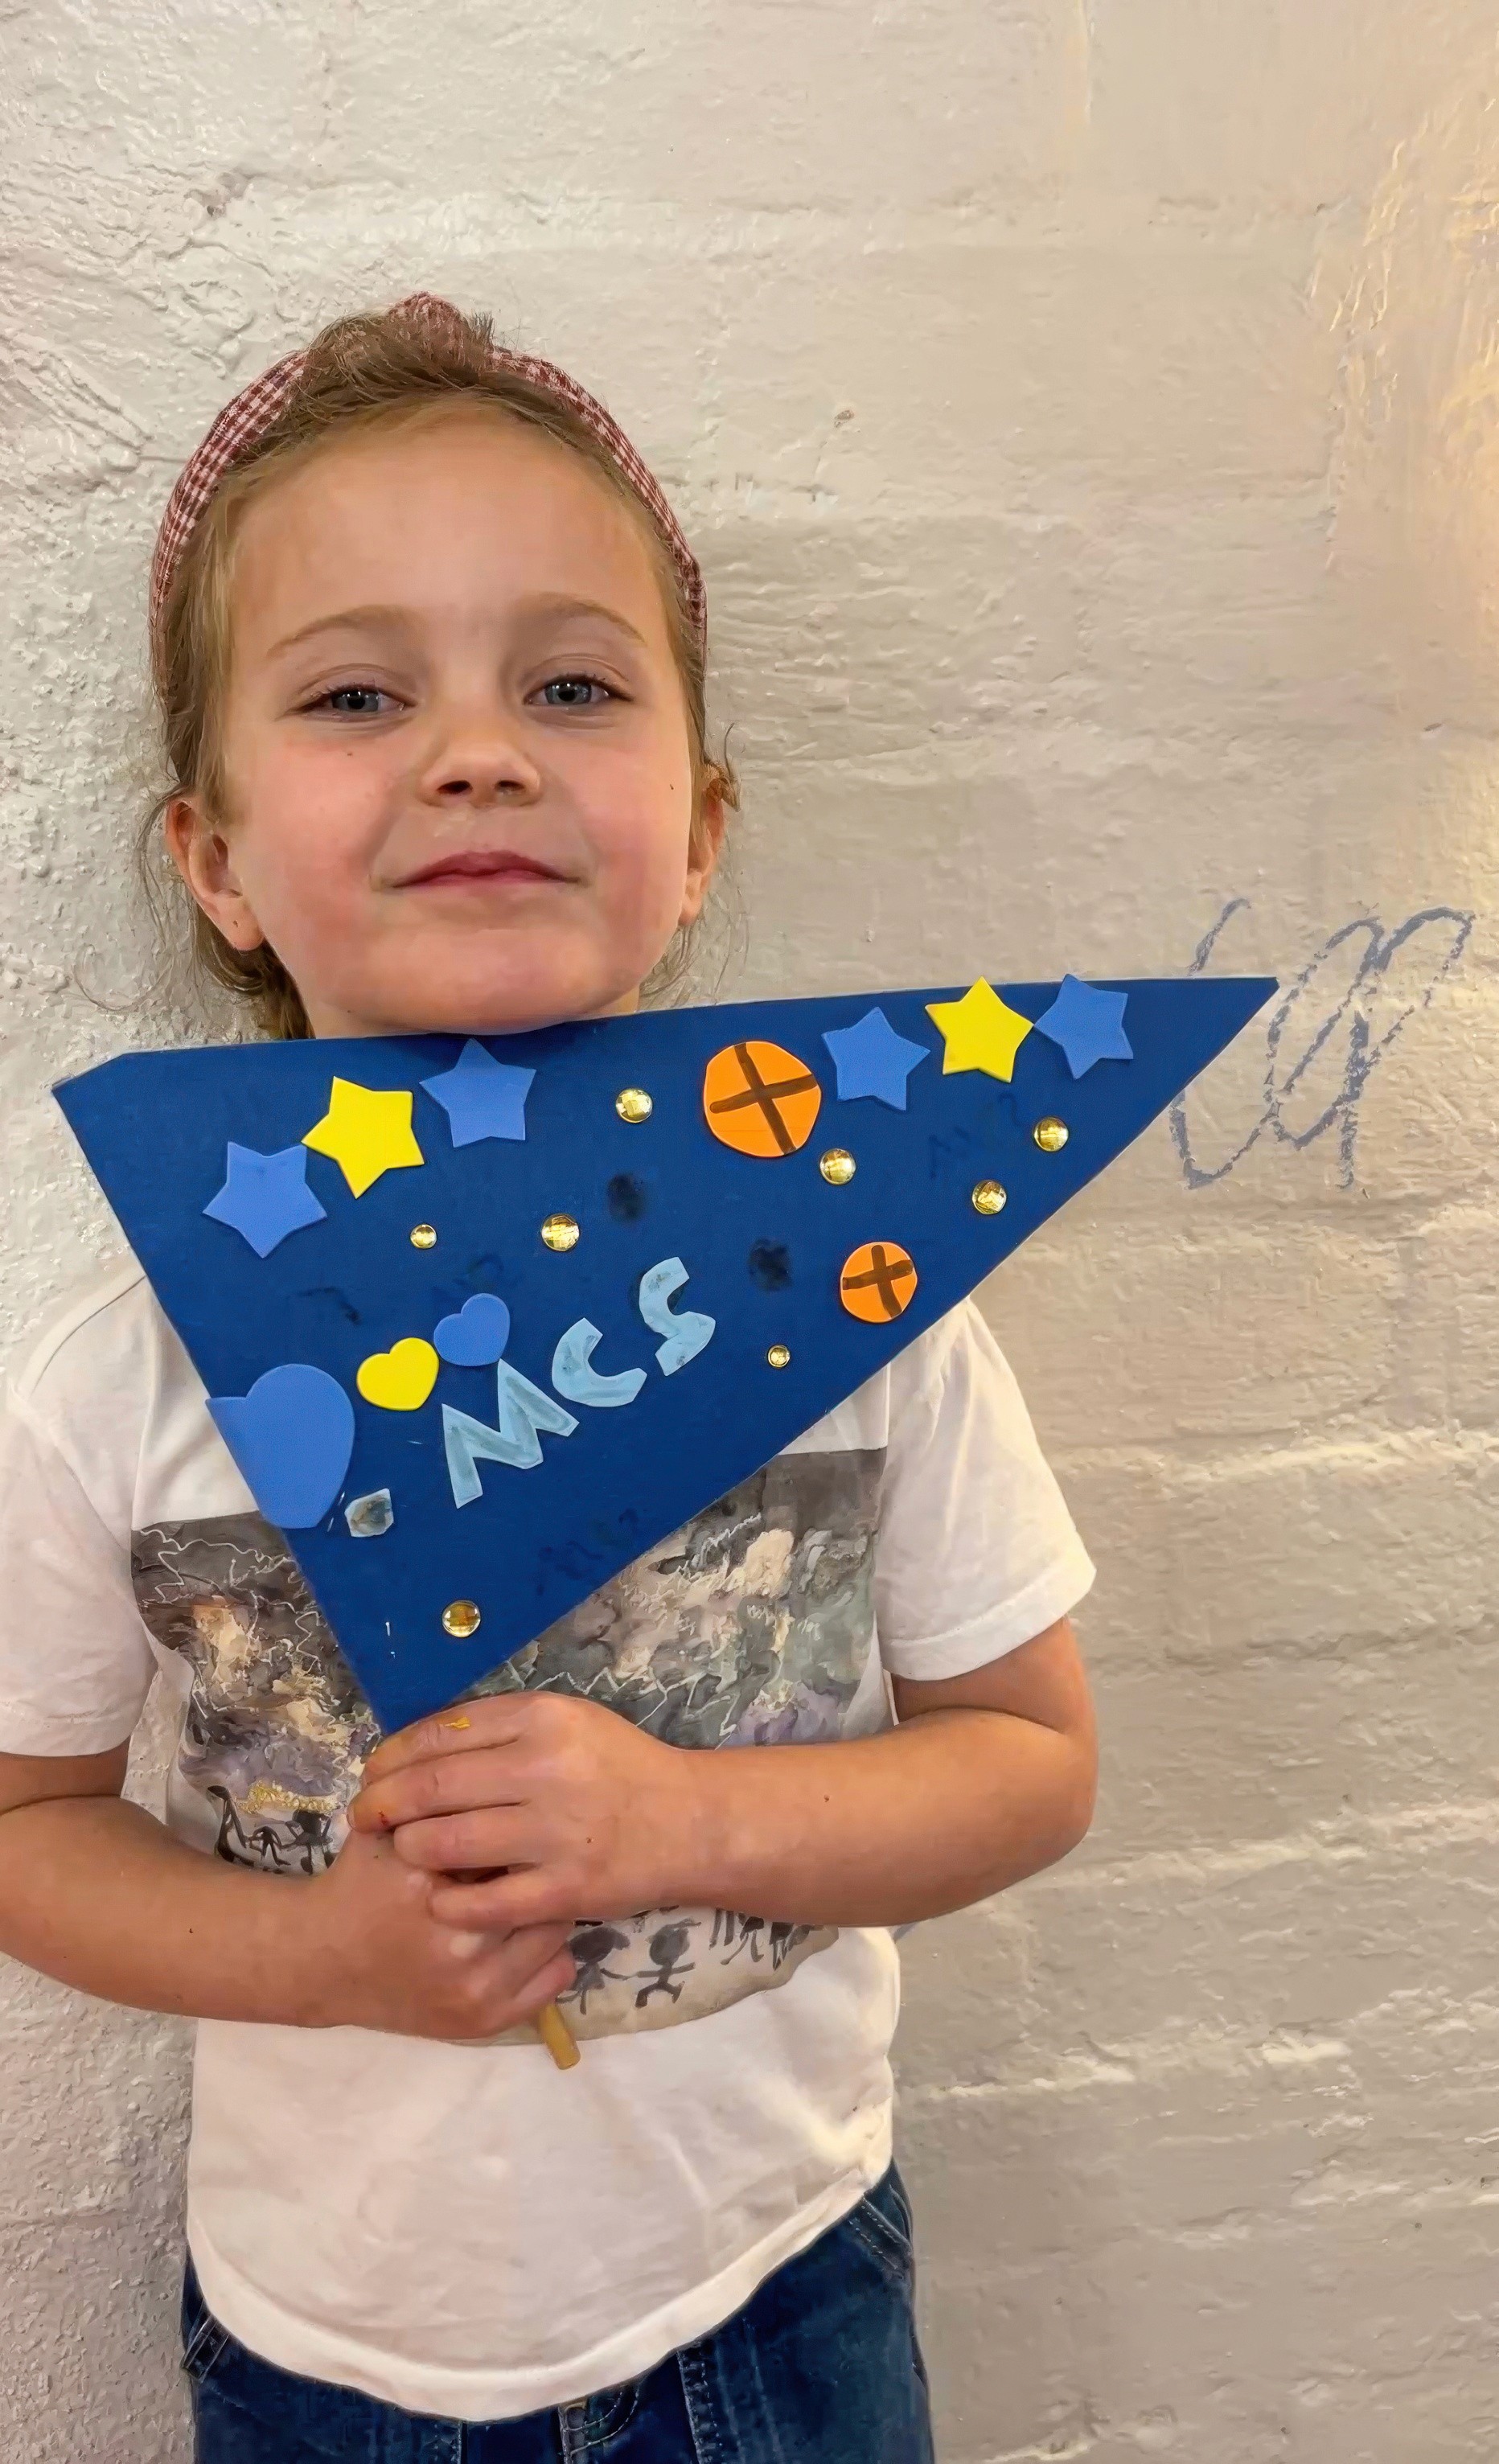
If the artists are open to it, I usually recommend laying out their designs first, then commit with glue after. This means that they can slide letters or nudge shapes around or try the sizing different ways and pick the one that lands. Names and teams and quotes / mottos work beautifully because they're bold.
Have a think about whether you can get the kids to glue now and stitch later (great if you want your banner to travel far and last). But obviously for tiny hands, glueing and designing their banners is lots of creative work, so the sewing can be an extension for older kids.
Variations
Everyone could create one banner each that joins as a group garland
Create a pocket flag with a tiny felt pocket for notes or wishes
Fringe ribbon or yarn along the bottom for movement
Materials
Thick felt bases
Felt sheets for letters and motifs
Fabric glue or needle and thread
Ribbon and sequins
Wooden dowels with string for hanging
Simple stencils and pencils
Scissors and a small ruler
Back to Top
Felt Banners & Pennants
A little triangle with a lot to say!
Bookmark
Collage
The Set Up
Pennant flags always take me straight to old sports carnivals I mostly know from movies. Cut grass. A brassy little band. Locker rooms and grandstands and team colours that suddenly mean everything. That Perfect energy for kids!
Leave a pile of smaller felt sheets for letters and shapes. Glue sits beside needles and thread so makers can choose sticky or stitchy. Bowls of extras within reach… ribbon, sequins, a few pom poms. Pencils for the lightest guide dots (they disappear under felt, no tracing drama).
Size guide for banners and pennants
If you have A4 felt
A4 is 21 × 29.7 cm (8.3 × 11.7 in). Perfect for a rectangular drop banner. Use the sheet as is, portrait. Add a 2 to 3 cm header strip along the top or side for your dowel.
If you have A3 felt
A3 is 29.7 × 42 cm (11.7 × 16.5 in). Great for a triangular pennant. Place the sheet landscape. Measure 17 cm in from the left along the top edge and make a mark. Draw a line from that mark to the bottom right corner and cut. You get a clean, classic triangle that reads beautifully on a wall.
If you want a little bigger
Head to your local craft store and buy felt off the roll. Ask for wool-blend if you can. Cut rectangles to 23 × 61 cm (9 × 24 in) for that traditional sport-pennant look, or go 30 × 45 cm (12 × 18 in) for a sturdy classroom size that is big enough to share but not enormous.
Header strip and hanging
Keep the header 2 to 3 cm wide so a thin dowel or skewer fits.
Or sometimes I just use a hole punch to make holes in the felt, thread through some wire and they're ready for hanging!
Hot gluing on a skewer or bamboo chopstick works brilliantly too.
The Making
If the artists are open to it, I usually recommend laying out their designs first, then commit with glue after. This means that they can slide letters or nudge shapes around or try the sizing different ways and pick the one that lands. Names and teams and quotes / mottos work beautifully because they're bold.
Have a think about whether you can get the kids to glue now and stitch later (great if you want your banner to travel far and last). But obviously for tiny hands, glueing and designing their banners is lots of creative work, so the sewing can be an extension for older kids.
Variations
Everyone could create one banner each that joins as a group garland
Create a pocket flag with a tiny felt pocket for notes or wishes
Fringe ribbon or yarn along the bottom for movement
Materials
Thick felt bases
Felt sheets for letters and motifs
Fabric glue or needle and thread
Ribbon and sequins
Wooden dowels with string for hanging
Simple stencils and pencils
Scissors and a small ruler
Back to Top
Add this to your favourites
Add this to your favourites
Thoughts?
Would love to hear if youv'e tried this or have any ideas on how to make it even better!
