Galaxy Paintings
Liquid watercolour, rock salt, and a bit of magic
The Set Up
This is one of my most favourite processes in the whole studio. It blends science and art and you never quite know where the materials are going to take it. The short version: painter's tape around the edge of watercolour paper, liquid watercolour flooded across the middle, rock salt scattered while everything is still wet, left to dry, then layered with white splatter stars.
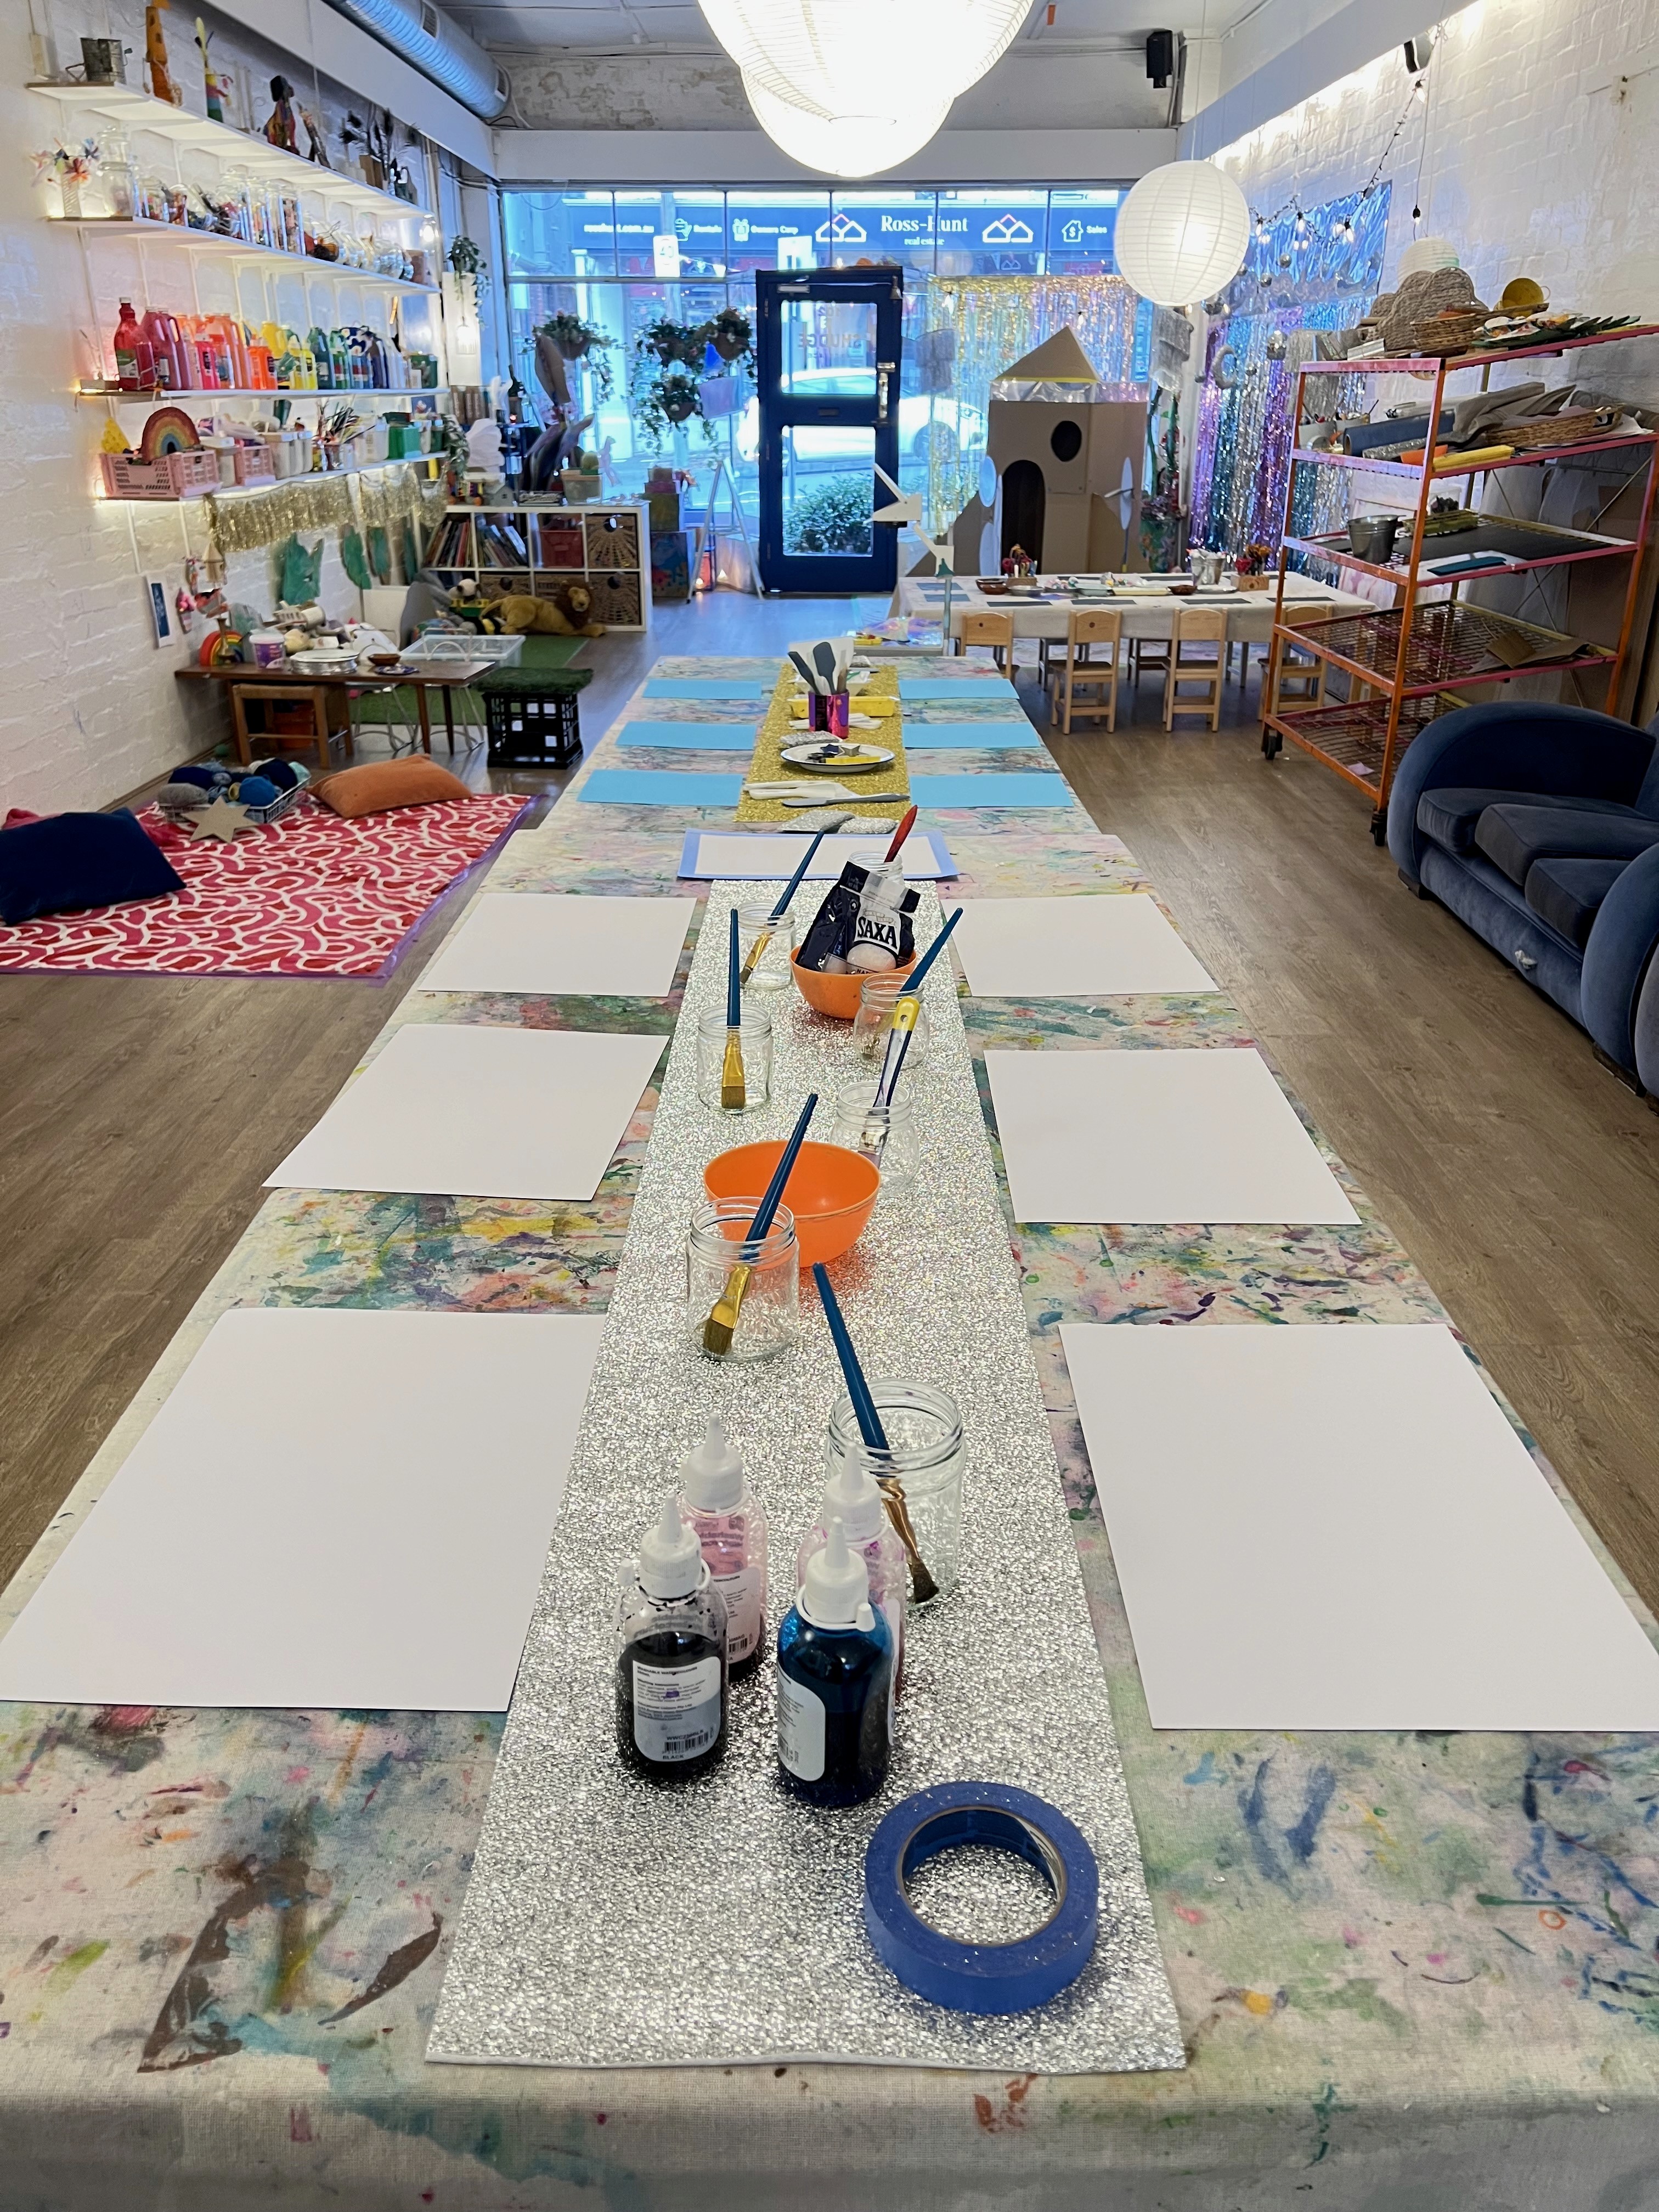
Start with a decent heavyweight paper. Watercolour paper at 200gsm or higher is ideal because it won't buckle when you really soak it. Run painter's tape around all four edges of the paper to create a clean white border. This small step turns the finished piece from a paint blob into a gorgeous framed-looking galaxy, and the reveal when the tape peels off at the end is one of the best moments in the studio.
Lay out liquid watercolours in droppers and small jars. We use liquid watercolours, which are absolutely brilliant, concentrated pigment, a little goes a long way. Go deep: navy, teal, purple, magenta, and a hit of emerald. If you haven't used liquid watercolours before, they're not the same as food colouring or school pan watercolours. The colours are rich and saturated and they blend on wet paper in ways that feel very cosmic.
Have a container of rock salt standing by. Coarse salt, not fine table salt. The bigger the grains, the better the starburst effect.
The Making
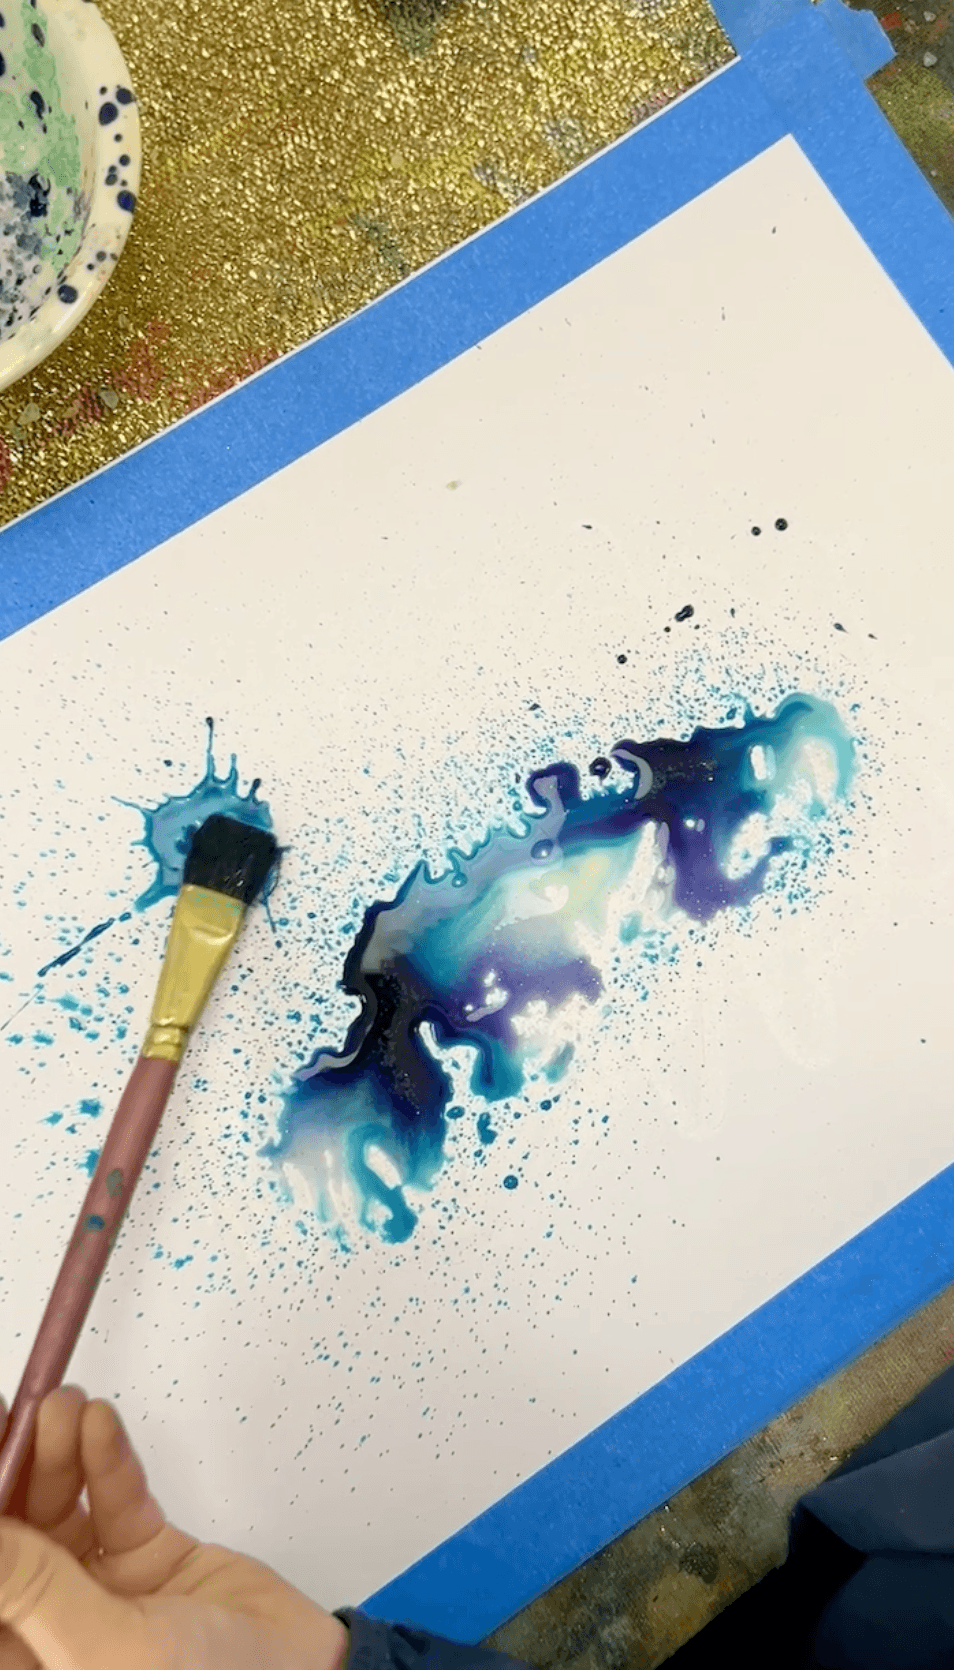
Wet the whole paper down with a clean brush first so the surface is properly saturated. Then drip colour on with pipettes or brushes, letting wet-on-wet blend itself. The colours spread and meet and form their own swirls, and this is where you stop directing and start watching. Big pools of deep blue next to magenta, a flood of teal through the middle, maybe a splash of purple at one corner.
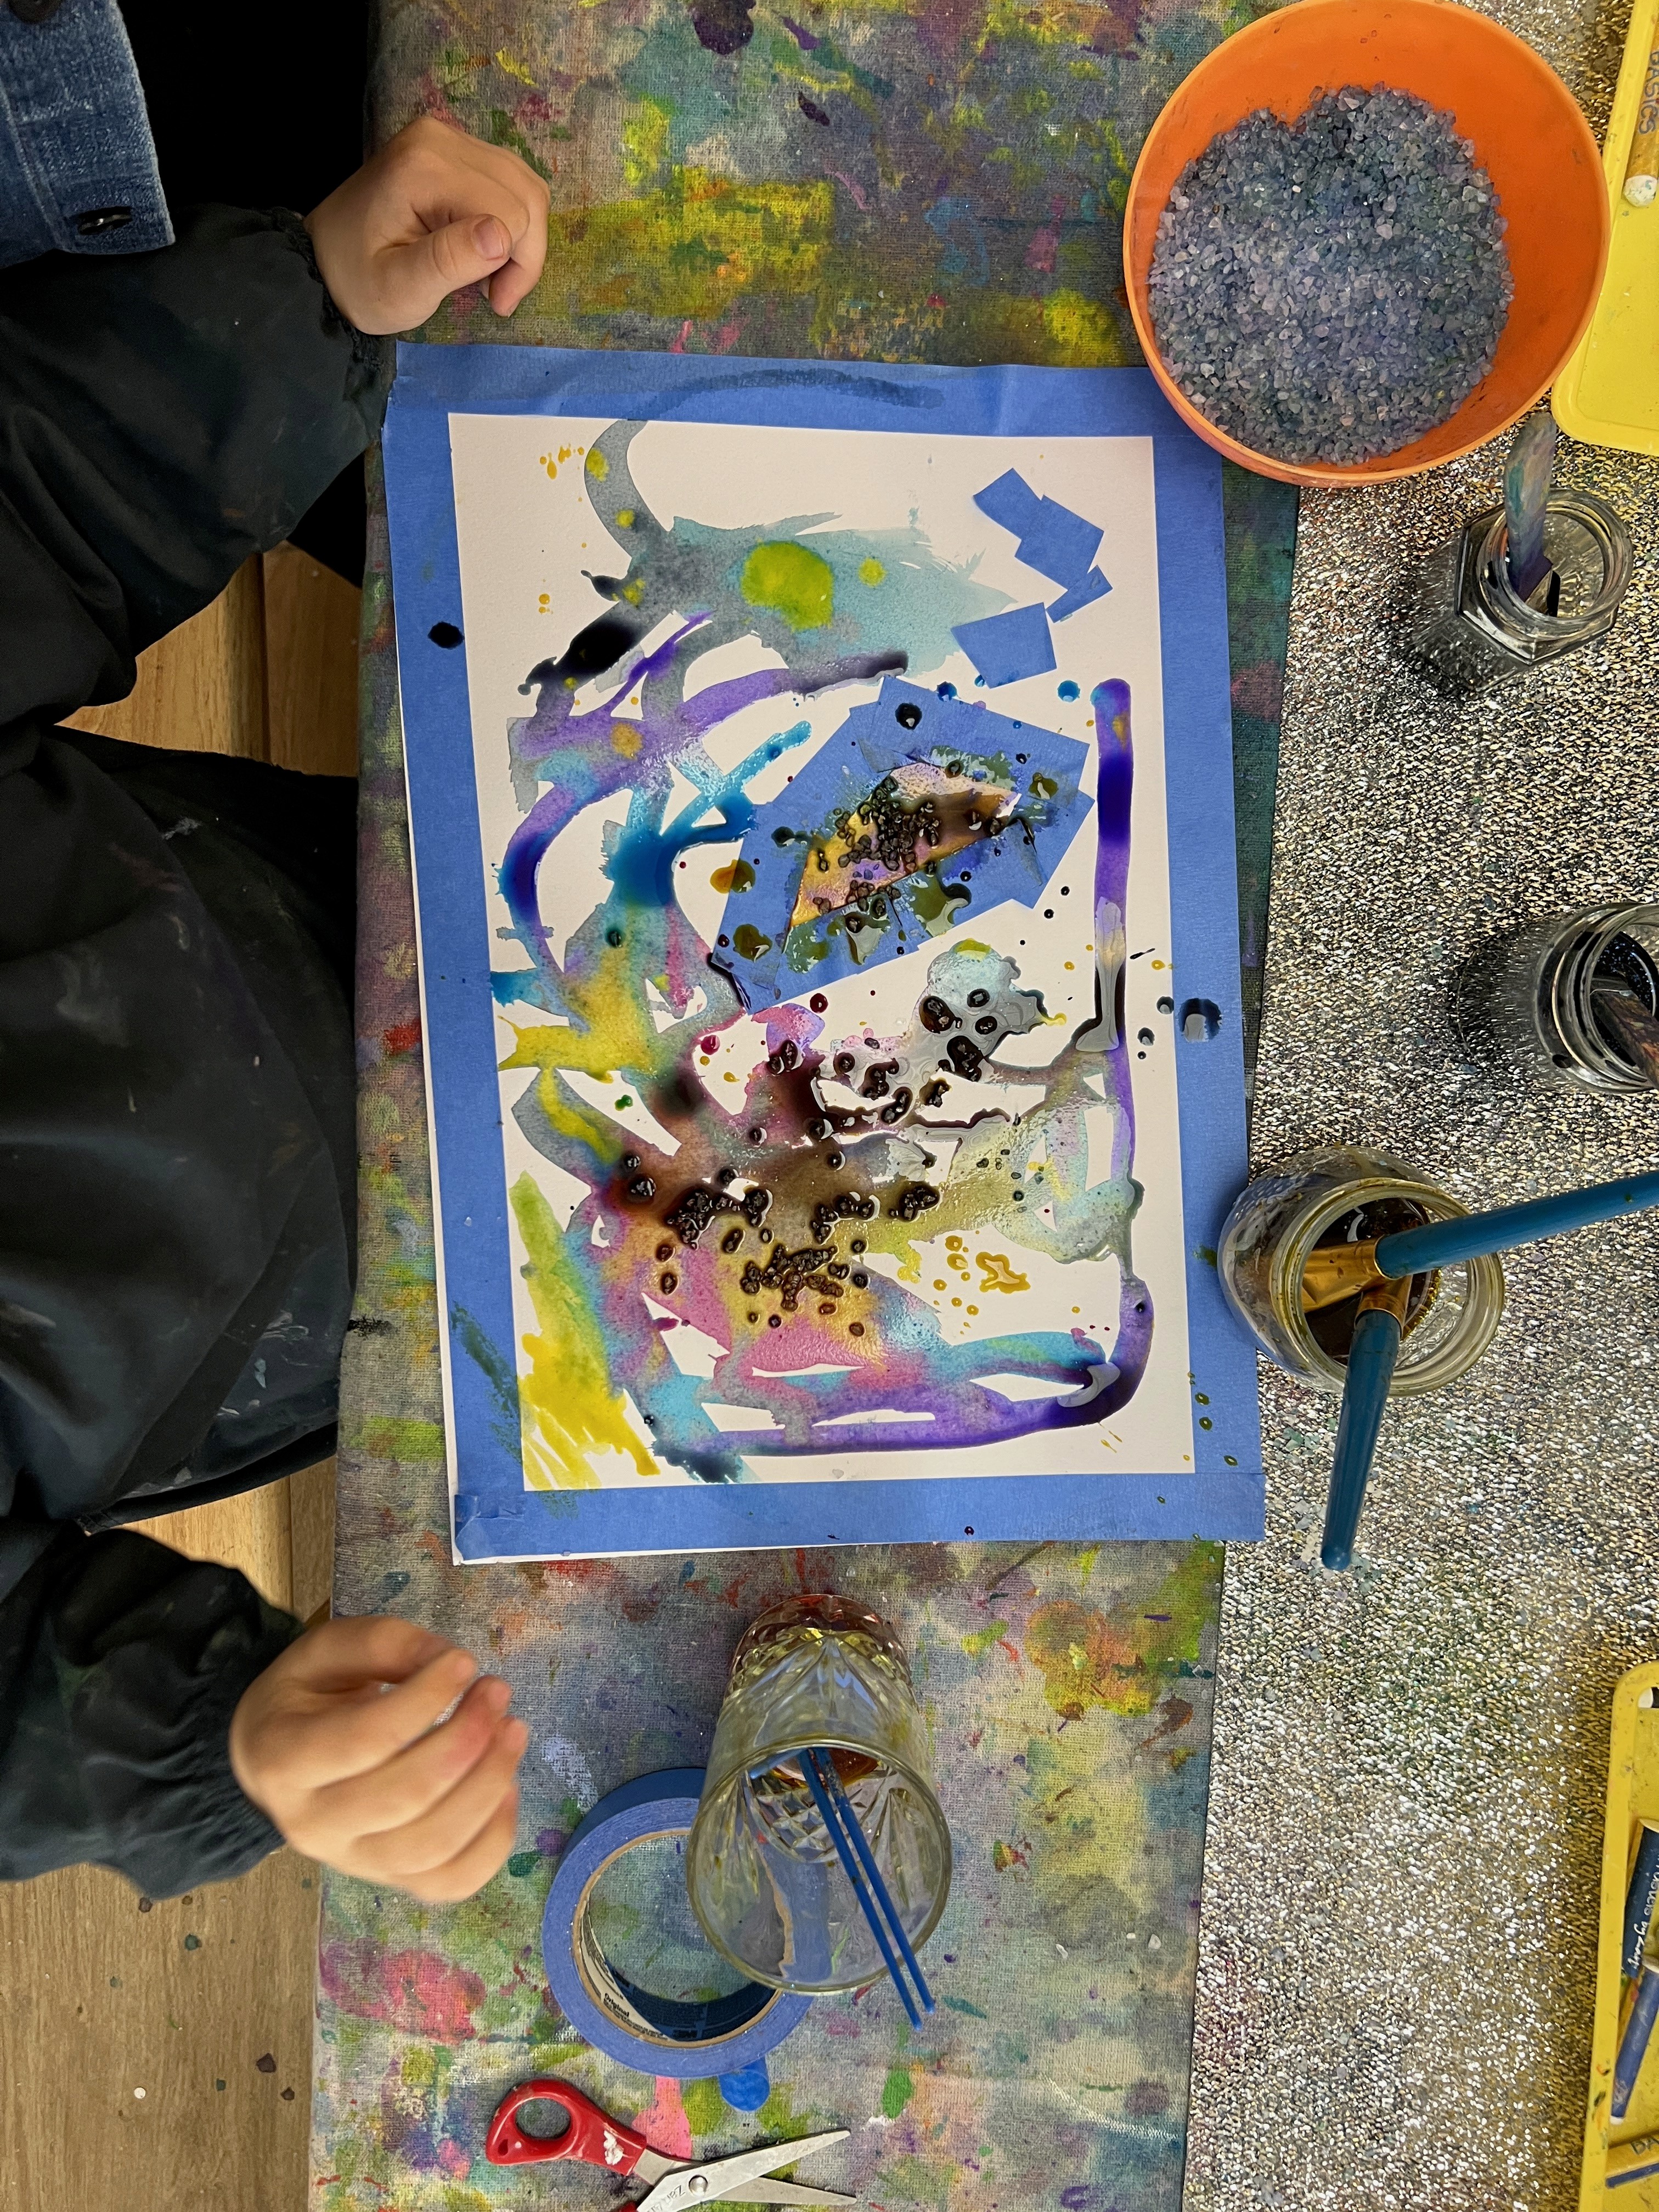
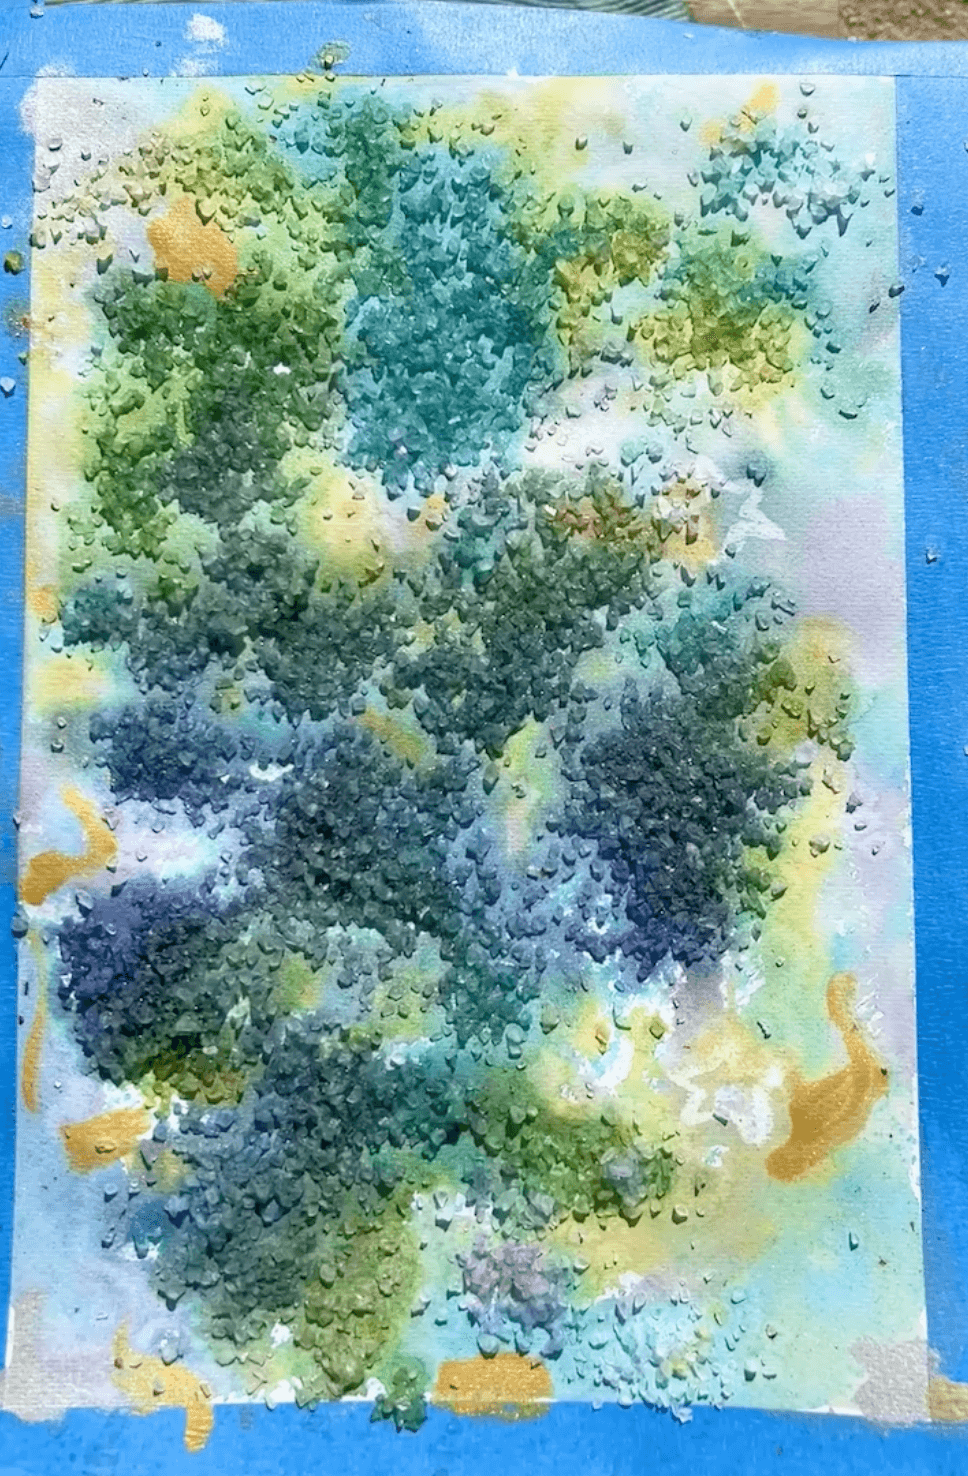
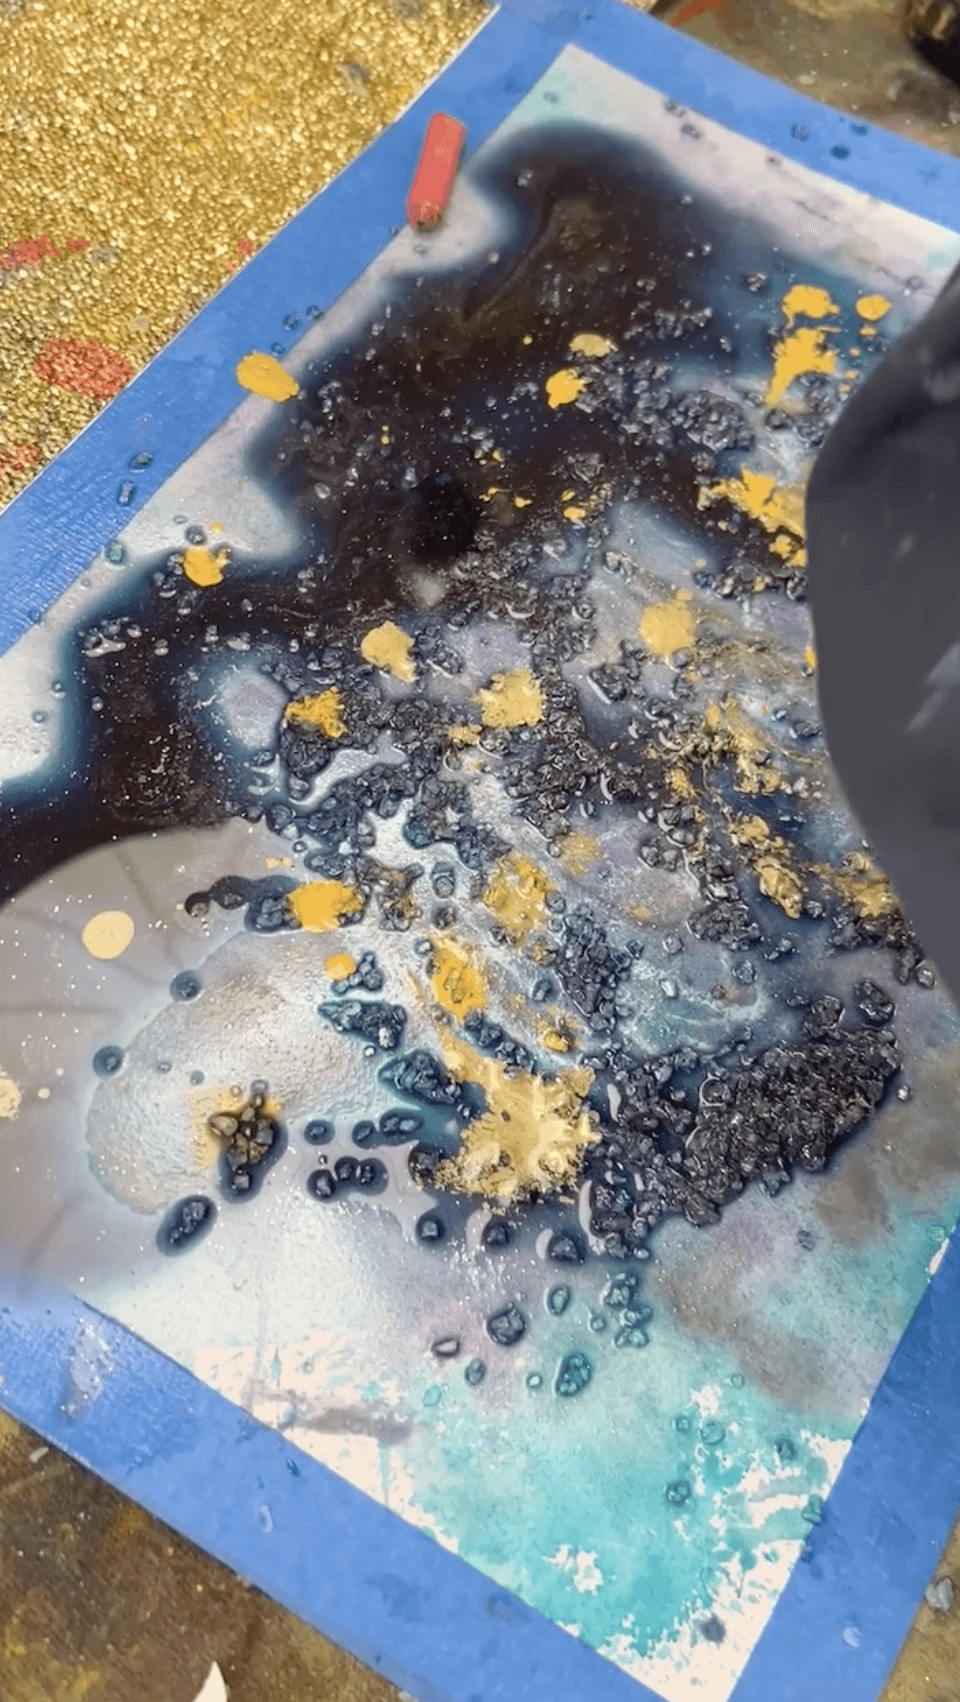
While the paint is still wet, scatter rock salt generously across the surface. Don't be shy with it. This is the magic step. The salt pulls water toward itself and creates tiny starburst patterns as the paper dries, little crystalline explosions across the galaxy. Set the papers aside to dry completely, which takes a few hours. Resist the urge to brush the salt off until they're bone dry (if you can!).
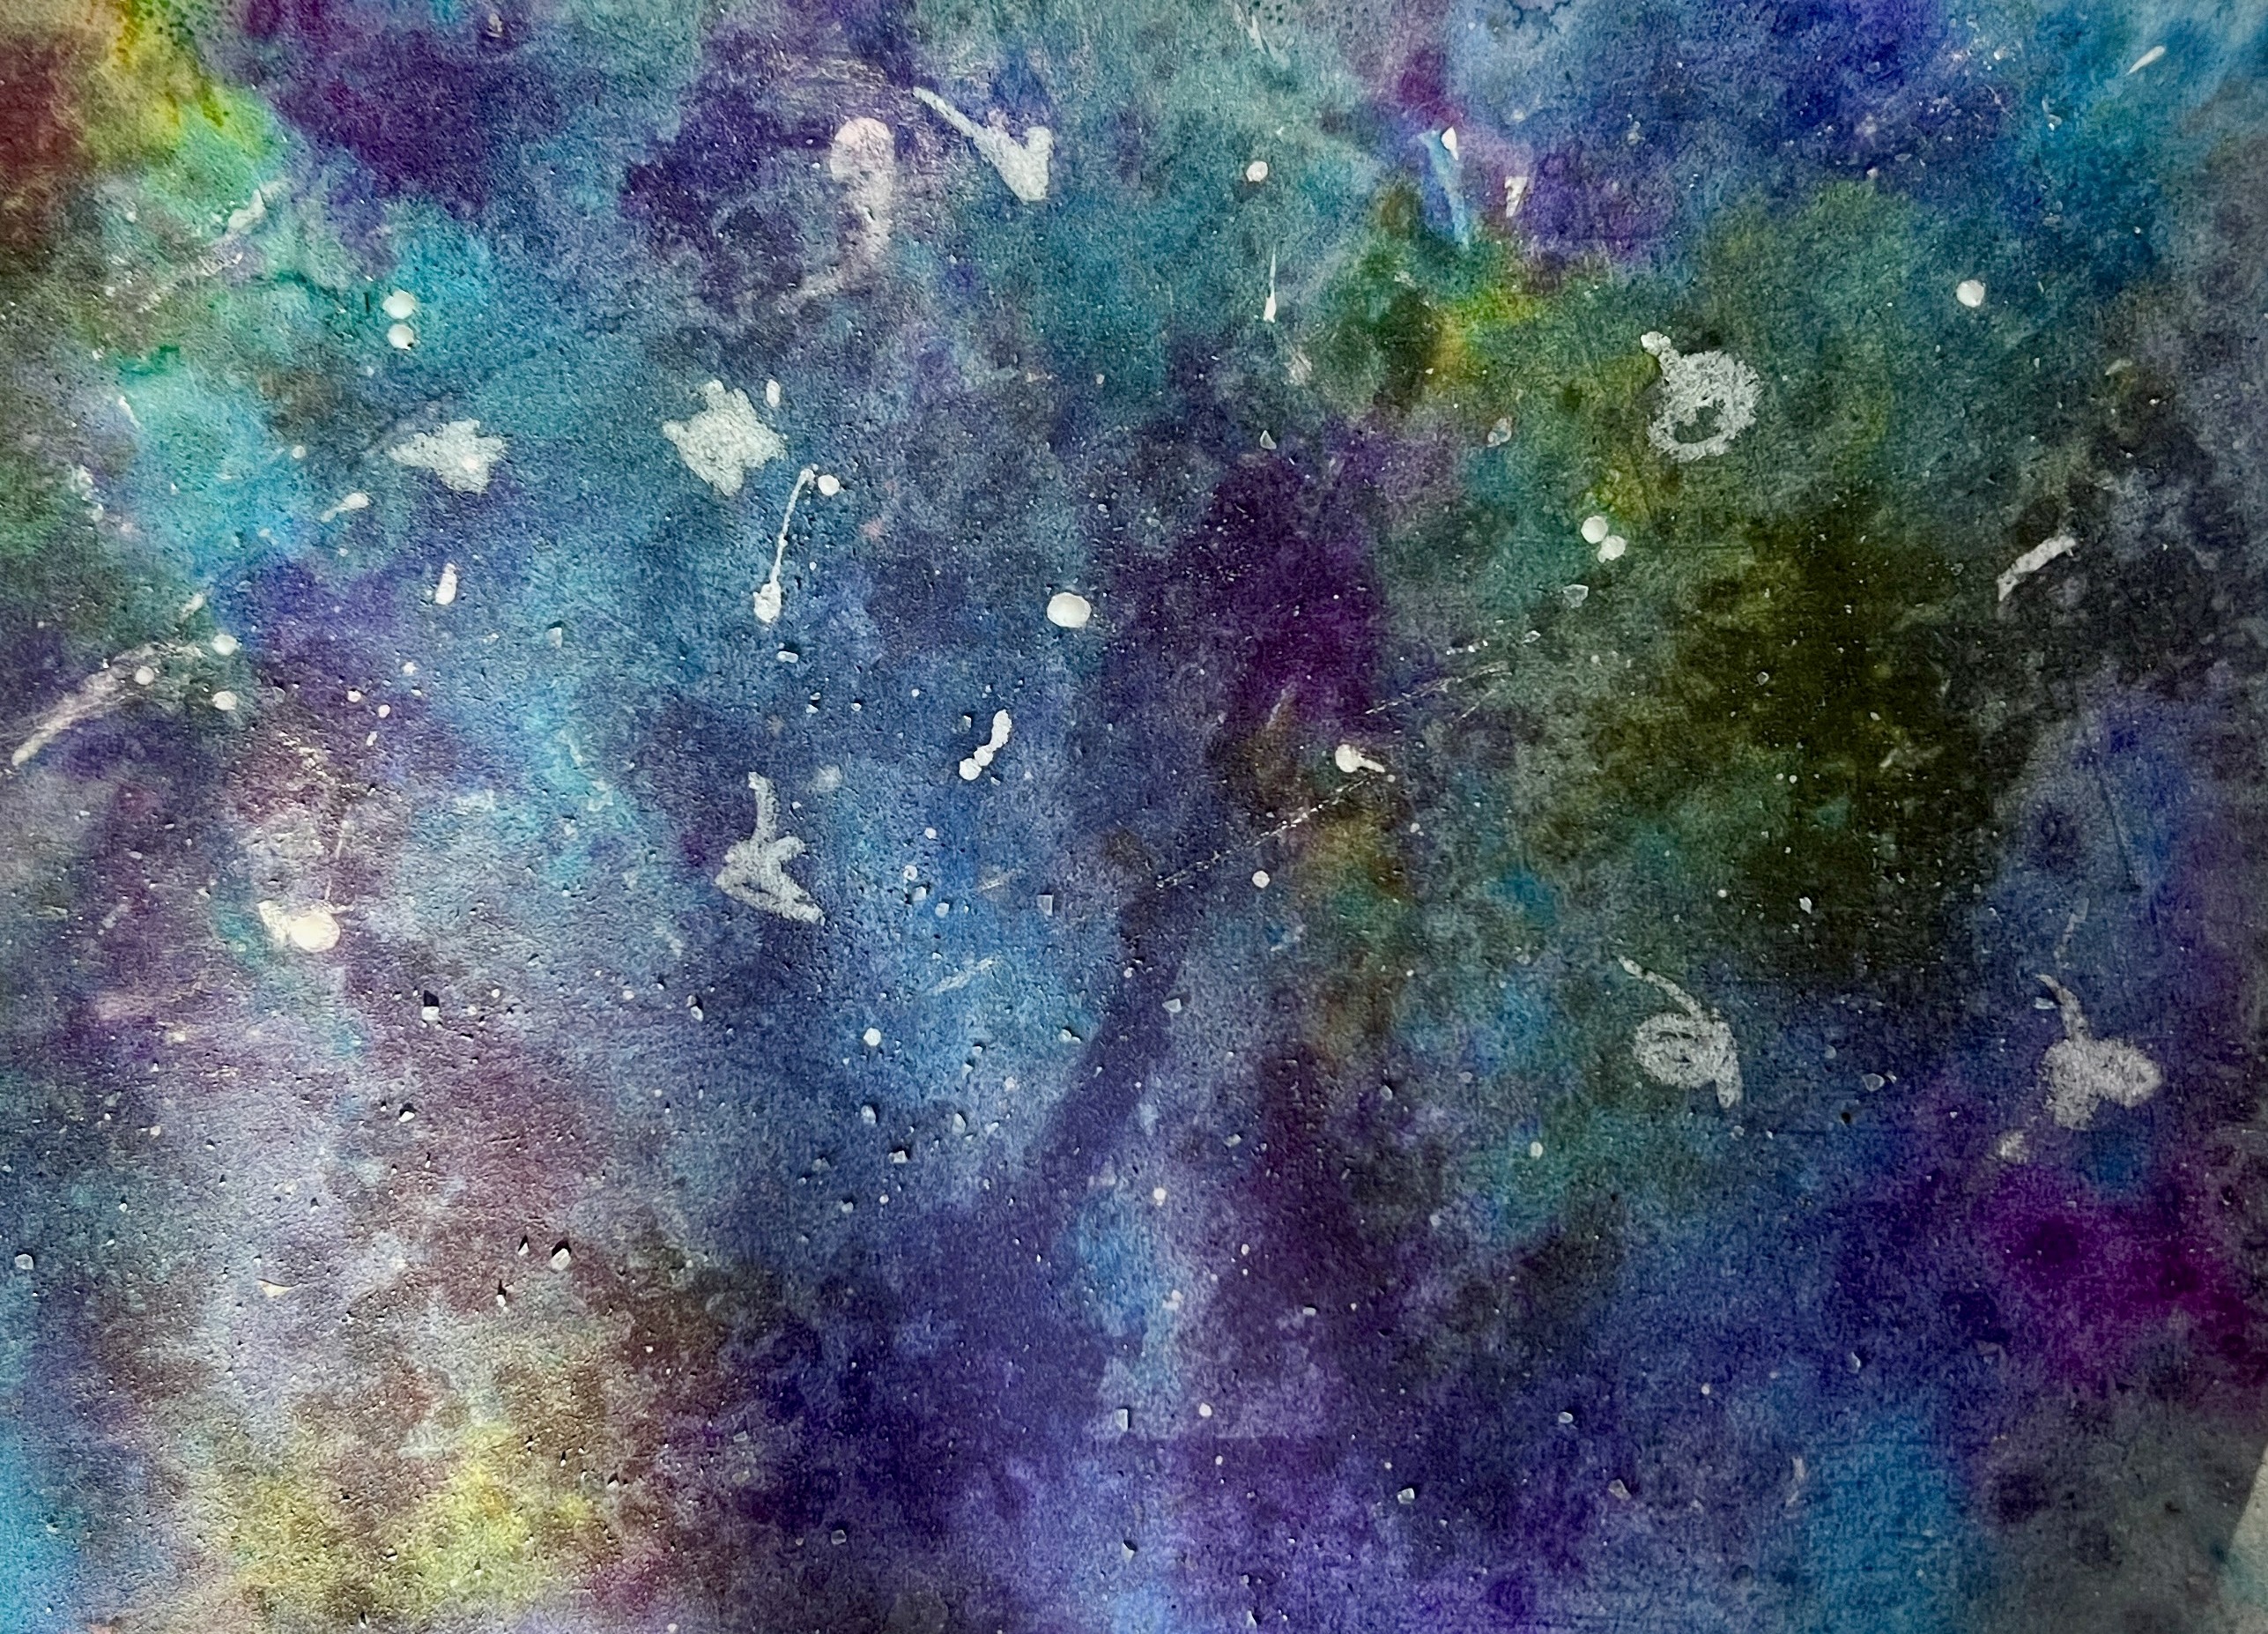
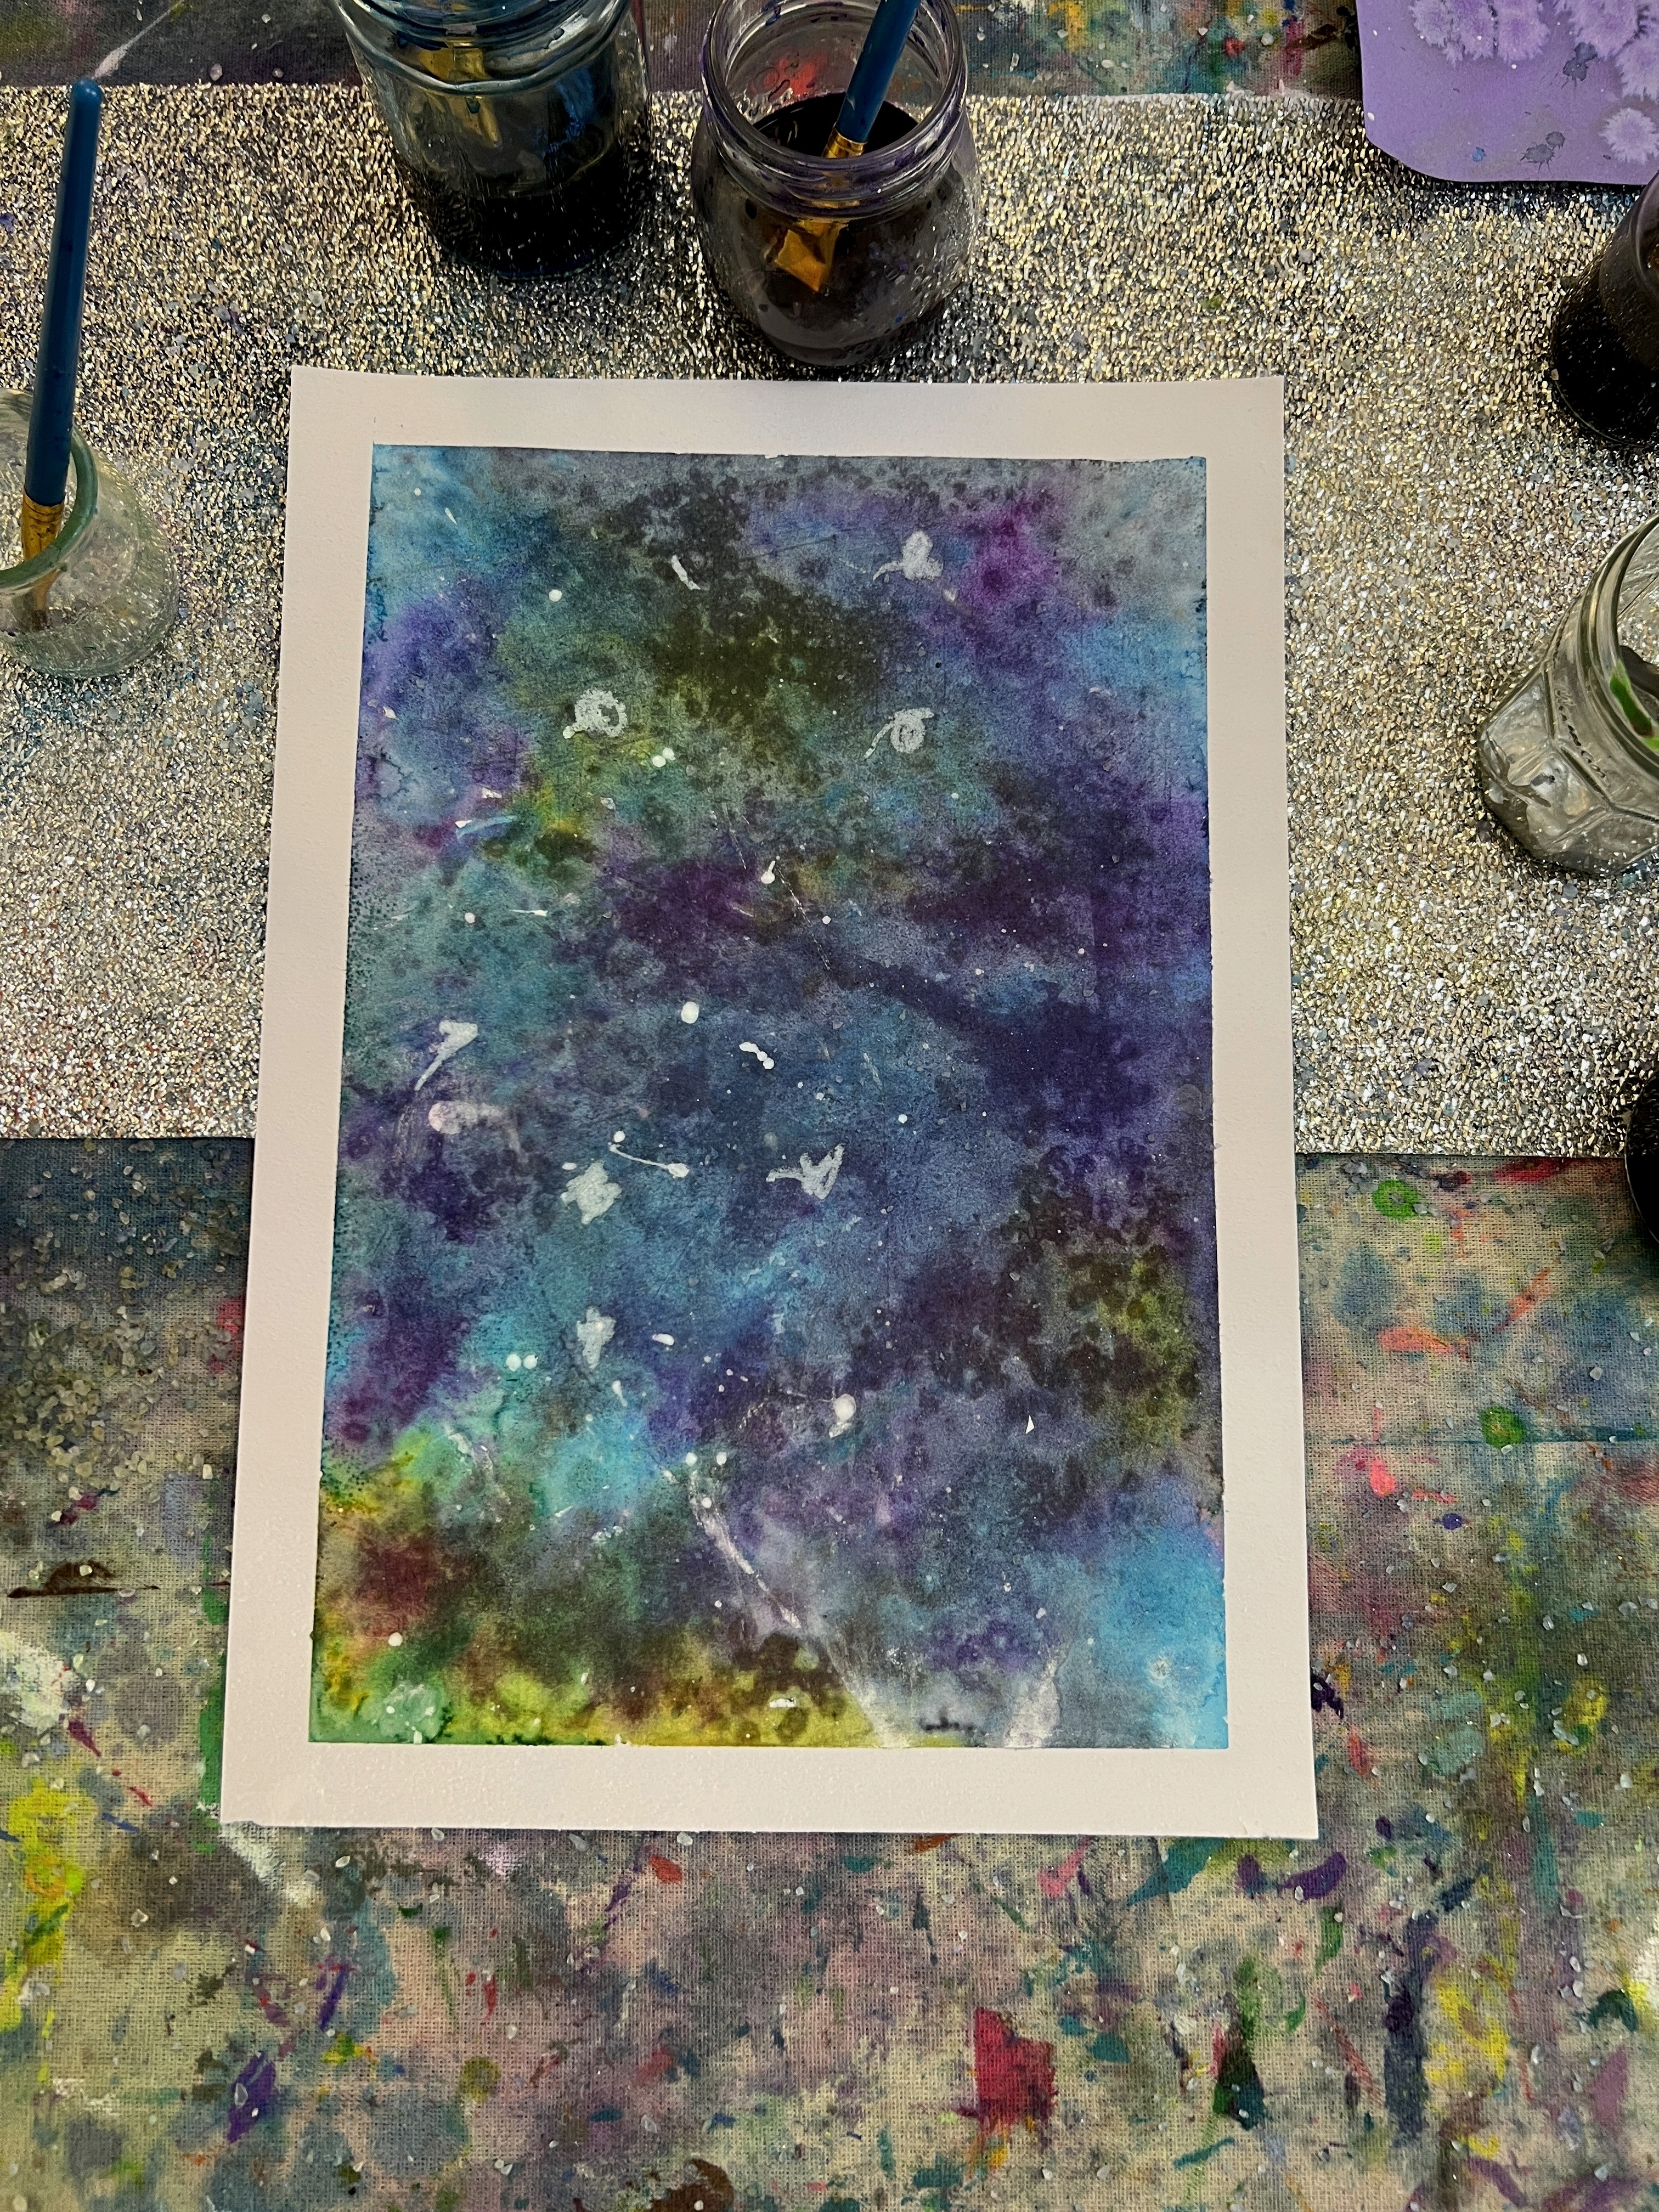
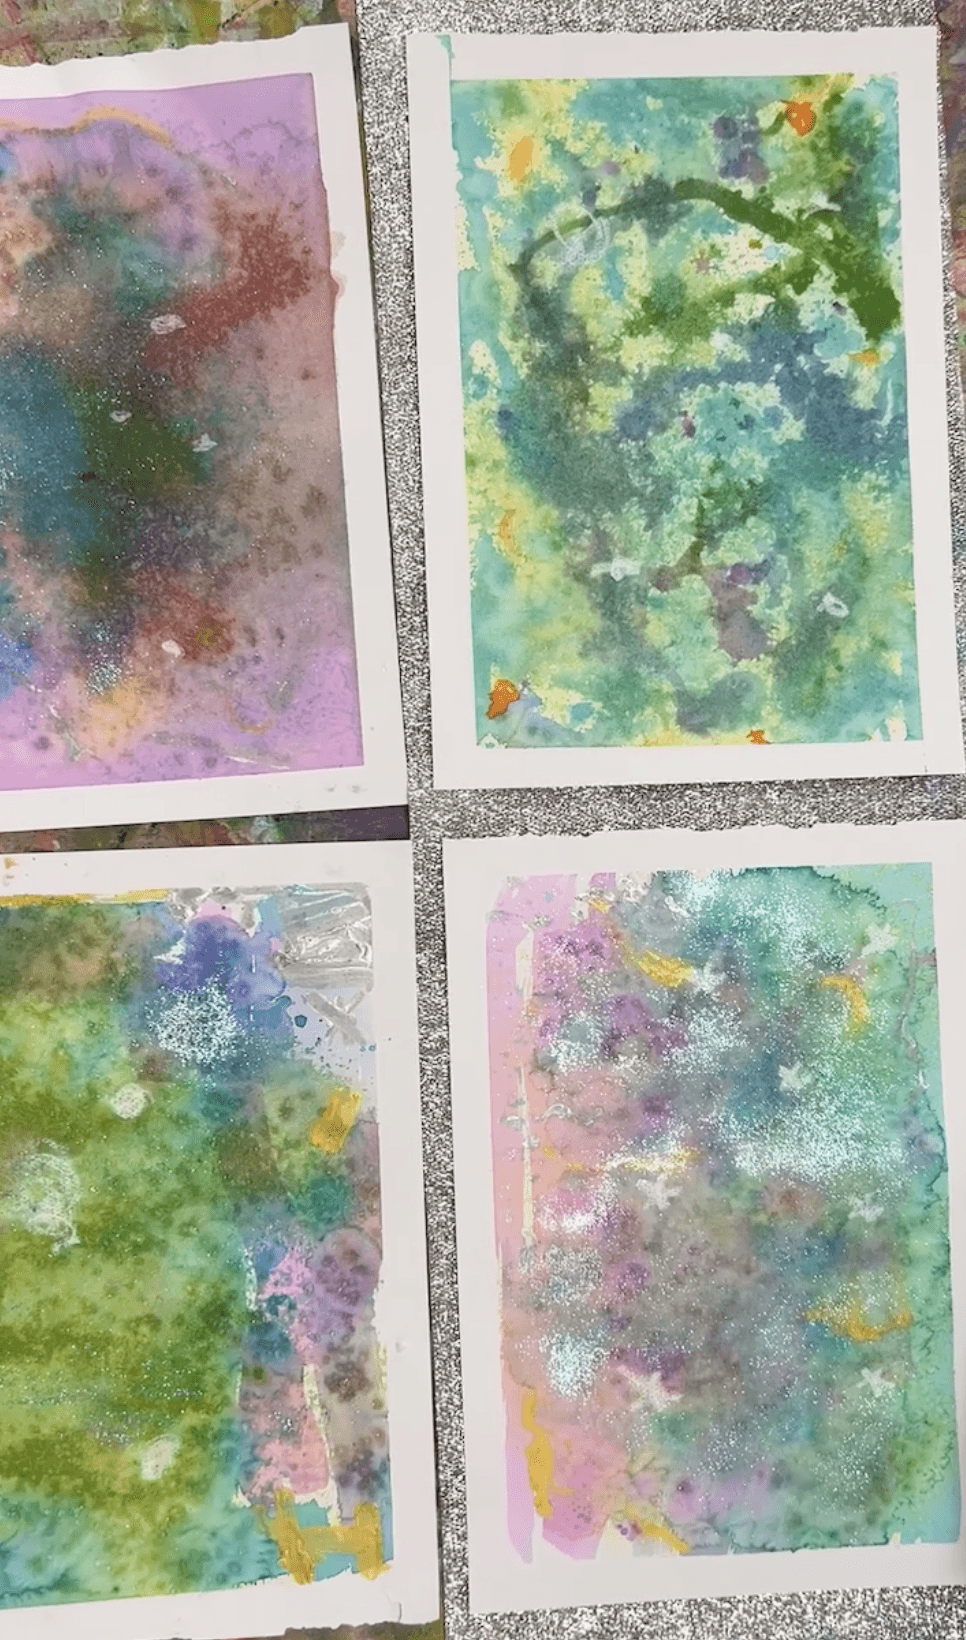
Once dry, brush the salt away. The effect is already so good. Now for the layering. Oil pastels in white, gold, and silver add little detail stars, constellations, swirls. A splatter of white poster paint flicked from an old toothbrush scatters distant stars across the whole scene. Add a few bigger star shapes in gold poster paint if you like. When everything's dry, peel the painter's tape away slowly. How satisfying is that clean white border holding all that colour in?!
Artist Study: Vija Celmins
If you haven't come across Vija Celmins, her night sky drawings are worth a long look. She spent years making the same view of stars over and over, obsessively detailed, entirely in black and white. What's beautiful about her work is how she makes something that feels infinite out of just two colours.
I adore chatting about her work with the Smudge artists (around five and up) because it invites a conversation about how you can look at the same thing your whole life and still find new and wonderful things in it.
Materials
Watercolour paper, 200gsm or higher (anything lighter will likely buckle)
Painter's tape, low-tack so it peels cleanly
EC liquid watercolours in navy, teal, purple, magenta, emerald
Rock salt (coarse, not fine table salt)
Pipettes and small brushes
Oil pastels in white, gold, and silver
Poster paint in white, gold, and silver
Old toothbrushes for splattering
Jars of clean water
Back to Top
Galaxy Paintings
Liquid watercolour, rock salt, and a bit of magic
Bookmark
Painting & Drawing
The Set Up
This is one of my most favourite processes in the whole studio. It blends science and art and you never quite know where the materials are going to take it. The short version: painter's tape around the edge of watercolour paper, liquid watercolour flooded across the middle, rock salt scattered while everything is still wet, left to dry, then layered with white splatter stars.
Start with a decent heavyweight paper. Watercolour paper at 200gsm or higher is ideal because it won't buckle when you really soak it. Run painter's tape around all four edges of the paper to create a clean white border. This small step turns the finished piece from a paint blob into a gorgeous framed-looking galaxy, and the reveal when the tape peels off at the end is one of the best moments in the studio.
Lay out liquid watercolours in droppers and small jars. We use liquid watercolours, which are absolutely brilliant, concentrated pigment, a little goes a long way. Go deep: navy, teal, purple, magenta, and a hit of emerald. If you haven't used liquid watercolours before, they're not the same as food colouring or school pan watercolours. The colours are rich and saturated and they blend on wet paper in ways that feel very cosmic.
Have a container of rock salt standing by. Coarse salt, not fine table salt. The bigger the grains, the better the starburst effect.
The Making
Wet the whole paper down with a clean brush first so the surface is properly saturated. Then drip colour on with pipettes or brushes, letting wet-on-wet blend itself. The colours spread and meet and form their own swirls, and this is where you stop directing and start watching. Big pools of deep blue next to magenta, a flood of teal through the middle, maybe a splash of purple at one corner.
While the paint is still wet, scatter rock salt generously across the surface. Don't be shy with it. This is the magic step. The salt pulls water toward itself and creates tiny starburst patterns as the paper dries, little crystalline explosions across the galaxy. Set the papers aside to dry completely, which takes a few hours. Resist the urge to brush the salt off until they're bone dry (if you can!).
Once dry, brush the salt away. The effect is already so good. Now for the layering. Oil pastels in white, gold, and silver add little detail stars, constellations, swirls. A splatter of white poster paint flicked from an old toothbrush scatters distant stars across the whole scene. Add a few bigger star shapes in gold poster paint if you like. When everything's dry, peel the painter's tape away slowly. How satisfying is that clean white border holding all that colour in?!
Artist Study: Vija Celmins
If you haven't come across Vija Celmins, her night sky drawings are worth a long look. She spent years making the same view of stars over and over, obsessively detailed, entirely in black and white. What's beautiful about her work is how she makes something that feels infinite out of just two colours.
I adore chatting about her work with the Smudge artists (around five and up) because it invites a conversation about how you can look at the same thing your whole life and still find new and wonderful things in it.
Materials
Watercolour paper, 200gsm or higher (anything lighter will likely buckle)
Painter's tape, low-tack so it peels cleanly
EC liquid watercolours in navy, teal, purple, magenta, emerald
Rock salt (coarse, not fine table salt)
Pipettes and small brushes
Oil pastels in white, gold, and silver
Poster paint in white, gold, and silver
Old toothbrushes for splattering
Jars of clean water
Back to Top
Add this to your favourites
Add this to your favourites
Thoughts?
Would love to hear if youv'e tried this or have any ideas on how to make it even better!