Gelli Spider Webs
Charlotte would be so proud!
The Set Up
Gelli printing can look intimidating if you’ve never tried it before, but once you start, it quickly becomes one of those techniques that you and the kids can’t stop experimenting with. The joy is that every single print is different, and you can’t really get it wrong.
Set out gelli plates, a few tubes of acrylic paint, brayers, and paper. Use thicker paper for finished prints and regular copy paper for tests and ghost prints. Have cloths or wipes on hand and pop aprons on early because acrylics will stain.
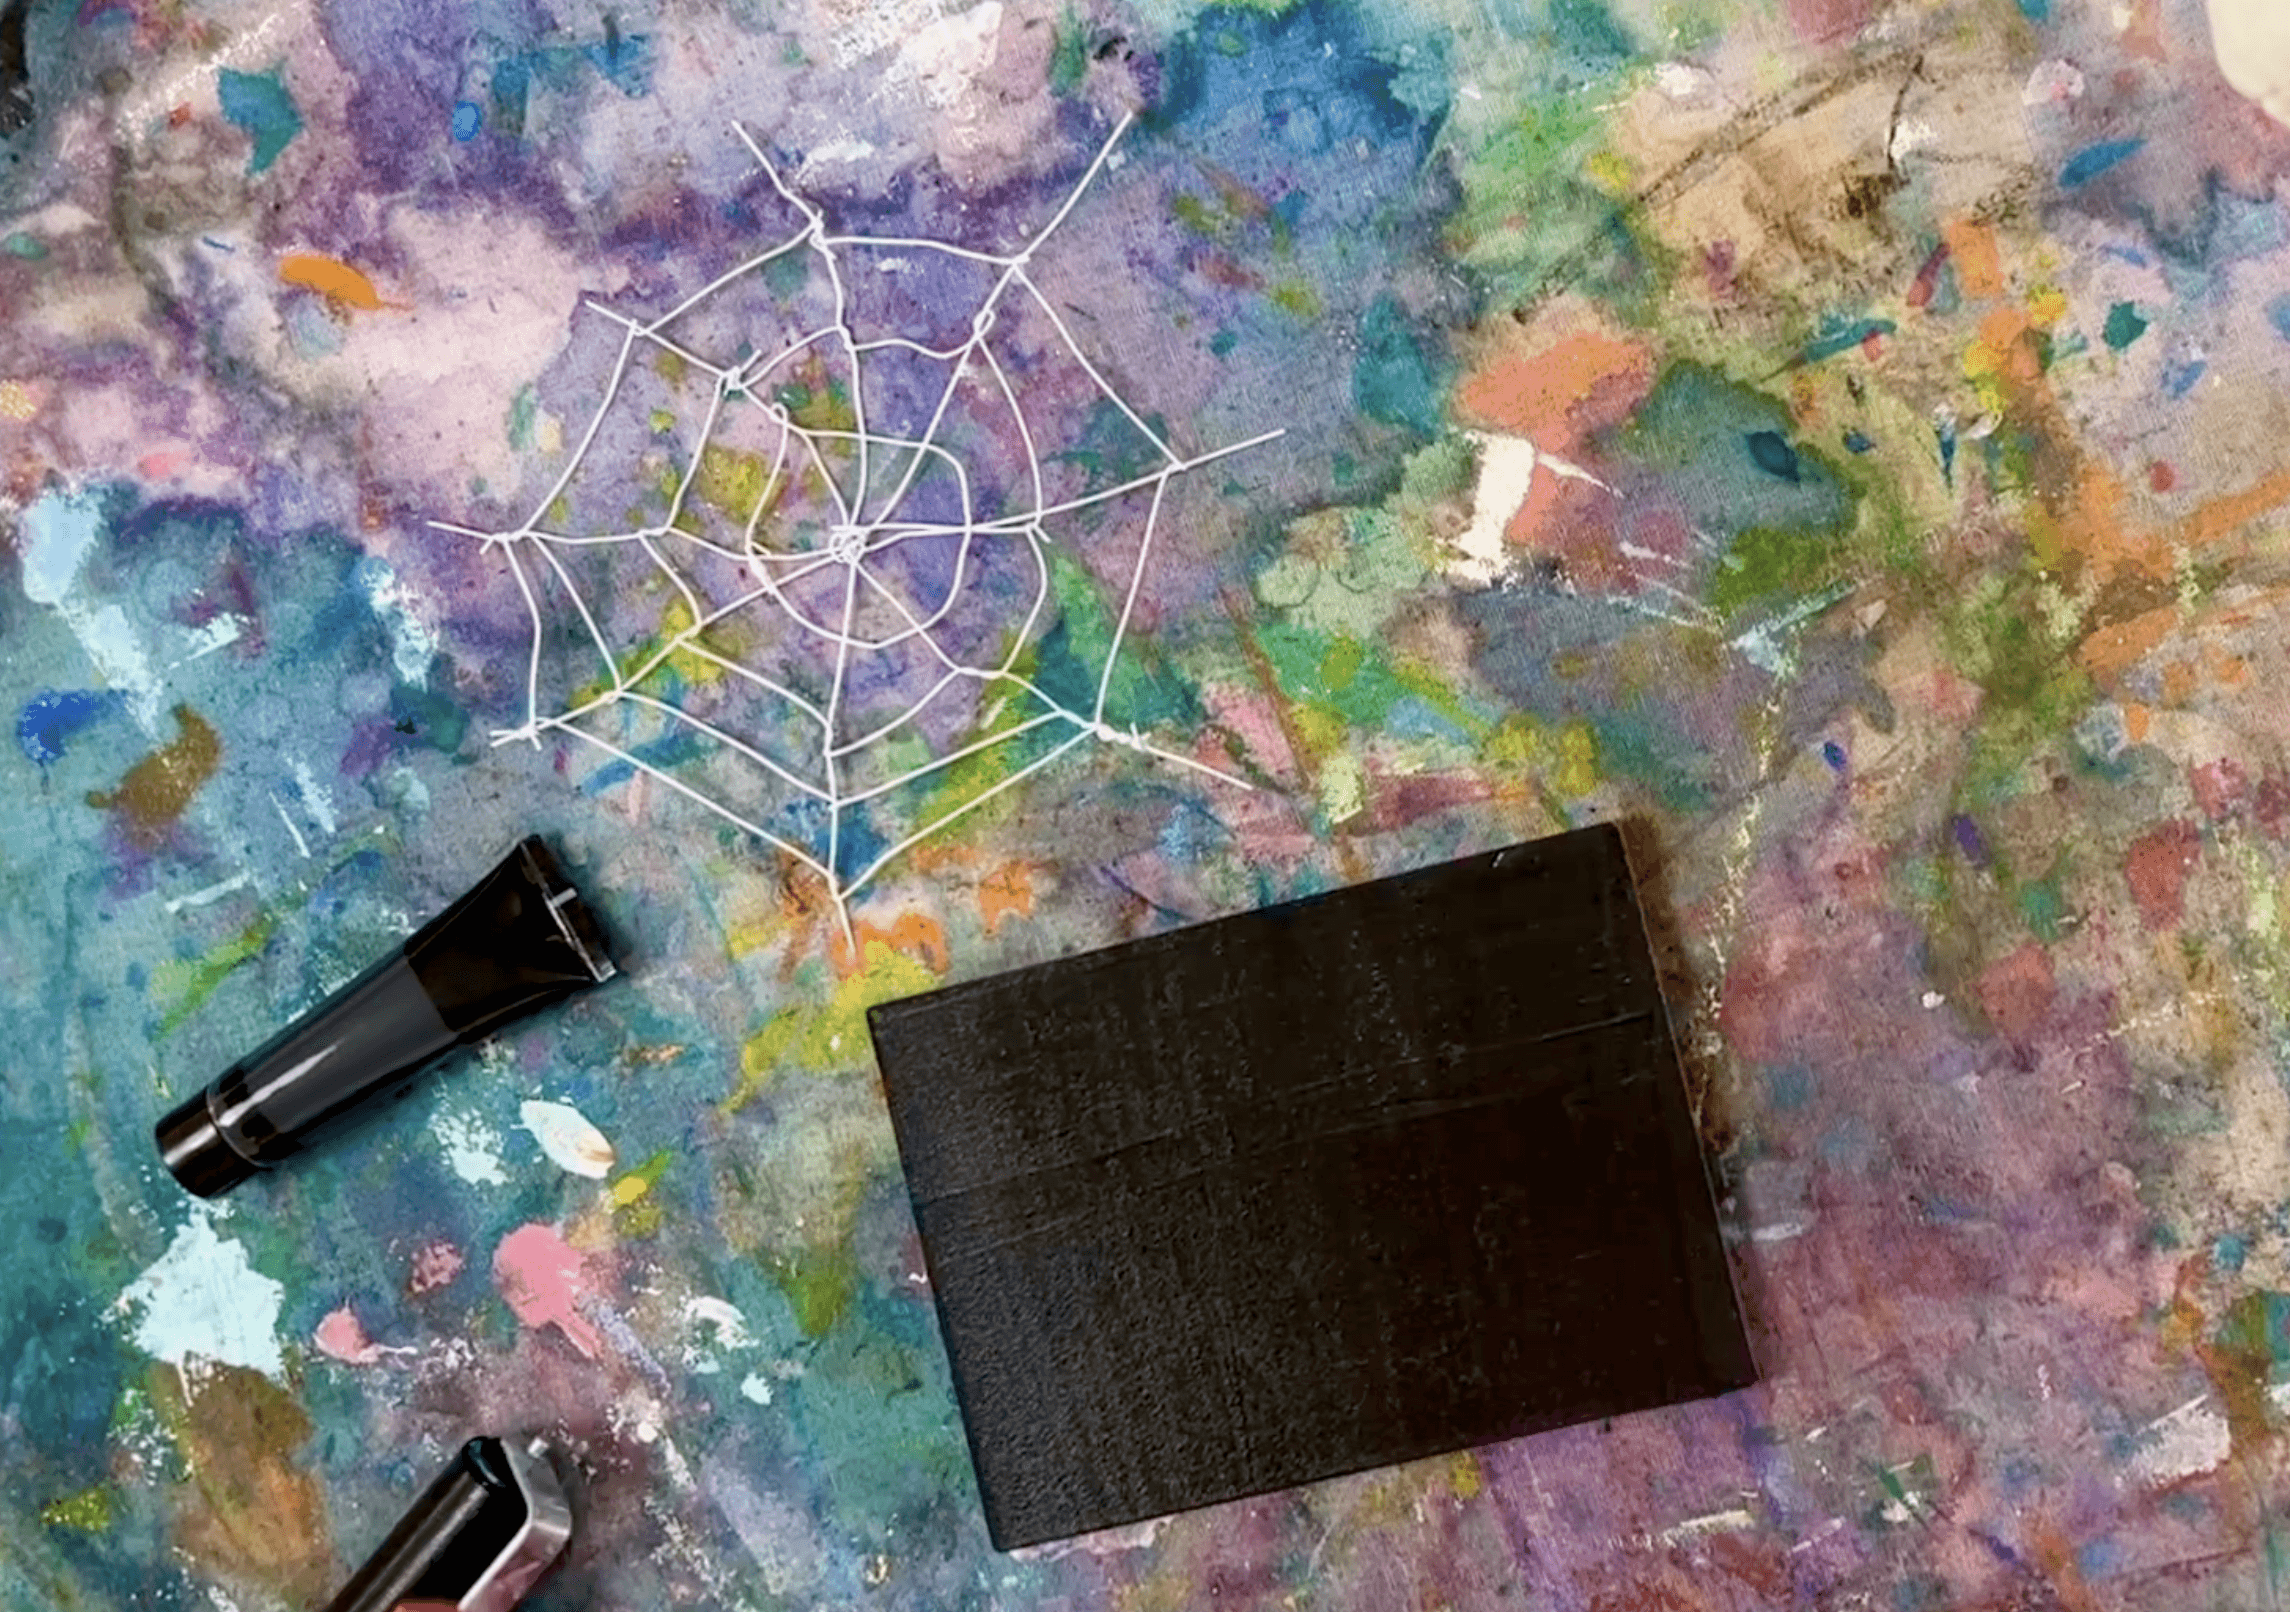
Keep your materials simple for the first round: two or three colours and a small pile of texture tools beside each plate. Wool or string for spider webs, a piece of lace, mesh, or even foam shapes all work beautifully.
If your gelli plates are brand new, wash them first with a small amount of mild dish soap to remove the factory (oily) film. This helps paint spread evenly instead of beading up.


The Making
Squeeze a small blob of paint onto the plate and roll it out until it looks smooth and thin. Less paint gives cleaner prints. If it feels sticky or uneven, roll a little longer until you see a thin, glossy surface.
Press your wool or string into the paint to form web shapes. Add lace or mesh if you like more detail. These act as masks, which means the paint won’t transfer wherever they sit.
Lay a sheet of paper on top, smooth it gently with your hands, and then peel it away to reveal the first print.
Now lift off the textures and place a new sheet of paper on the plate without adding more paint. This second pull is called a ghost print because it picks up the leftover paint and texture marks. The result is lighter, more delicate, and completely on theme for Halloween.
Encourage layering. Once a print is dry, you can print over the top with new colours or textures. You can also let a thin layer of paint dry on the plate, roll a new colour over it, and then pull a single “pick-up” print that lifts both layers at once.
Smudge Gelli Printing Tips and Tricks
• Less is more. If your prints look muddy, you’ve probably used too much paint. Wipe the plate, roll a smaller amount, and go again.
• Watch for beading. If paint beads up, either it’s too watery or the plate needs another wash.
• Timing matters. If paint dries before you print, mist the surface with a little water or add a fresh tiny blob and roll again.
• Use your scraps. Offload excess paint onto copy paper while cleaning the brayer. Those sheets often become gorgeous collage material later. Or keep them for a later round of printmaking to see what you can layer again and again!
• Keep cleanup gentle. Wipe plates with soft cloths or baby wipes during a session. For dried paint, use a dab of baby oil or mineral oil, then wash with dish soap. Never scrape.
• Pair kids up. Sharing a plate encourages them to watch, plan, and respond to each other’s ideas rather than rushing through prints.


Variations
Shape wool or string into webs, spirals, or abstract lines.
Use lace, mesh, or leaves for organic textures.
Draw spiders or highlights with paint pens once prints are dry.
Combine ghost prints from different sessions into one large collaborative “web wall.”


Materials
• Gelli plates
• Acrylic paints
• Brayers or rollers
• Thick paper for printing and copy paper for tests
• Wool, string, lace, or foam shapes
• Spray bottle for light misting
• Cloths or baby wipes for cleaning
• Aprons / art smocks
Back to Top
Gelli Spider Webs
Charlotte would be so proud!
Bookmark
Print Making
The Set Up
Gelli printing can look intimidating if you’ve never tried it before, but once you start, it quickly becomes one of those techniques that you and the kids can’t stop experimenting with. The joy is that every single print is different, and you can’t really get it wrong.
Set out gelli plates, a few tubes of acrylic paint, brayers, and paper. Use thicker paper for finished prints and regular copy paper for tests and ghost prints. Have cloths or wipes on hand and pop aprons on early because acrylics will stain.
Keep your materials simple for the first round: two or three colours and a small pile of texture tools beside each plate. Wool or string for spider webs, a piece of lace, mesh, or even foam shapes all work beautifully.
If your gelli plates are brand new, wash them first with a small amount of mild dish soap to remove the factory (oily) film. This helps paint spread evenly instead of beading up.
The Making
Squeeze a small blob of paint onto the plate and roll it out until it looks smooth and thin. Less paint gives cleaner prints. If it feels sticky or uneven, roll a little longer until you see a thin, glossy surface.
Press your wool or string into the paint to form web shapes. Add lace or mesh if you like more detail. These act as masks, which means the paint won’t transfer wherever they sit.
Lay a sheet of paper on top, smooth it gently with your hands, and then peel it away to reveal the first print.
Now lift off the textures and place a new sheet of paper on the plate without adding more paint. This second pull is called a ghost print because it picks up the leftover paint and texture marks. The result is lighter, more delicate, and completely on theme for Halloween.
Encourage layering. Once a print is dry, you can print over the top with new colours or textures. You can also let a thin layer of paint dry on the plate, roll a new colour over it, and then pull a single “pick-up” print that lifts both layers at once.
Smudge Gelli Printing Tips and Tricks
• Less is more. If your prints look muddy, you’ve probably used too much paint. Wipe the plate, roll a smaller amount, and go again.
• Watch for beading. If paint beads up, either it’s too watery or the plate needs another wash.
• Timing matters. If paint dries before you print, mist the surface with a little water or add a fresh tiny blob and roll again.
• Use your scraps. Offload excess paint onto copy paper while cleaning the brayer. Those sheets often become gorgeous collage material later. Or keep them for a later round of printmaking to see what you can layer again and again!
• Keep cleanup gentle. Wipe plates with soft cloths or baby wipes during a session. For dried paint, use a dab of baby oil or mineral oil, then wash with dish soap. Never scrape.
• Pair kids up. Sharing a plate encourages them to watch, plan, and respond to each other’s ideas rather than rushing through prints.
Variations
Shape wool or string into webs, spirals, or abstract lines.
Use lace, mesh, or leaves for organic textures.
Draw spiders or highlights with paint pens once prints are dry.
Combine ghost prints from different sessions into one large collaborative “web wall.”
Materials
• Gelli plates
• Acrylic paints
• Brayers or rollers
• Thick paper for printing and copy paper for tests
• Wool, string, lace, or foam shapes
• Spray bottle for light misting
• Cloths or baby wipes for cleaning
• Aprons / art smocks
Back to Top
Add this to your favourites
Add this to your favourites
Thoughts?
Would love to hear if youv'e tried this or have any ideas on how to make it even better!
