The Giant Treasure Map
Claim the islands, mark the X, build the world together
The Set Up
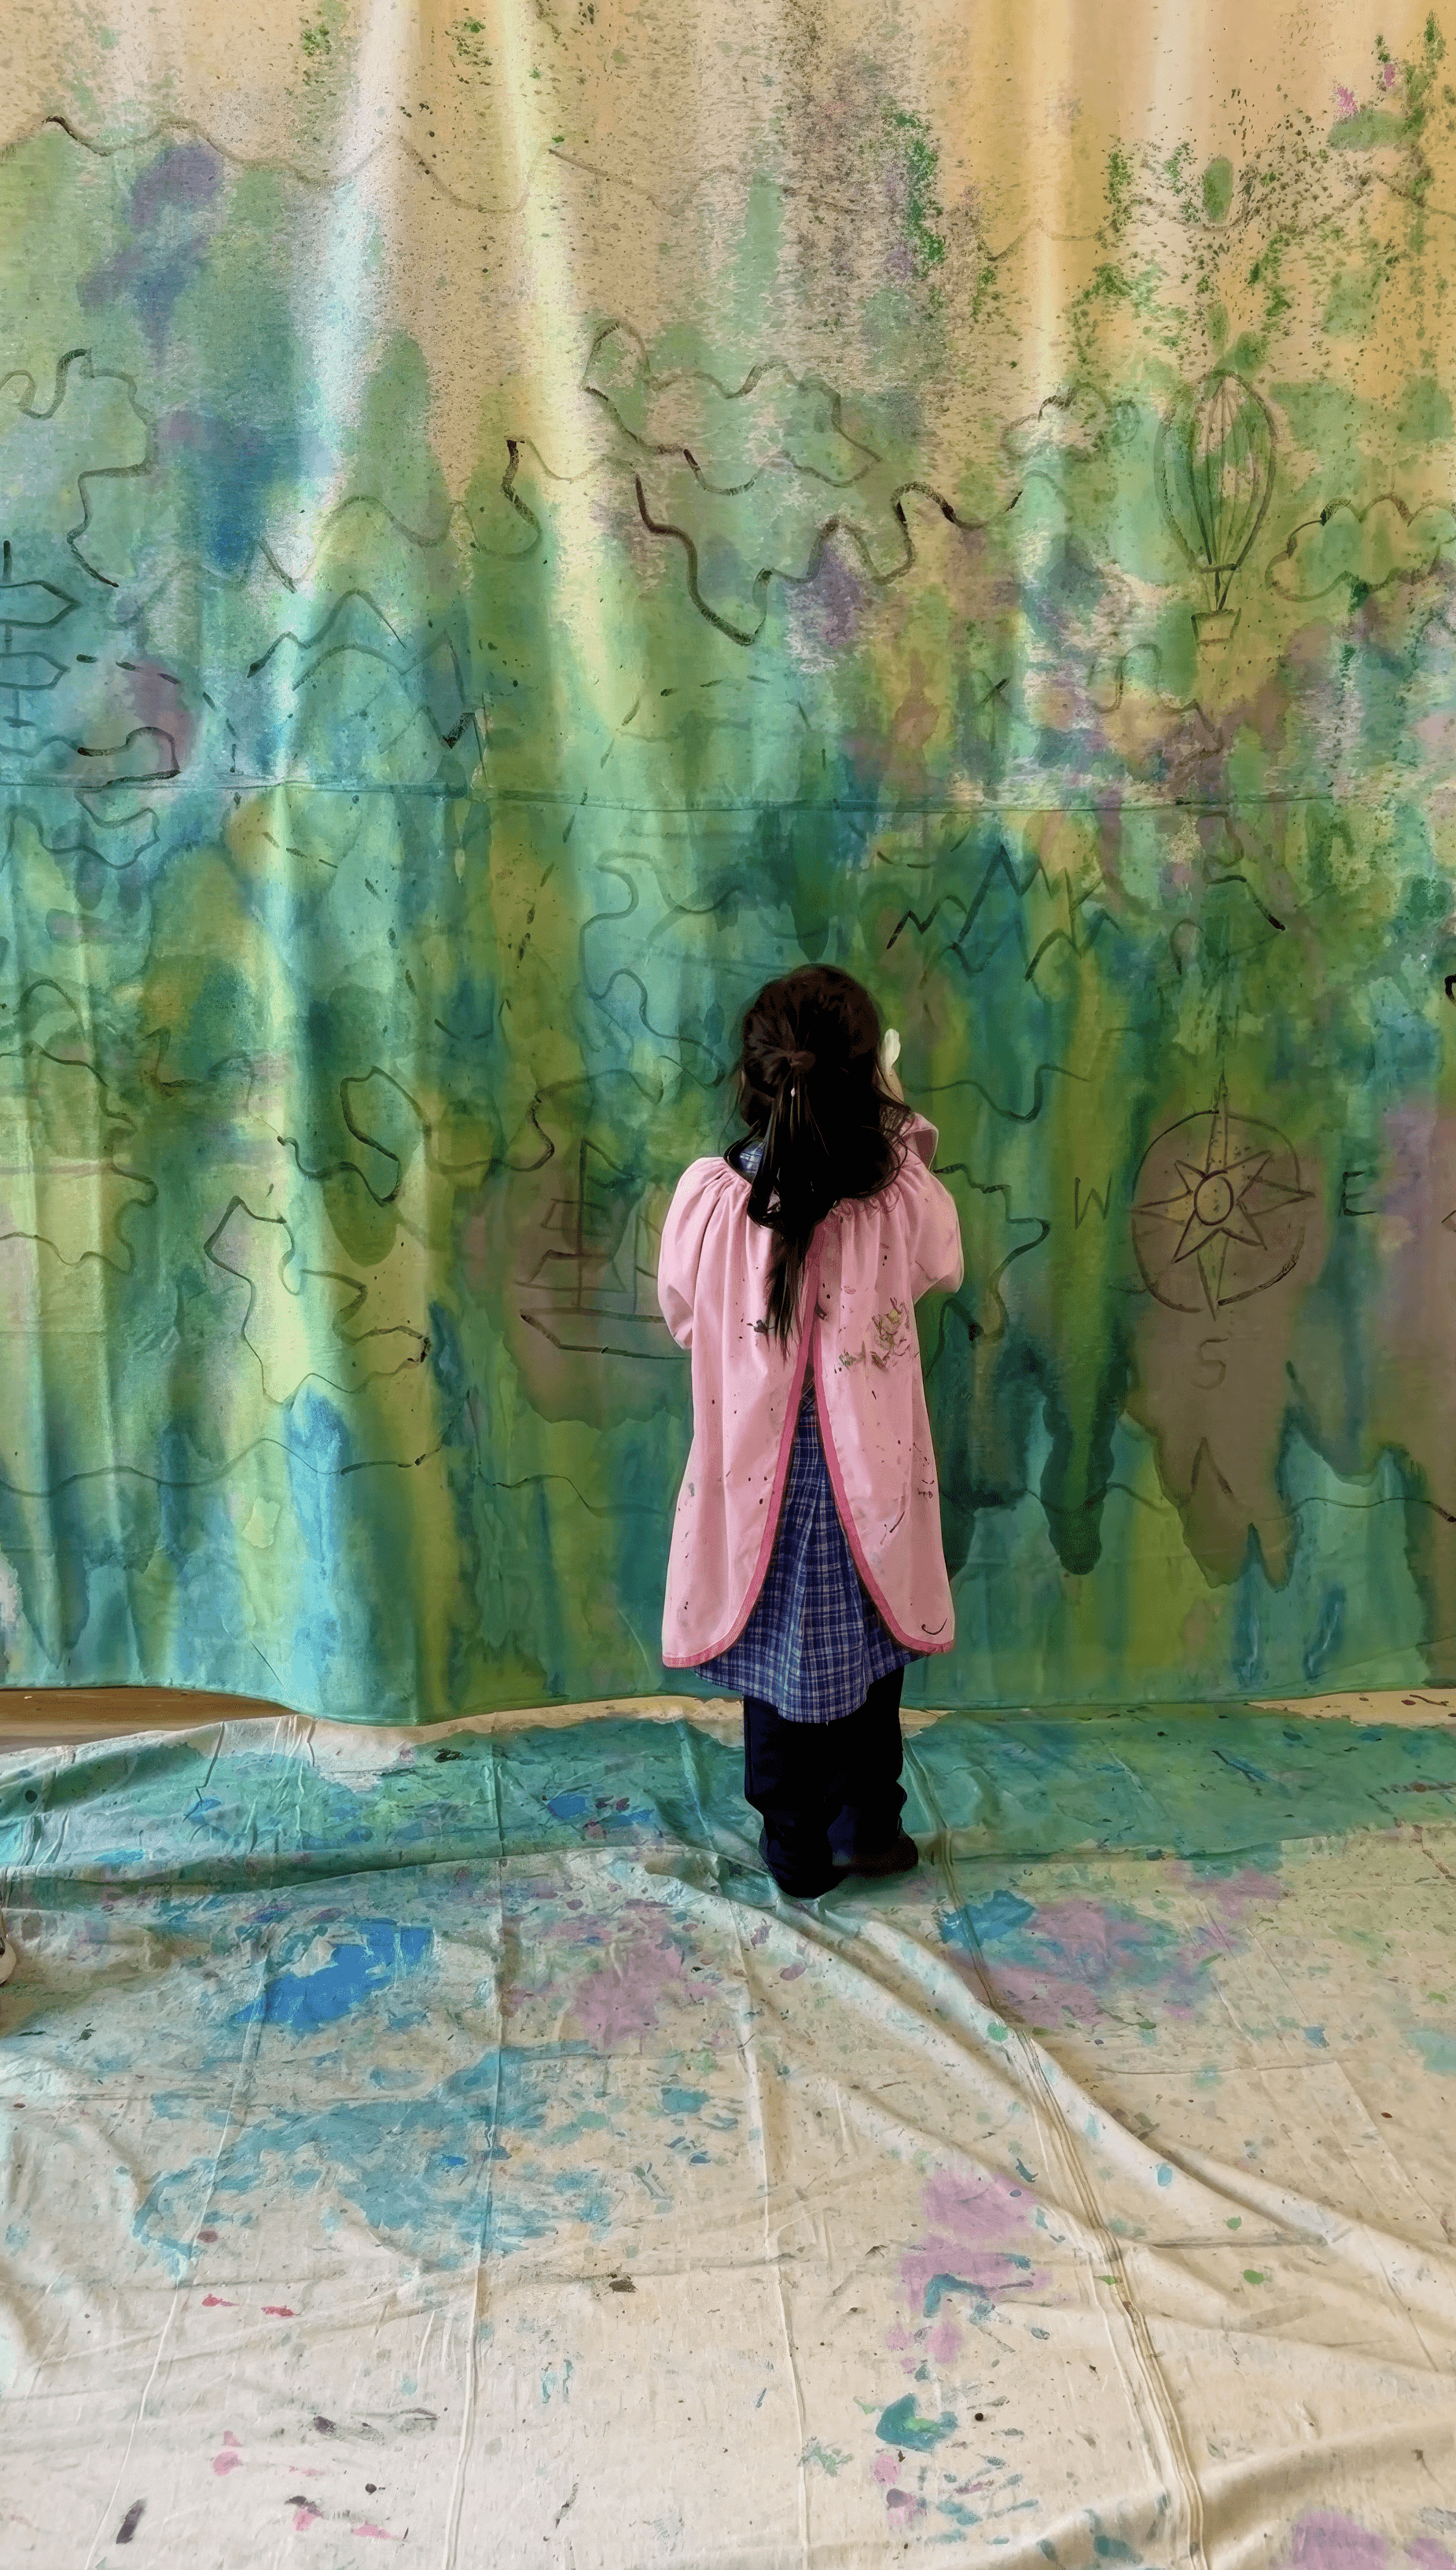
Go big if you can! The scale matters here because the map becomes a shared place, not just a drawing. At Smudge we use a giant canvas drop sheet around three metres by two metres. I hot glue along one long edge, fold that edge over by roughly ten centimetres to make a sleeve, then slide a curtain rod through so it can hang easily. You can also paint straight onto a wall if that’s friendlier for your space. We have done both (and loved both!). The wall version feels immediate and immersive. The hanging fabric map means you can move it, fold it, and keep adding day after day.
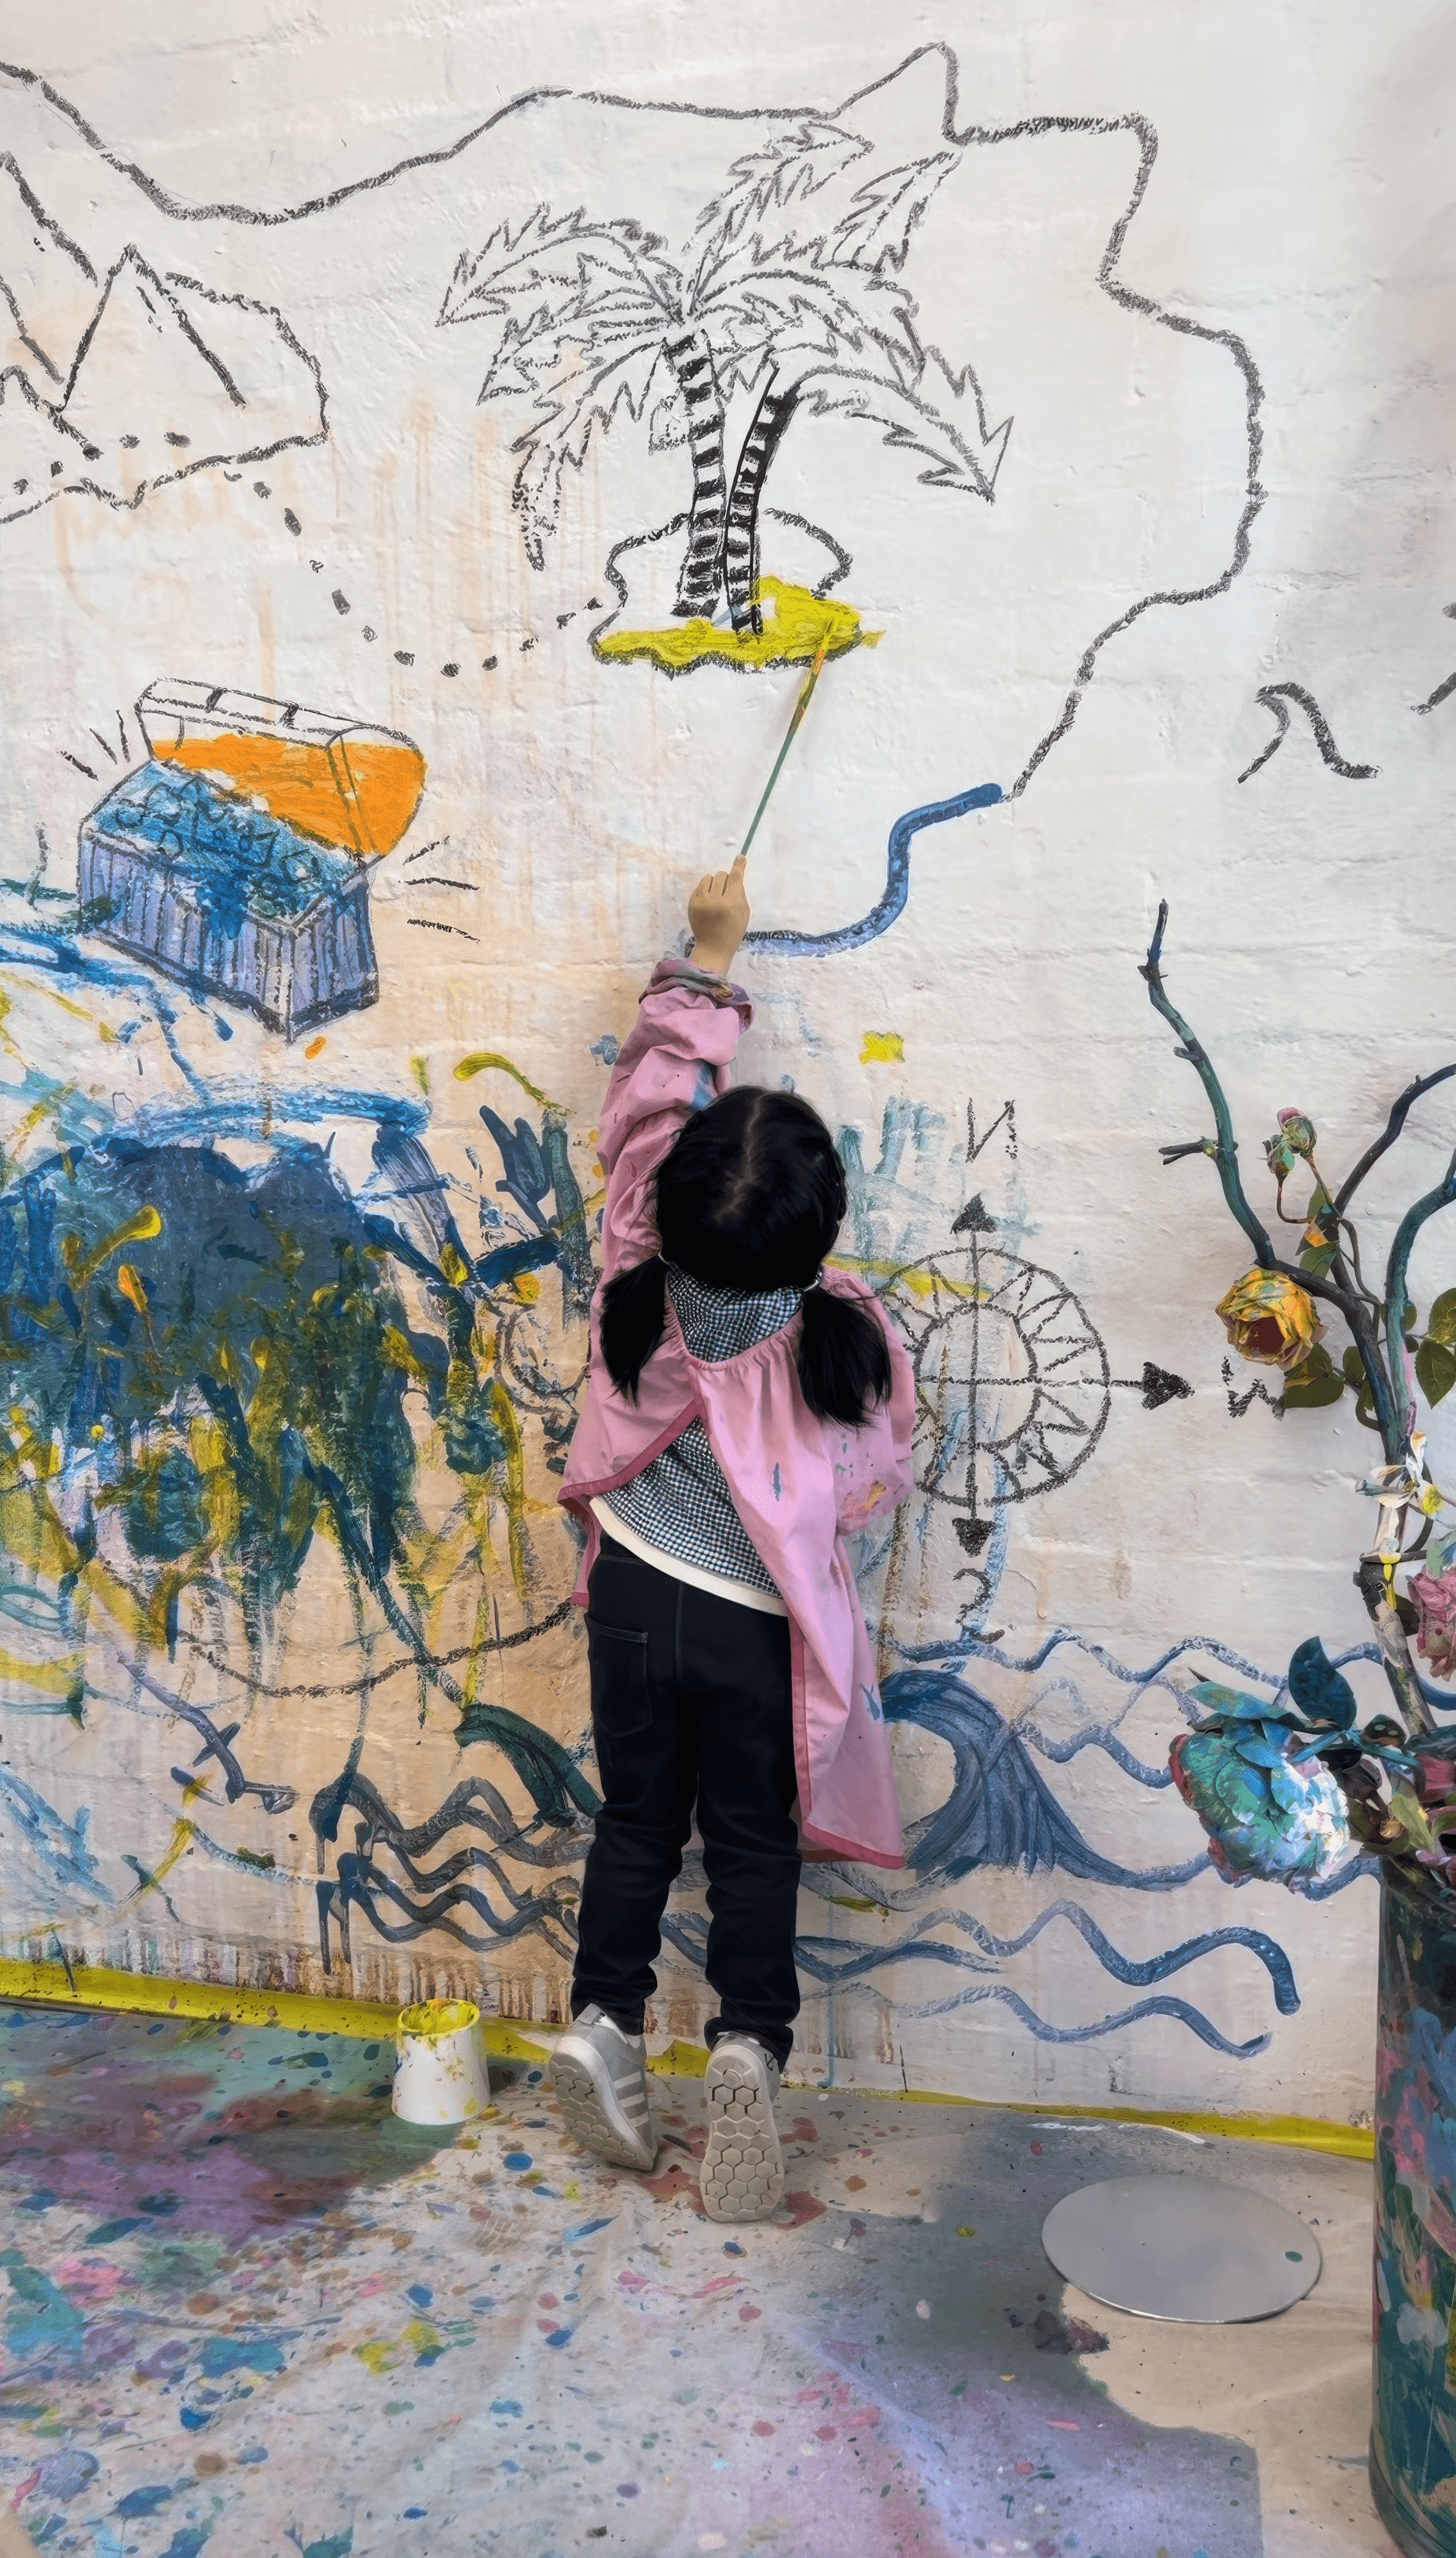
To sketch the first outline I like using an overhead projector. I draw my rough map on a sheet of clear perspex with a whiteboard marker. Island shapes. A coastline or two. A compass. A tiny boat. Waves. Mountains. An X that marks the spot. Maybe one treasure chest (or two?). Then I project that drawing onto the hanging drop sheet or directly onto the wall, and trace the outlines in black. For fabric I use black acrylic paint so it doesn't get washed away with the watercolours. For the direct-to-wall approach, I switch to a washable black paint so I can wipe back later. If you don't have a projector, freehand drawing works just as well! A plastic backed drop cloth on the ground will save your floor.
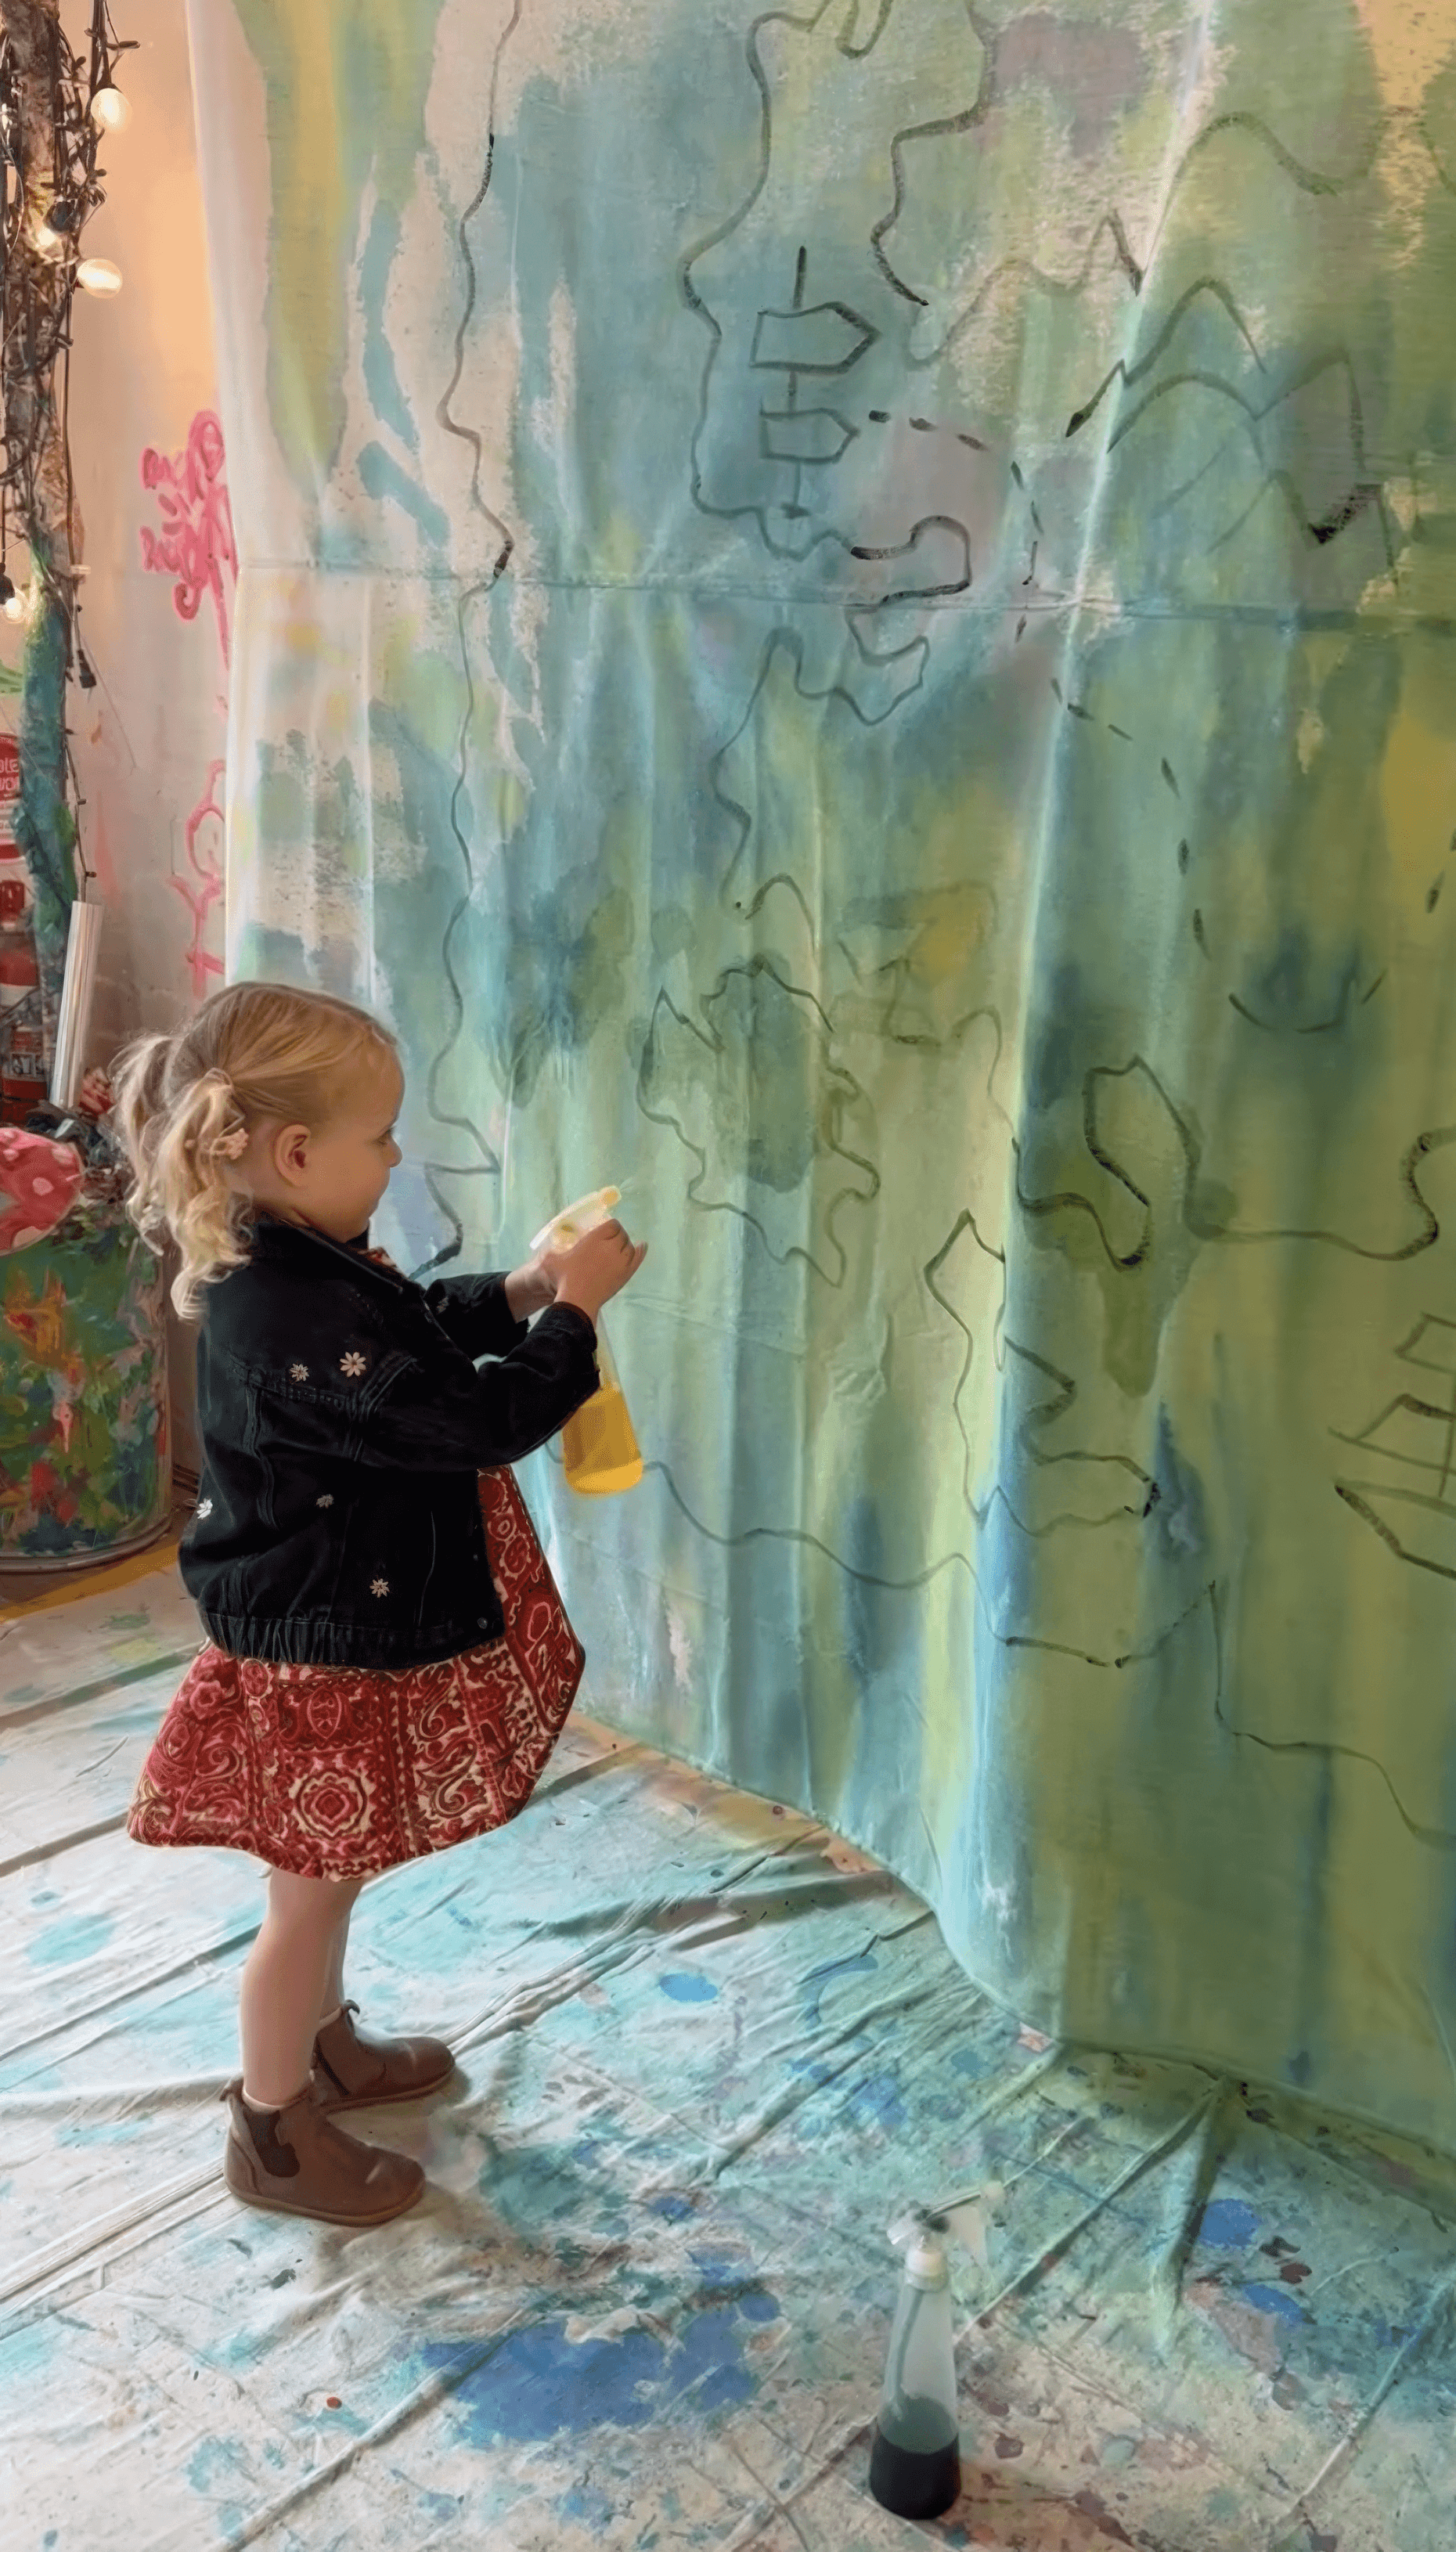
Set out trays and bottles for colour. Spray bottles with liquid watercolours. Or open paint pots with washable poster paint. Brushes for anyone who wants to work more slowly around edges. I like to mix a touch of white into each colour to keep them bright and opaque at scale. Keep extra cloths nearby because you'll soon find out that this one gets energetic, fast!

The Making
Invite the group into naming the world. Ask where the ocean starts and who guards the treasure and what lives in the place marked with the X.
Then, the most important part… step back and let them claim territory with colour!
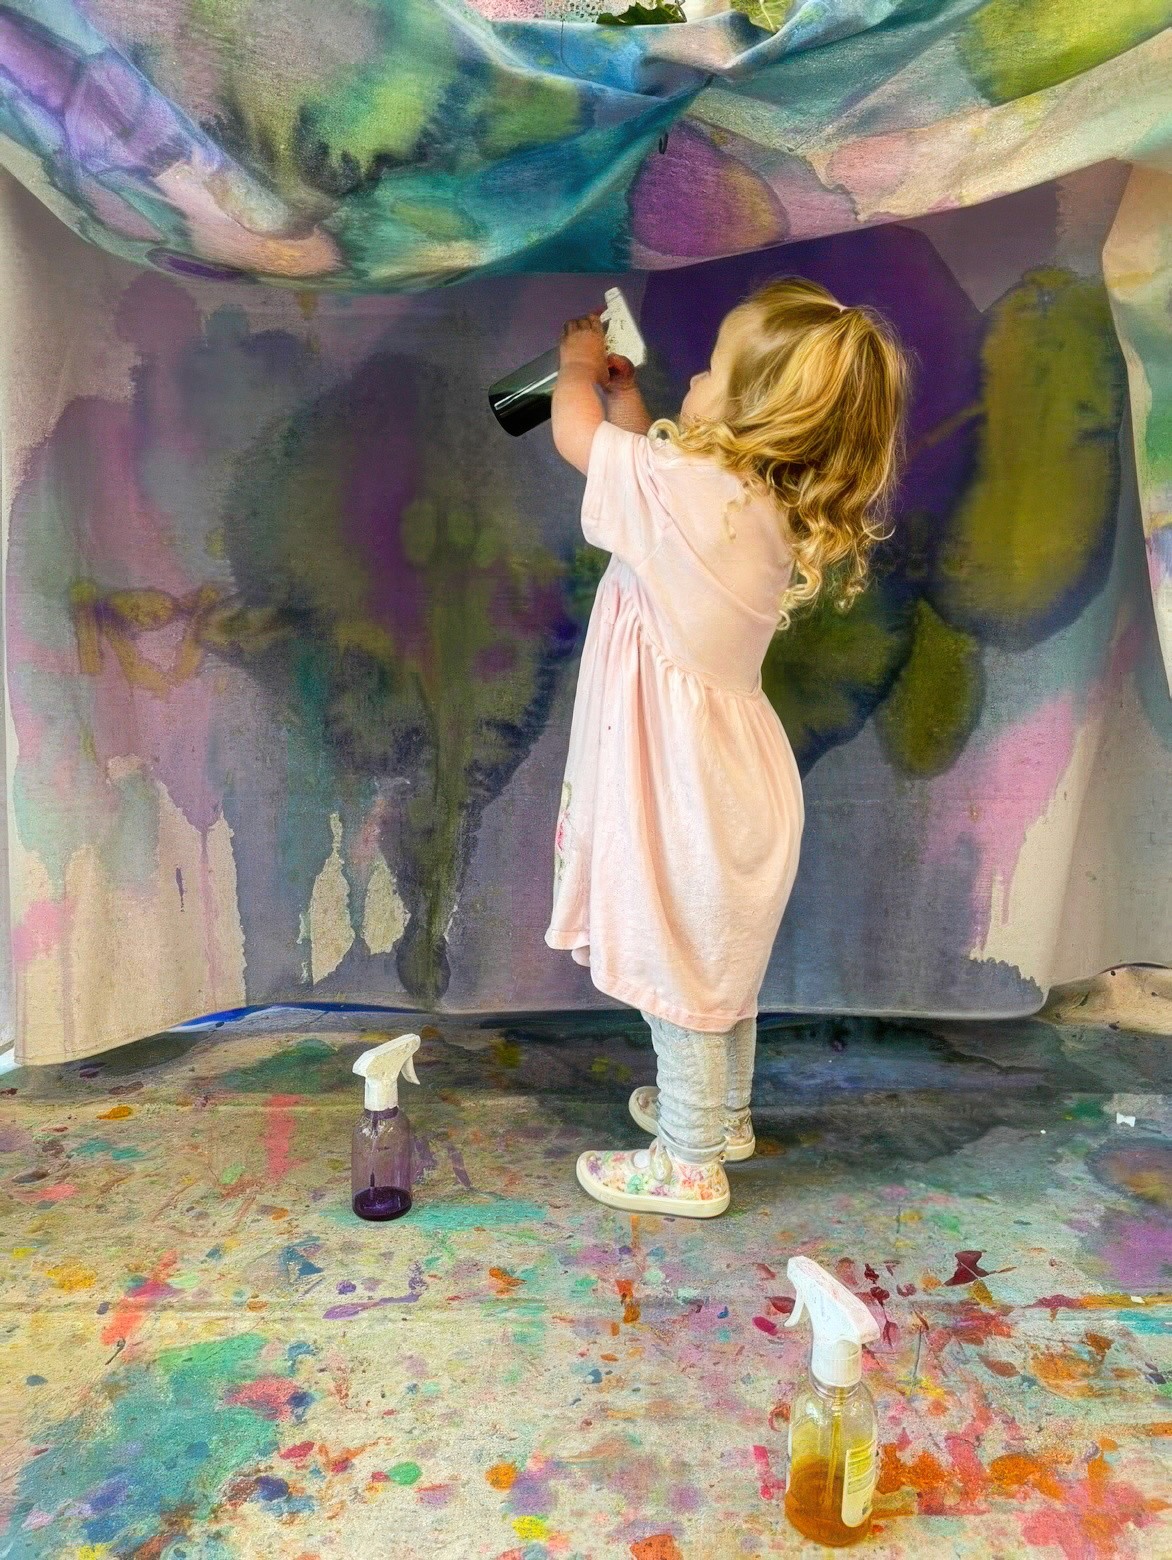
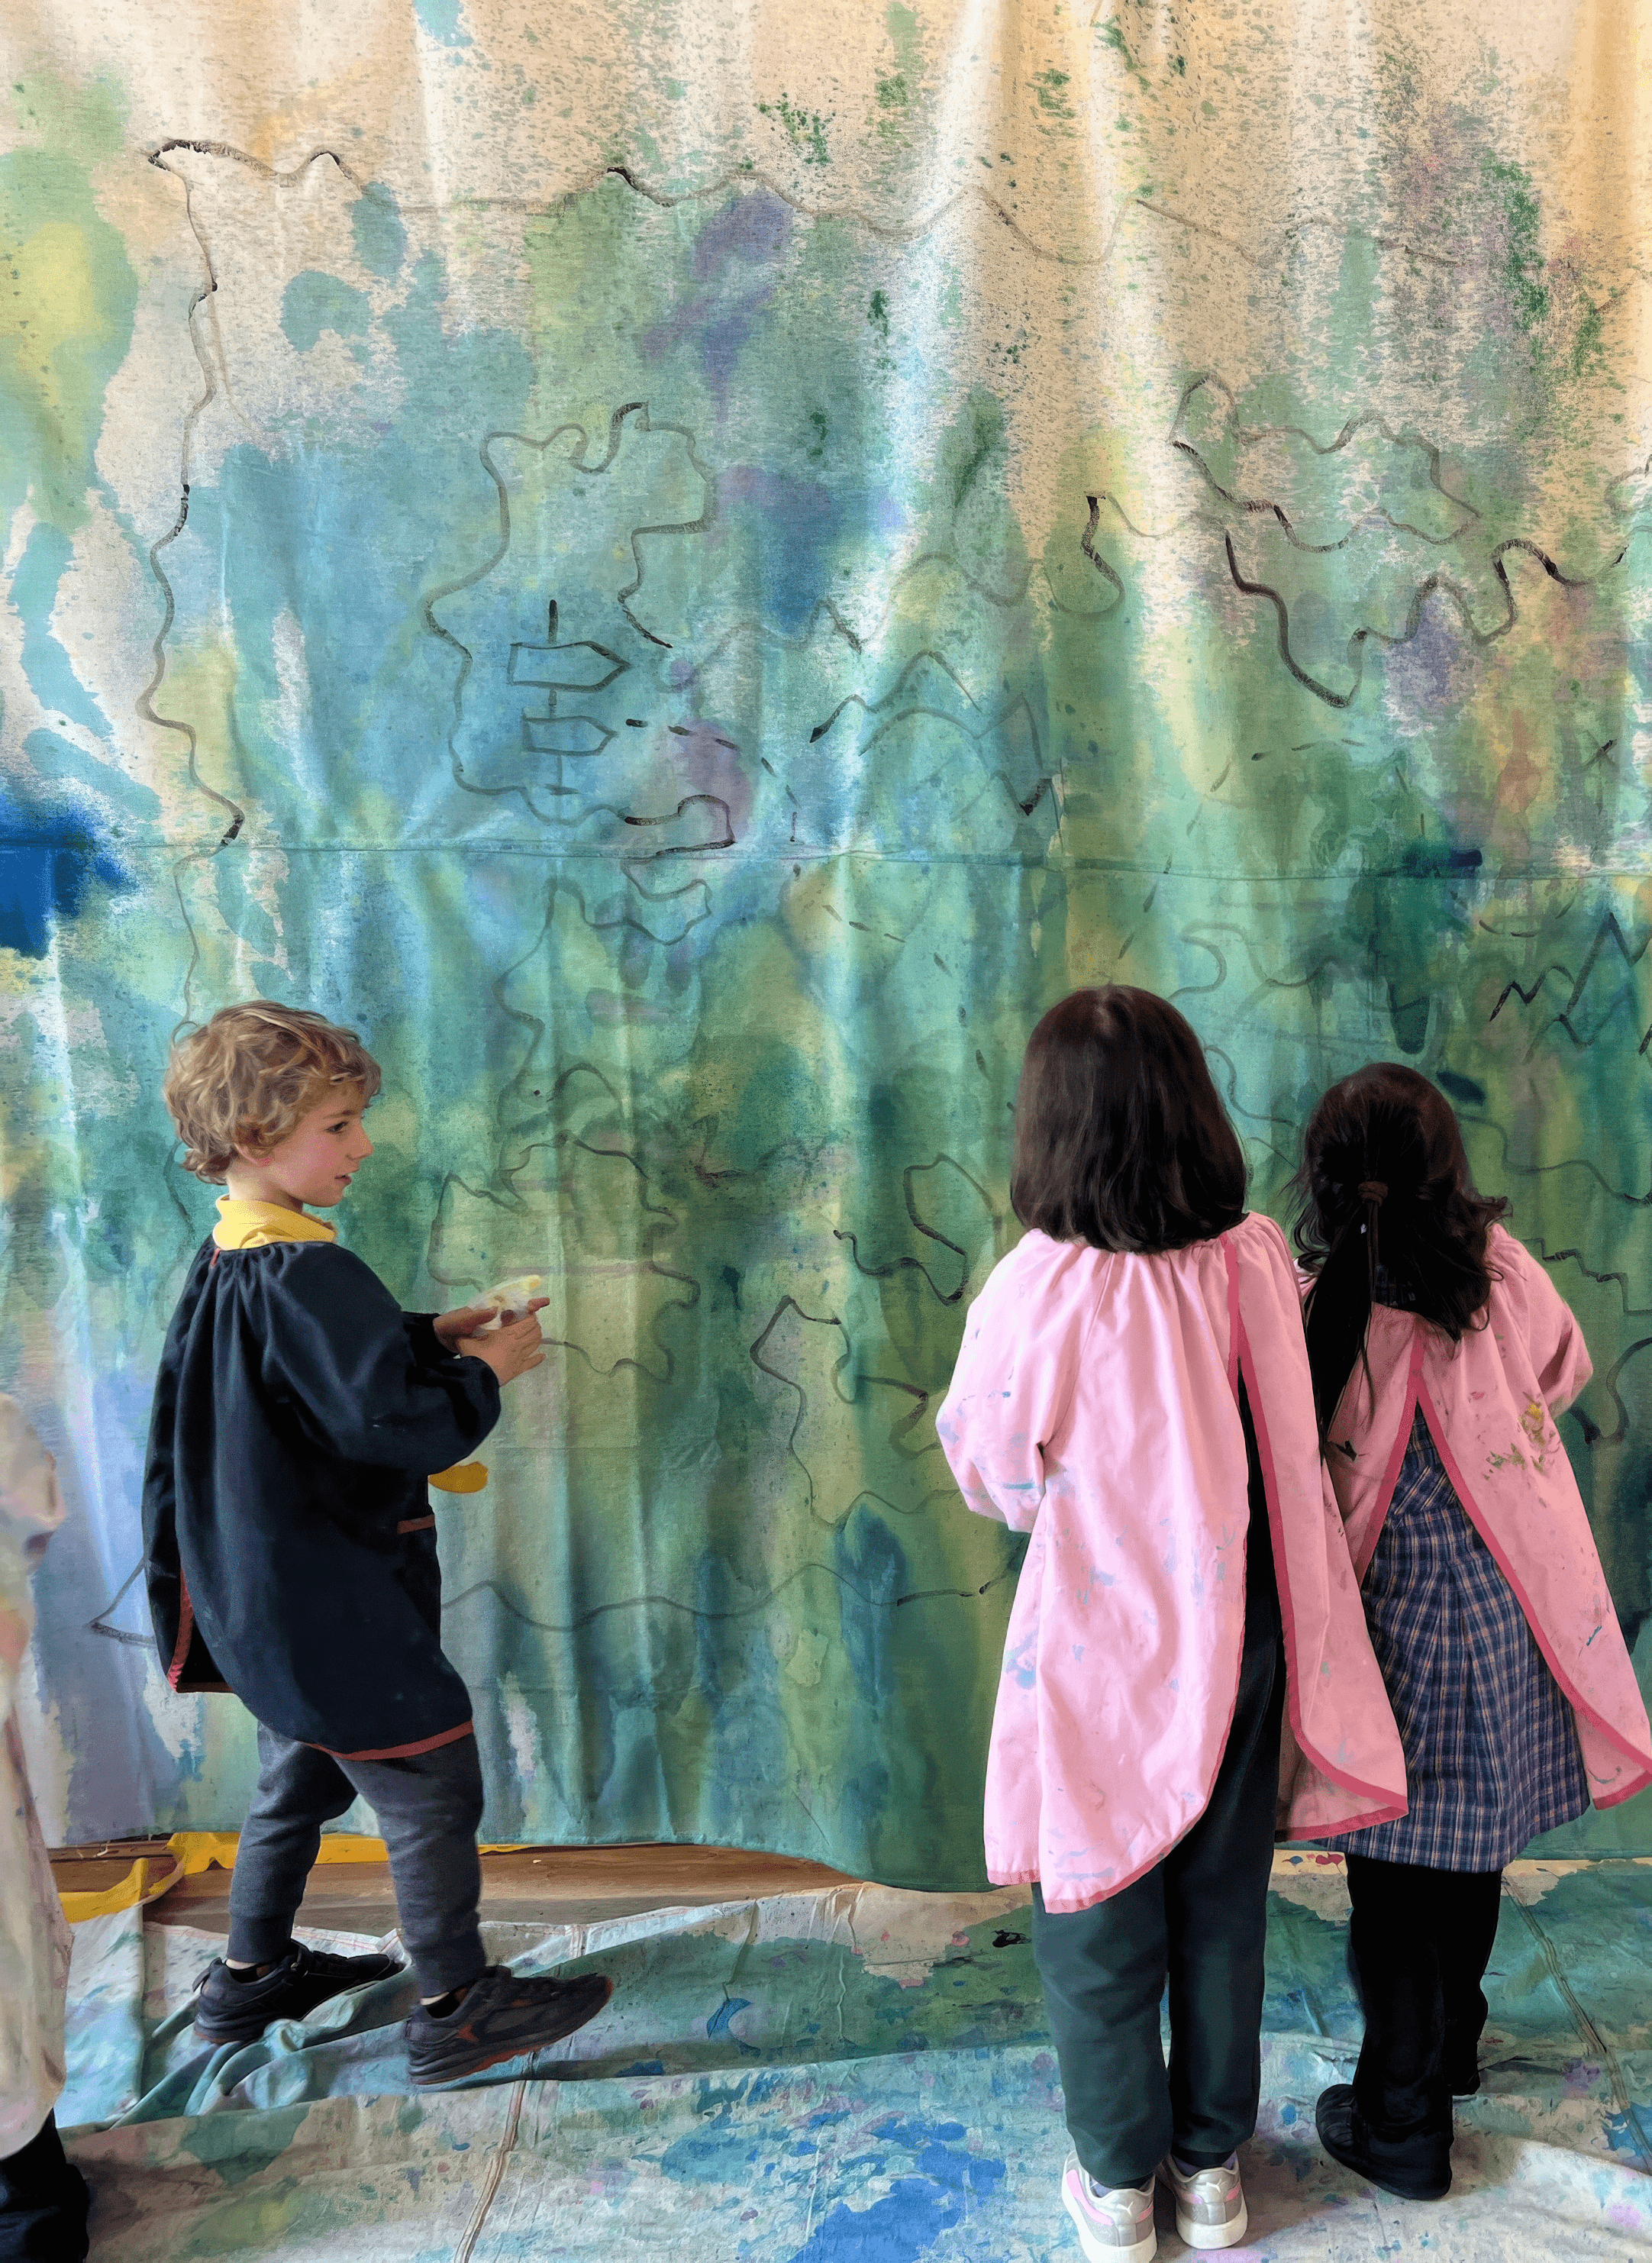
Some kids move in long sweeping sprays, walking the shoreline with a bottle in each hand. Others crouch and patiently fill one small island. Both approaches are just right (plus everything in between!). You will see collaboration start to happen on its own because large work demands it.
Notes from our Artspace:
We have found that spray bottles feel freeing on fabric because colour can travel and mist and drip. On a wall we usually lean on brushes and pots of washable paint so clean up is kind. If you are working directly on a painted wall and you want it gone later, keep the palette simple and stay with washable paint only so it wipes back with a damp cloth.


Variations
Use chalk pens or paint pens to add tiny map icons once the big colour is dry
Leave a blank corner marked Unknown Land and let new explorers add to it across the week
Photograph sections of the map and turn them into printed postcards for storytelling later

Materials
Large canvas drop sheet or fabric backed plastic drop cloth
Option to hang with a glued fold and a curtain rod or to paint directly on a wall
Black acrylic paint for fabric or washable black paint for walls
Liquid watercolours in spray bottles
Washable poster or tempera paint with a touch of white mixed in
Brushes, trays, cloths
Optional projector and clear perspex sheet for tracing
Optional chalk pens or paint pens for detail
Back to Top
The Giant Treasure Map
Claim the islands, mark the X, build the world together
Bookmark
Installations
The Set Up
Go big if you can! The scale matters here because the map becomes a shared place, not just a drawing. At Smudge we use a giant canvas drop sheet around three metres by two metres. I hot glue along one long edge, fold that edge over by roughly ten centimetres to make a sleeve, then slide a curtain rod through so it can hang easily. You can also paint straight onto a wall if that’s friendlier for your space. We have done both (and loved both!). The wall version feels immediate and immersive. The hanging fabric map means you can move it, fold it, and keep adding day after day.
To sketch the first outline I like using an overhead projector. I draw my rough map on a sheet of clear perspex with a whiteboard marker. Island shapes. A coastline or two. A compass. A tiny boat. Waves. Mountains. An X that marks the spot. Maybe one treasure chest (or two?). Then I project that drawing onto the hanging drop sheet or directly onto the wall, and trace the outlines in black. For fabric I use black acrylic paint so it doesn't get washed away with the watercolours. For the direct-to-wall approach, I switch to a washable black paint so I can wipe back later. If you don't have a projector, freehand drawing works just as well! A plastic backed drop cloth on the ground will save your floor.
Set out trays and bottles for colour. Spray bottles with liquid watercolours. Or open paint pots with washable poster paint. Brushes for anyone who wants to work more slowly around edges. I like to mix a touch of white into each colour to keep them bright and opaque at scale. Keep extra cloths nearby because you'll soon find out that this one gets energetic, fast!
The Making
Invite the group into naming the world. Ask where the ocean starts and who guards the treasure and what lives in the place marked with the X.
Then, the most important part… step back and let them claim territory with colour!
Some kids move in long sweeping sprays, walking the shoreline with a bottle in each hand. Others crouch and patiently fill one small island. Both approaches are just right (plus everything in between!). You will see collaboration start to happen on its own because large work demands it.
Notes from our Artspace:
We have found that spray bottles feel freeing on fabric because colour can travel and mist and drip. On a wall we usually lean on brushes and pots of washable paint so clean up is kind. If you are working directly on a painted wall and you want it gone later, keep the palette simple and stay with washable paint only so it wipes back with a damp cloth.
Variations
Use chalk pens or paint pens to add tiny map icons once the big colour is dry
Leave a blank corner marked Unknown Land and let new explorers add to it across the week
Photograph sections of the map and turn them into printed postcards for storytelling later
Materials
Large canvas drop sheet or fabric backed plastic drop cloth
Option to hang with a glued fold and a curtain rod or to paint directly on a wall
Black acrylic paint for fabric or washable black paint for walls
Liquid watercolours in spray bottles
Washable poster or tempera paint with a touch of white mixed in
Brushes, trays, cloths
Optional projector and clear perspex sheet for tracing
Optional chalk pens or paint pens for detail
Back to Top
Add this to your favourites
Add this to your favourites
Thoughts?
Would love to hear if youv'e tried this or have any ideas on how to make it even better!
