Marbled Milky Way
One of the most satisfying processes on earth
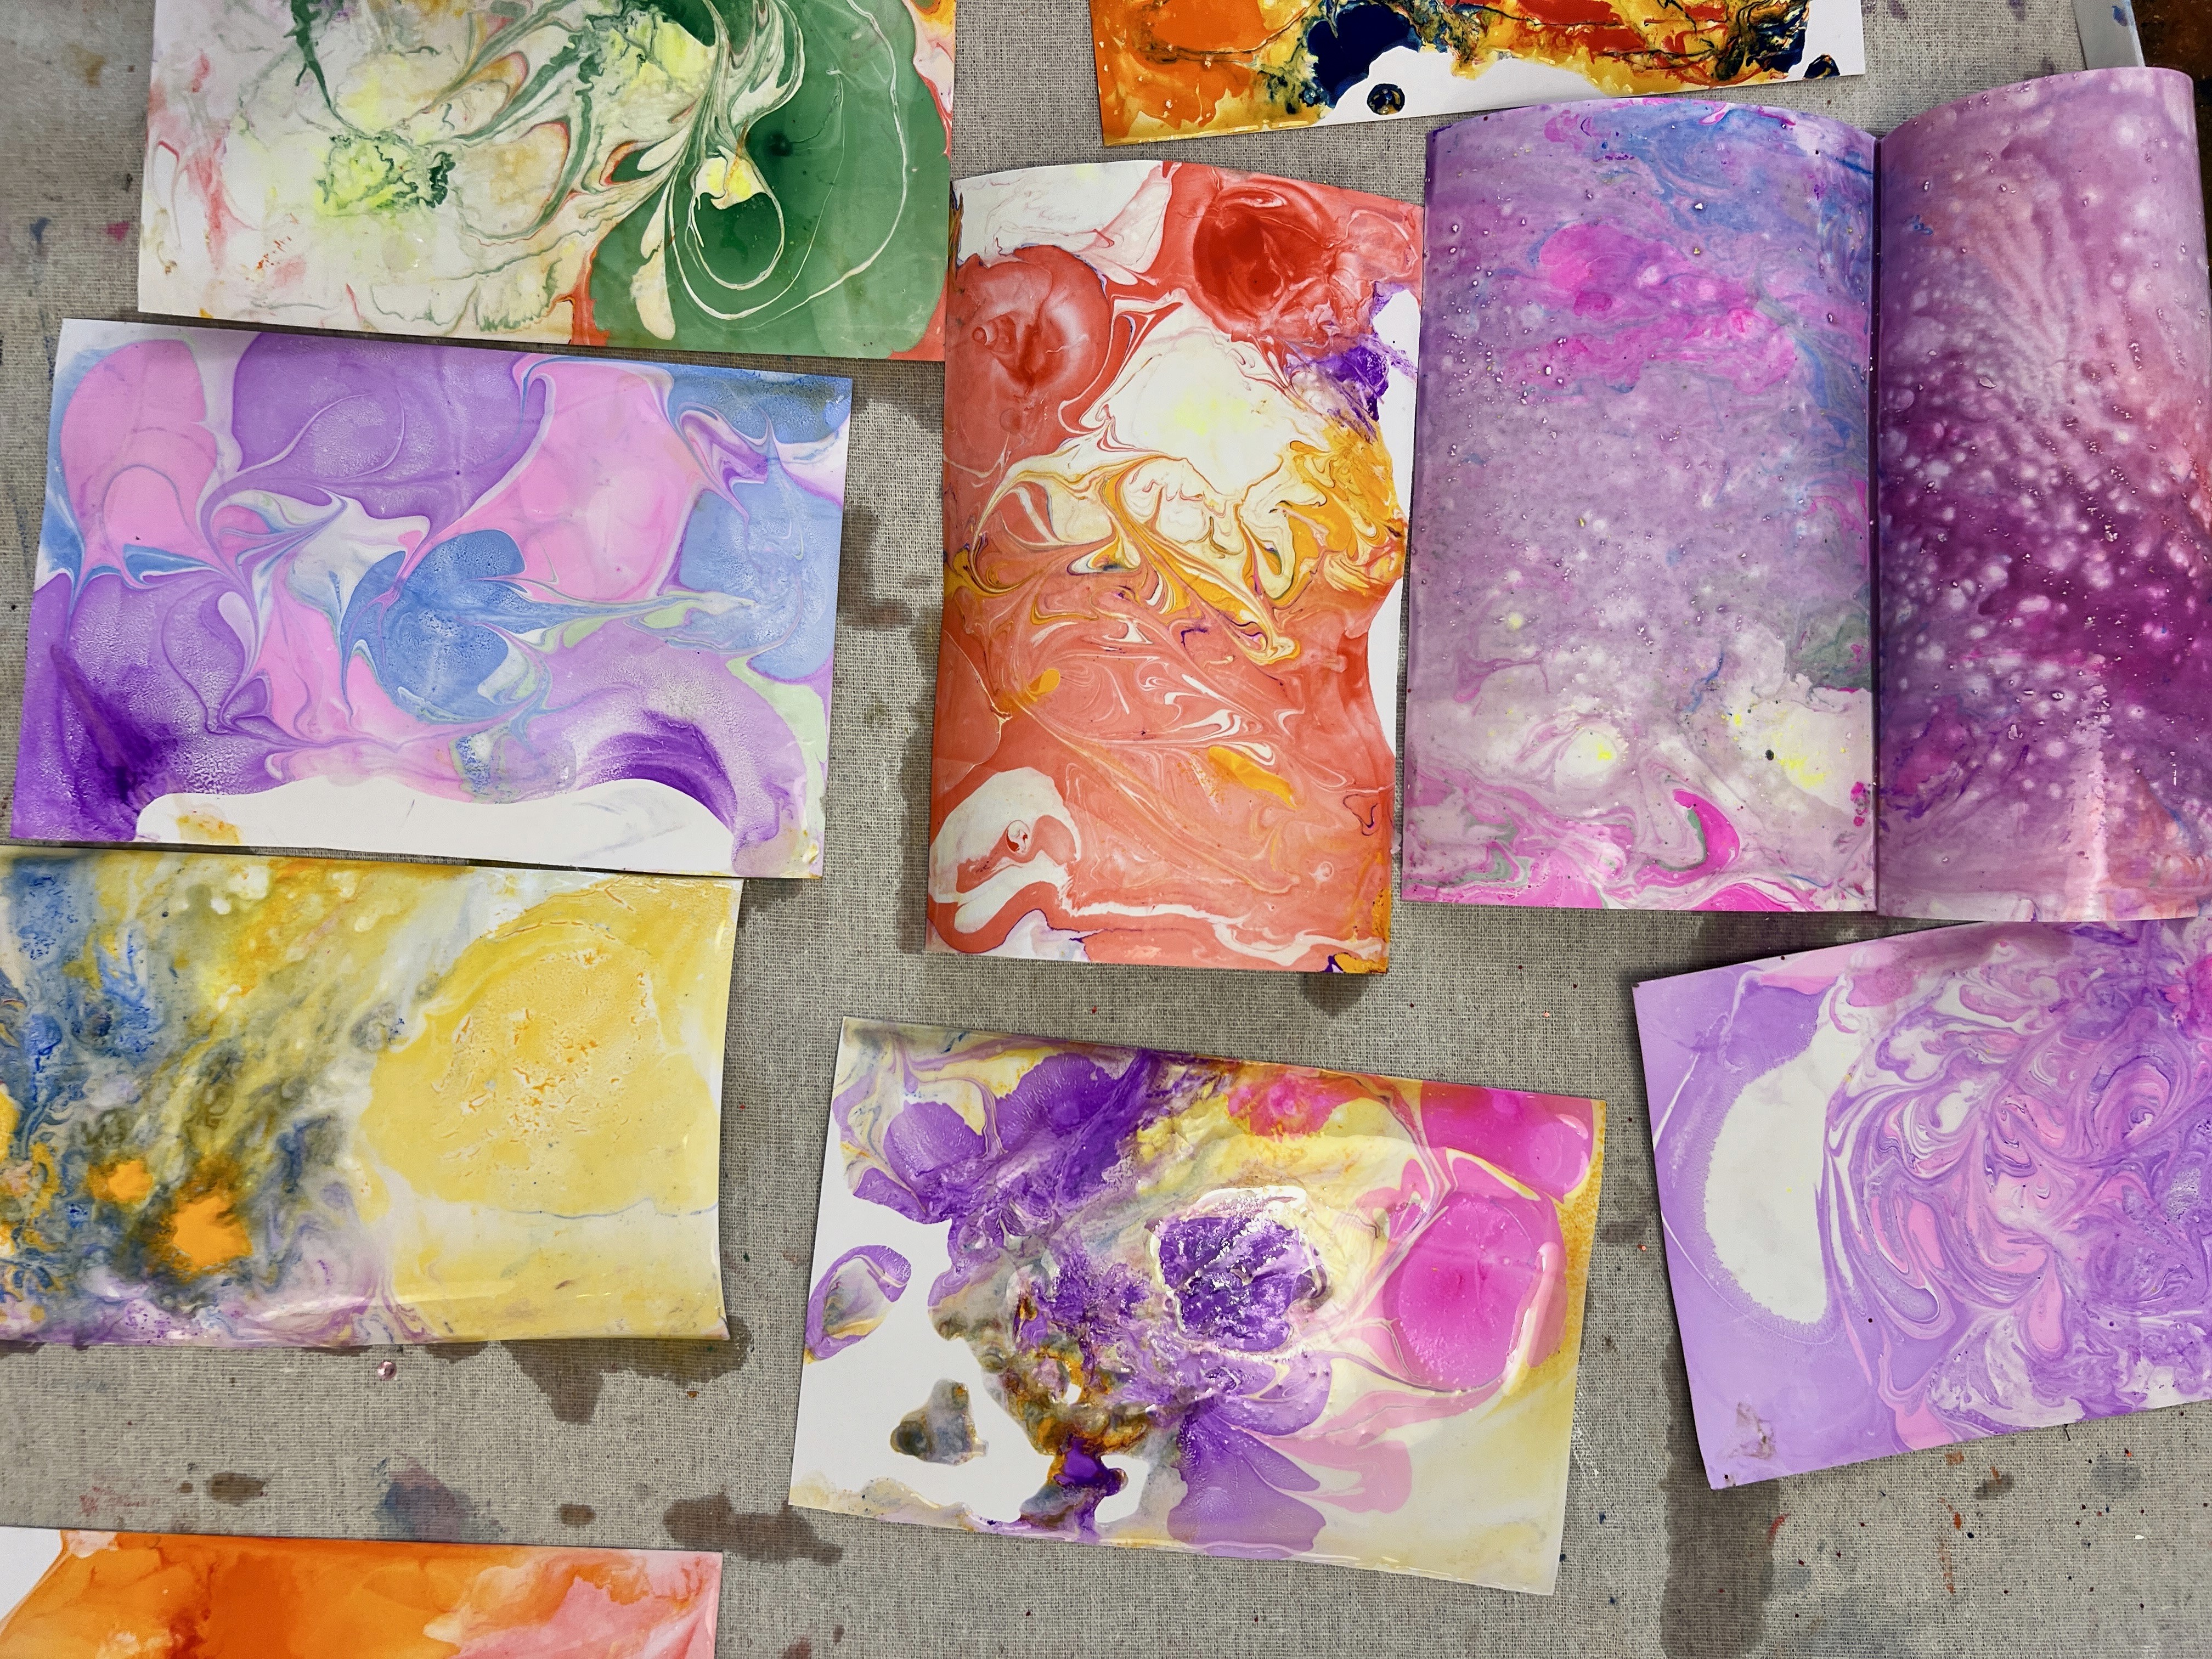
The Set Up
Marbling is one of those processes that feels like actual magic every single time, no matter how many times you've done it. For this theme we used a proper marbling kit, the Jupitearth one from Amazon, though any kids' marbling kit works the same way. The short version: thickened water, paints that float on top, a swirl with a skewer, dip the paper down, peel it back up. Gorgeous galaxy print.
Set up a shallow tray for each artist, or one larger tray to share. Mix the marbling solution to the packet instructions (usually a powder stirred into warm water, left to sit for a few hours to thicken). Once it's ready the water will feel slightly gel-like, not watery. That thickness is what holds the paint on the surface.
Lay out the marbling paints in deep space colours: navy, purple, magenta, teal, plus a hit of silver or gold if your kit has metallics. Give each artist a skewer or chopstick for swirling, and a stack of heavyweight cardstock or watercolour paper.
The Making
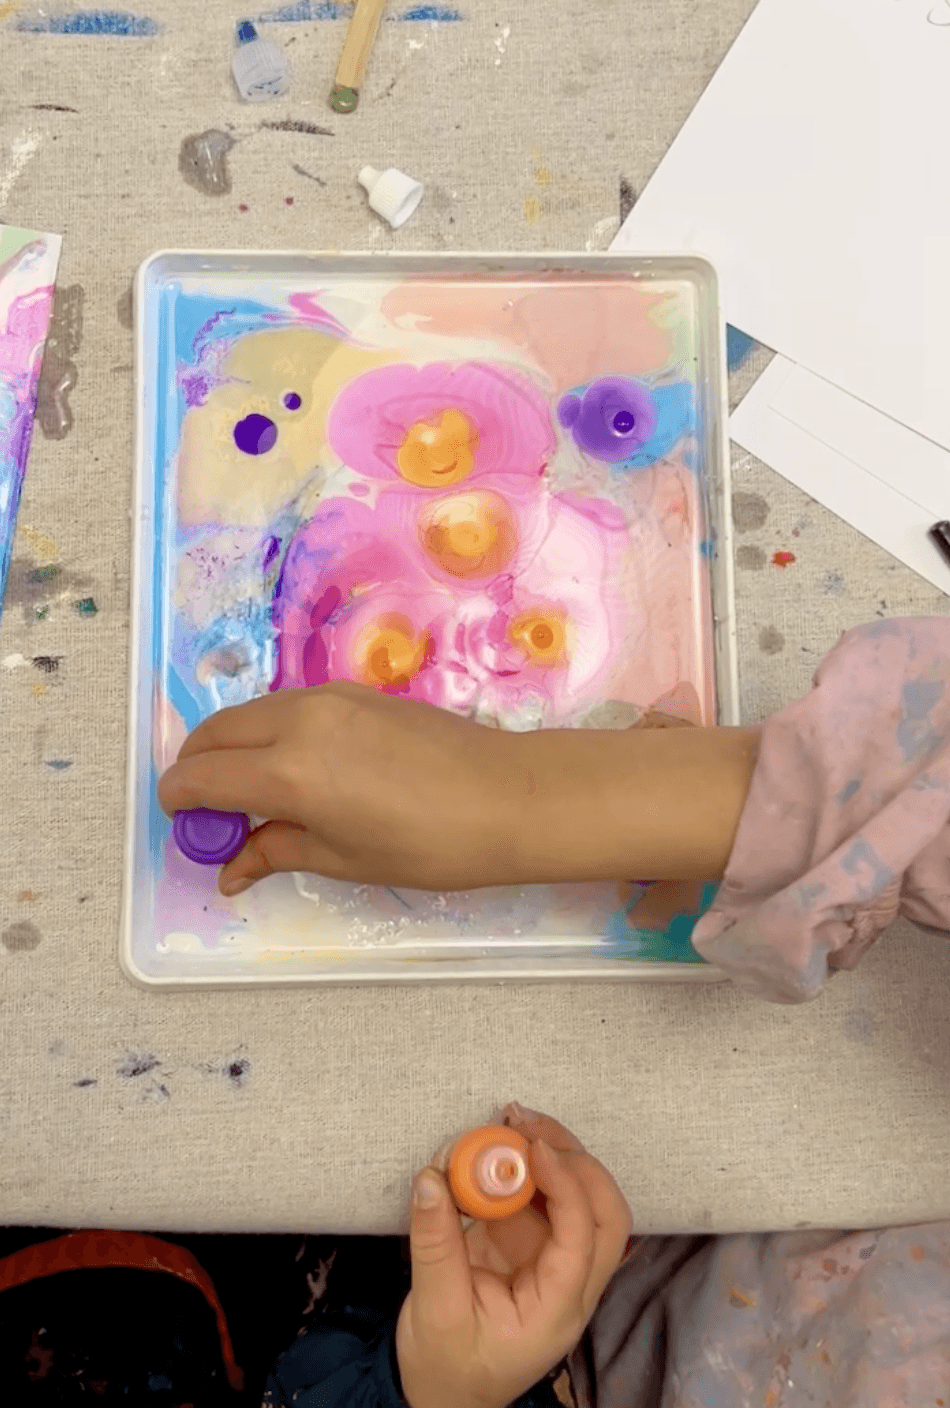
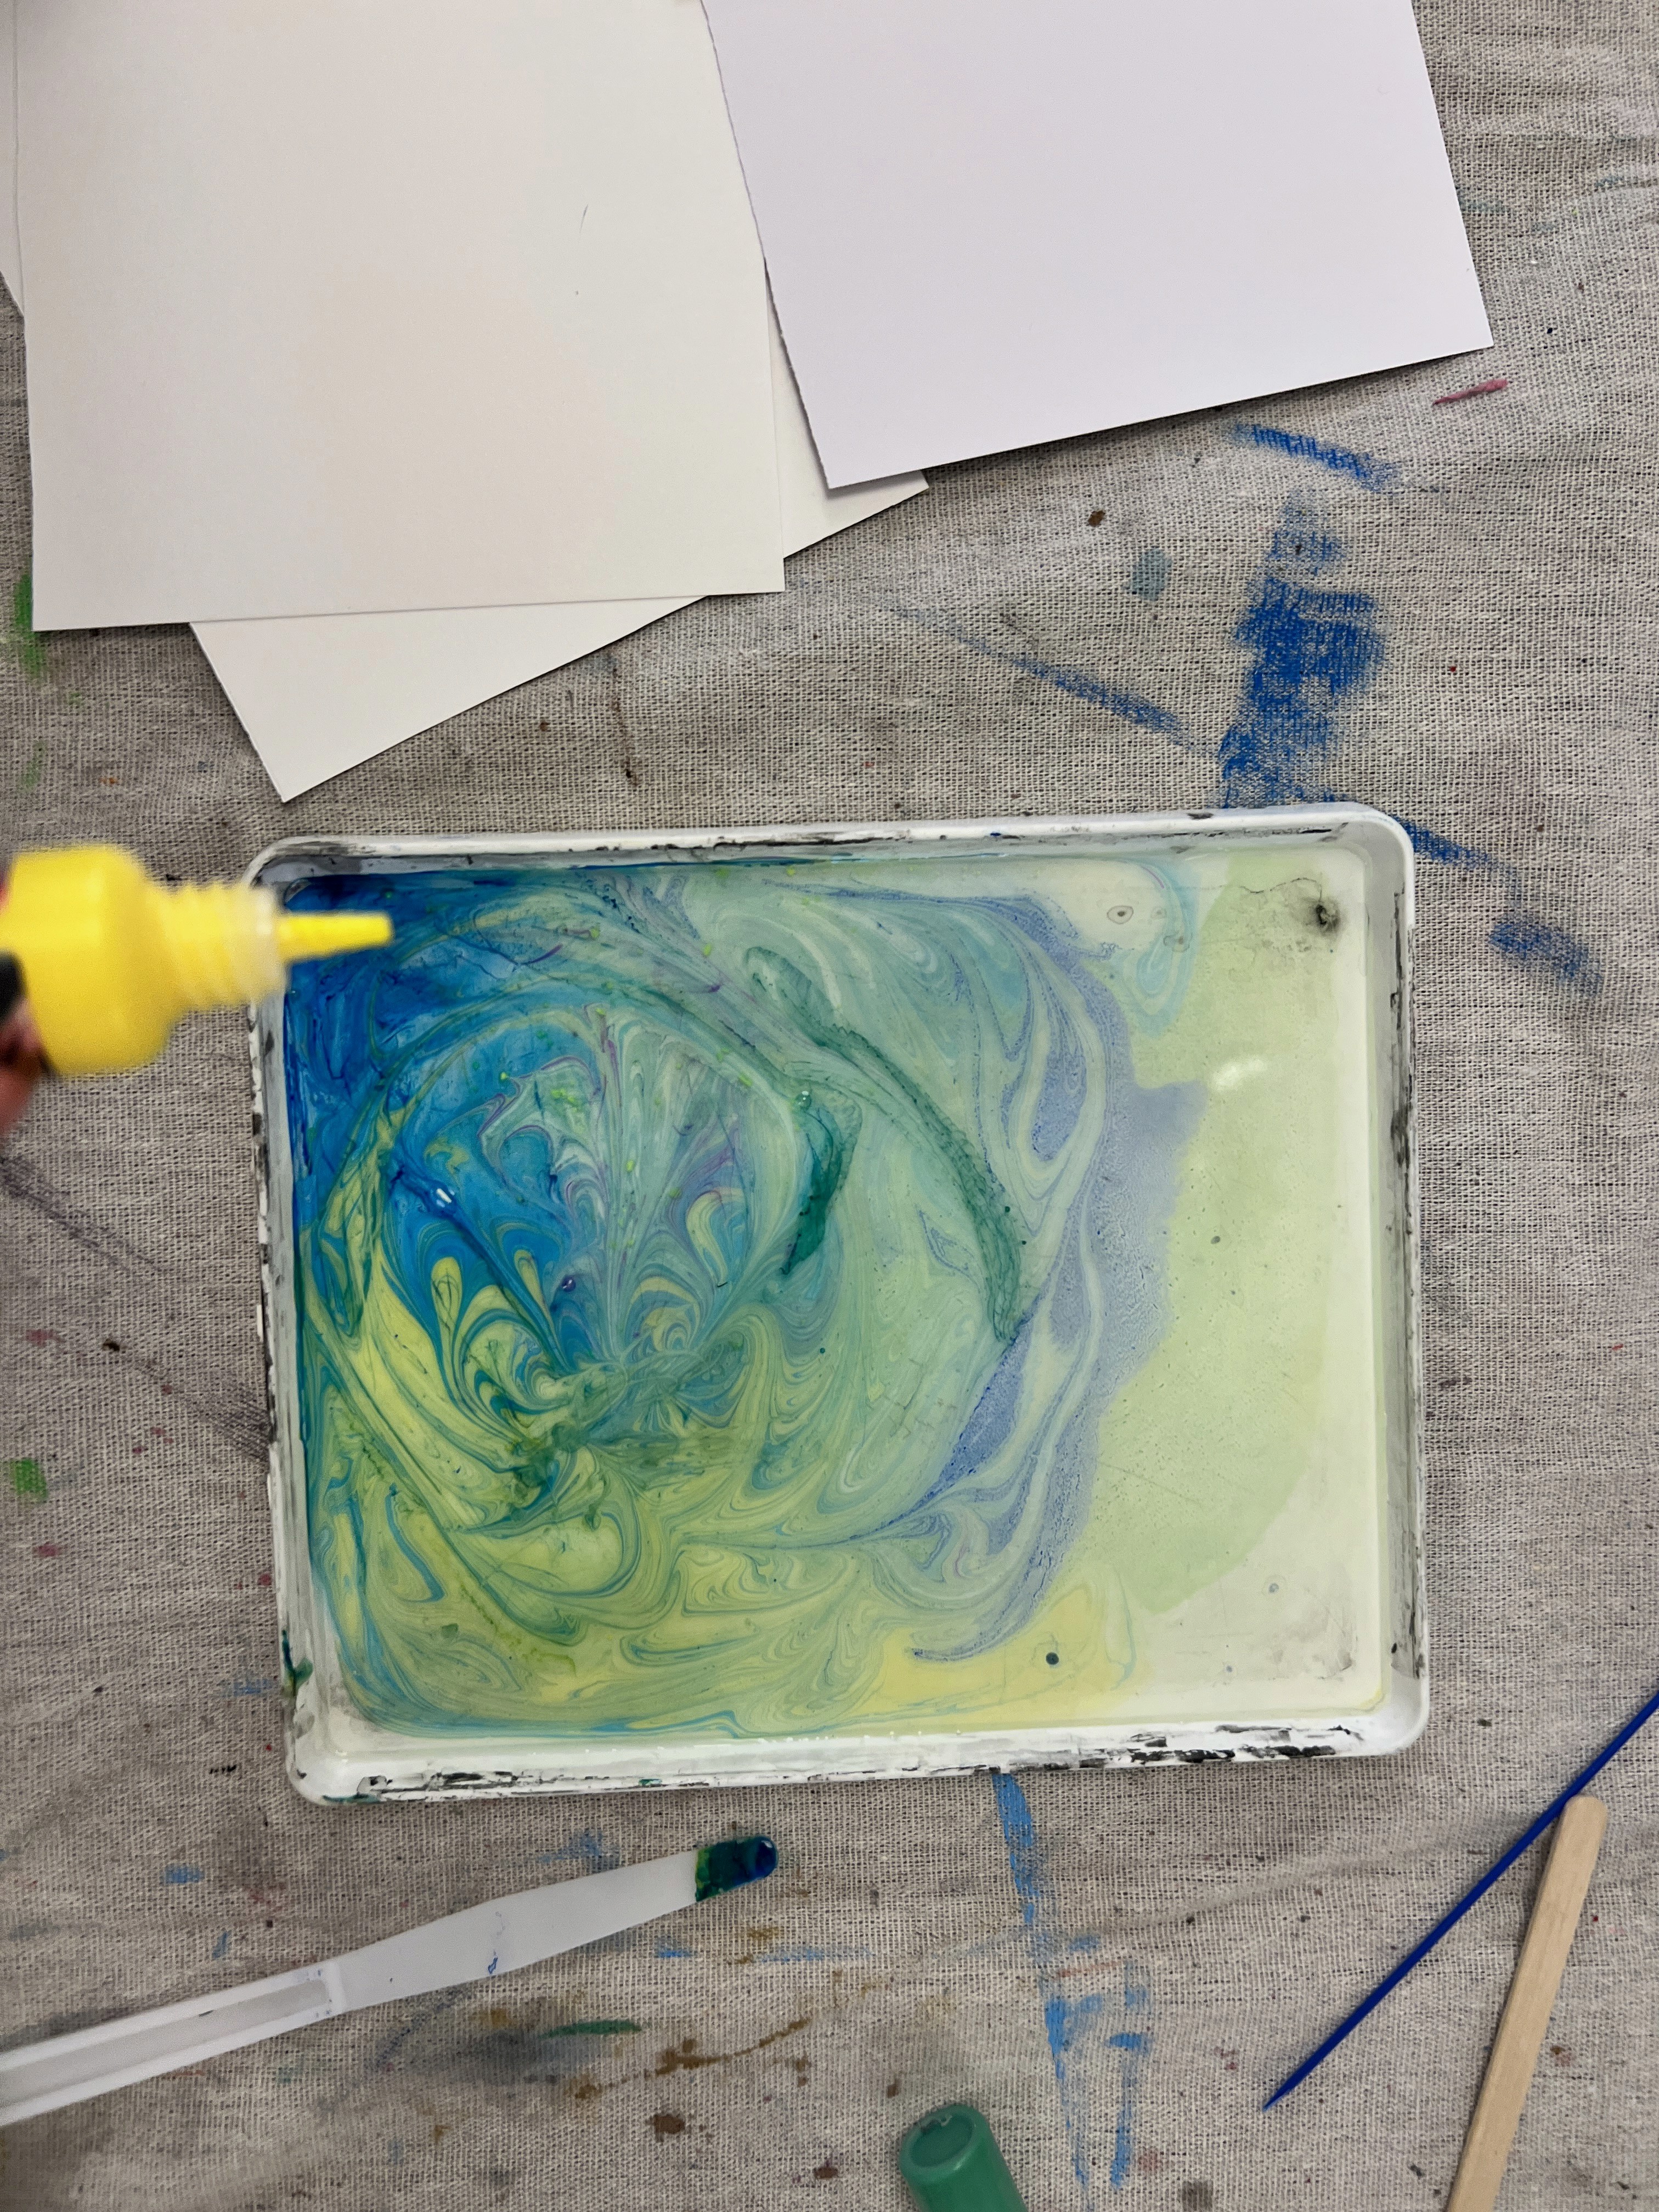
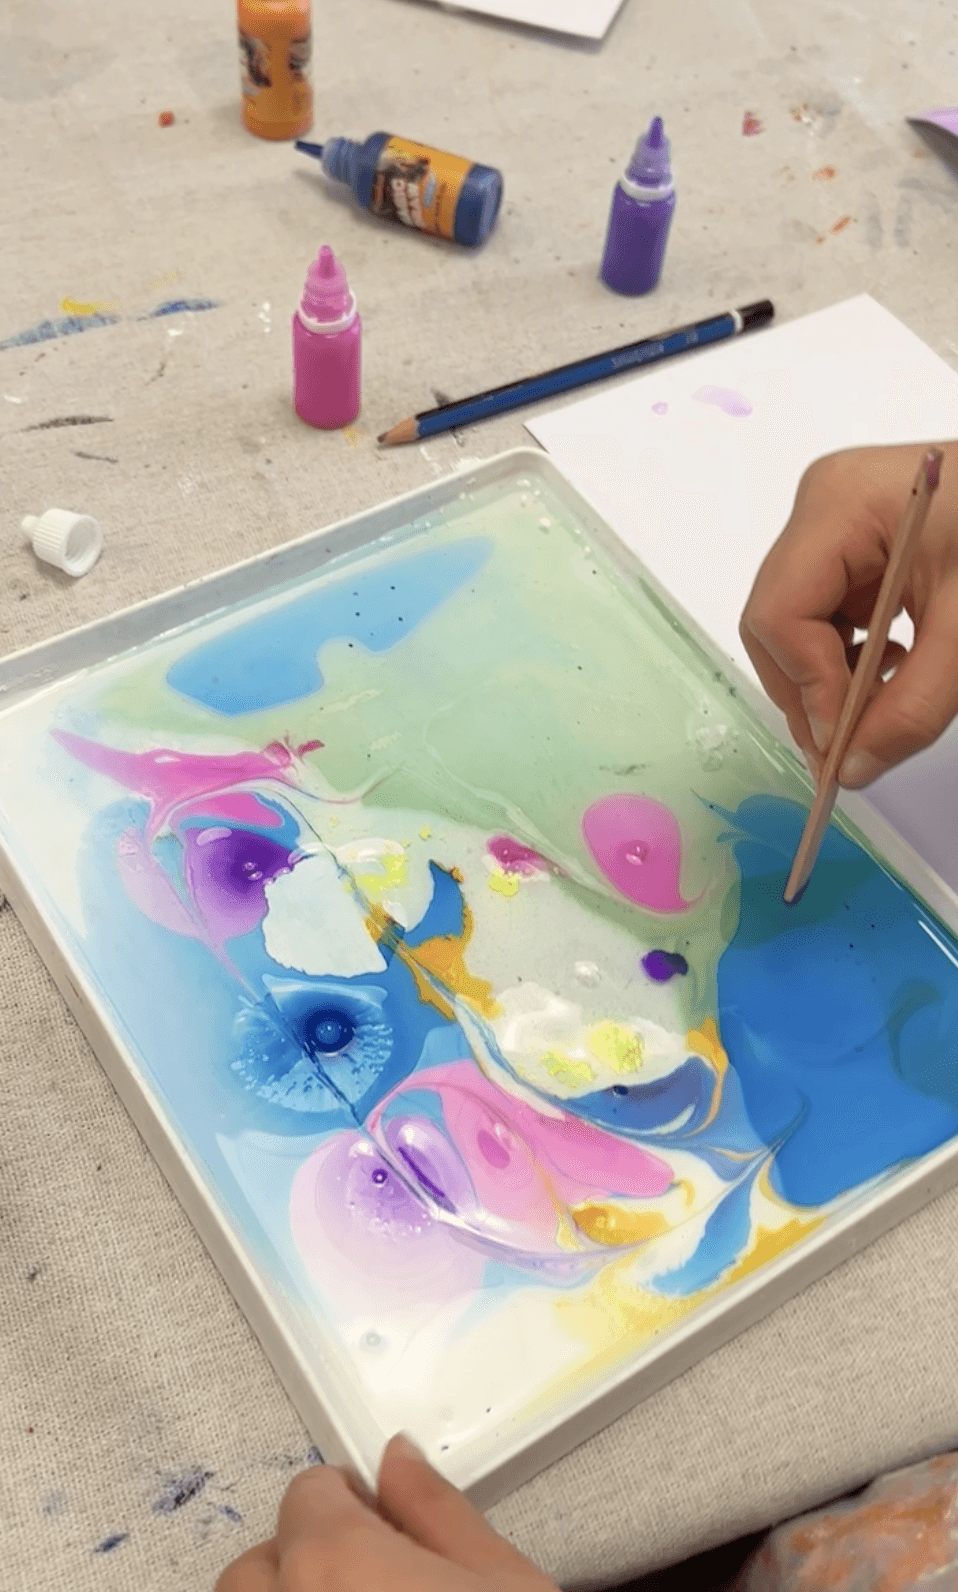
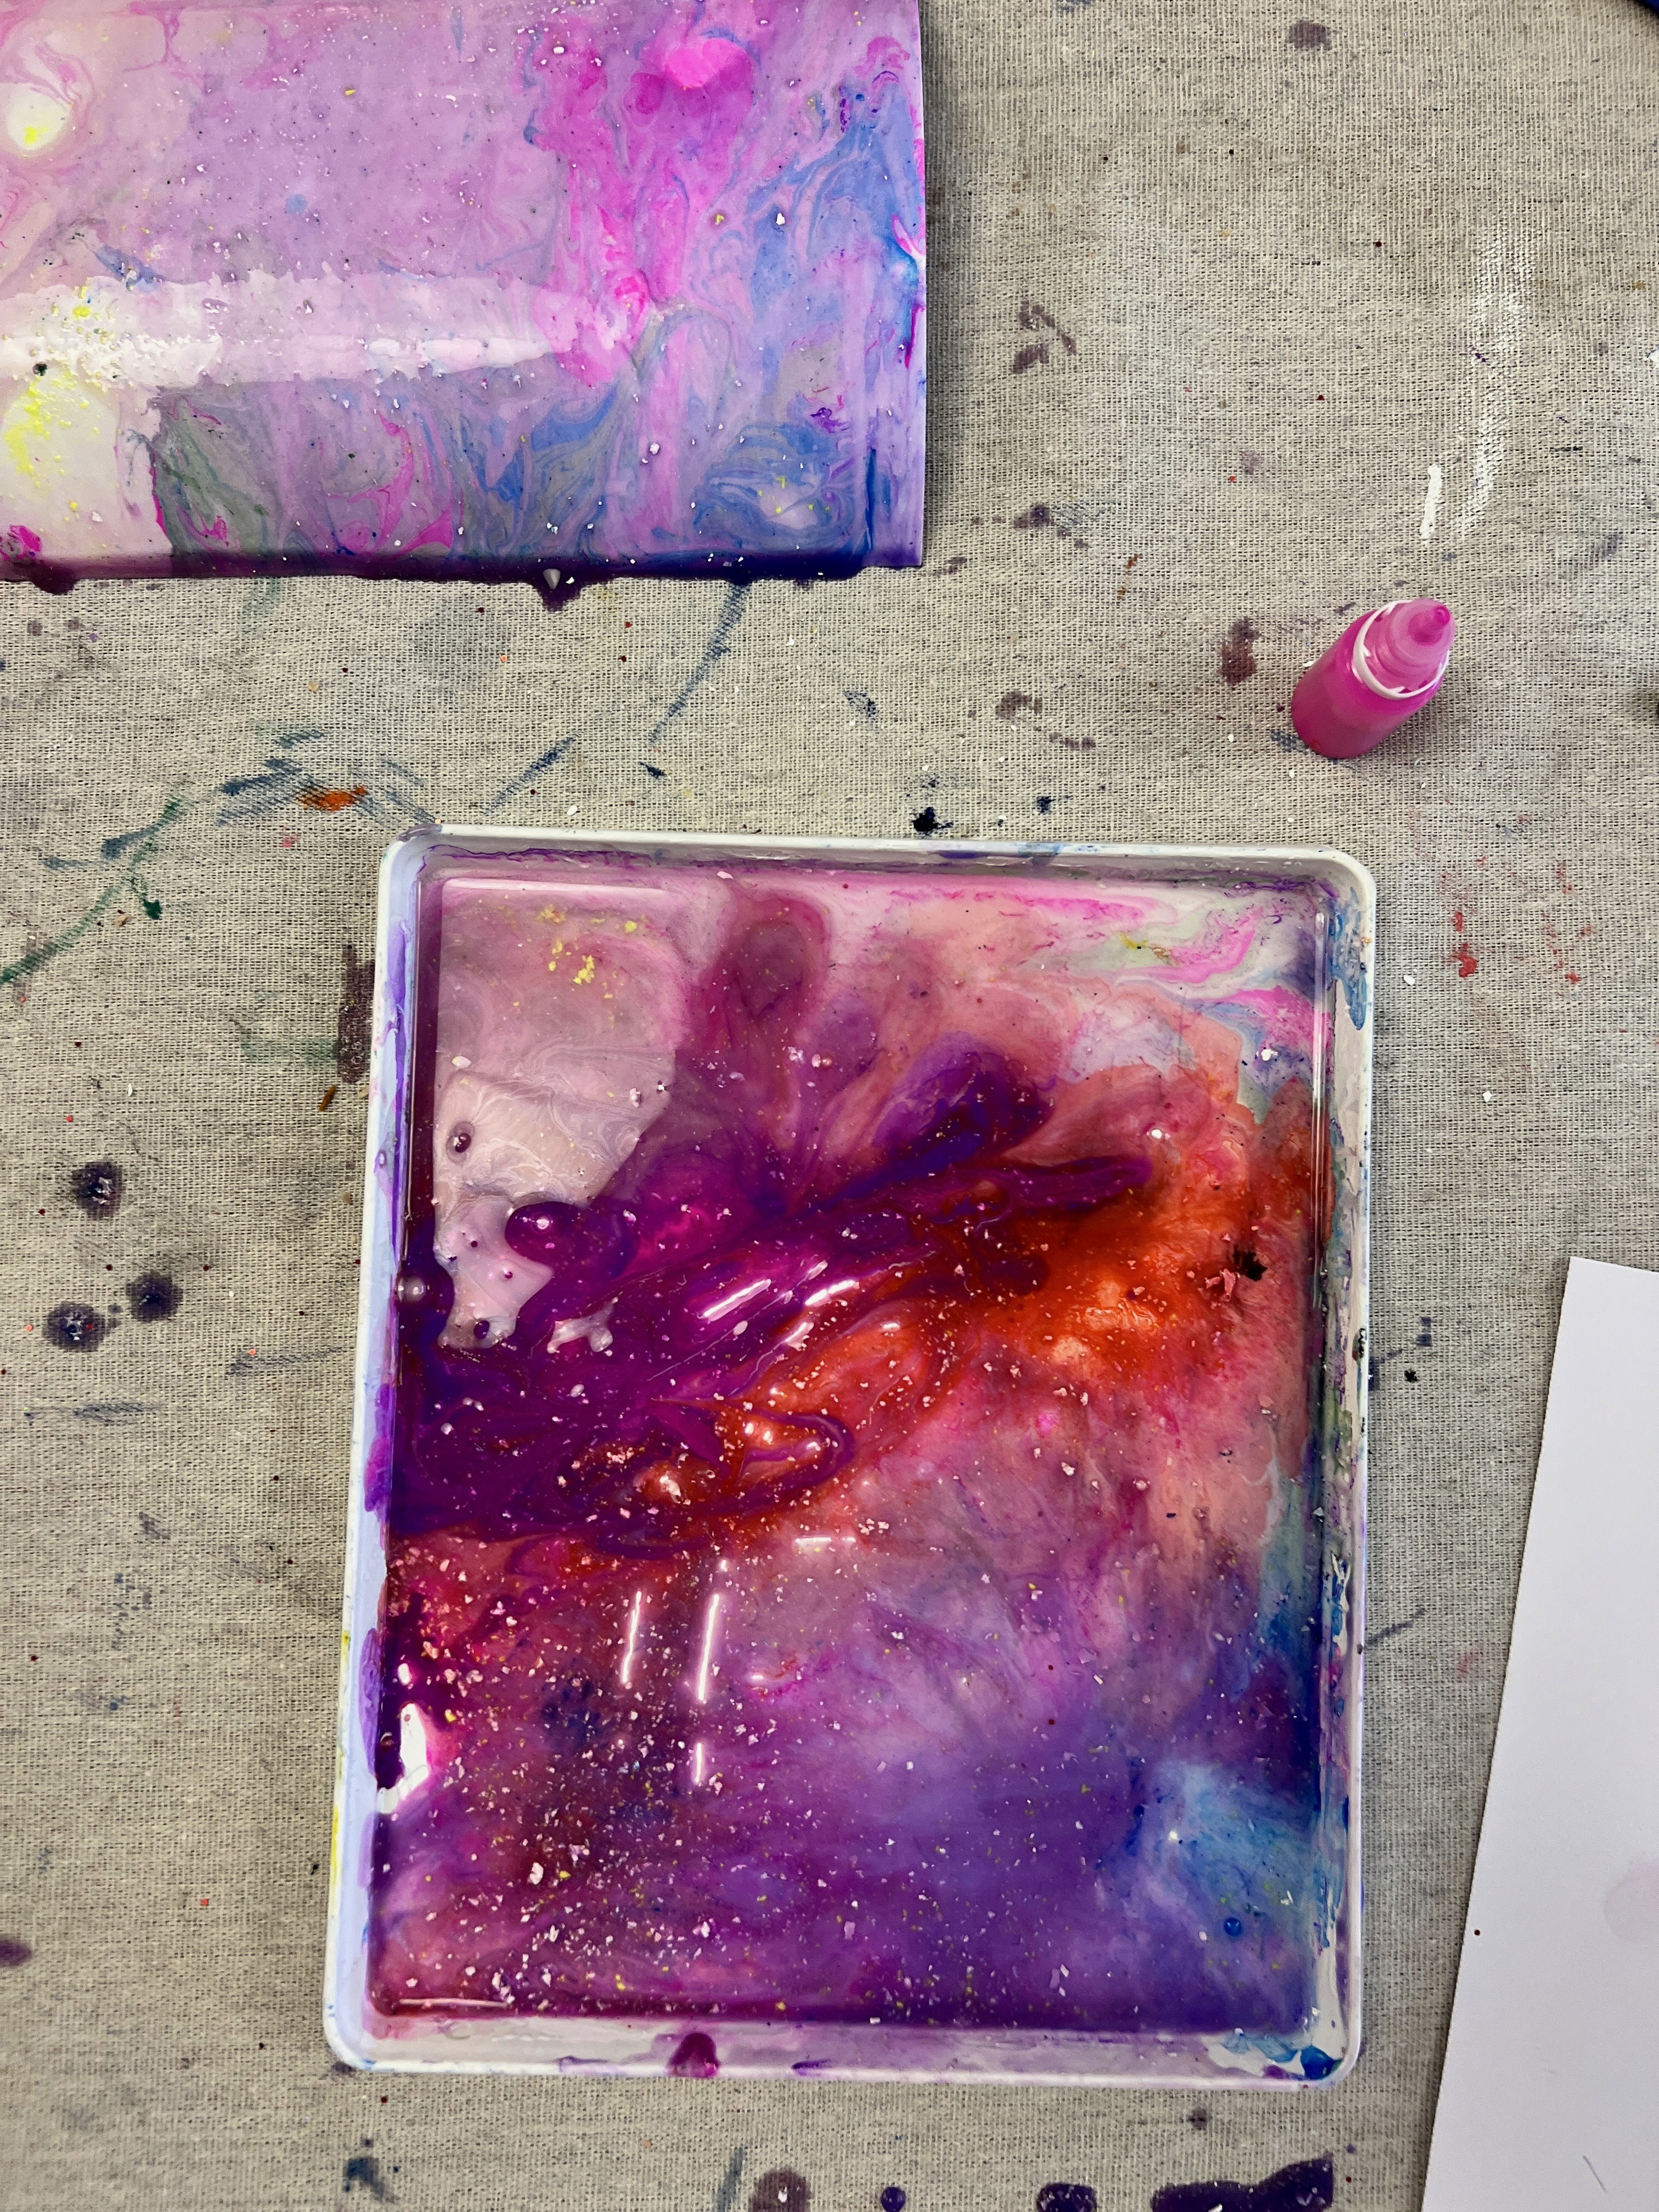
Drop paint onto the surface of the thickened water. The drops spread into discs. Add a second colour, then a third. Swirl gently with the skewer to create spirals and ripples. This is where kids lose themselves, because every swirl is completely different and every combination creates something new.
When the pattern looks right, dip the paper disc face-down onto the surface for just a second, then lift it away. The paint transfers onto the paper in exactly the pattern from the tray, and the reveal as the disc comes up is always a bit of a gasp. Set the marbled discs aside to dry on newspaper.
Between prints, skim the surface of the tray gently with a scrap of paper to lift off the residual paint. You can do this three or four times before needing to refresh the solution.
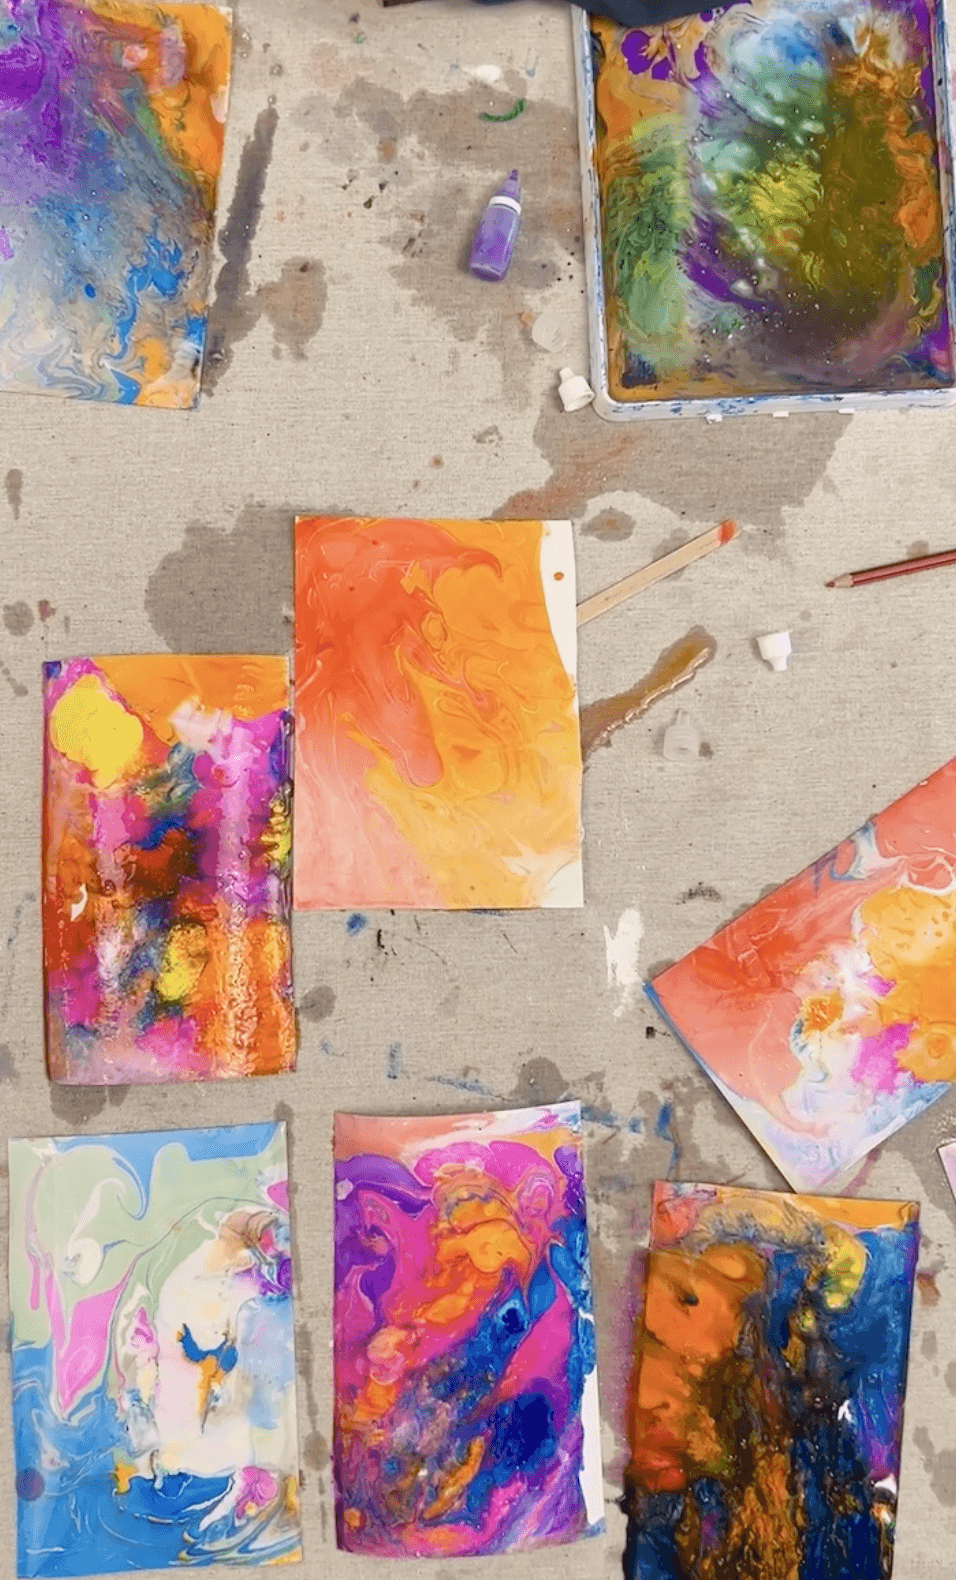
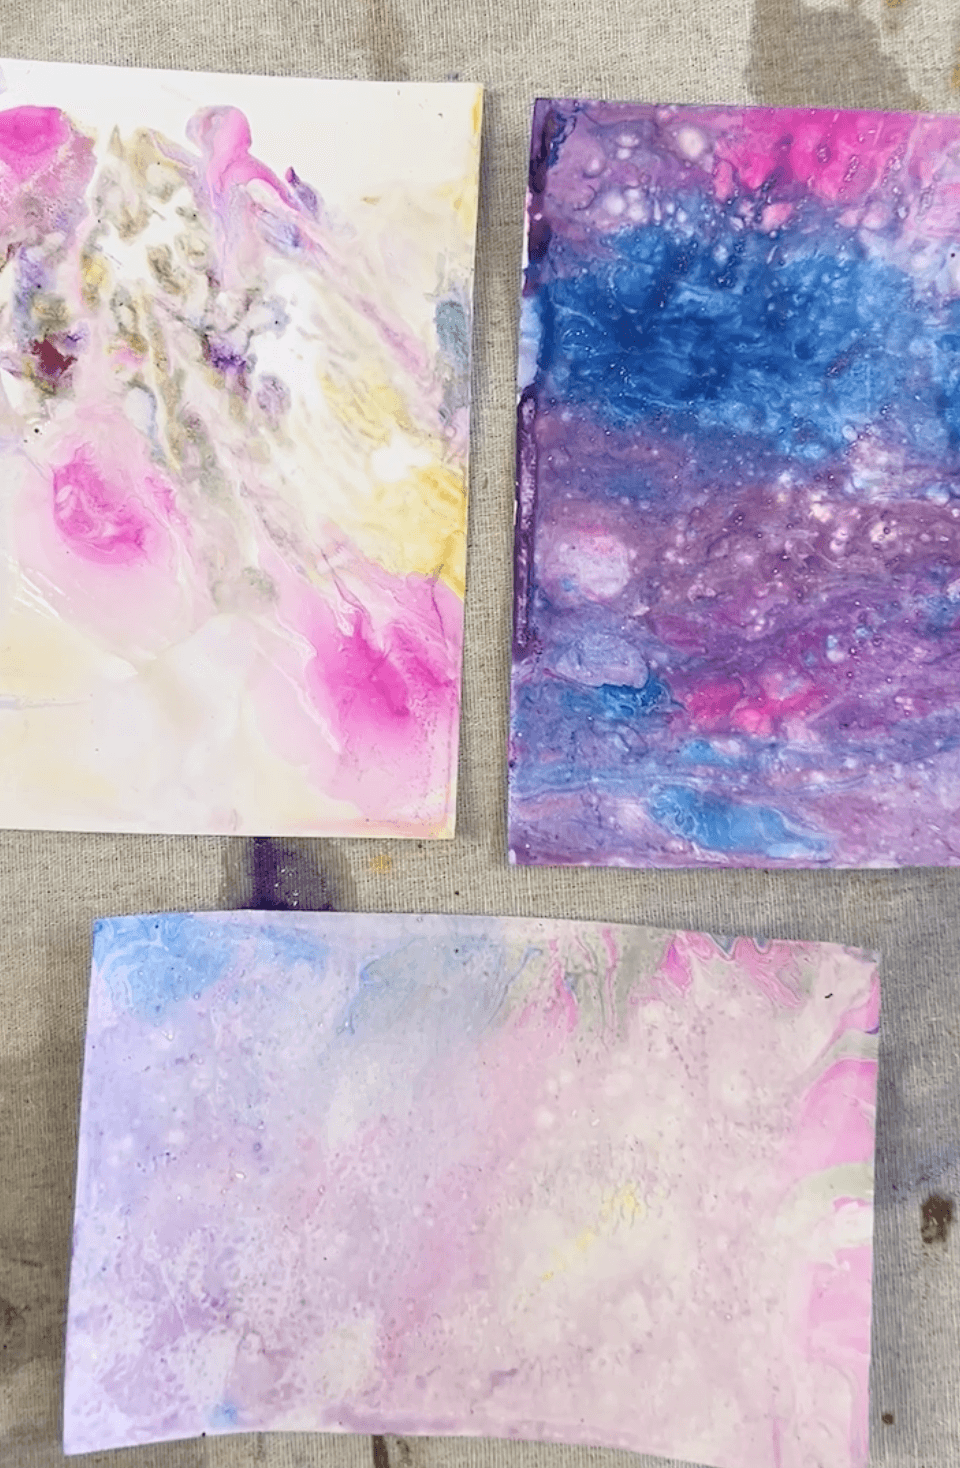
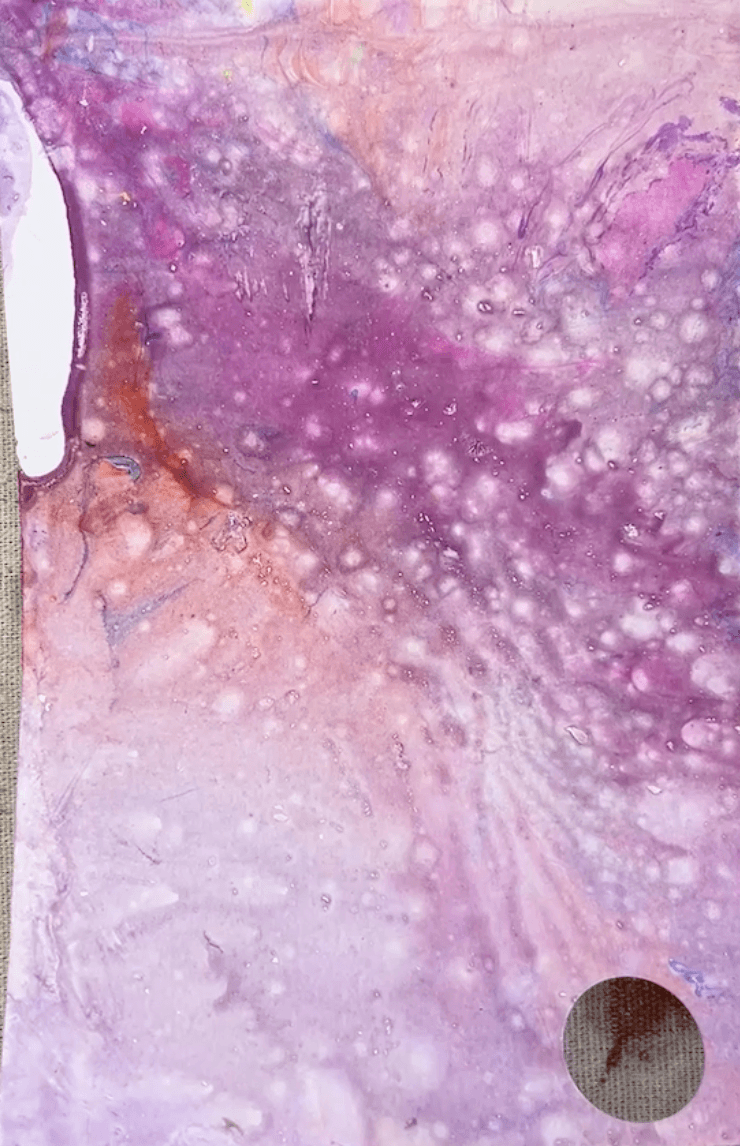
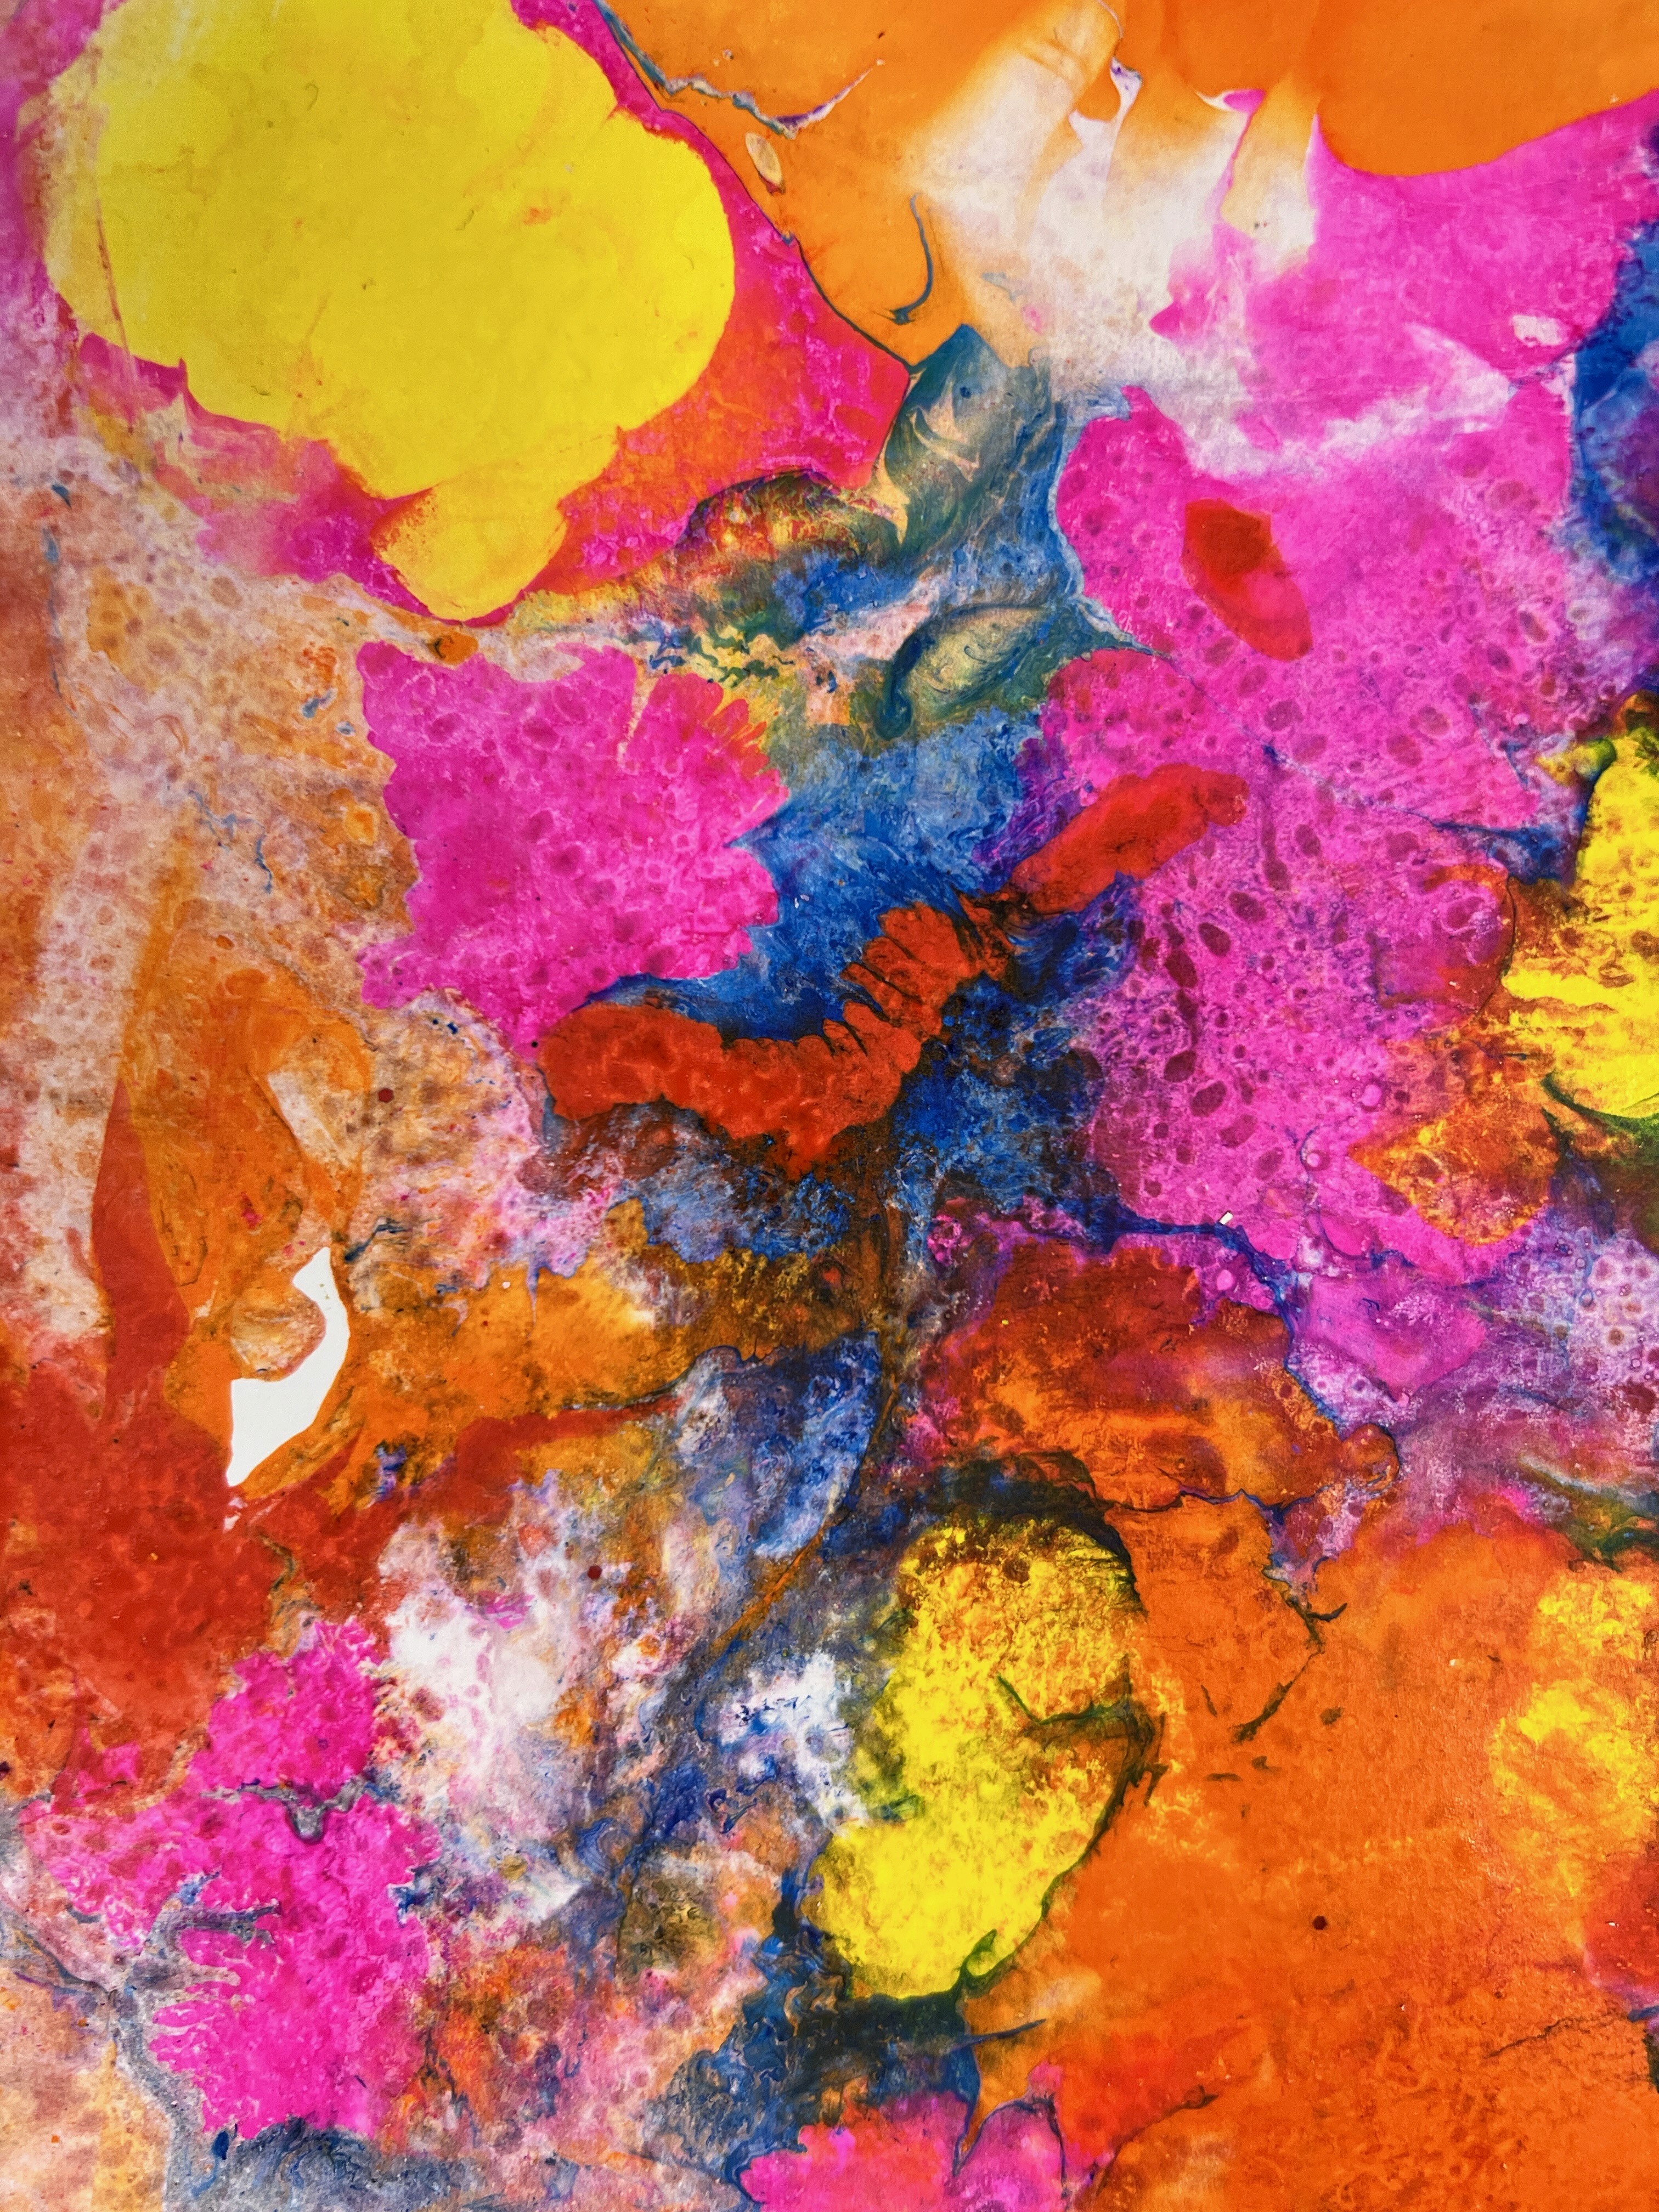
Each finished disc looks like its own tiny planet. Thicker swirls look like gas giants, gentler ones look like soft atmospheric planets, metallic ones look like they're made of stardust. Build up a whole collection and string them into a mobile, or hold them back for the Deep Space Collage activity coming up next (which uses them brilliantly).
Smudge Tip: Run Marbled Galaxies first thing in the morning so the prints have all day to dry, then pull them out for Deep Space Collage in the afternoon. There's a lovely sense of continuity when artists use their own morning prints in their afternoon piece.
Once it's dry, you can cut into planet shapes. Fiskars circle hole punches are brilliant for this if you'd rather not cut by hand. They come in a range of sizes, and they mean you can punch out perfect planet discs in seconds.
Variations
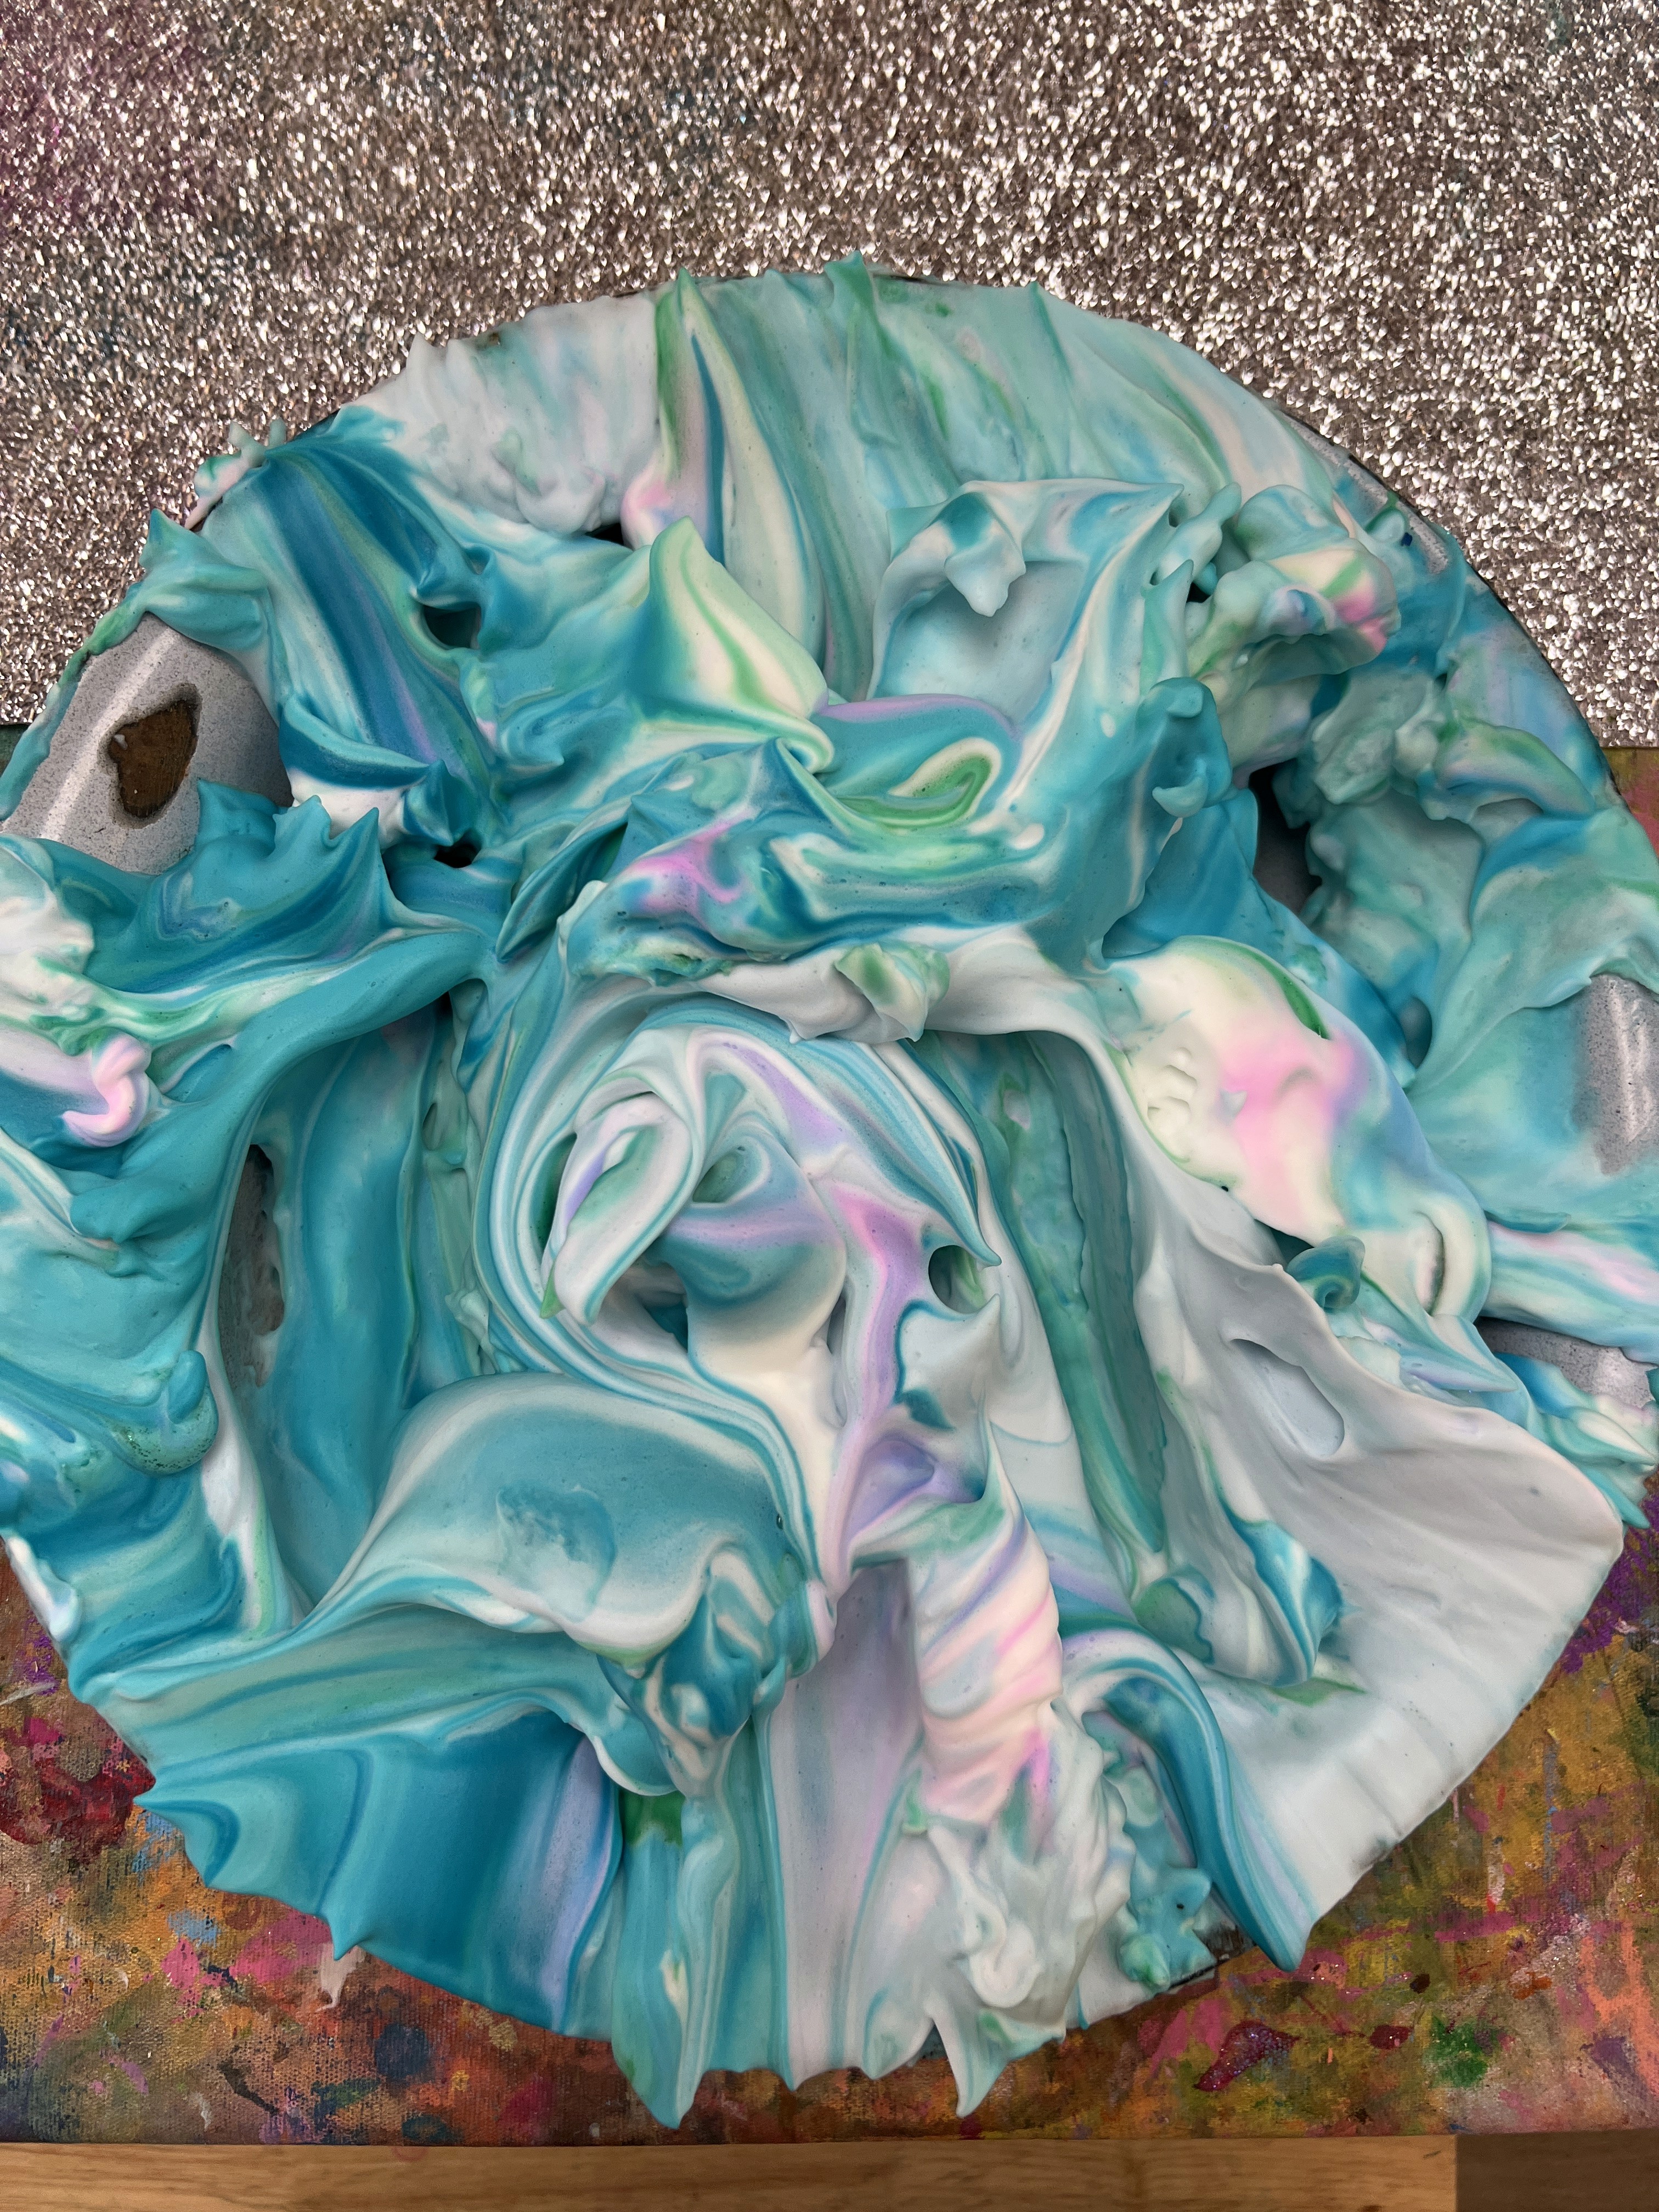
If the marbling kit isn't an option, shaving foam marbling works almost as well. Spread shaving foam in a flat layer on a tray, drop liquid watercolour across the surface, swirl gently with a skewer, press paper down, and scrape the foam off with a flat edge. Messier, cheaper, equally gorgeous!
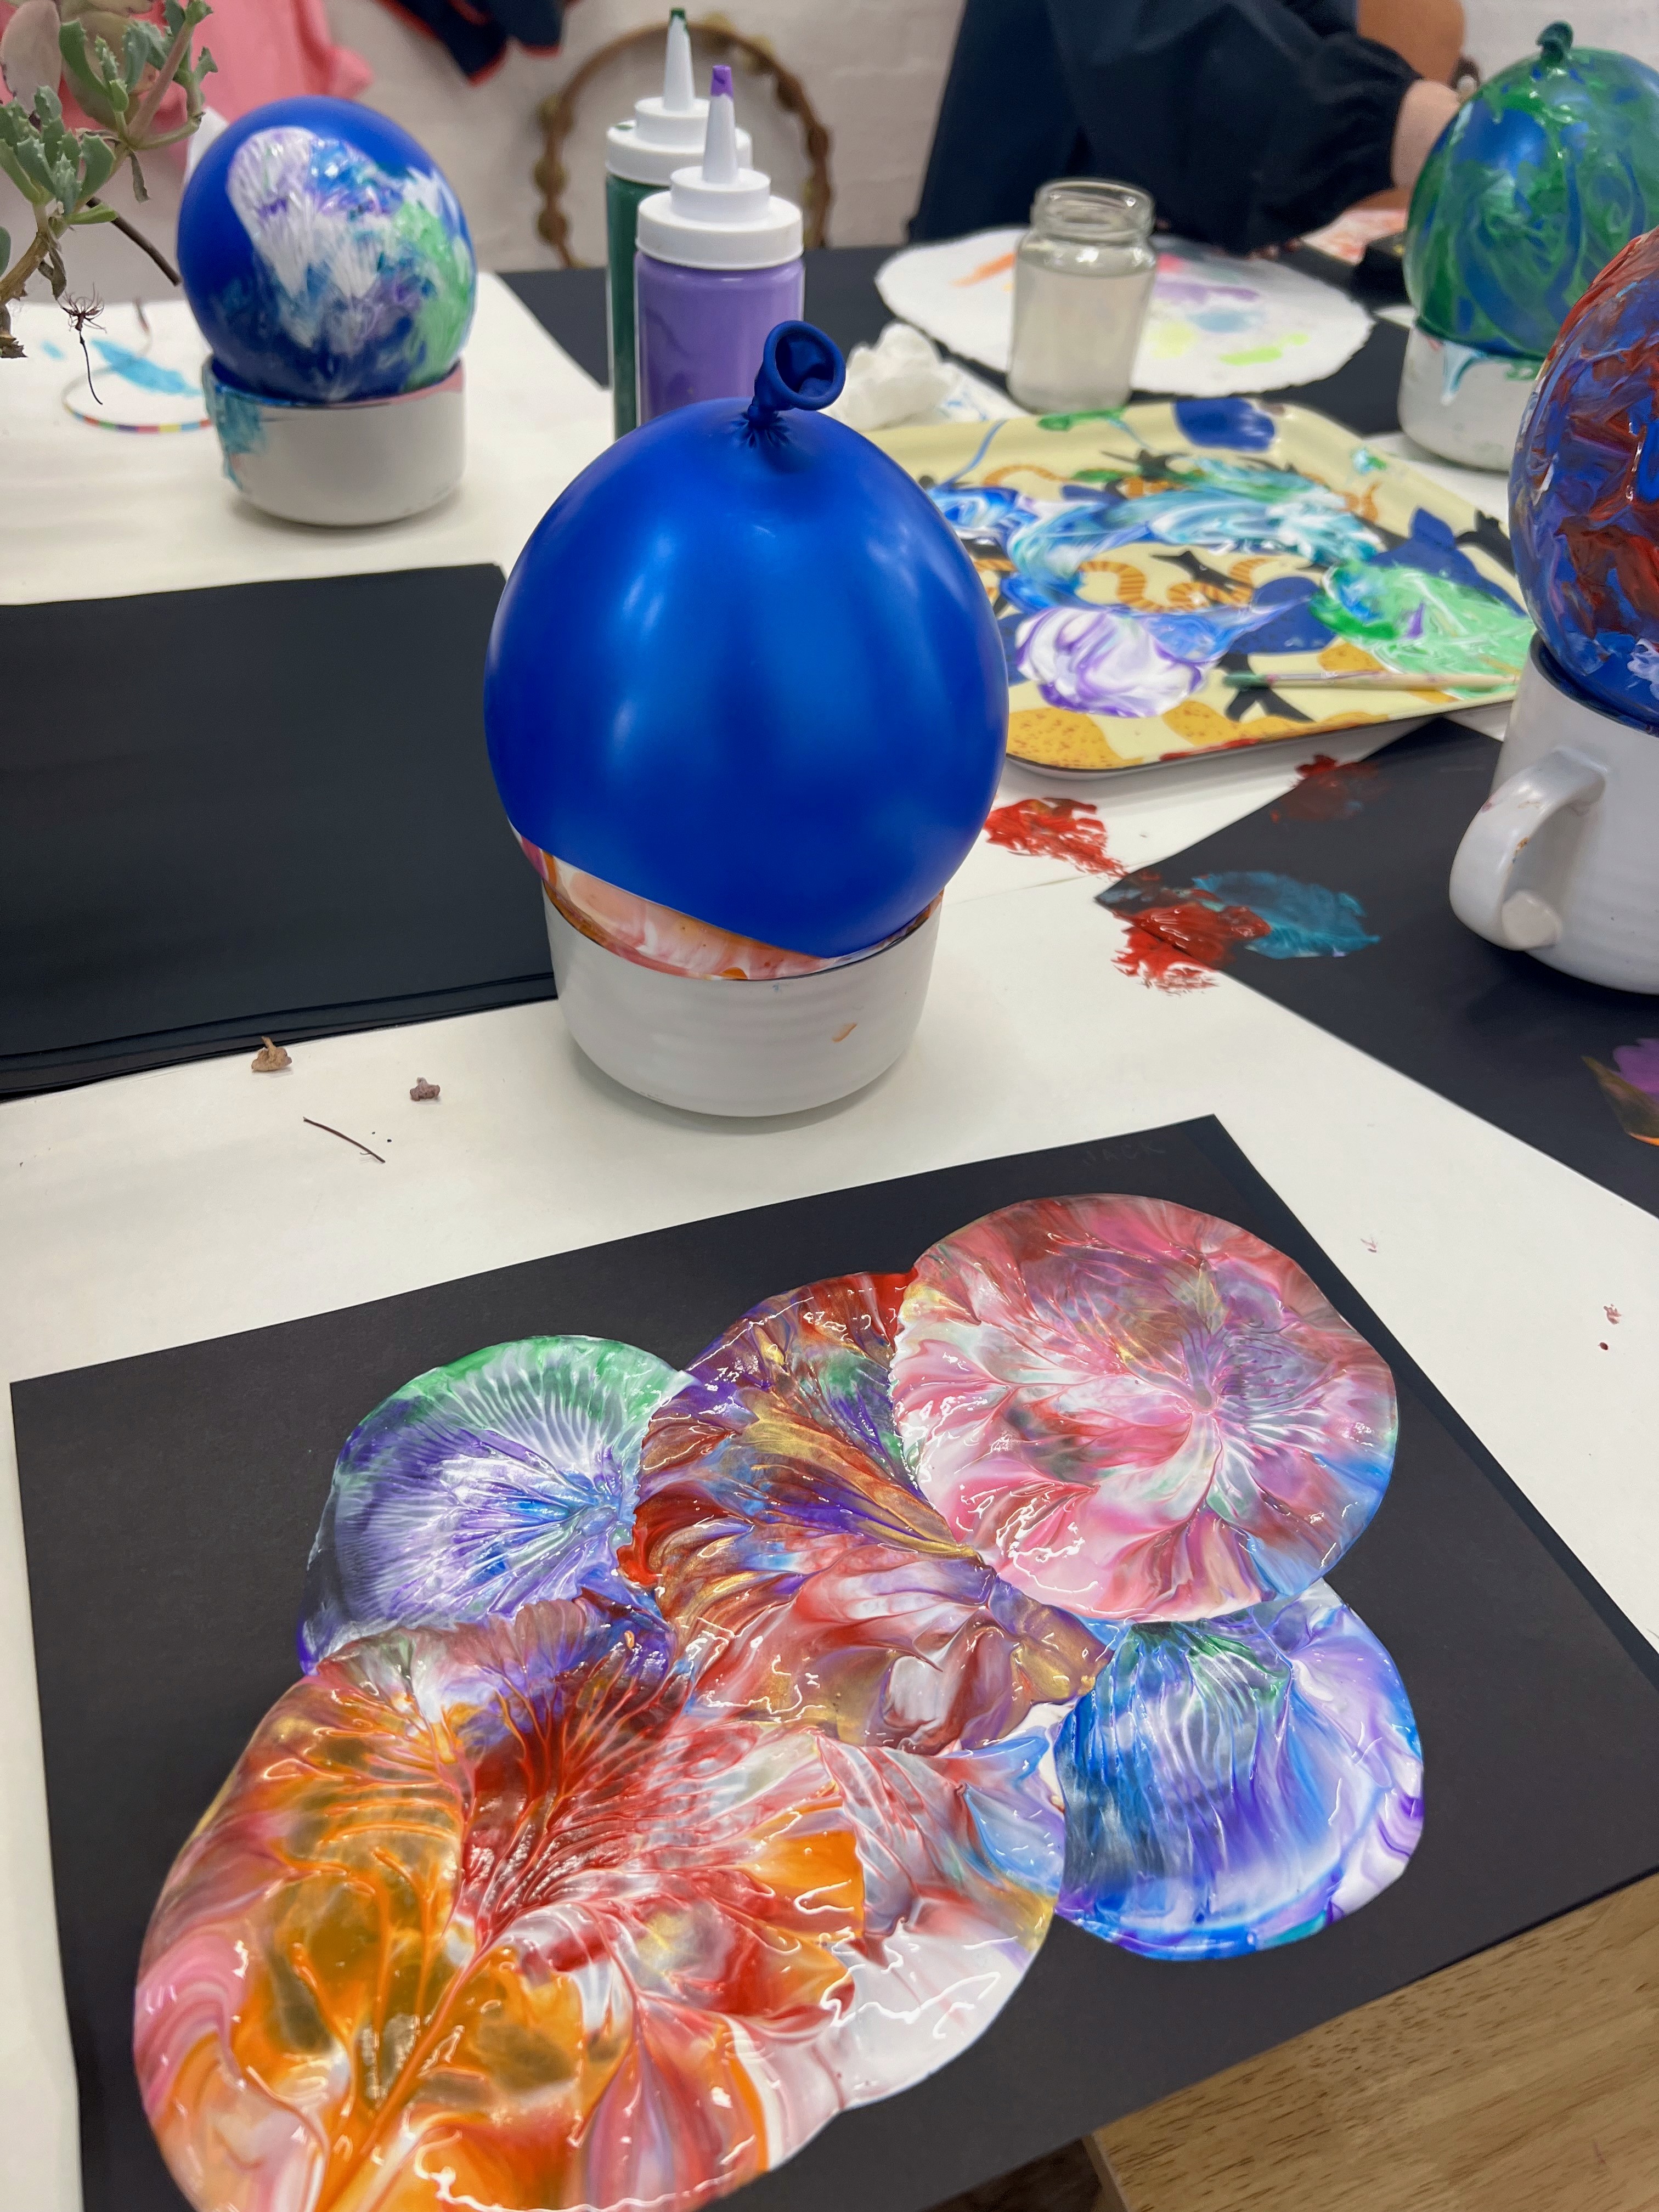
Print with small balloons and swirls of paint and colour!
Materials
Kids' marbling kit (Jupitearth from Amazon is what we used, any similar kit works)
Shallow tray for mixing
Heavyweight cardstock or 200gsm+ watercolour paper
Fiskars circle hole punches in various sizes
Skewers or chopsticks for swirling
Scrap paper for skimming between prints
Shaving foam and liquid watercolour (for foam marbling variation)
Back to Top
Marbled Milky Way
One of the most satisfying processes on earth
Bookmark
Print Making
The Set Up
Marbling is one of those processes that feels like actual magic every single time, no matter how many times you've done it. For this theme we used a proper marbling kit, the Jupitearth one from Amazon, though any kids' marbling kit works the same way. The short version: thickened water, paints that float on top, a swirl with a skewer, dip the paper down, peel it back up. Gorgeous galaxy print.
Set up a shallow tray for each artist, or one larger tray to share. Mix the marbling solution to the packet instructions (usually a powder stirred into warm water, left to sit for a few hours to thicken). Once it's ready the water will feel slightly gel-like, not watery. That thickness is what holds the paint on the surface.
Lay out the marbling paints in deep space colours: navy, purple, magenta, teal, plus a hit of silver or gold if your kit has metallics. Give each artist a skewer or chopstick for swirling, and a stack of heavyweight cardstock or watercolour paper.
The Making
Drop paint onto the surface of the thickened water. The drops spread into discs. Add a second colour, then a third. Swirl gently with the skewer to create spirals and ripples. This is where kids lose themselves, because every swirl is completely different and every combination creates something new.
When the pattern looks right, dip the paper disc face-down onto the surface for just a second, then lift it away. The paint transfers onto the paper in exactly the pattern from the tray, and the reveal as the disc comes up is always a bit of a gasp. Set the marbled discs aside to dry on newspaper.
Between prints, skim the surface of the tray gently with a scrap of paper to lift off the residual paint. You can do this three or four times before needing to refresh the solution.
Each finished disc looks like its own tiny planet. Thicker swirls look like gas giants, gentler ones look like soft atmospheric planets, metallic ones look like they're made of stardust. Build up a whole collection and string them into a mobile, or hold them back for the Deep Space Collage activity coming up next (which uses them brilliantly).
Smudge Tip: Run Marbled Galaxies first thing in the morning so the prints have all day to dry, then pull them out for Deep Space Collage in the afternoon. There's a lovely sense of continuity when artists use their own morning prints in their afternoon piece.
Once it's dry, you can cut into planet shapes. Fiskars circle hole punches are brilliant for this if you'd rather not cut by hand. They come in a range of sizes, and they mean you can punch out perfect planet discs in seconds.
Variations
If the marbling kit isn't an option, shaving foam marbling works almost as well. Spread shaving foam in a flat layer on a tray, drop liquid watercolour across the surface, swirl gently with a skewer, press paper down, and scrape the foam off with a flat edge. Messier, cheaper, equally gorgeous!
Print with small balloons and swirls of paint and colour!
Materials
Kids' marbling kit (Jupitearth from Amazon is what we used, any similar kit works)
Shallow tray for mixing
Heavyweight cardstock or 200gsm+ watercolour paper
Fiskars circle hole punches in various sizes
Skewers or chopsticks for swirling
Scrap paper for skimming between prints
Shaving foam and liquid watercolour (for foam marbling variation)
Back to Top
Add this to your favourites
Add this to your favourites
Thoughts?
Would love to hear if youv'e tried this or have any ideas on how to make it even better!