Moon Landing Dioramas
A whole tiny world in a cake box
The Set Up
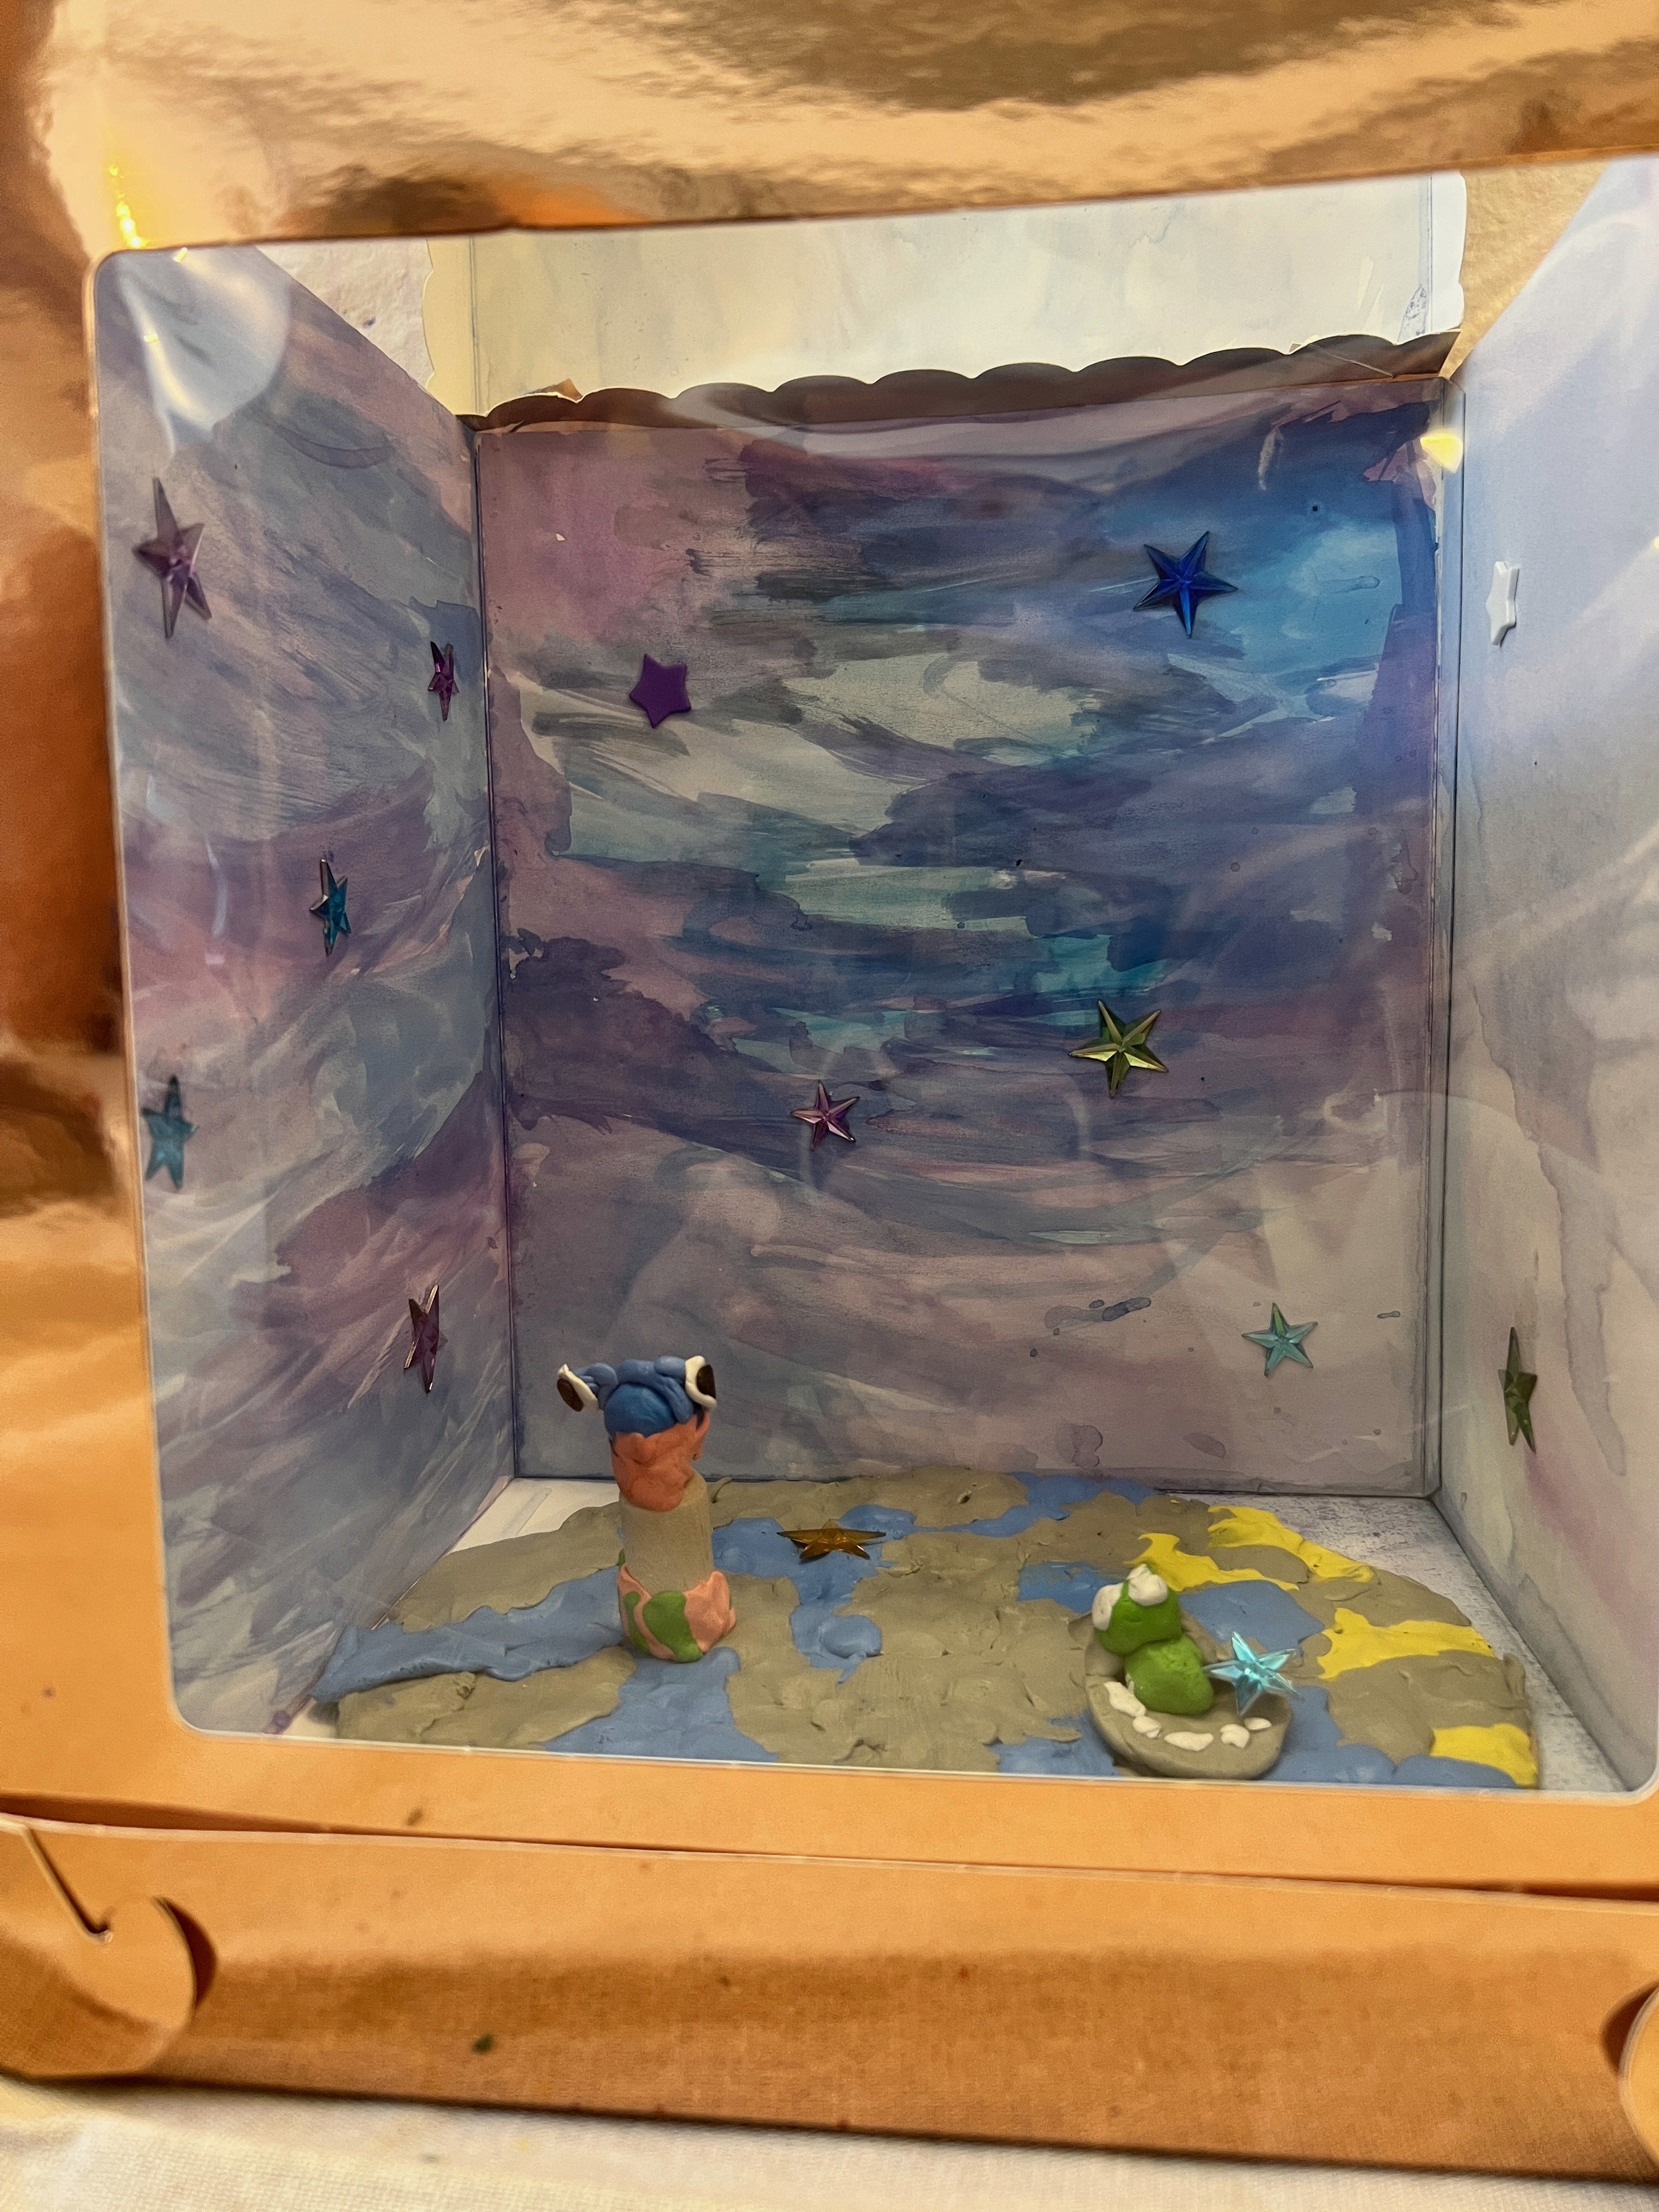
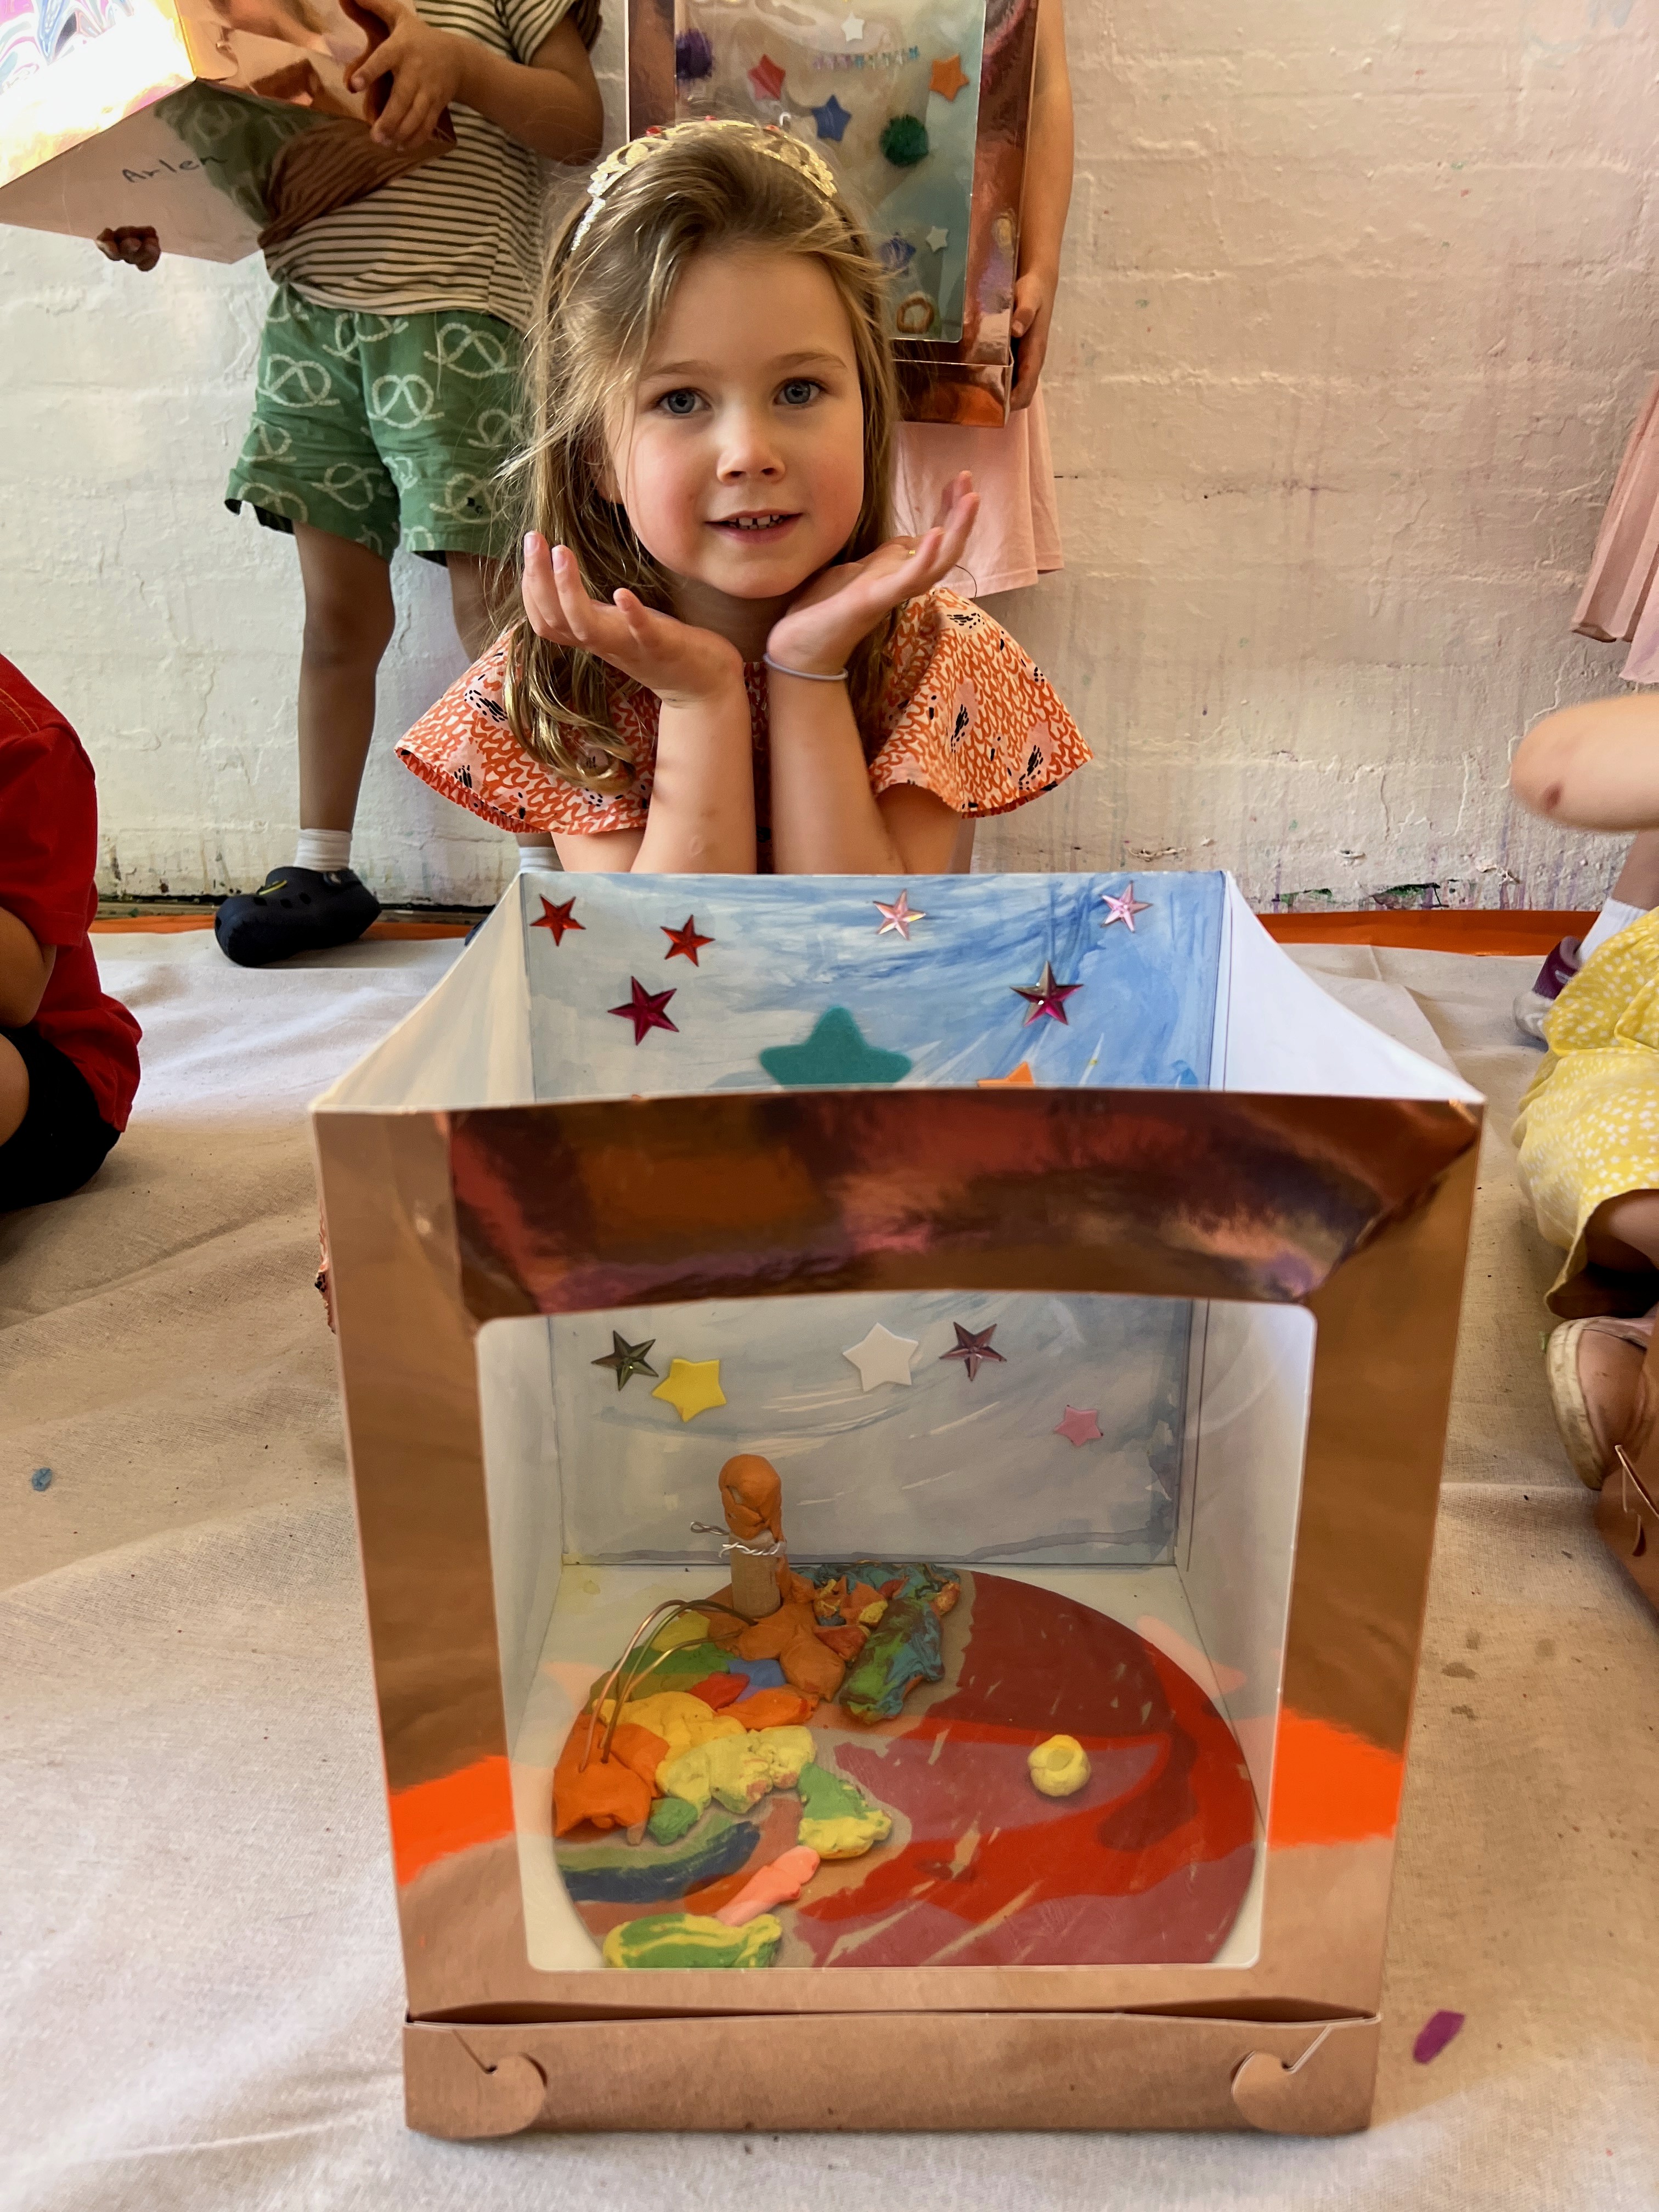
Cake boxes are the best! The tall clear-windowed ones from your local craft or party supply store. The rose gold foil ones are particularly gorgeous (and not too expensive). The clear panel at the front turns every finished diorama into a tiny scene you can look right into.
Inside each box, a generous mound of plasticine becomes the moon / asteroid / planet surface. Press and squish and poke at it so it has craters and ridges. The texture is half the charm, and plasticine is brilliant for this because it never fully hardens, so artists can keep reshaping it as they go. Offer small tools for pressing: bottle caps make perfect round craters, skewers make fine lines, thumbs and knuckles make the big dents.
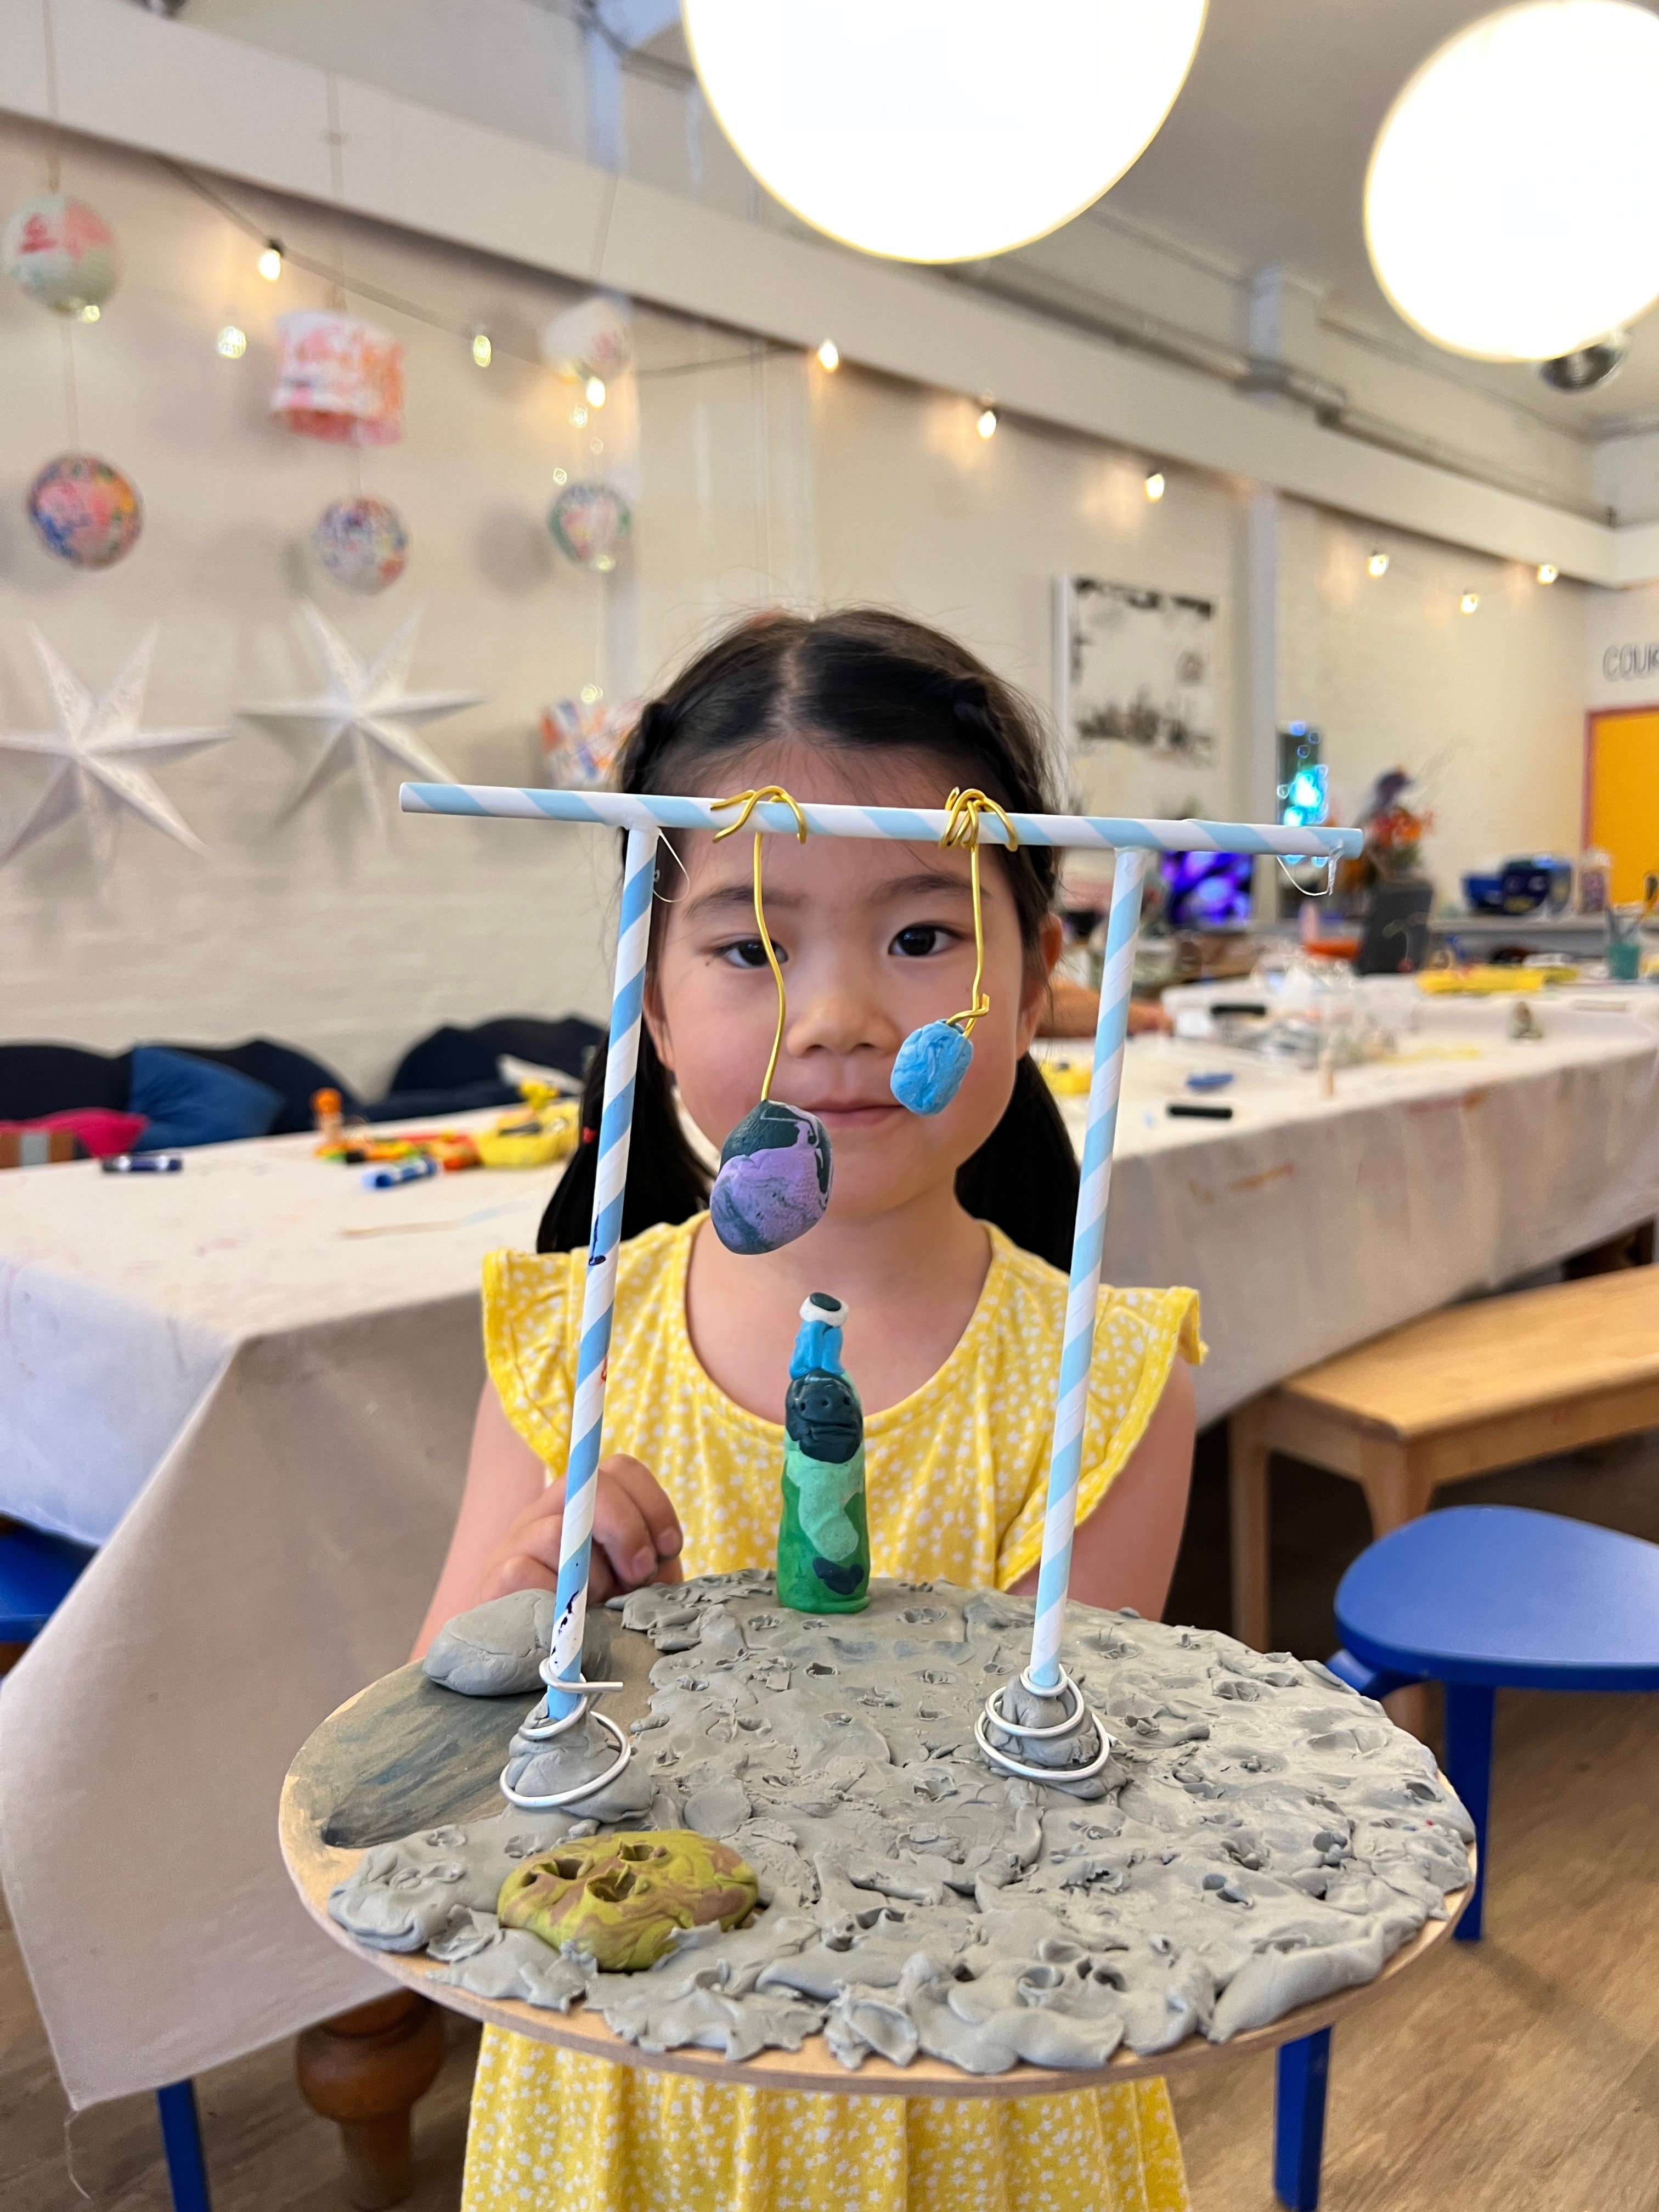
Set out paper straws in patterns (we used blue and white striped and pink striped), small plastic astronaut figurines, and little painted clay balls or wooden beads as planets. Thin copper wire or yellow thread lets artists hang planets from the straws so they dangle mid-diorama like orbiting moons. Star stickers around the rim of the clear window finish it off.
The Making
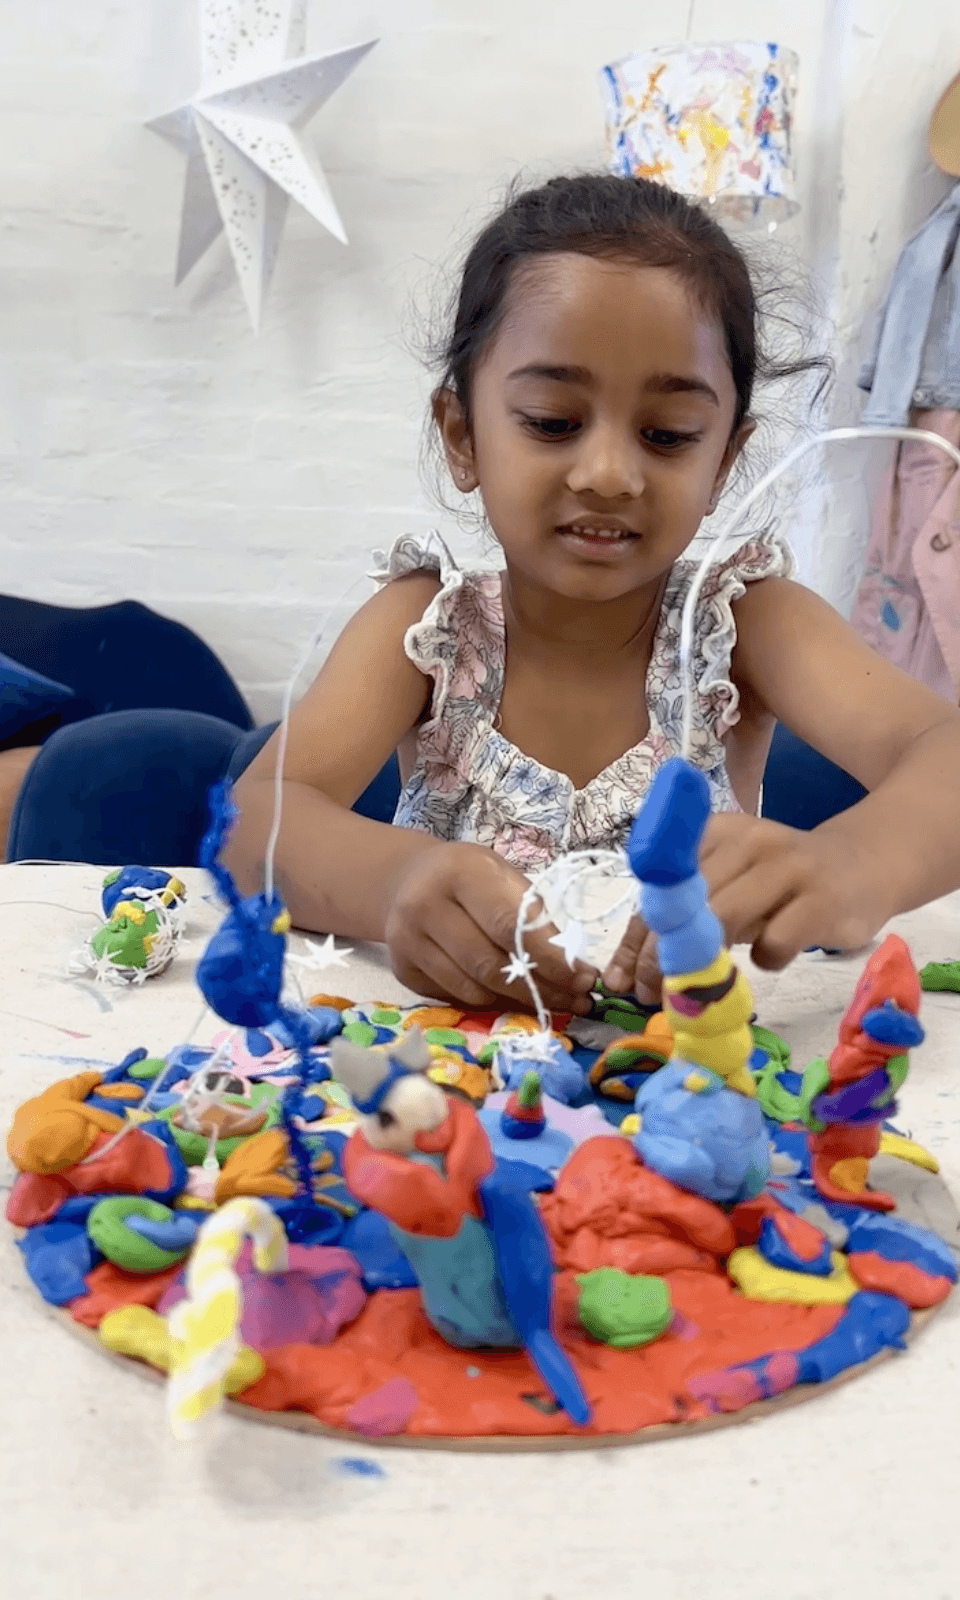
The building of a whole tiny world inside a box is one of those processes kids completely disappear into.
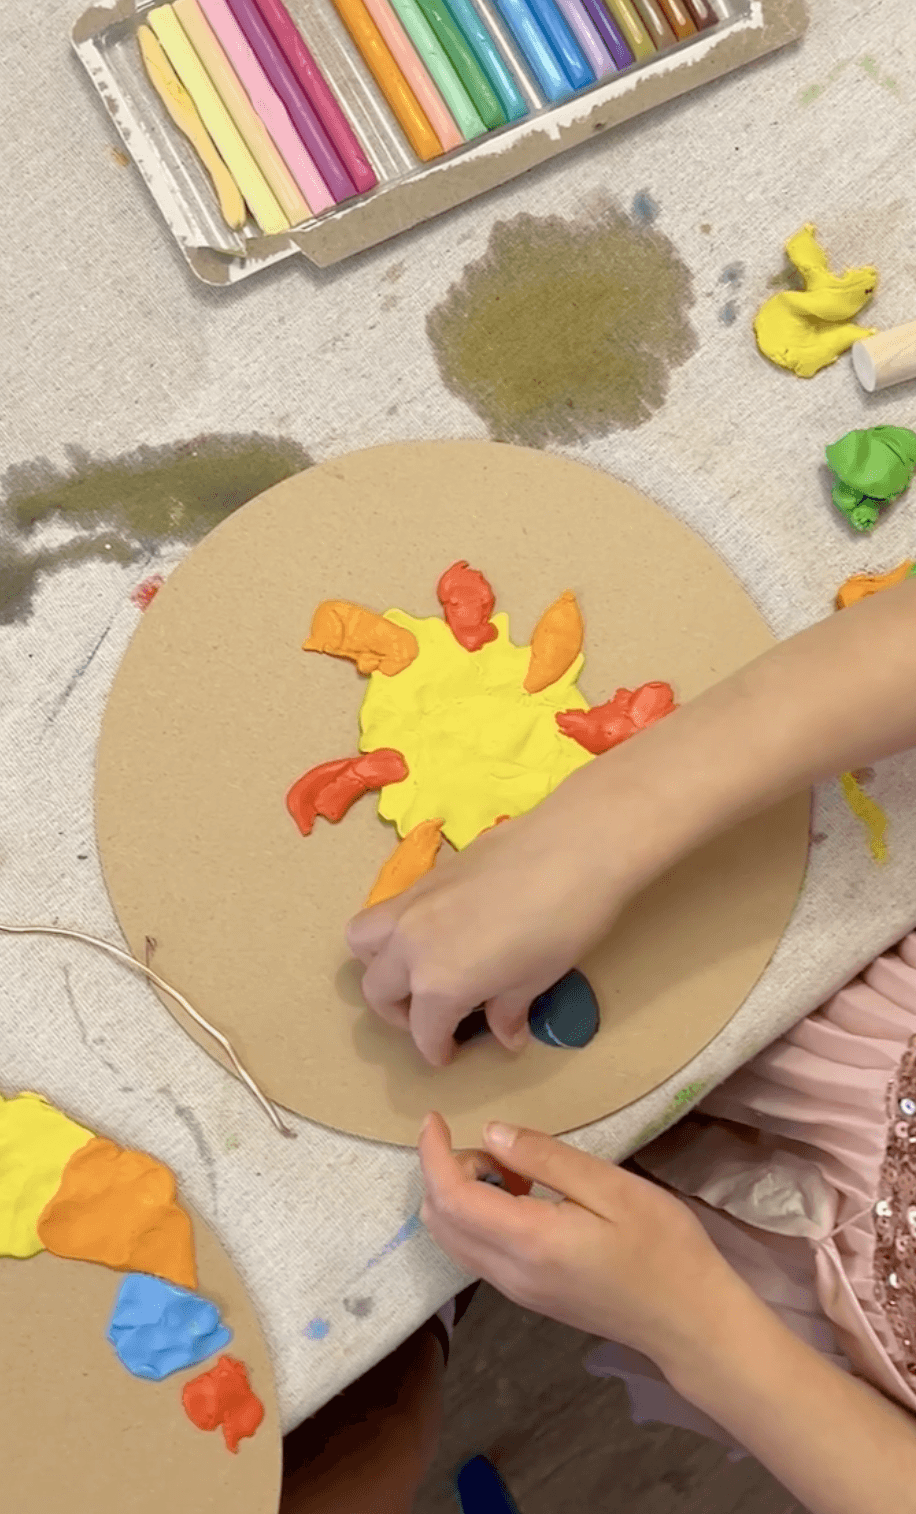
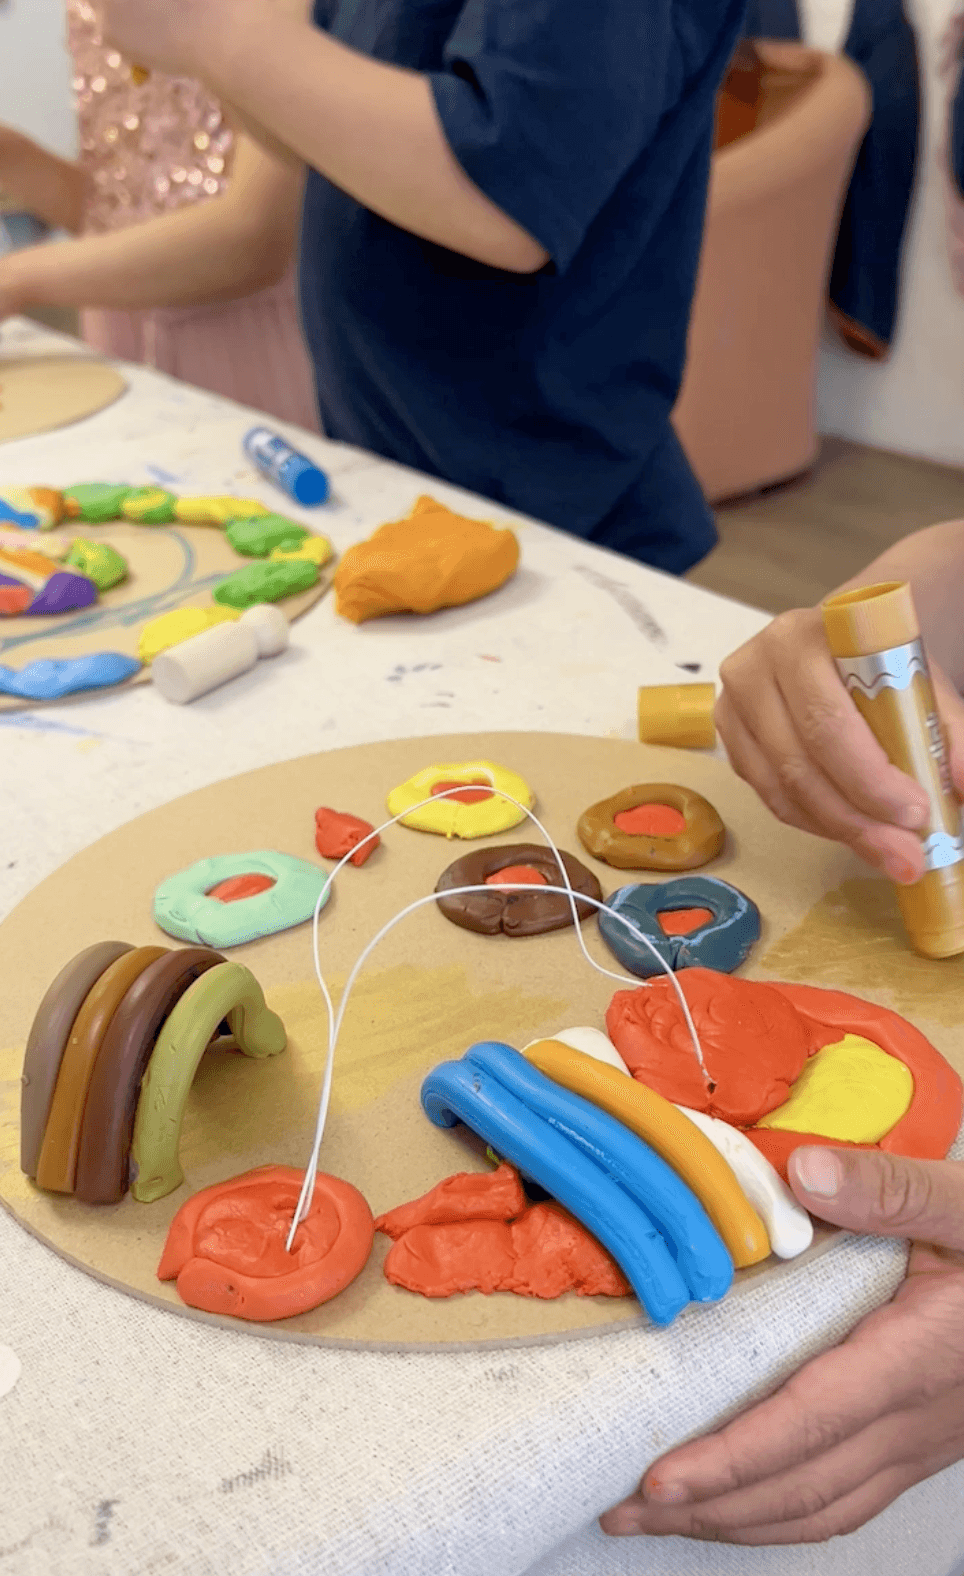
I recommend having a cardboard or plywood circle base that can be moved in and out of the box as it's easier for little hands. They can use paint sticks and press the plasticine into the base, add their alien or astronaut (usually leaving a tiny footprint trail behind them), and then start constructing the above-moon part with the straws or skewers.
We've also added things to the 'roof' of the box so they hang and sway.
The best part is watching kids work out how to balance the hanging planets so they don't all slide to one end. There's actual physics happening, and it's the kind of problem-solving that feels like play (because it is!).
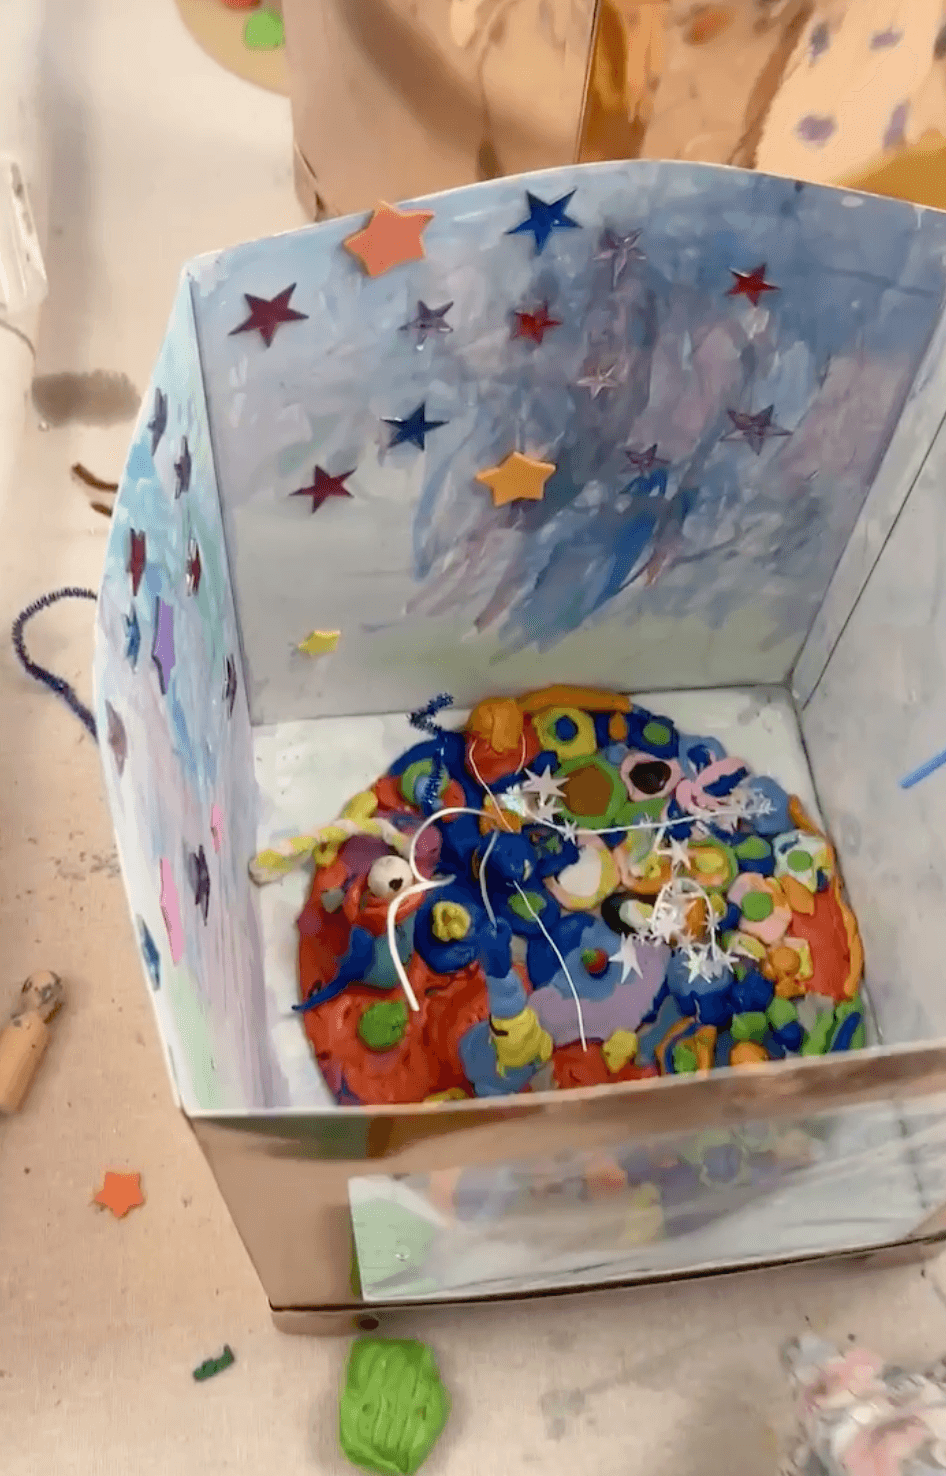
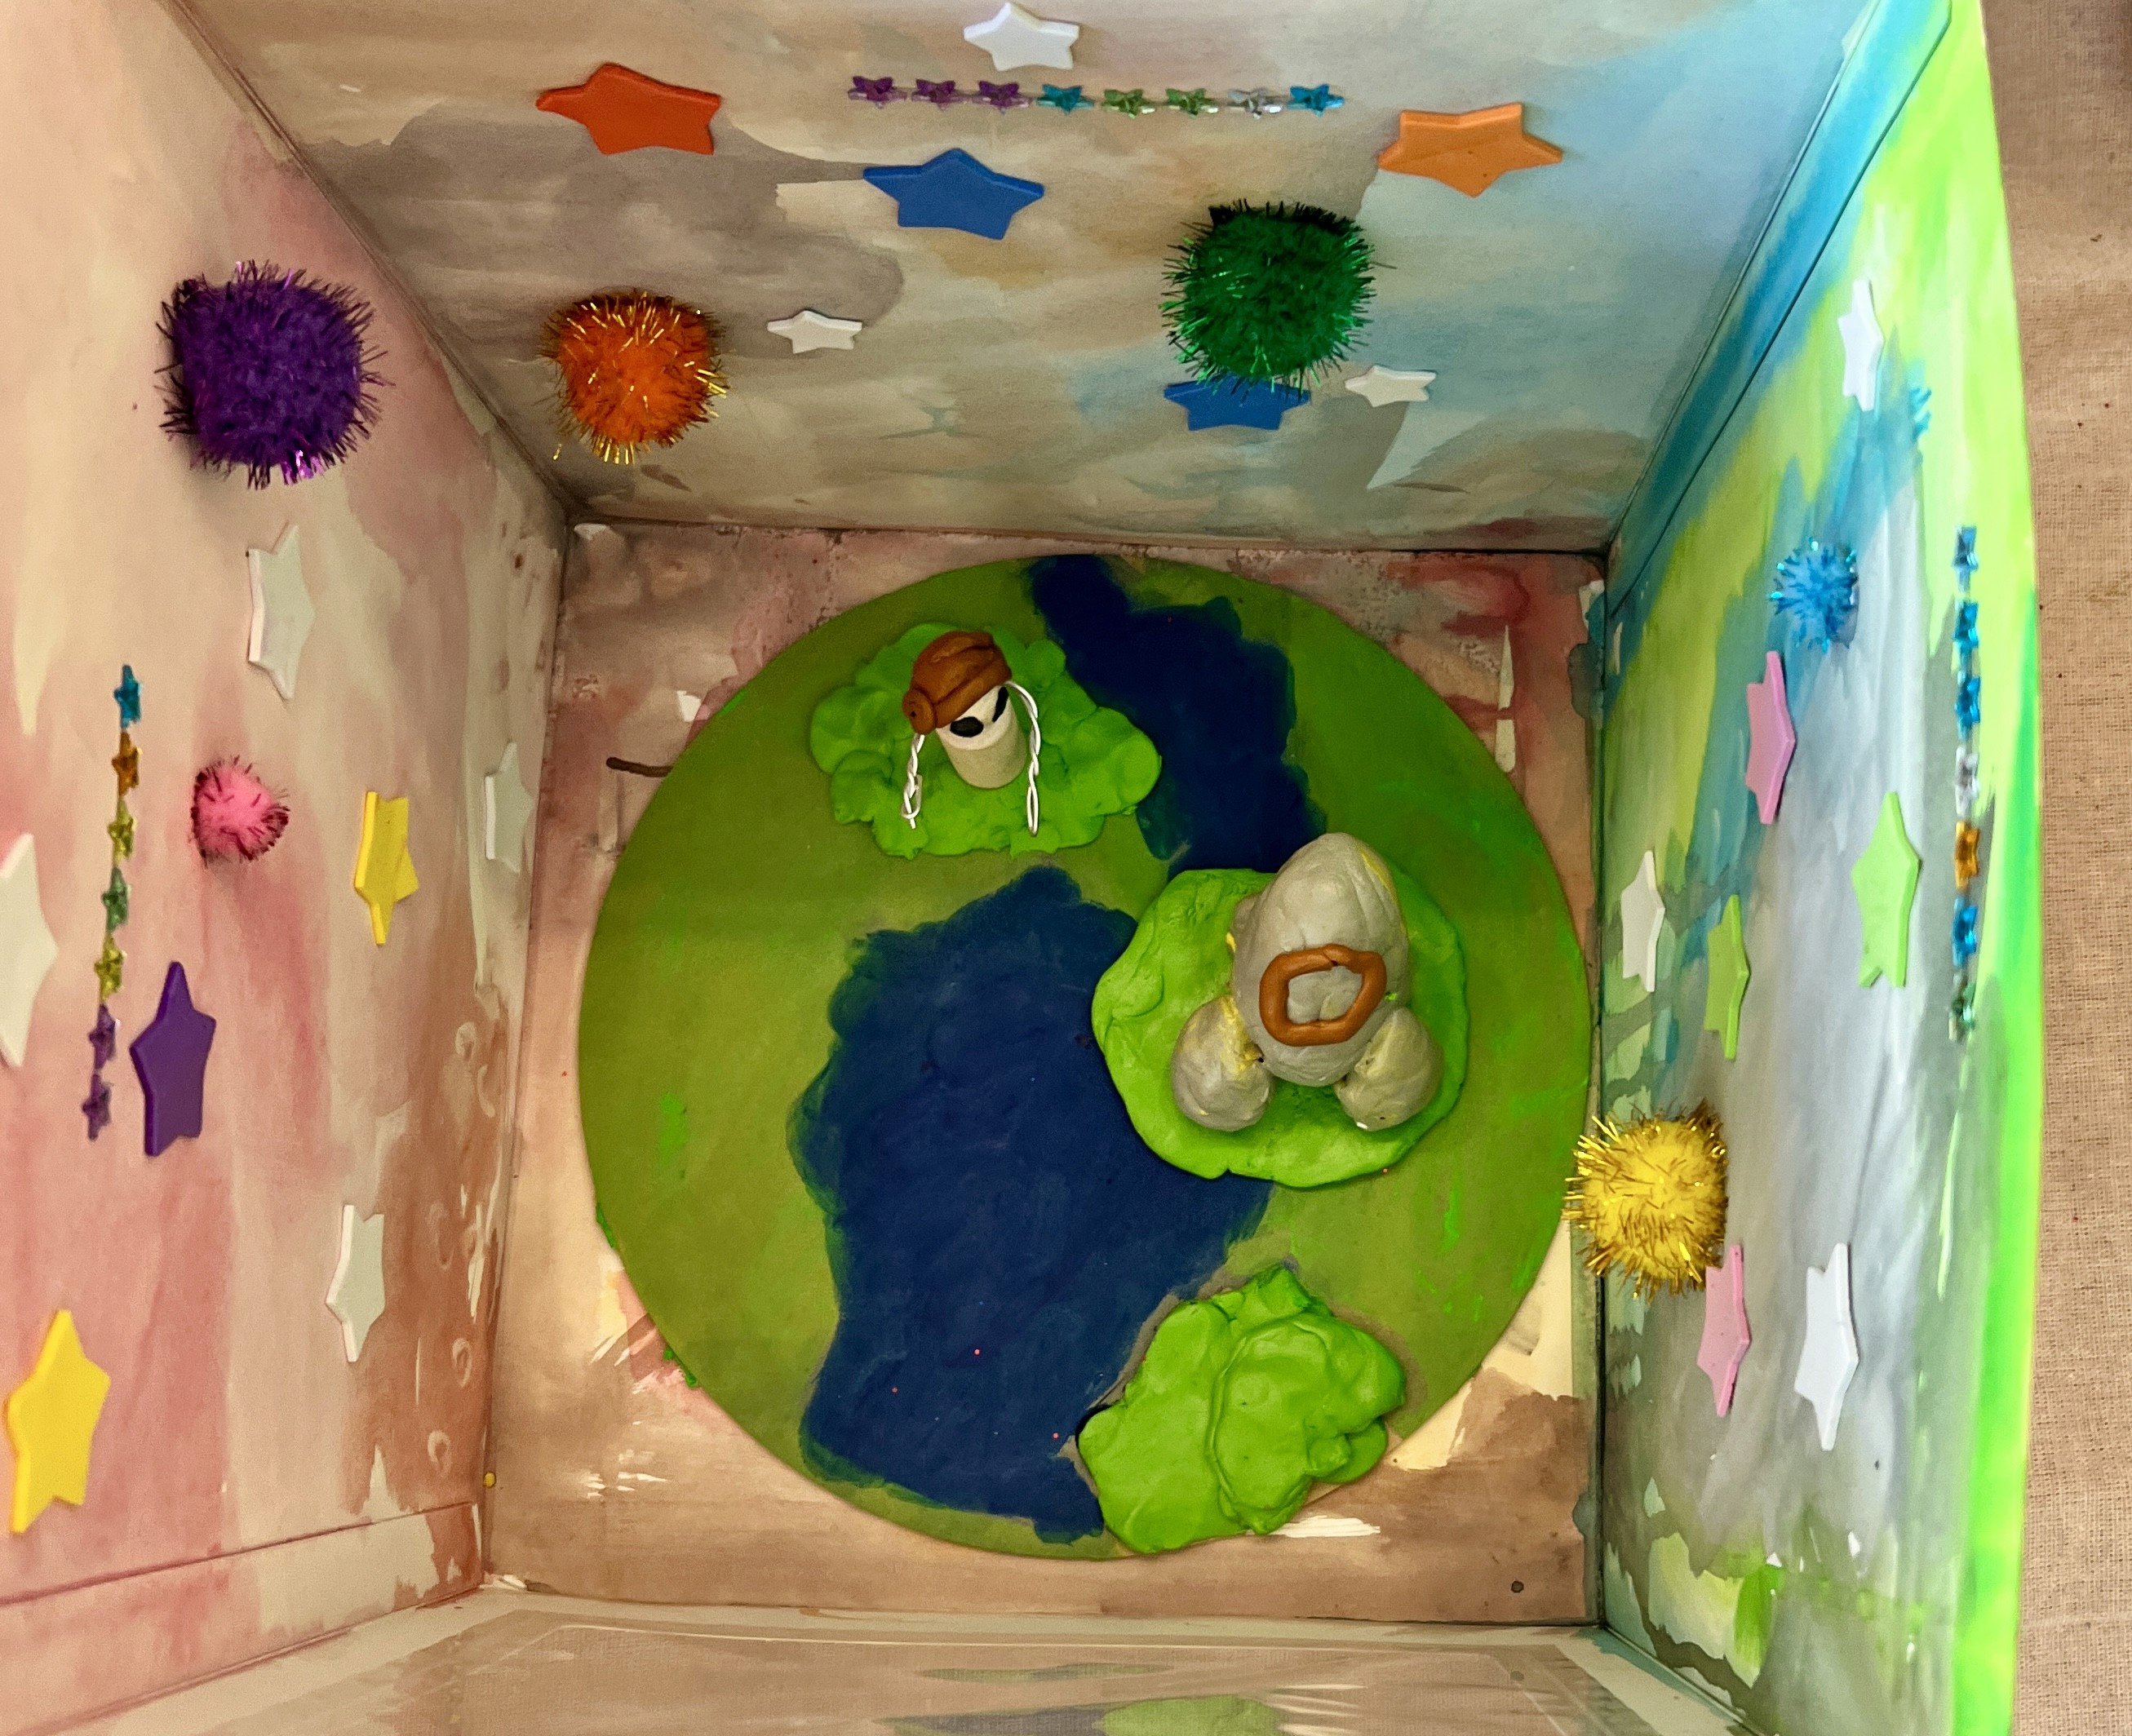
It's incredible what their creative minds come up with; a martian surface in deep red plasticine or a watery blue planet with sequins scattered across and a gas giant built from layered swirling colours of plasticine.
These are the pieces parents genuinely cannot believe their child made. The combination of the cake box frame, the grey moon surface, and the dangling planets makes them look like something from a museum gift shop.
Materials
Cake boxes with clear windows (rose gold or copper from Spotlight, Lincraft, or party stores)
Plasticine (generous amount per diorama)
Paint Sticks or oil pastels
Small tools for pressing craters: bottle caps, skewers, straws
Paper straws in patterns
Plastic astronaut figurines
Small wooden beads or painted clay balls for planets
Thin copper wire or yellow thread
Star stickers and metallic stickers
Toothpicks and paper scraps for flags
Back to Top
Moon Landing Dioramas
A whole tiny world in a cake box
Bookmark
Sculpture
The Set Up
Cake boxes are the best! The tall clear-windowed ones from your local craft or party supply store. The rose gold foil ones are particularly gorgeous (and not too expensive). The clear panel at the front turns every finished diorama into a tiny scene you can look right into.
Inside each box, a generous mound of plasticine becomes the moon / asteroid / planet surface. Press and squish and poke at it so it has craters and ridges. The texture is half the charm, and plasticine is brilliant for this because it never fully hardens, so artists can keep reshaping it as they go. Offer small tools for pressing: bottle caps make perfect round craters, skewers make fine lines, thumbs and knuckles make the big dents.
Set out paper straws in patterns (we used blue and white striped and pink striped), small plastic astronaut figurines, and little painted clay balls or wooden beads as planets. Thin copper wire or yellow thread lets artists hang planets from the straws so they dangle mid-diorama like orbiting moons. Star stickers around the rim of the clear window finish it off.
The Making
The building of a whole tiny world inside a box is one of those processes kids completely disappear into.
I recommend having a cardboard or plywood circle base that can be moved in and out of the box as it's easier for little hands. They can use paint sticks and press the plasticine into the base, add their alien or astronaut (usually leaving a tiny footprint trail behind them), and then start constructing the above-moon part with the straws or skewers.
We've also added things to the 'roof' of the box so they hang and sway.
The best part is watching kids work out how to balance the hanging planets so they don't all slide to one end. There's actual physics happening, and it's the kind of problem-solving that feels like play (because it is!).
It's incredible what their creative minds come up with; a martian surface in deep red plasticine or a watery blue planet with sequins scattered across and a gas giant built from layered swirling colours of plasticine.
These are the pieces parents genuinely cannot believe their child made. The combination of the cake box frame, the grey moon surface, and the dangling planets makes them look like something from a museum gift shop.
Materials
Cake boxes with clear windows (rose gold or copper from Spotlight, Lincraft, or party stores)
Plasticine (generous amount per diorama)
Paint Sticks or oil pastels
Small tools for pressing craters: bottle caps, skewers, straws
Paper straws in patterns
Plastic astronaut figurines
Small wooden beads or painted clay balls for planets
Thin copper wire or yellow thread
Star stickers and metallic stickers
Toothpicks and paper scraps for flags
Back to Top
Add this to your favourites
Add this to your favourites
Thoughts?
Would love to hear if youv'e tried this or have any ideas on how to make it even better!