Ocean Printmaking
Print the sea again and again!
The Set Up
Foam sheets are the base for our stamps. We use sticky-backed ones so they can be mounted onto cardboard or wooden blocks, but plain foam works too. Lay out pencils or the ends of paintbrushes for drawing into the surface, plus trays with a little block printing ink and brayers for rolling.
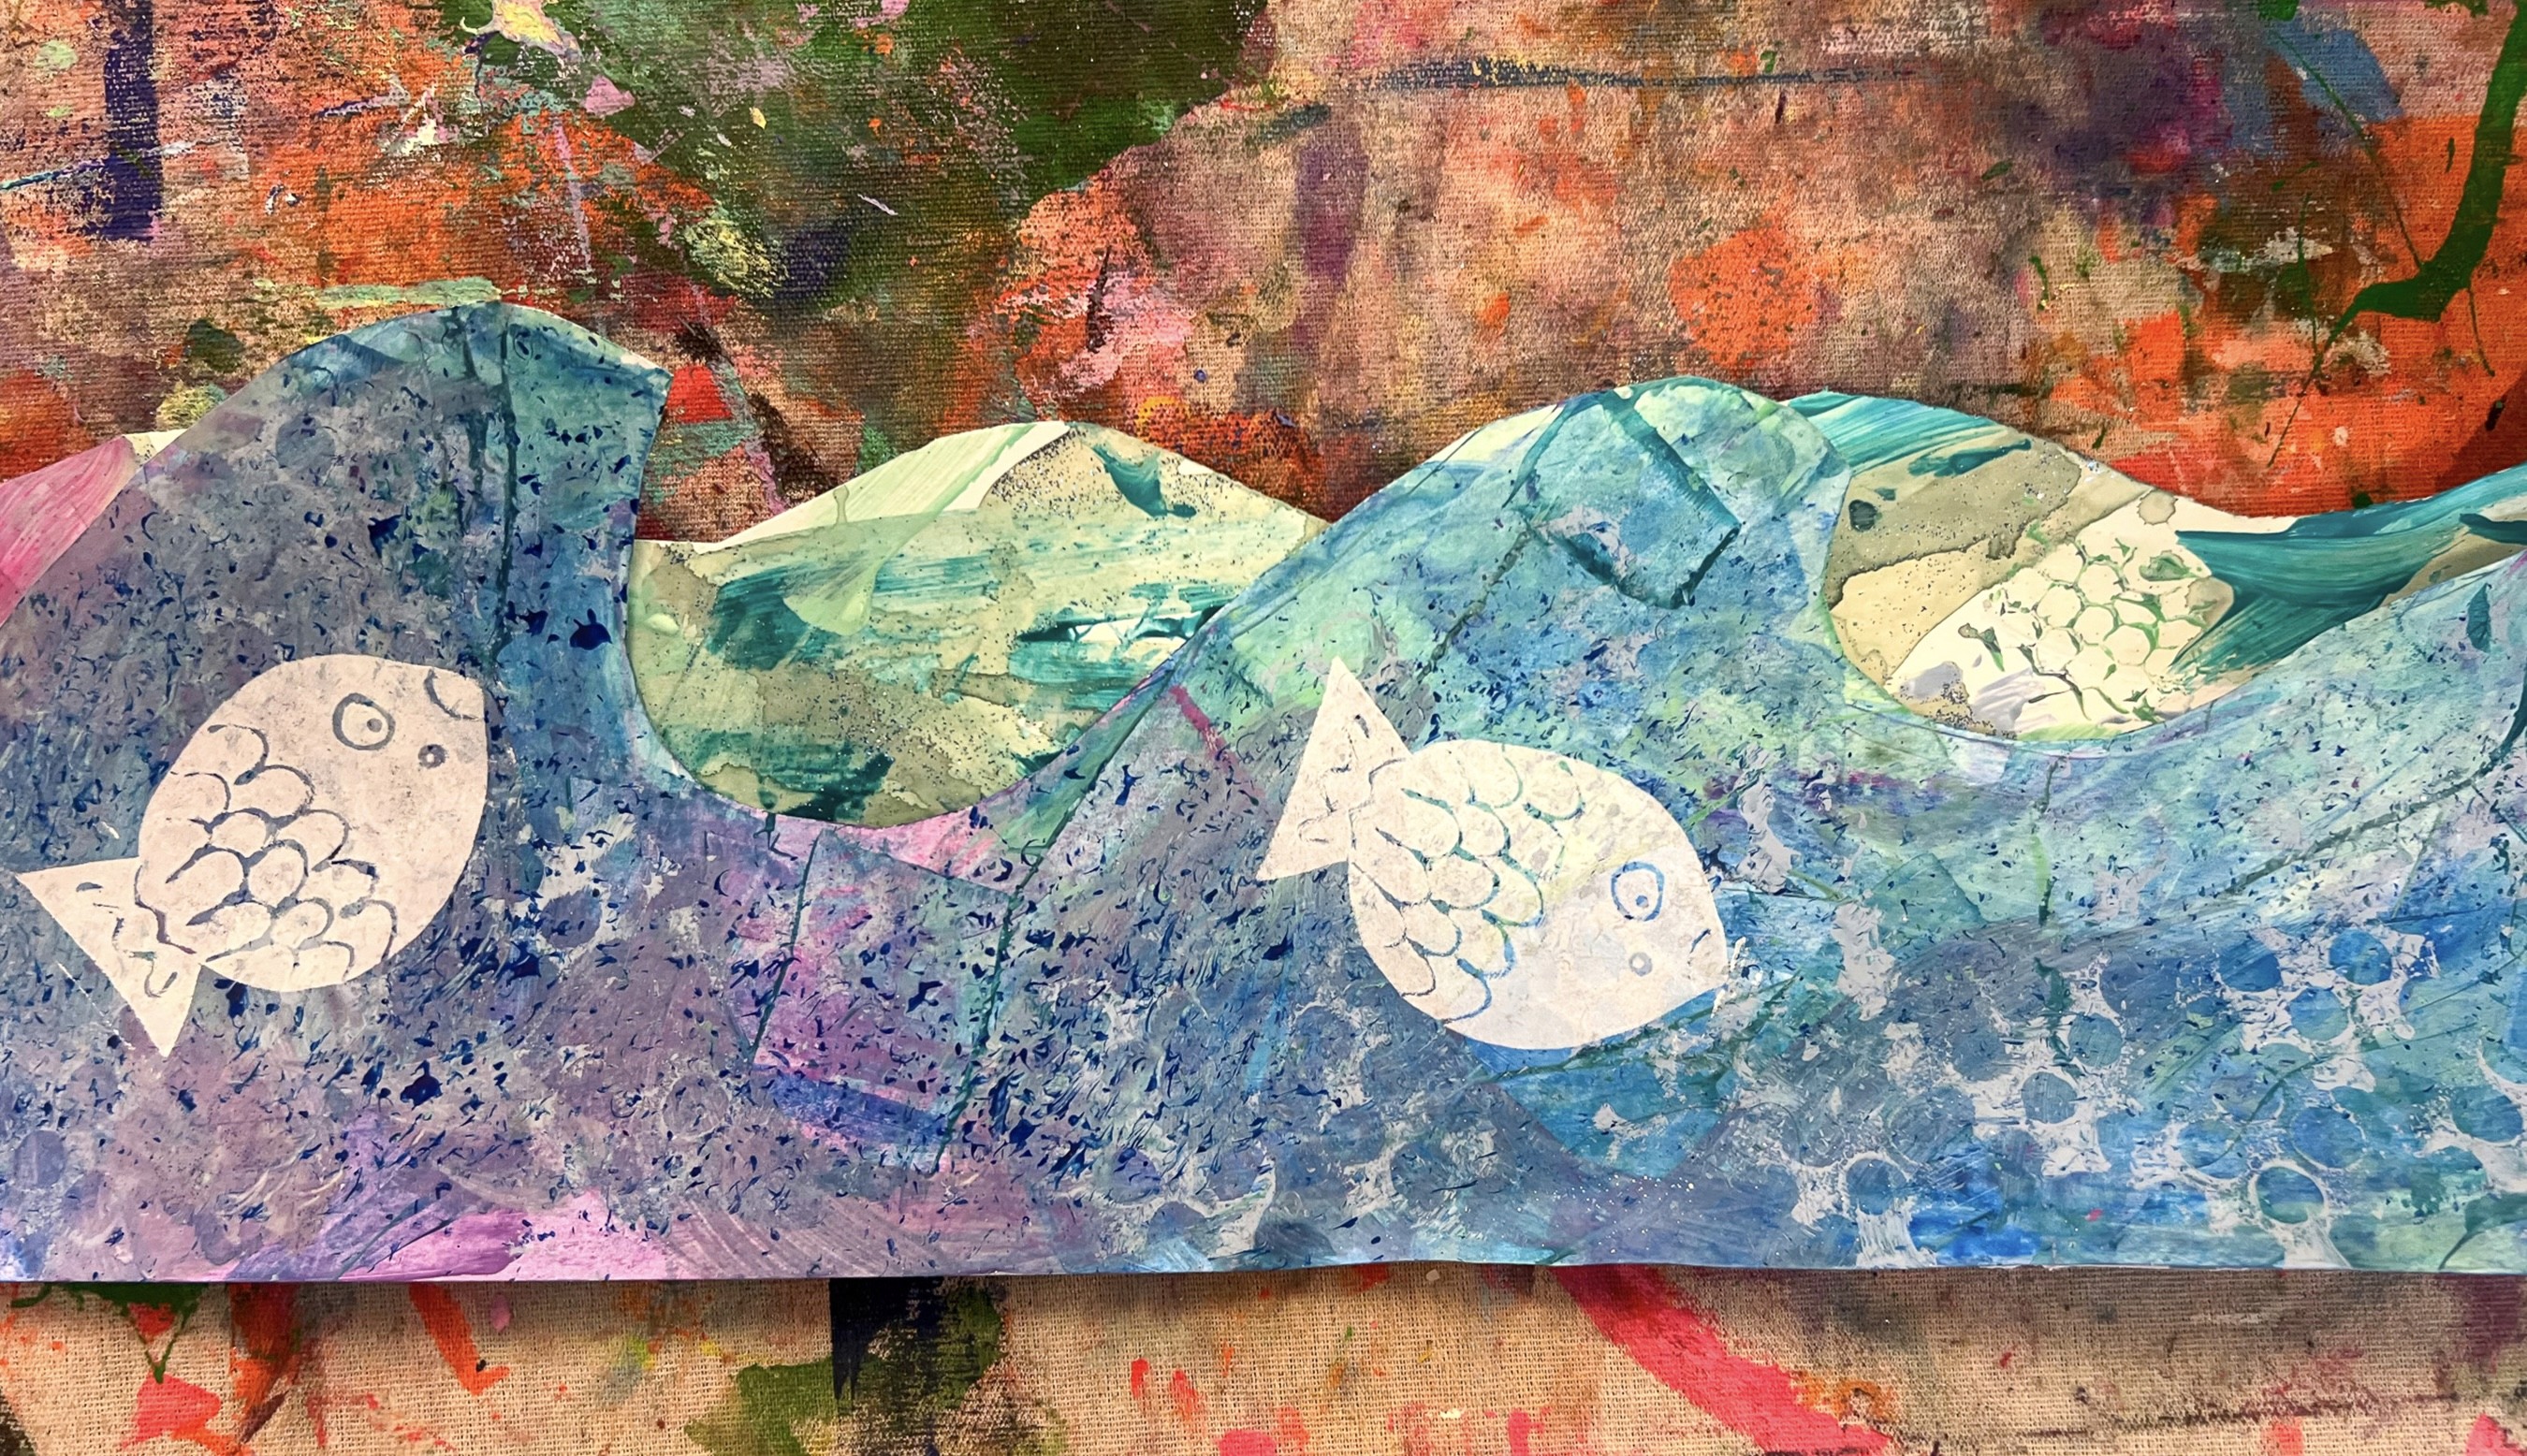
Blue and white inks look brilliant when printed onto textured “ocean paper” from earlier painting explorations!
The Making
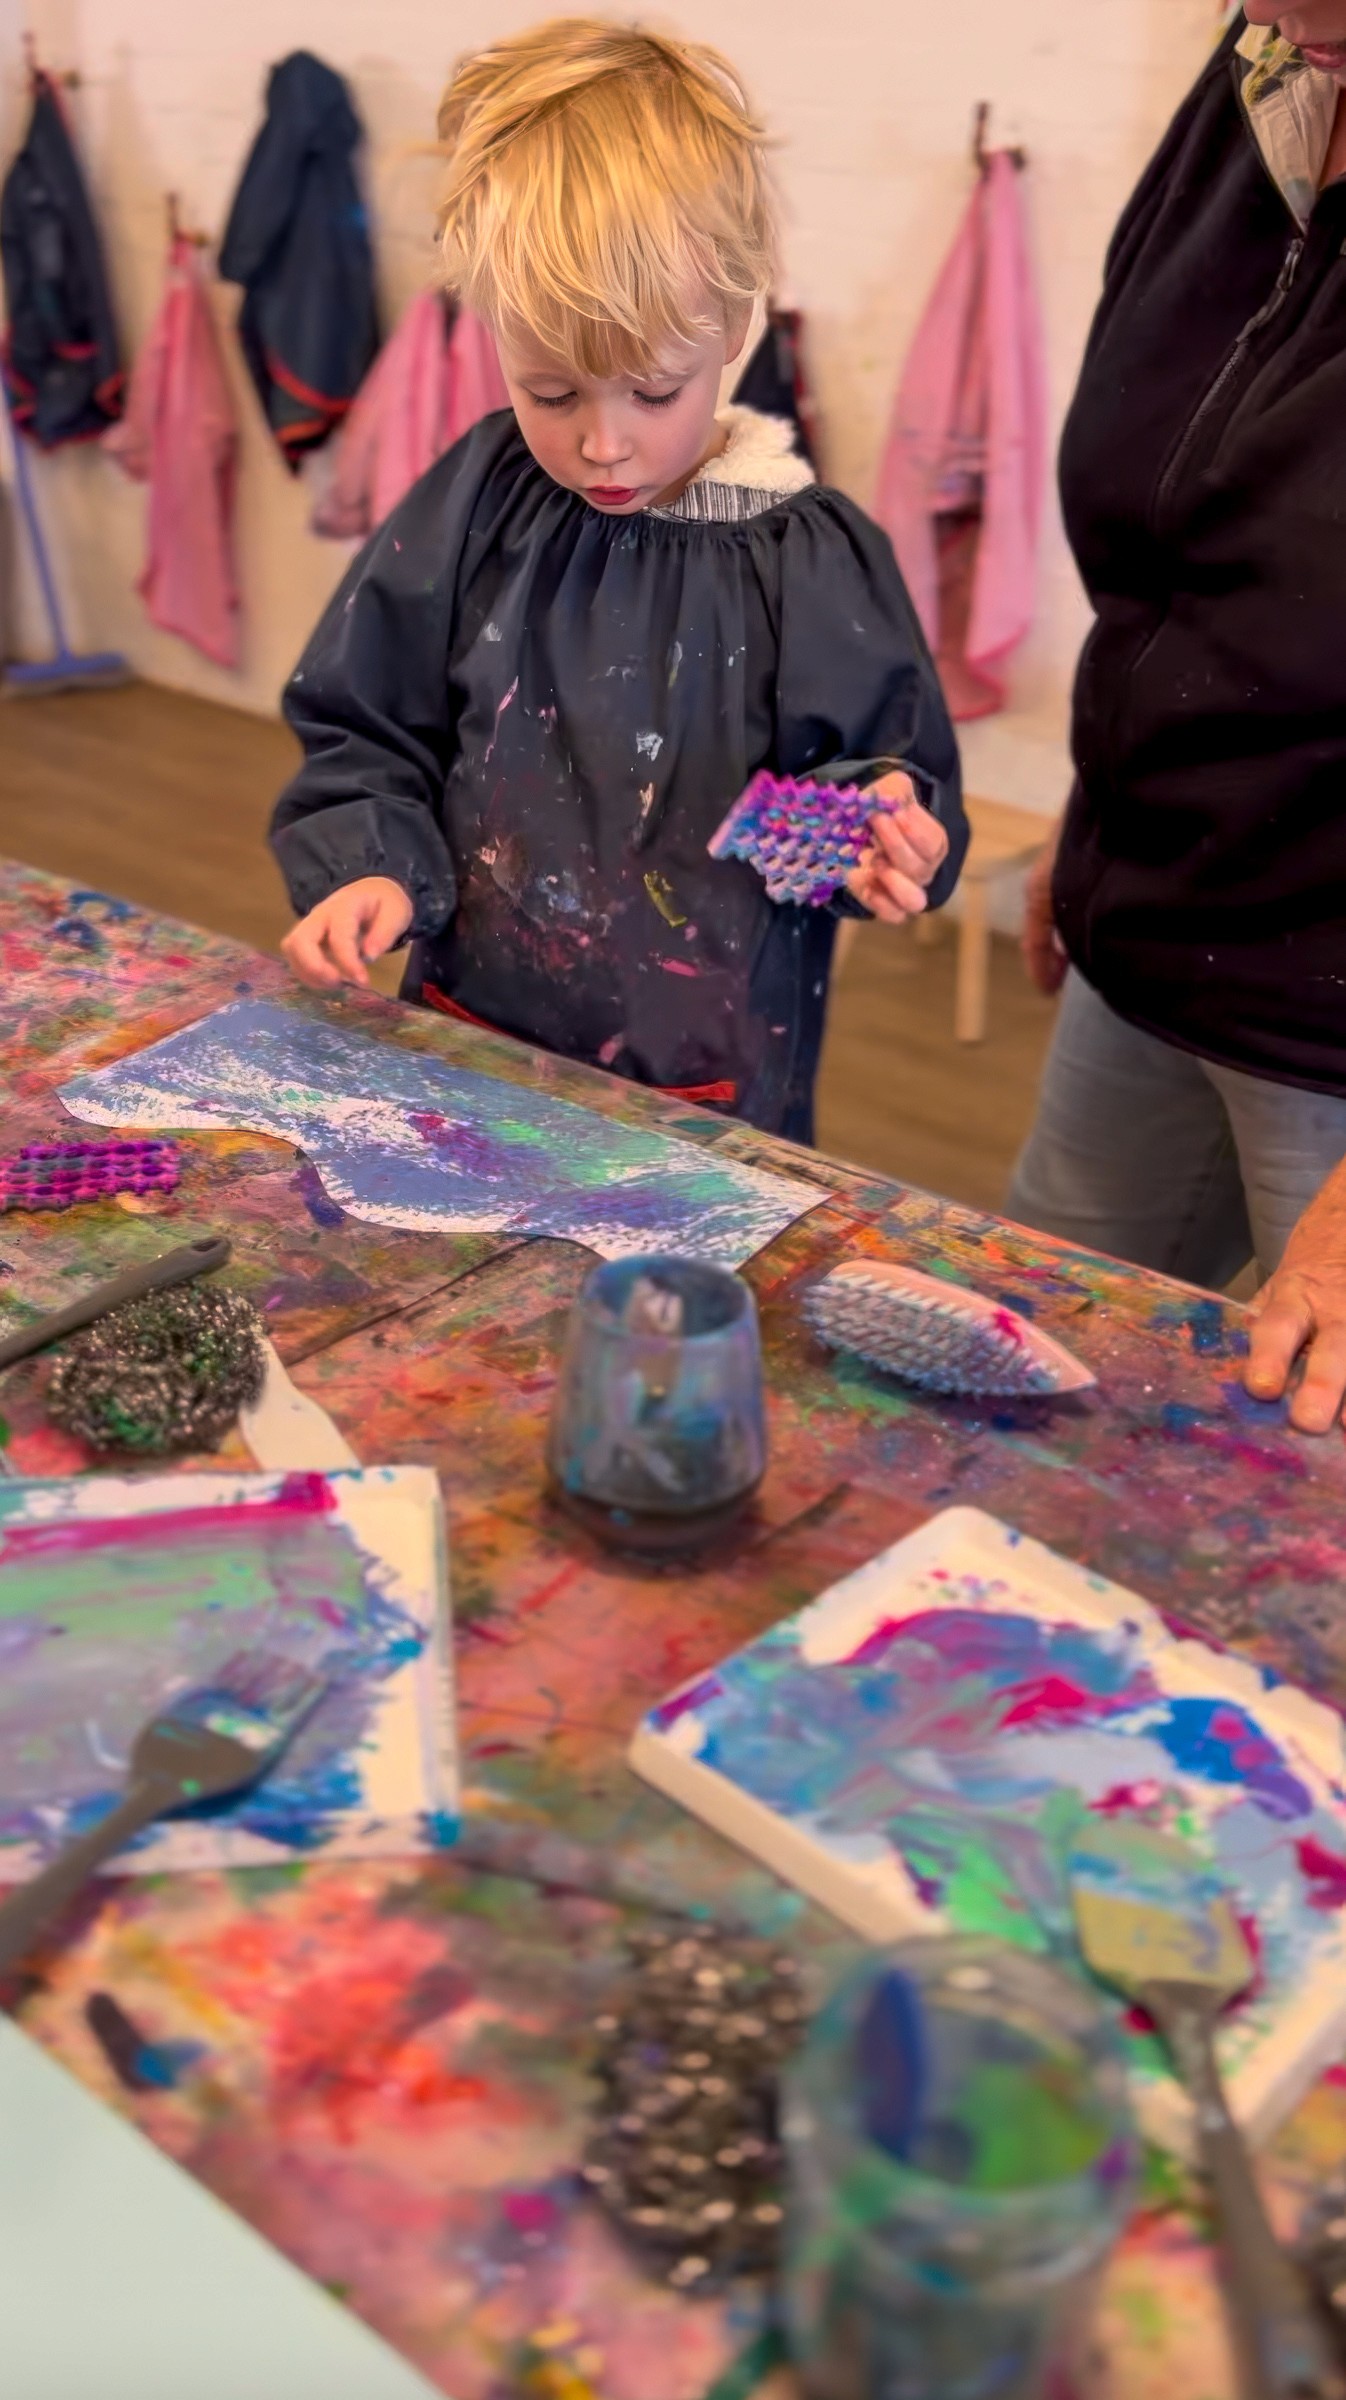
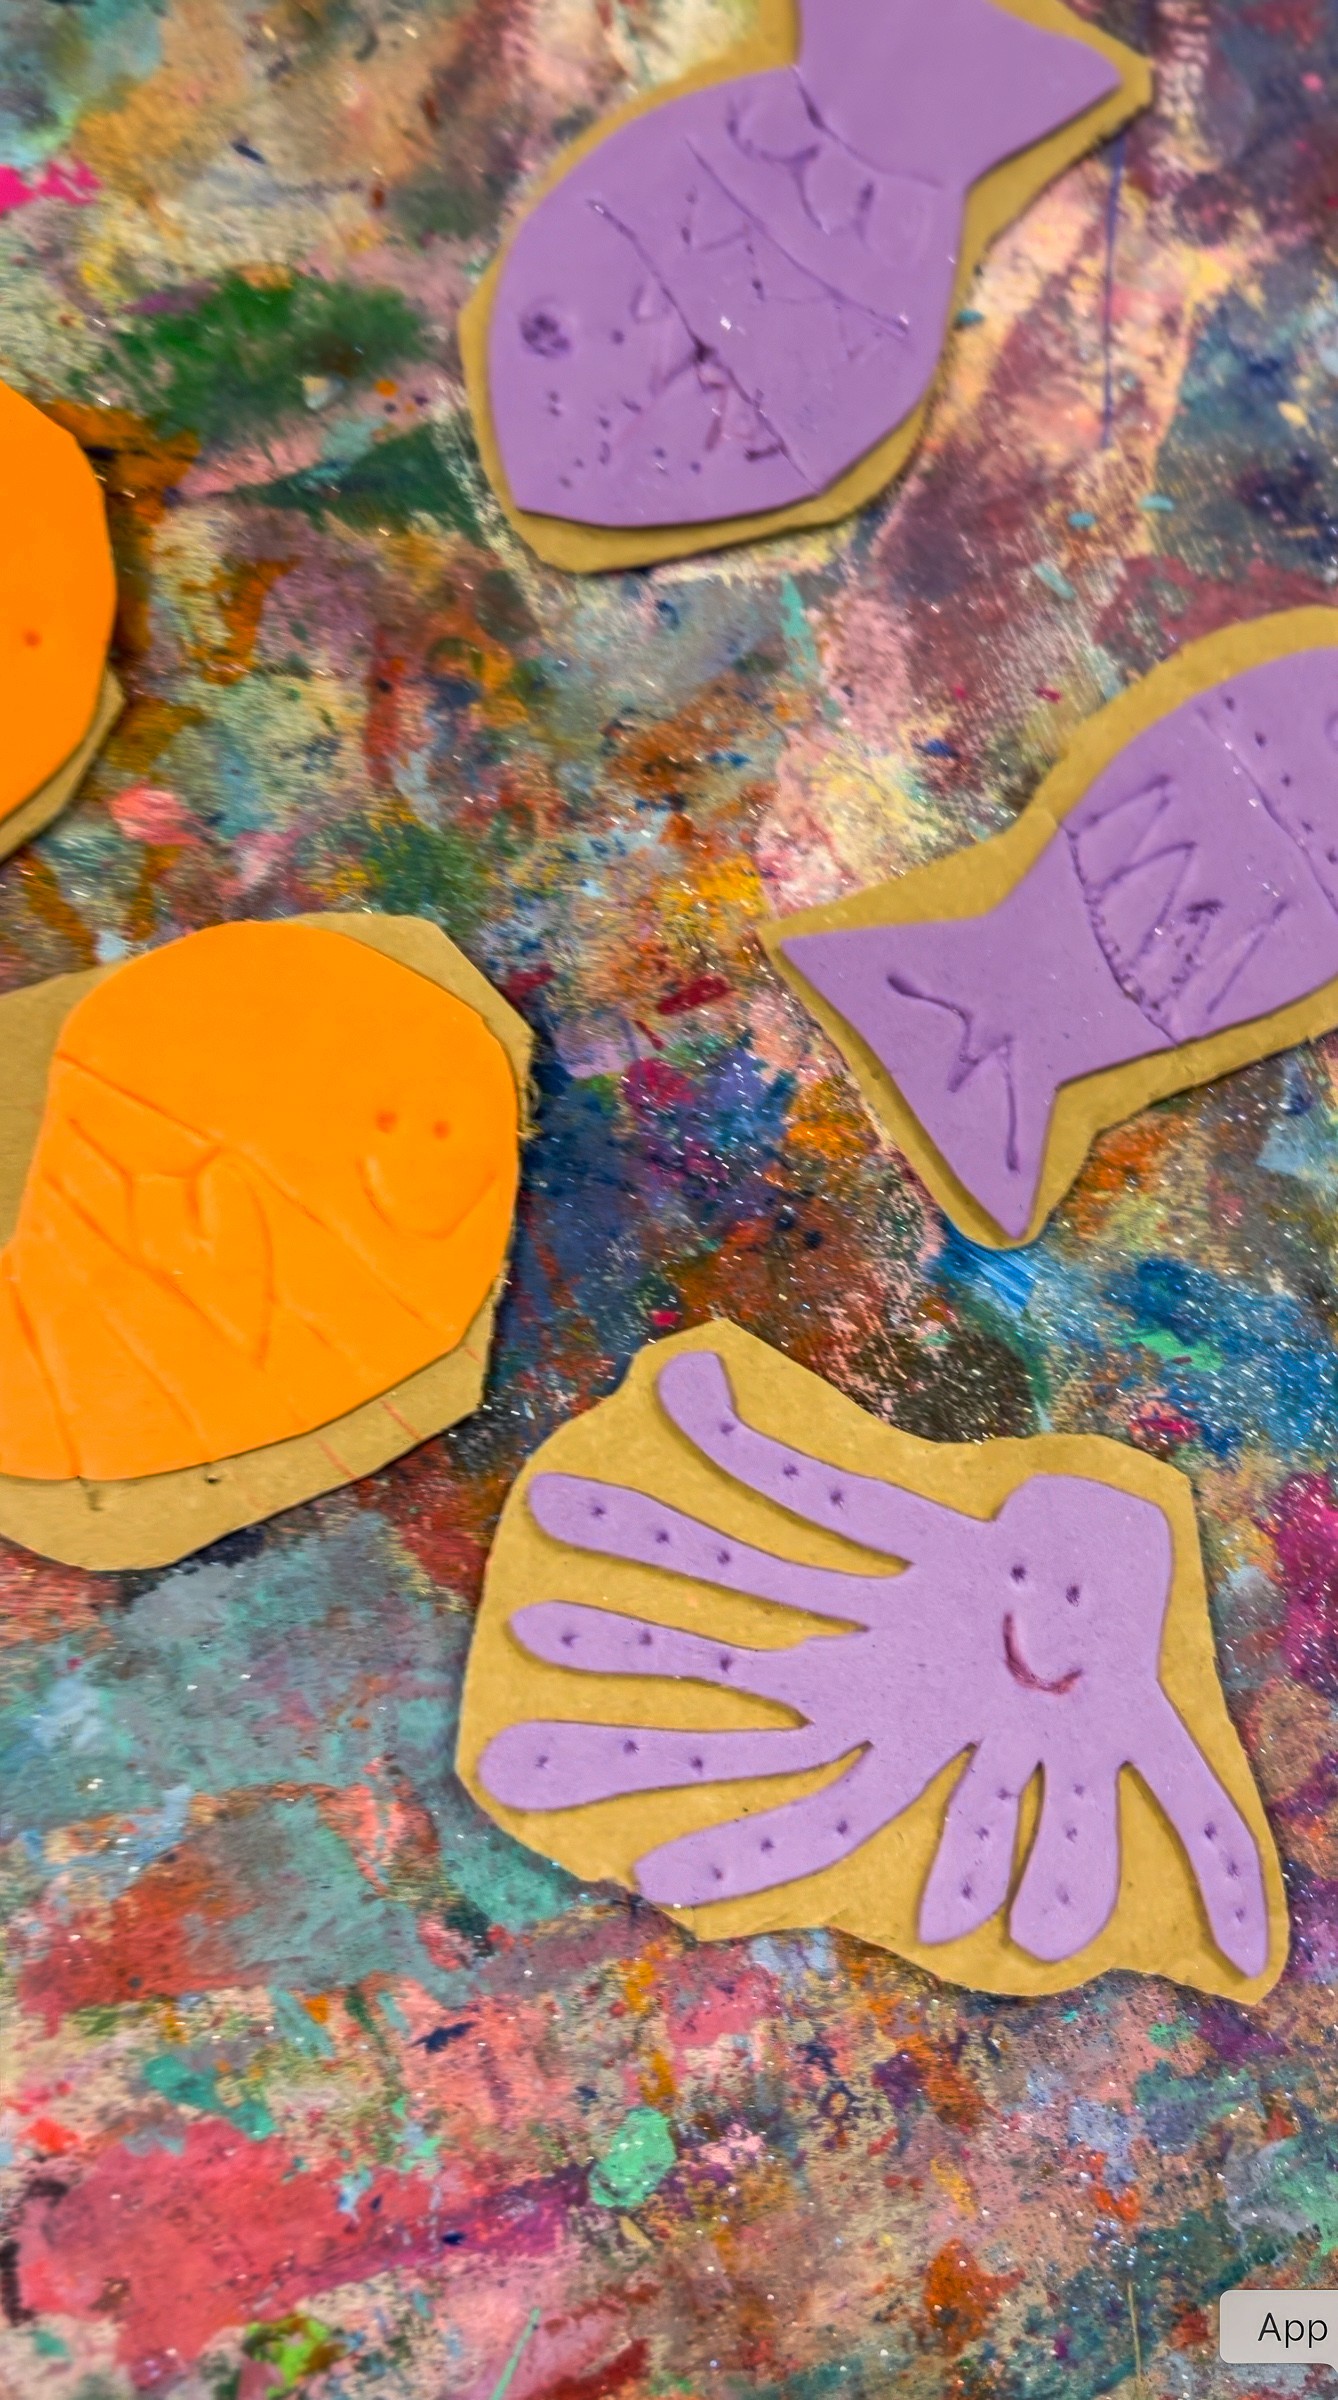
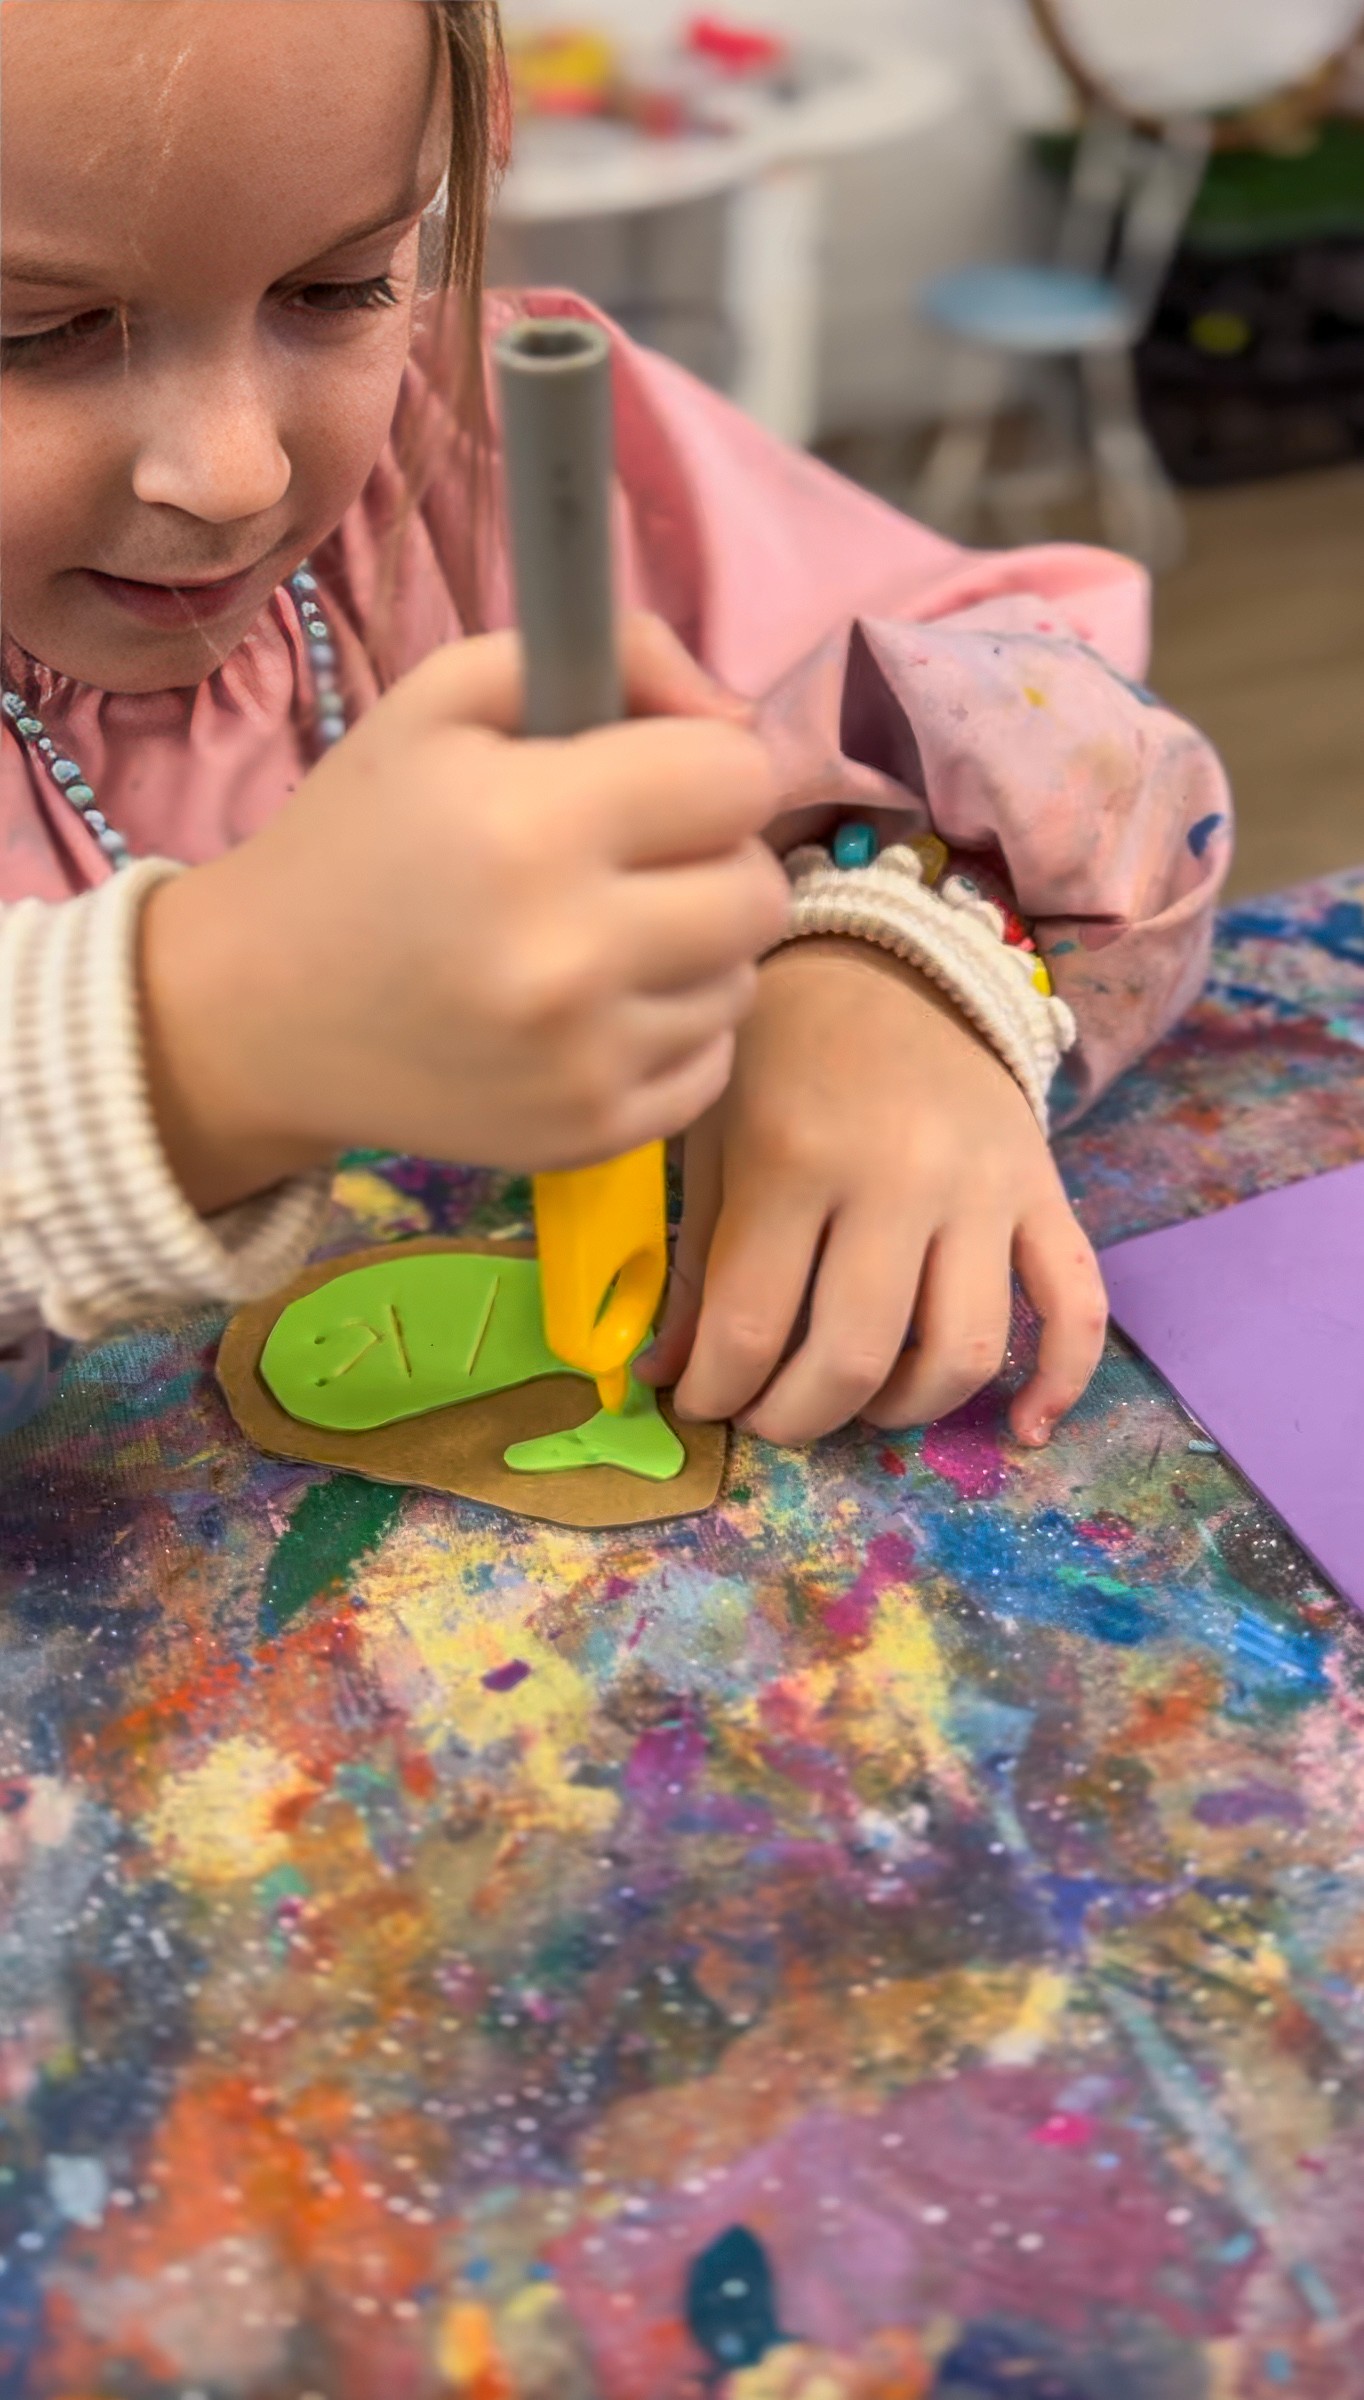
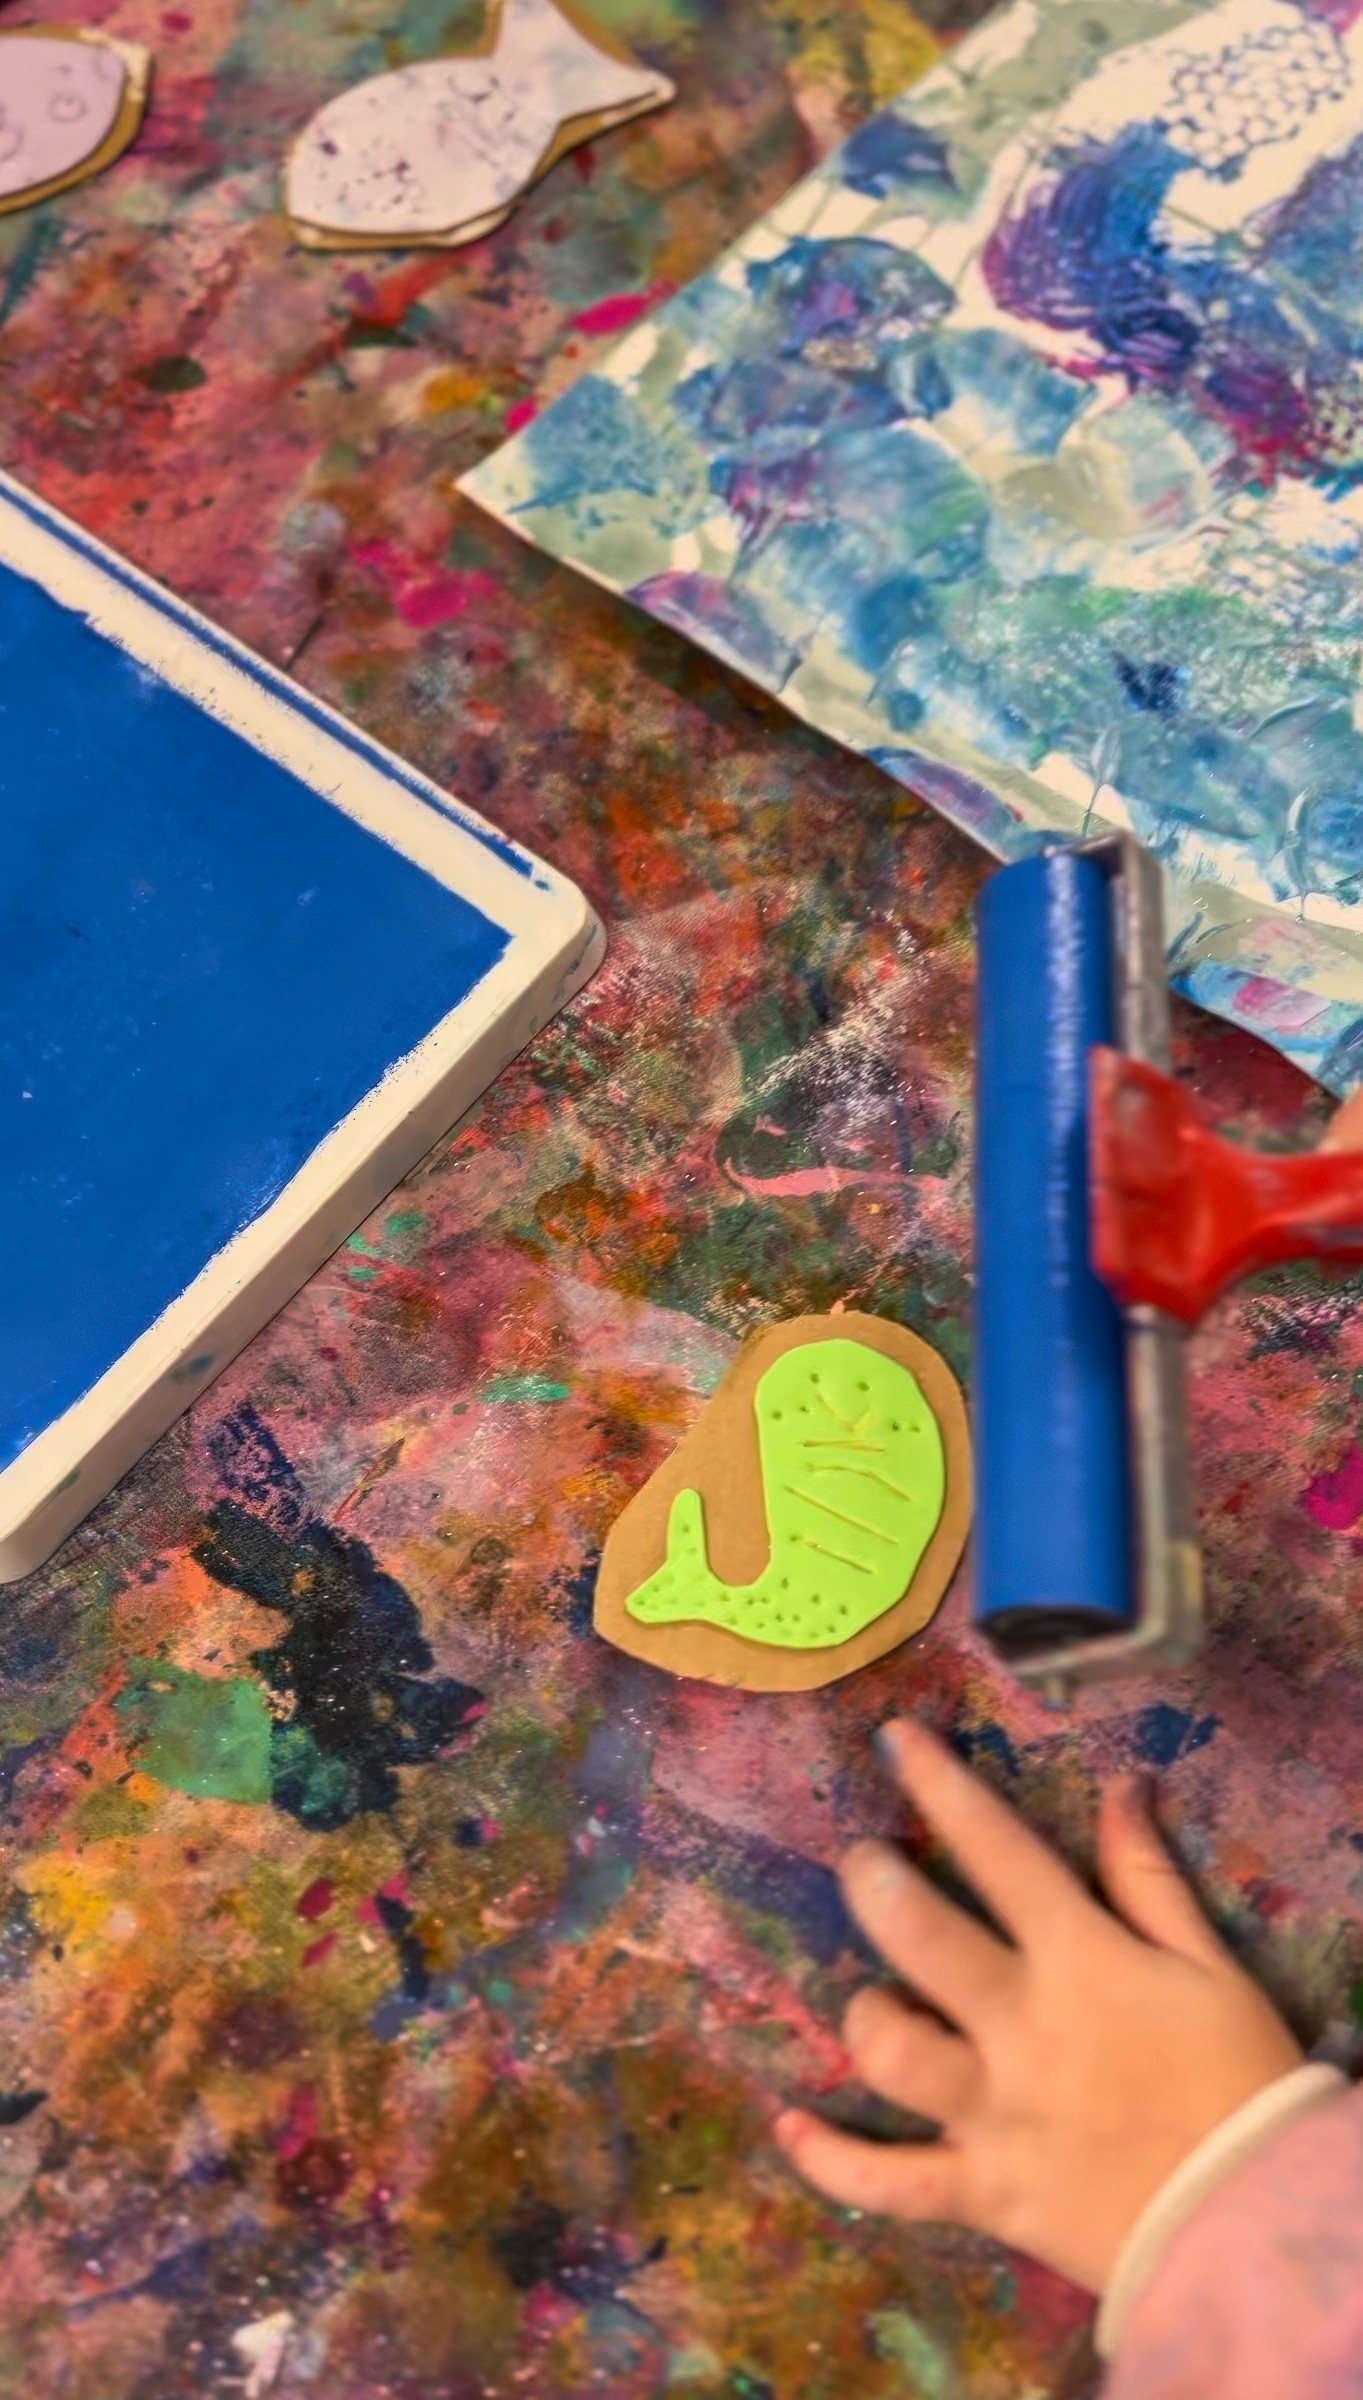
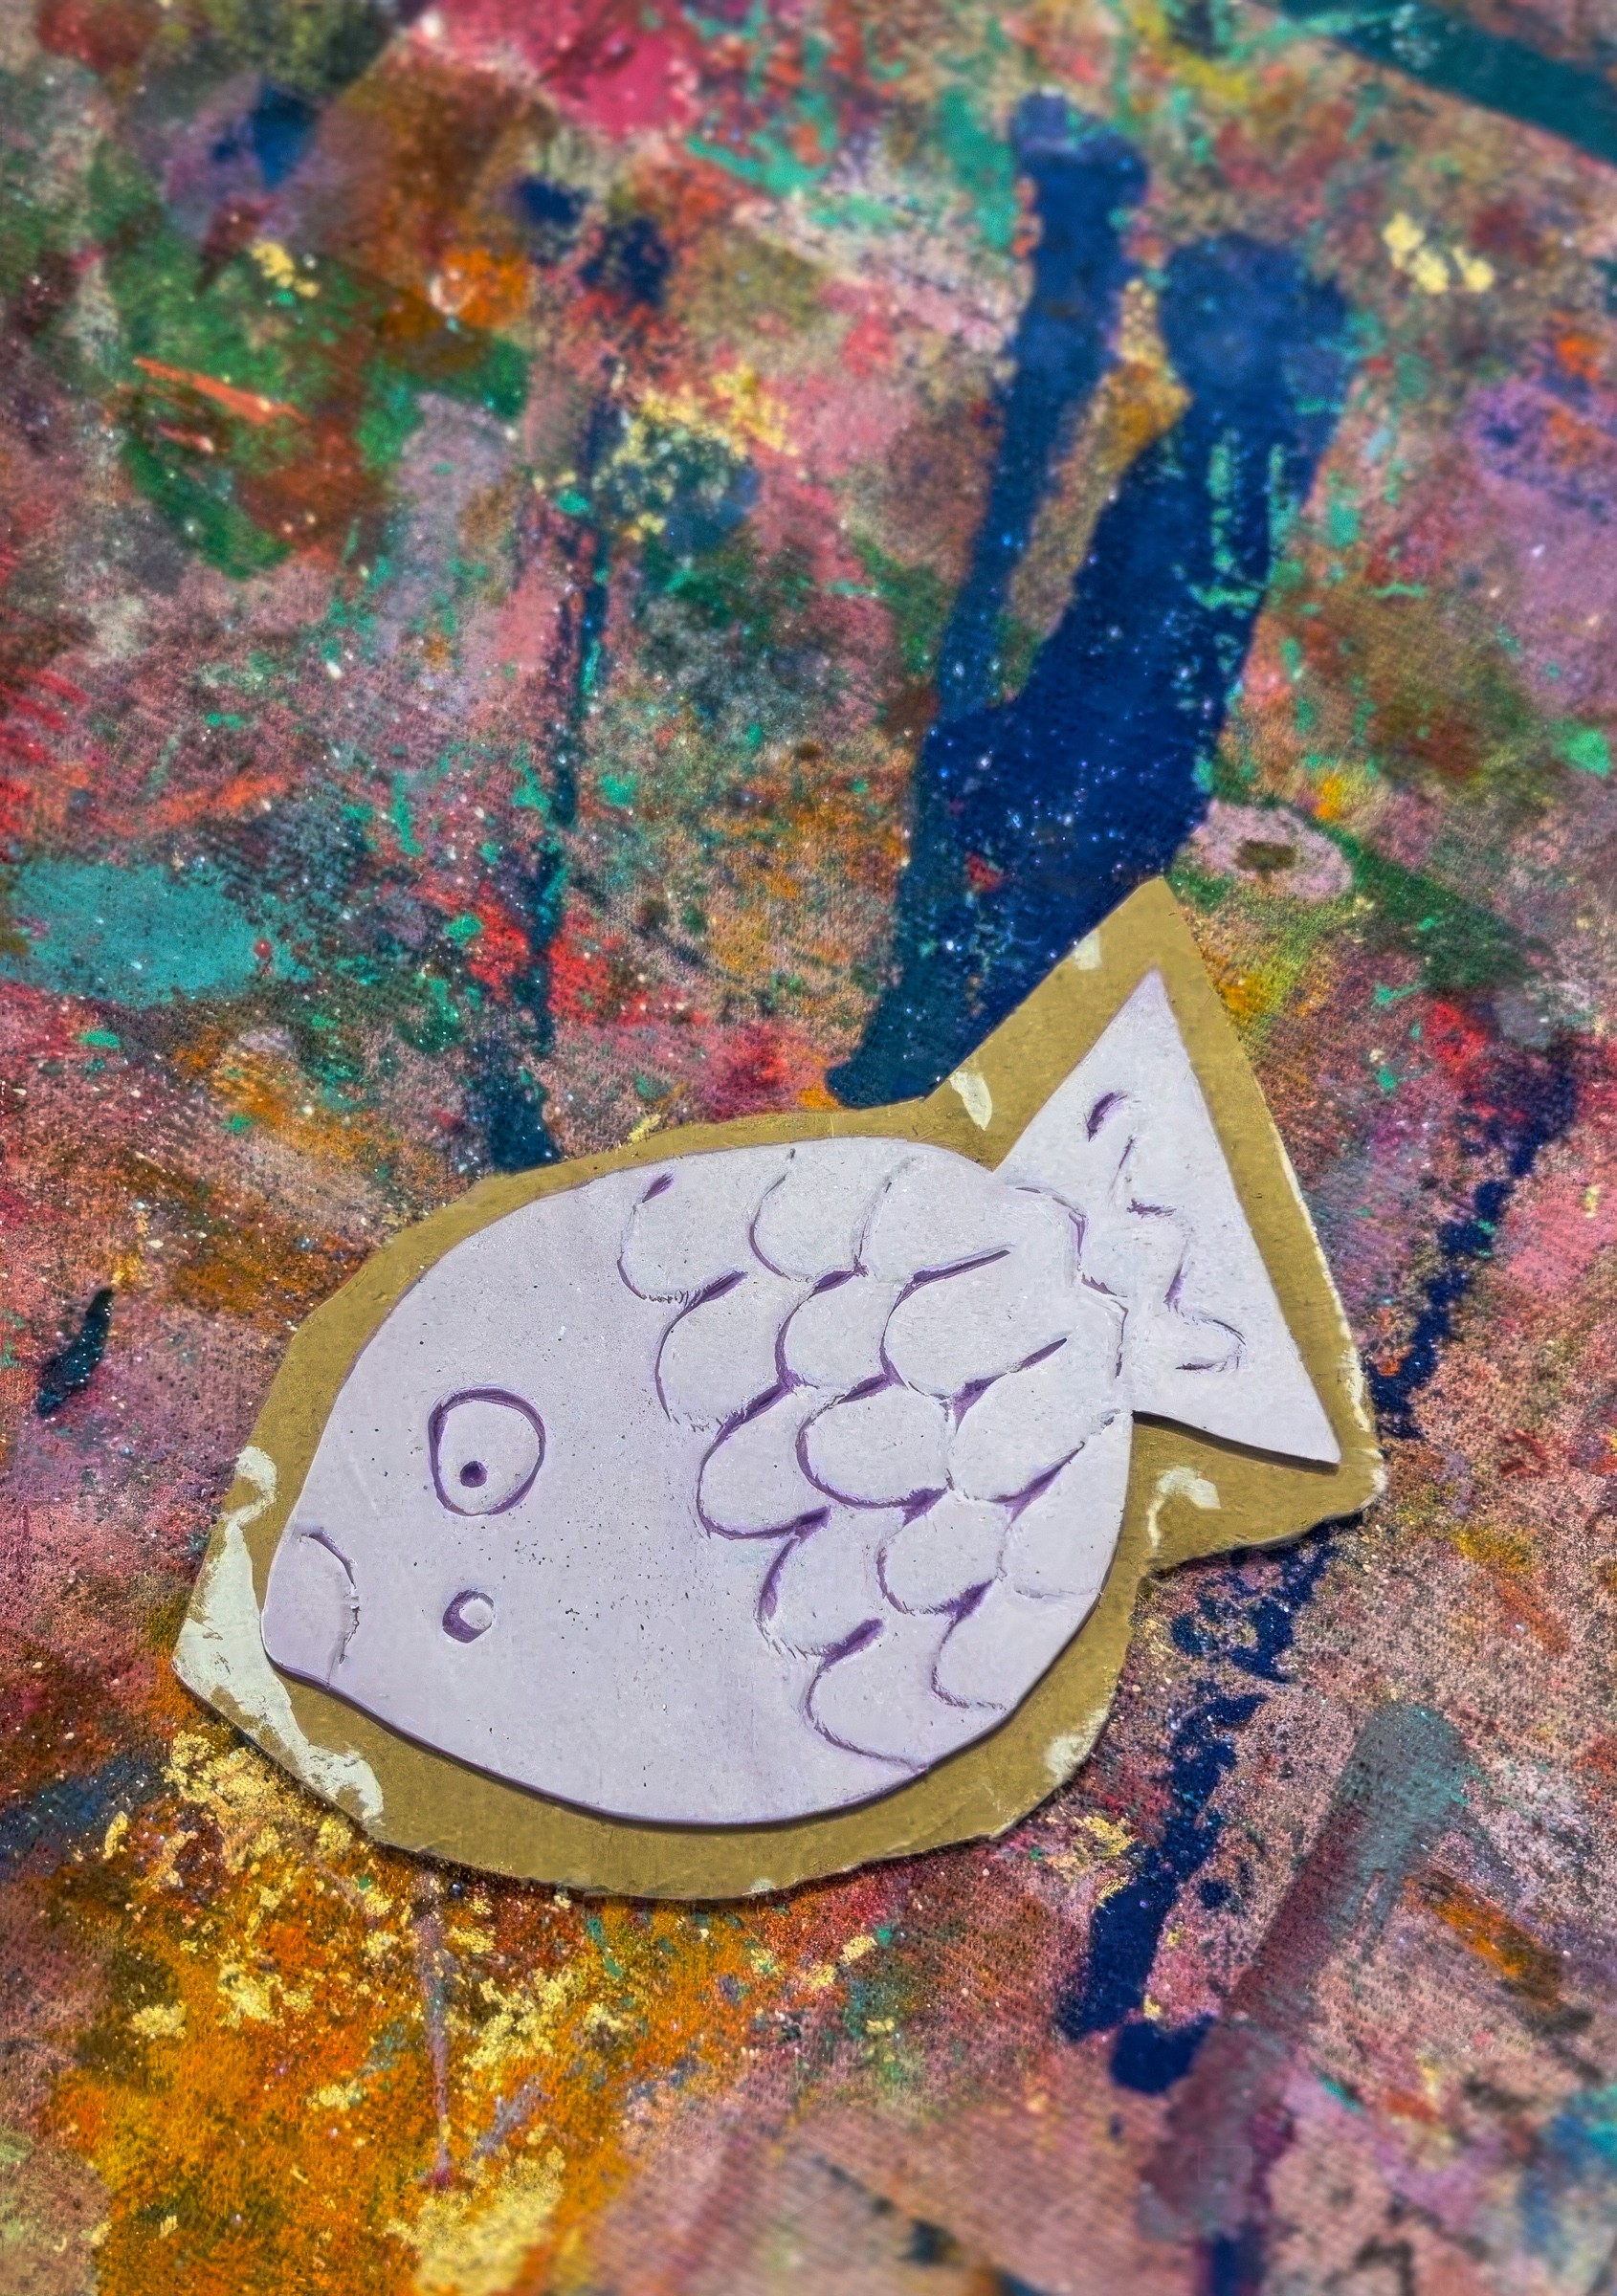
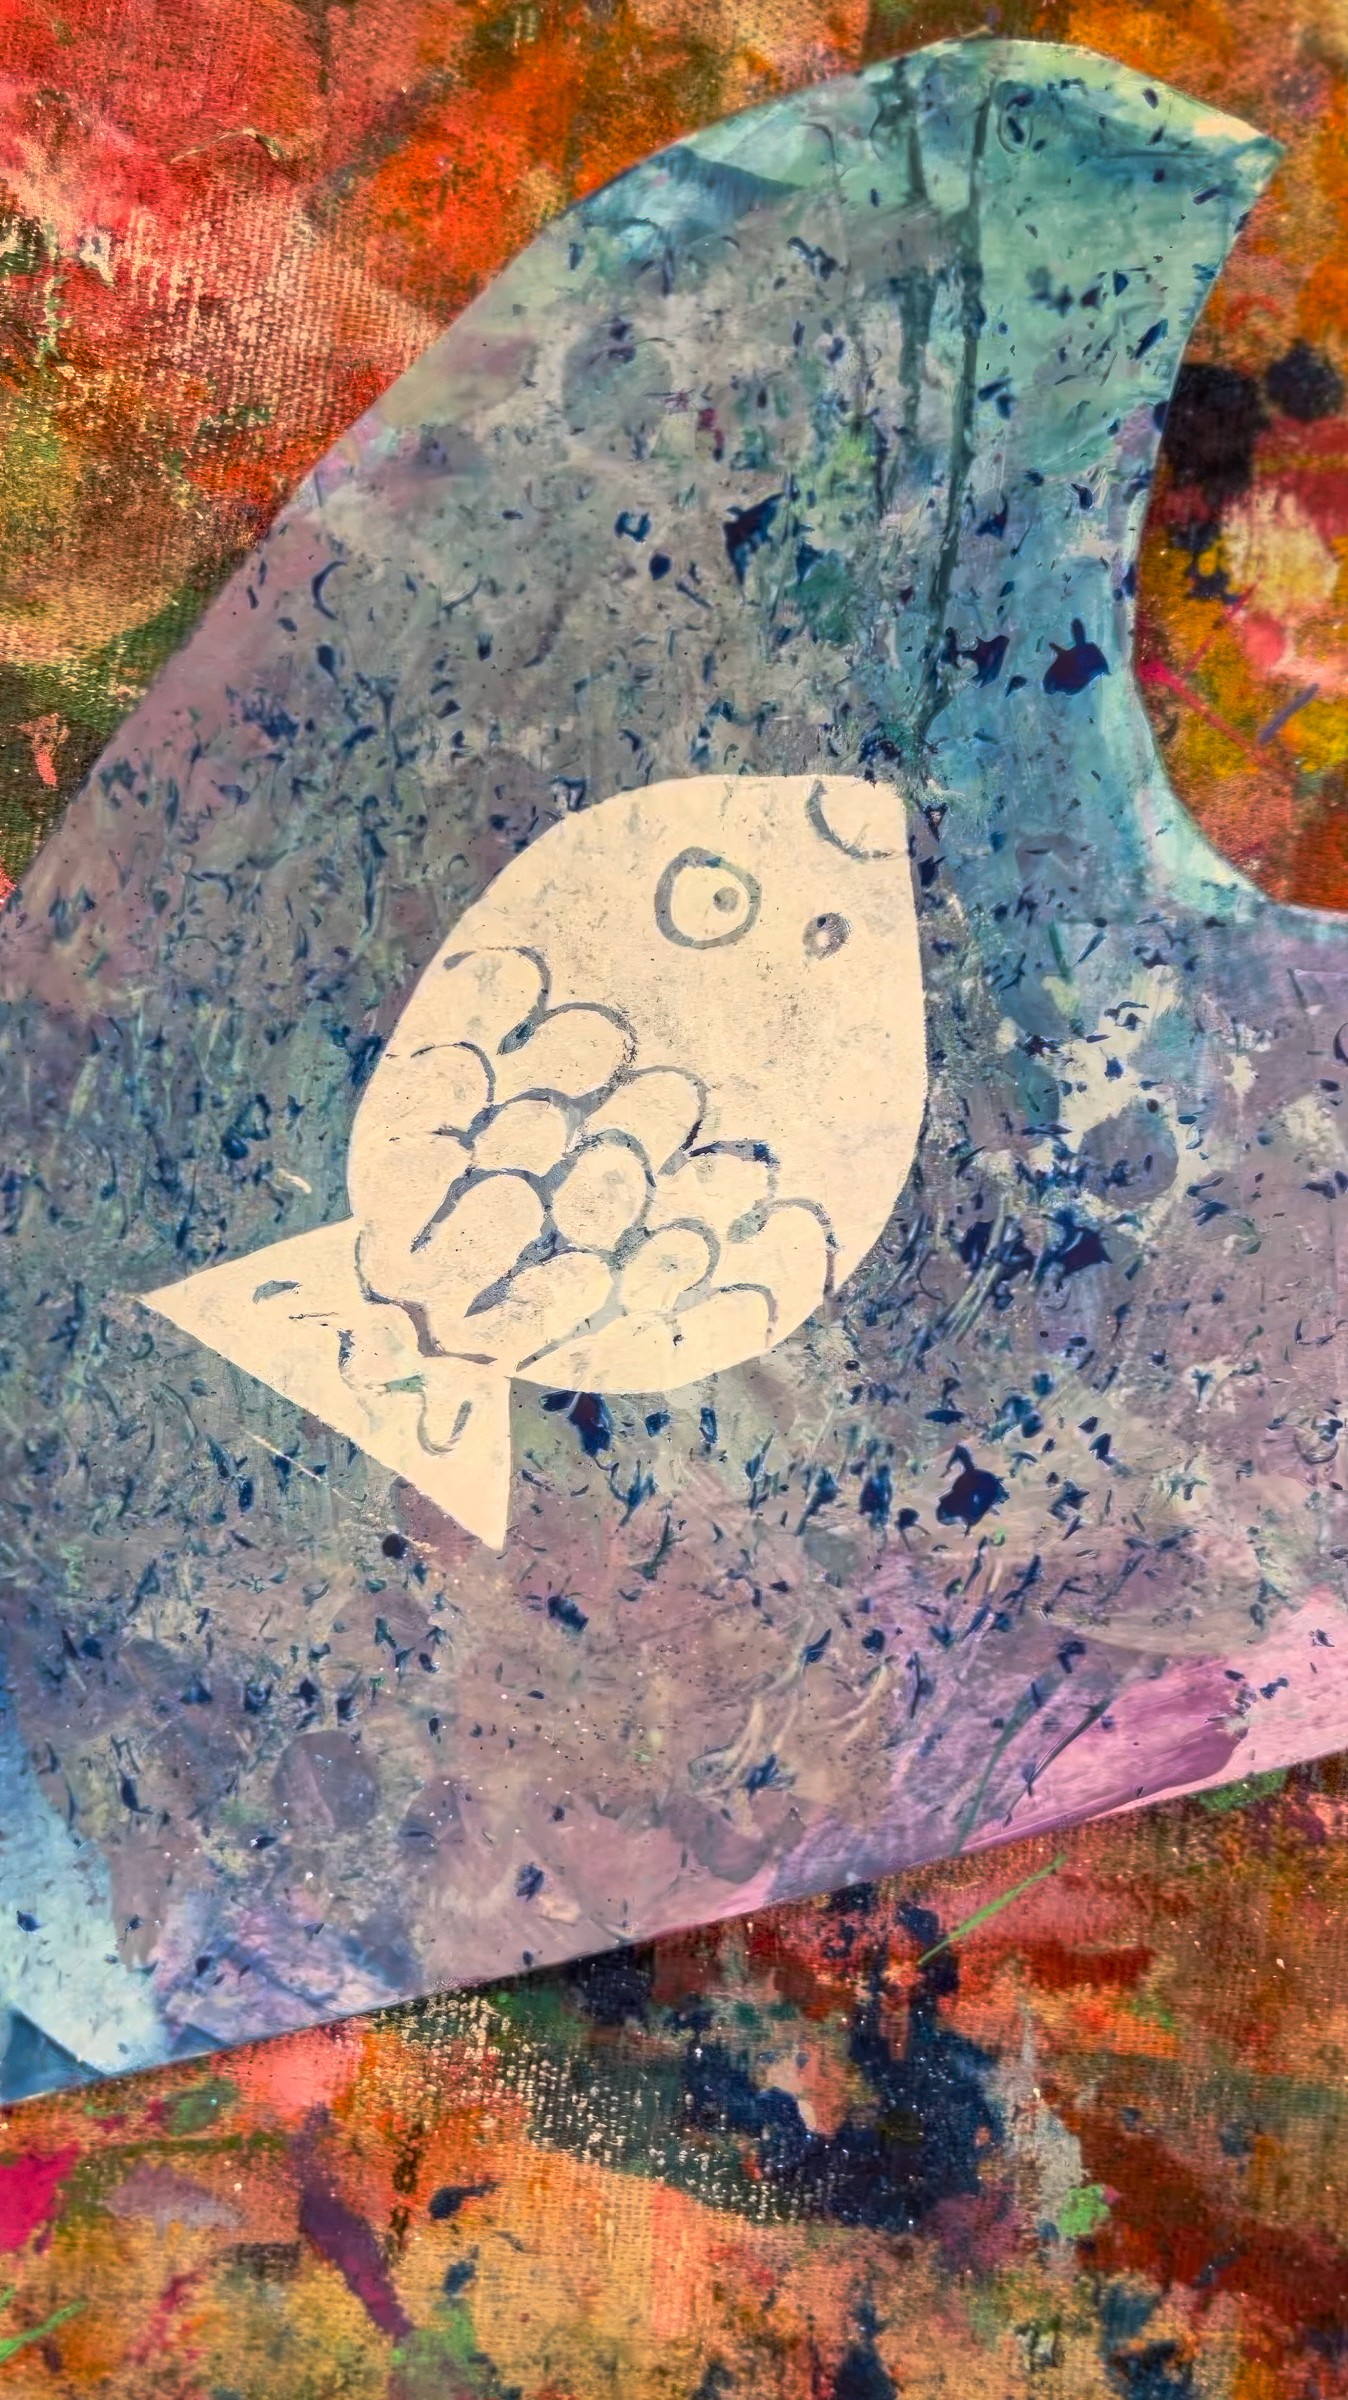
Start by drawing directly into the foam with a pencil or the end of a brush. Fish, shells, coral, waves — any design works. Press firmly enough so the grooves show clearly. If you are using sticky-backed foam, press it onto a block of wood or cardboard to make it easier to print and share.
Block printing ink only needs a small amount. Drop a blob into the tray, spread it with a palette knife, and roll until the brayer feels smooth and even. Kids always notice the sticky squeak! It becomes part of the experience.
Roll ink across the foam stamp so the raised areas are covered and the scratched lines stay clear. Press onto paper, adding pressure with the palm of a hand or a clean roller. Lift carefully to reveal the print. Sometimes the image comes out crisp, sometimes smudged, and sometimes with unexpected textures. All of it belongs.
One stamp can be used again and again, layered over itself, and shared with friends to build an entire underwater world! Encourage children to experiment with colour, placement and overlapping until the page feels alive.
It can also be lovely to share that printmaking has been used for centuries to capture nature. Japanese artists like Hokusai carved waves and fish into woodblocks to tell stories of the sea, while Australian printmaker Margaret Preston often drew on natural forms for her bold designs. Showing even one or two of these images can open a conversation about how artists use simple tools to bring whole landscapes to life.
Variations
Print onto dark paper with white or metallic ink so the ocean turns into a night reef.
Play with scale by making both tiny stamps and oversized ones
Experiment with textures beyond foam, such as bubble wrap, netting or corrugated card, to see what new ocean marks appear.
Use the prints as building blocks. Collage them together into a giant group mural, or repeat a favourite stamp across the page to create patterned wrapping paper or borders.

Materials
Foam sheets (sticky-backed ones make mounting easy)
Cardboard or wooden blocks for backing the stamps
Pencils or the ends of paintbrushes for scratching designs
Block printing ink in ocean colours (blue, white, metallics work beautifully)
Palette knives or plastic spreaders for scooping ink
Brayers or rollers
Shallow trays or plates for rolling out ink
Large sheets of paper, including pre-painted “ocean paper” or darker card for contrast
Back to Top
Ocean Printmaking
Print the sea again and again!
Bookmark
Print Making
The Set Up
Foam sheets are the base for our stamps. We use sticky-backed ones so they can be mounted onto cardboard or wooden blocks, but plain foam works too. Lay out pencils or the ends of paintbrushes for drawing into the surface, plus trays with a little block printing ink and brayers for rolling.
Blue and white inks look brilliant when printed onto textured “ocean paper” from earlier painting explorations!
The Making
Start by drawing directly into the foam with a pencil or the end of a brush. Fish, shells, coral, waves — any design works. Press firmly enough so the grooves show clearly. If you are using sticky-backed foam, press it onto a block of wood or cardboard to make it easier to print and share.
Block printing ink only needs a small amount. Drop a blob into the tray, spread it with a palette knife, and roll until the brayer feels smooth and even. Kids always notice the sticky squeak! It becomes part of the experience.
Roll ink across the foam stamp so the raised areas are covered and the scratched lines stay clear. Press onto paper, adding pressure with the palm of a hand or a clean roller. Lift carefully to reveal the print. Sometimes the image comes out crisp, sometimes smudged, and sometimes with unexpected textures. All of it belongs.
One stamp can be used again and again, layered over itself, and shared with friends to build an entire underwater world! Encourage children to experiment with colour, placement and overlapping until the page feels alive.
It can also be lovely to share that printmaking has been used for centuries to capture nature. Japanese artists like Hokusai carved waves and fish into woodblocks to tell stories of the sea, while Australian printmaker Margaret Preston often drew on natural forms for her bold designs. Showing even one or two of these images can open a conversation about how artists use simple tools to bring whole landscapes to life.
Variations
Print onto dark paper with white or metallic ink so the ocean turns into a night reef.
Play with scale by making both tiny stamps and oversized ones
Experiment with textures beyond foam, such as bubble wrap, netting or corrugated card, to see what new ocean marks appear.
Use the prints as building blocks. Collage them together into a giant group mural, or repeat a favourite stamp across the page to create patterned wrapping paper or borders.
Materials
Foam sheets (sticky-backed ones make mounting easy)
Cardboard or wooden blocks for backing the stamps
Pencils or the ends of paintbrushes for scratching designs
Block printing ink in ocean colours (blue, white, metallics work beautifully)
Palette knives or plastic spreaders for scooping ink
Brayers or rollers
Shallow trays or plates for rolling out ink
Large sheets of paper, including pre-painted “ocean paper” or darker card for contrast
Back to Top
Add this to your favourites
Add this to your favourites
Thoughts?
Would love to hear if youv'e tried this or have any ideas on how to make it even better!
