Painted Maps
Build your own road map of where you’ve been (or want to go next)!
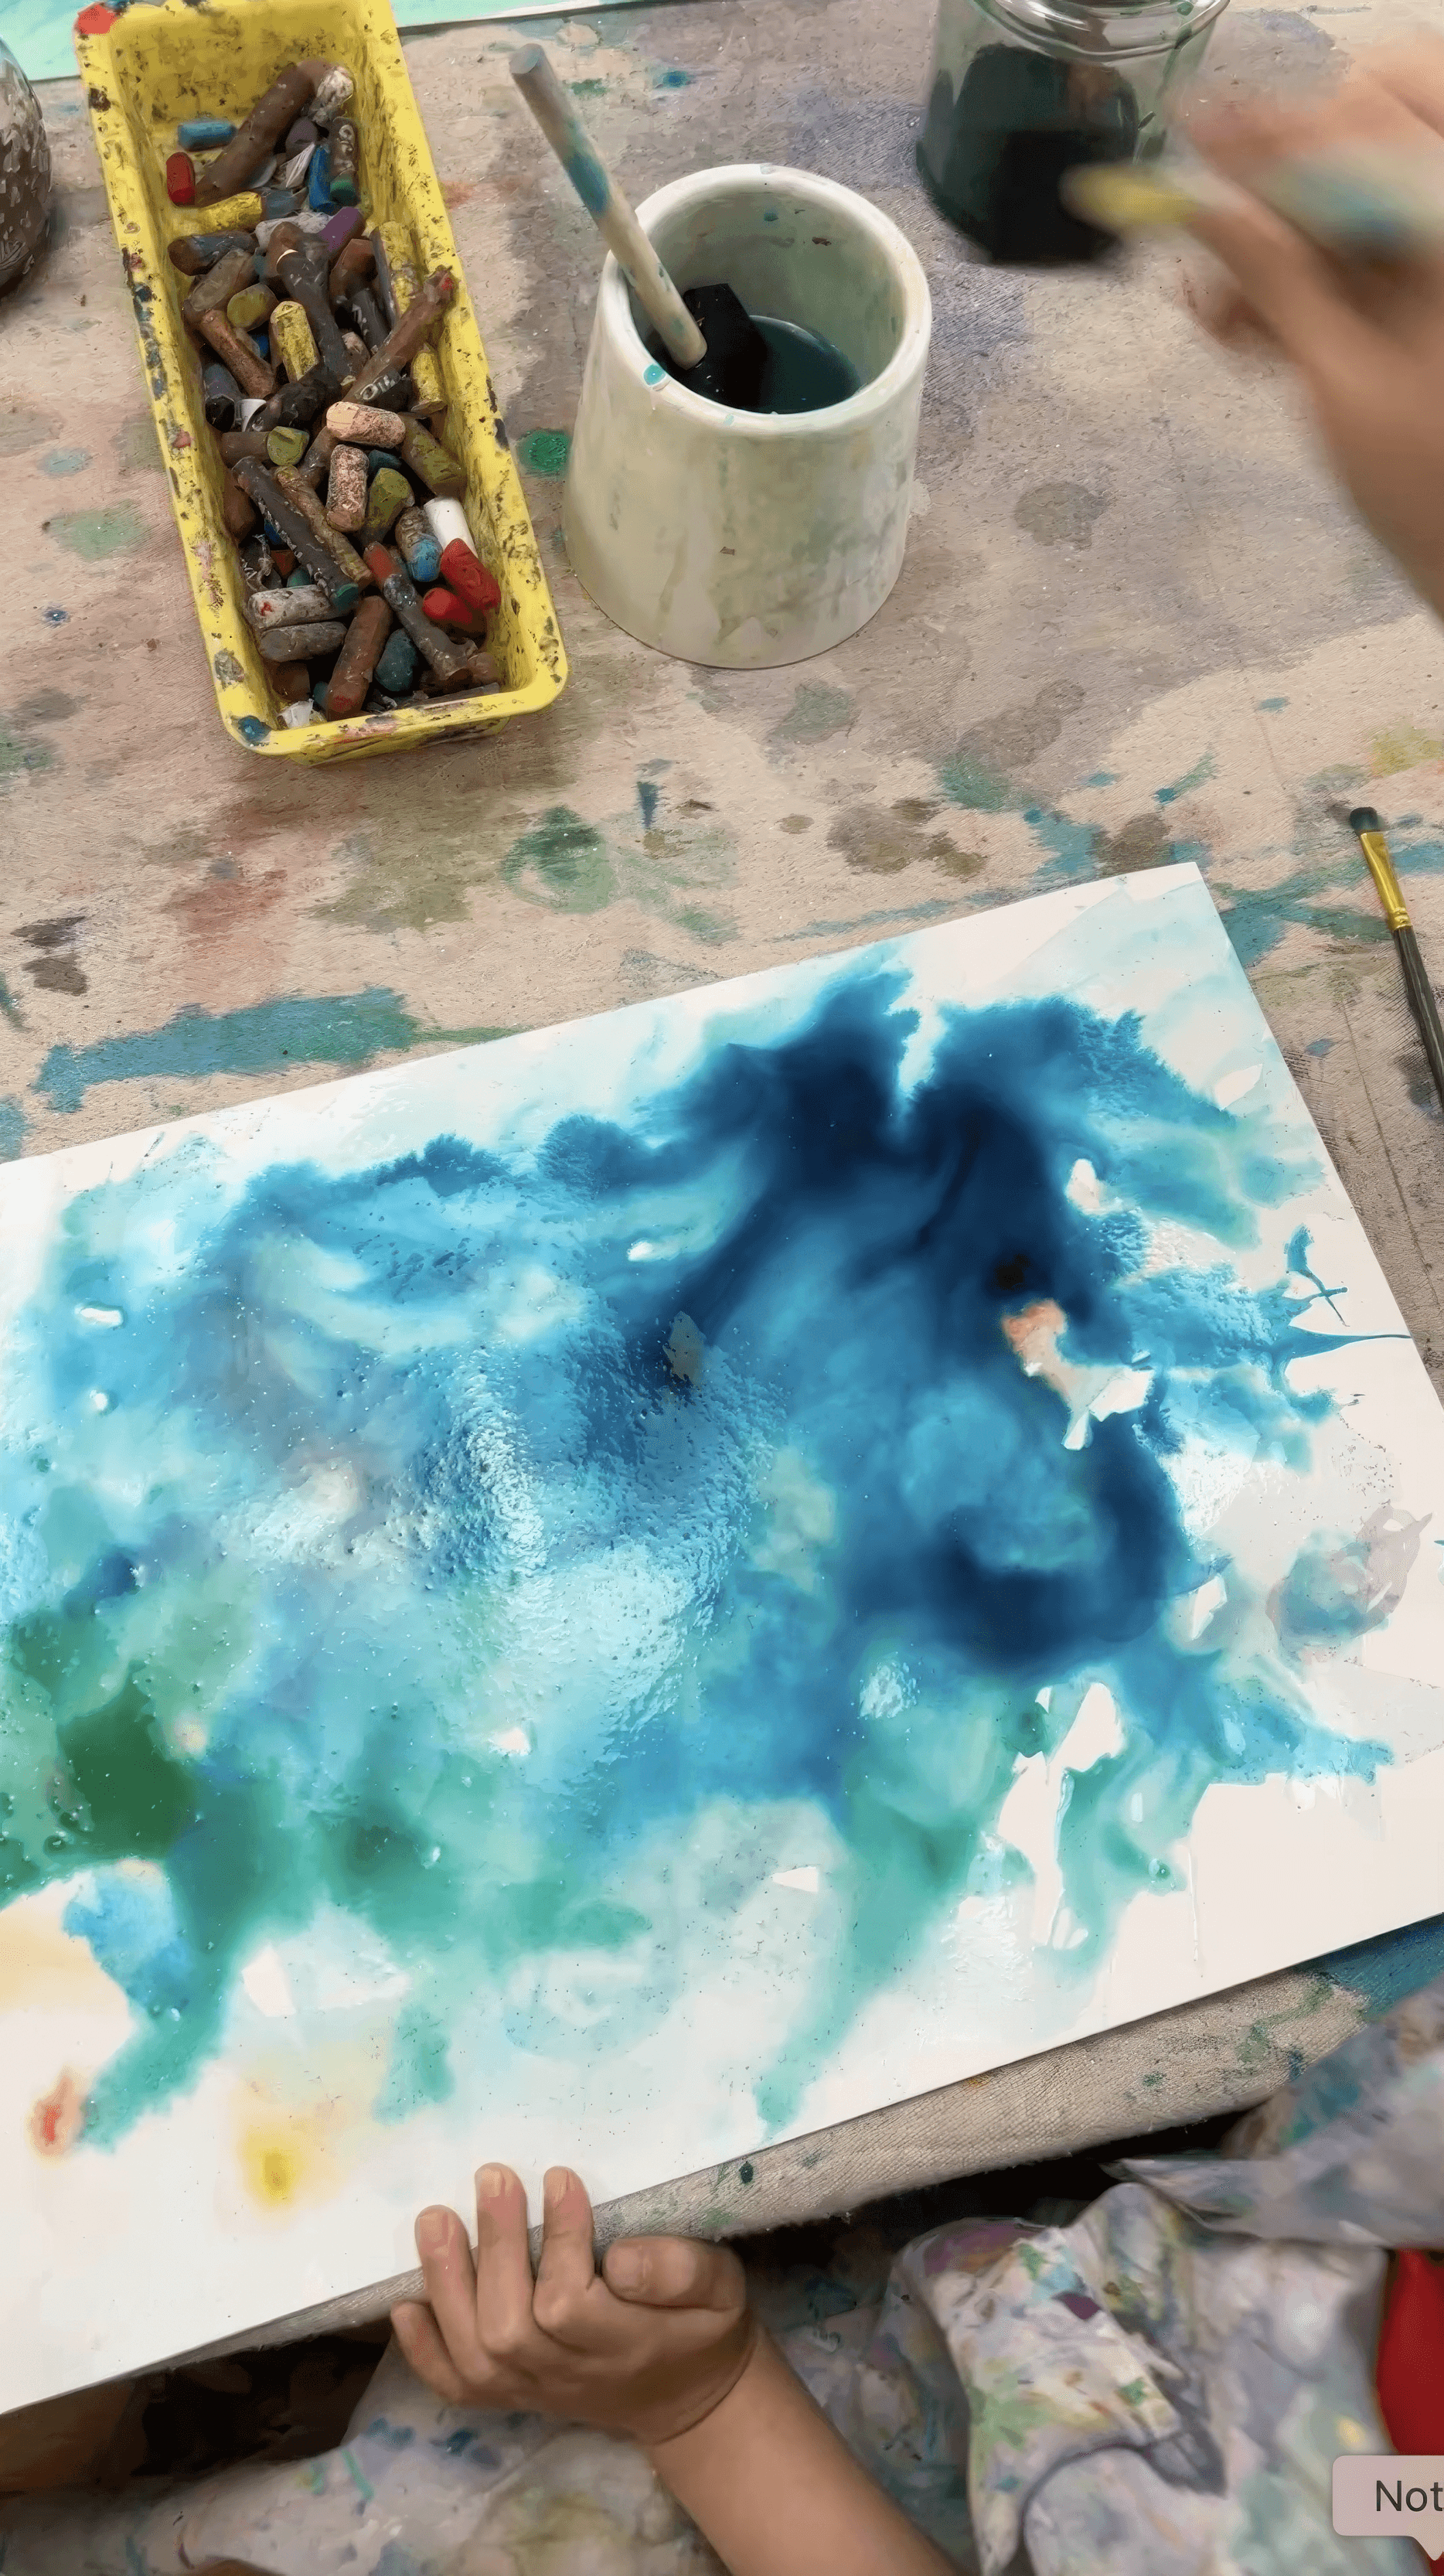
The Set Up
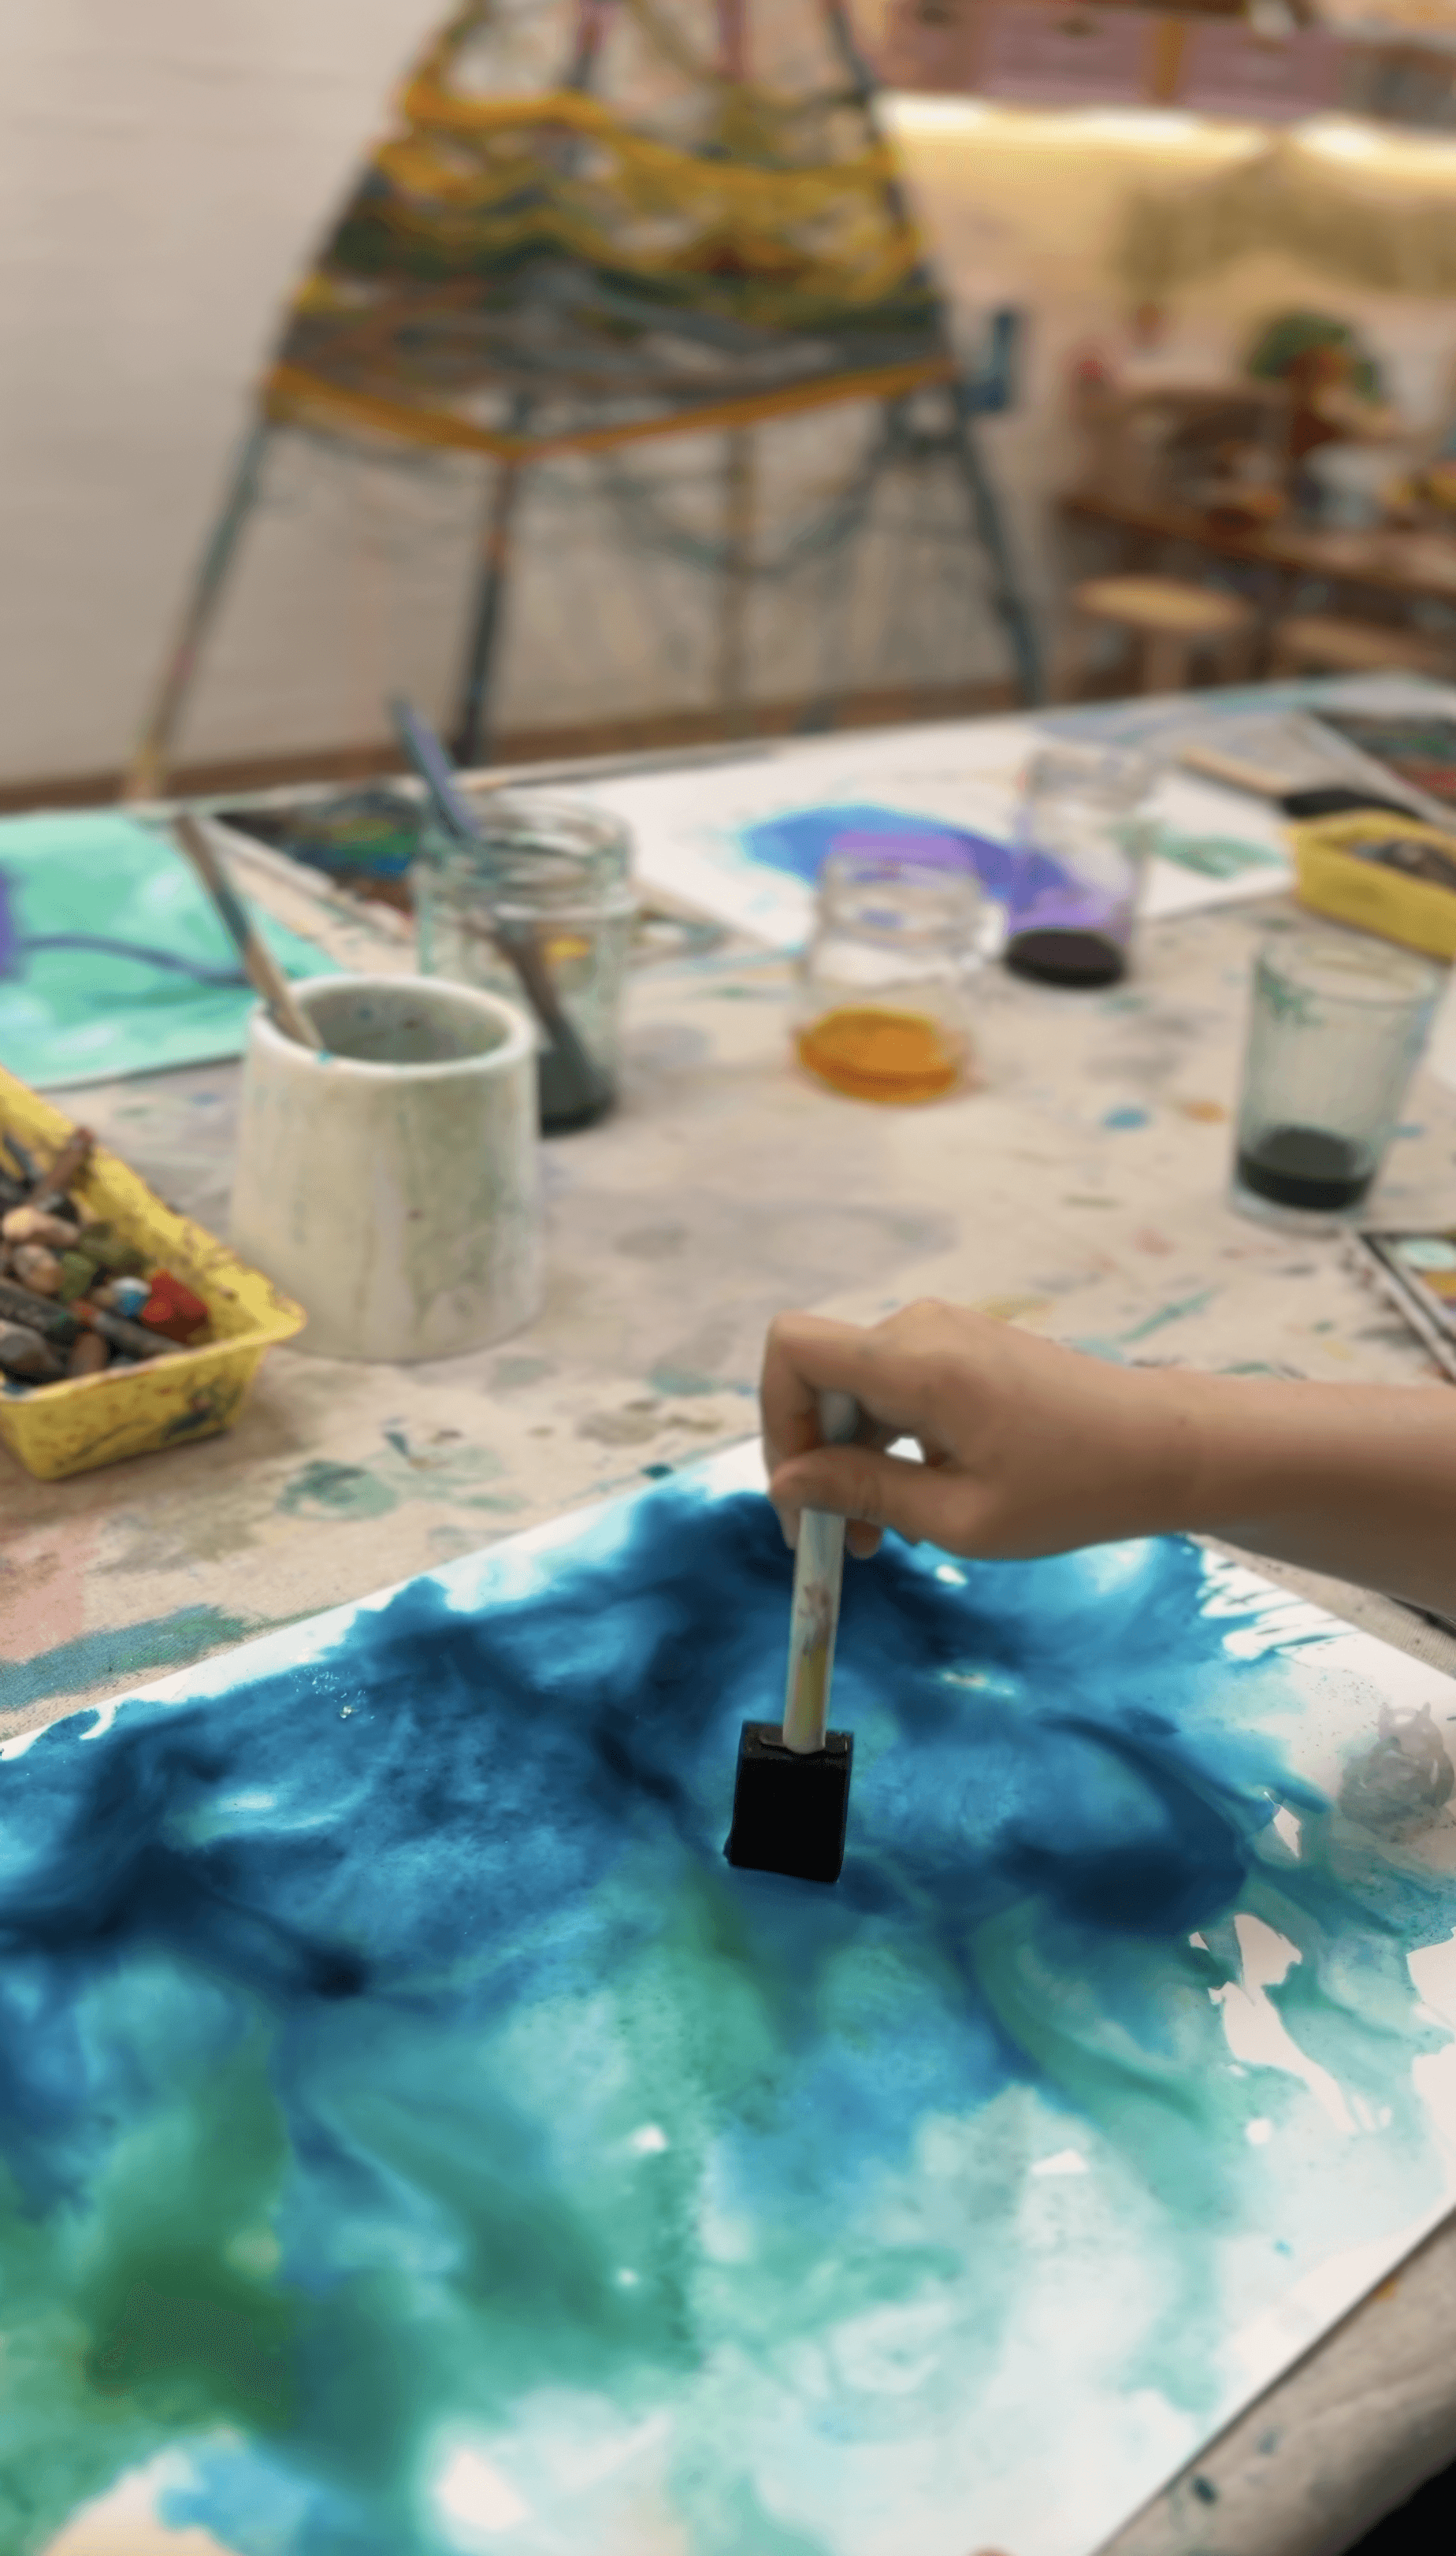
Lay out heavy paper or card. Liquid watercolours in blues, greens, purples, turquoise. Poster or tempera paint in earthy browns and sandy yellows. Always include white so kids can mix tints that feel sunlit or shallow or misty. Put the colours in low trays or jars with brushes. Keep black Posca or other paint pens nearby for lines and maps and outlines.
You can lightly sketch a coastline or island shape in pencil first if that helps younger artists enter. Or my preference is always to leave the page blank and let the first wash of colour help the artist decide where land appears!
The Making
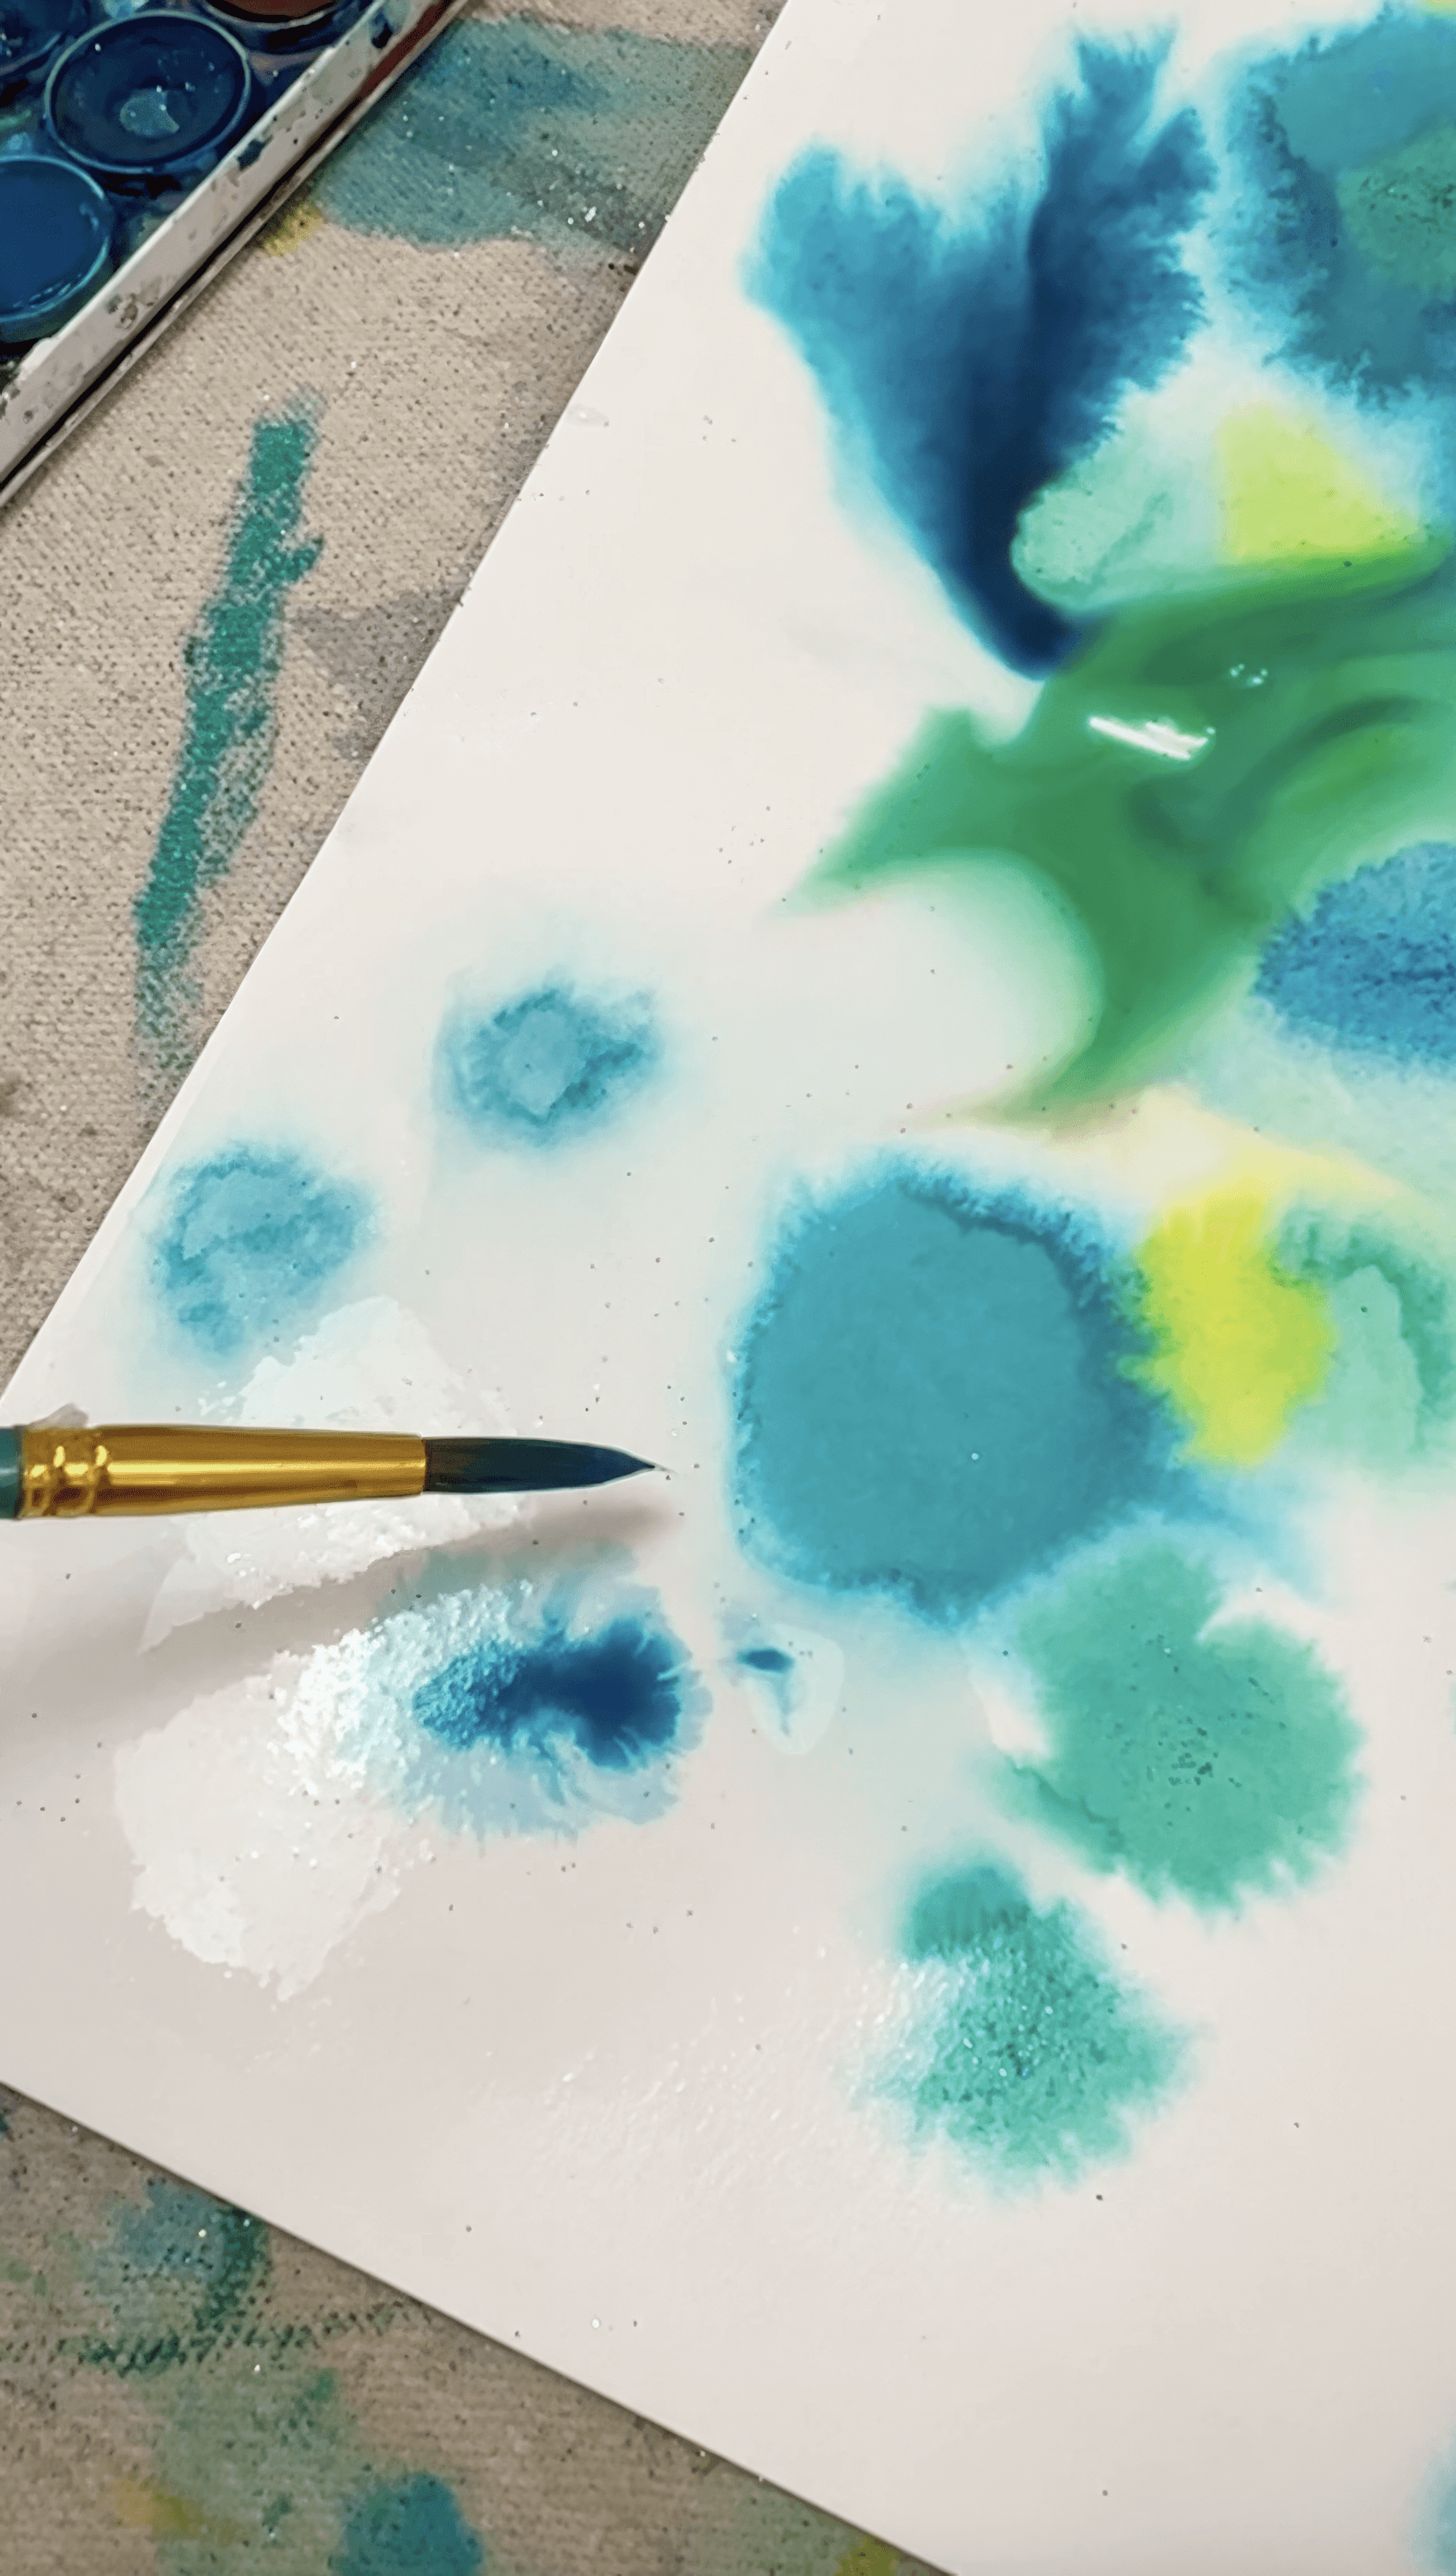
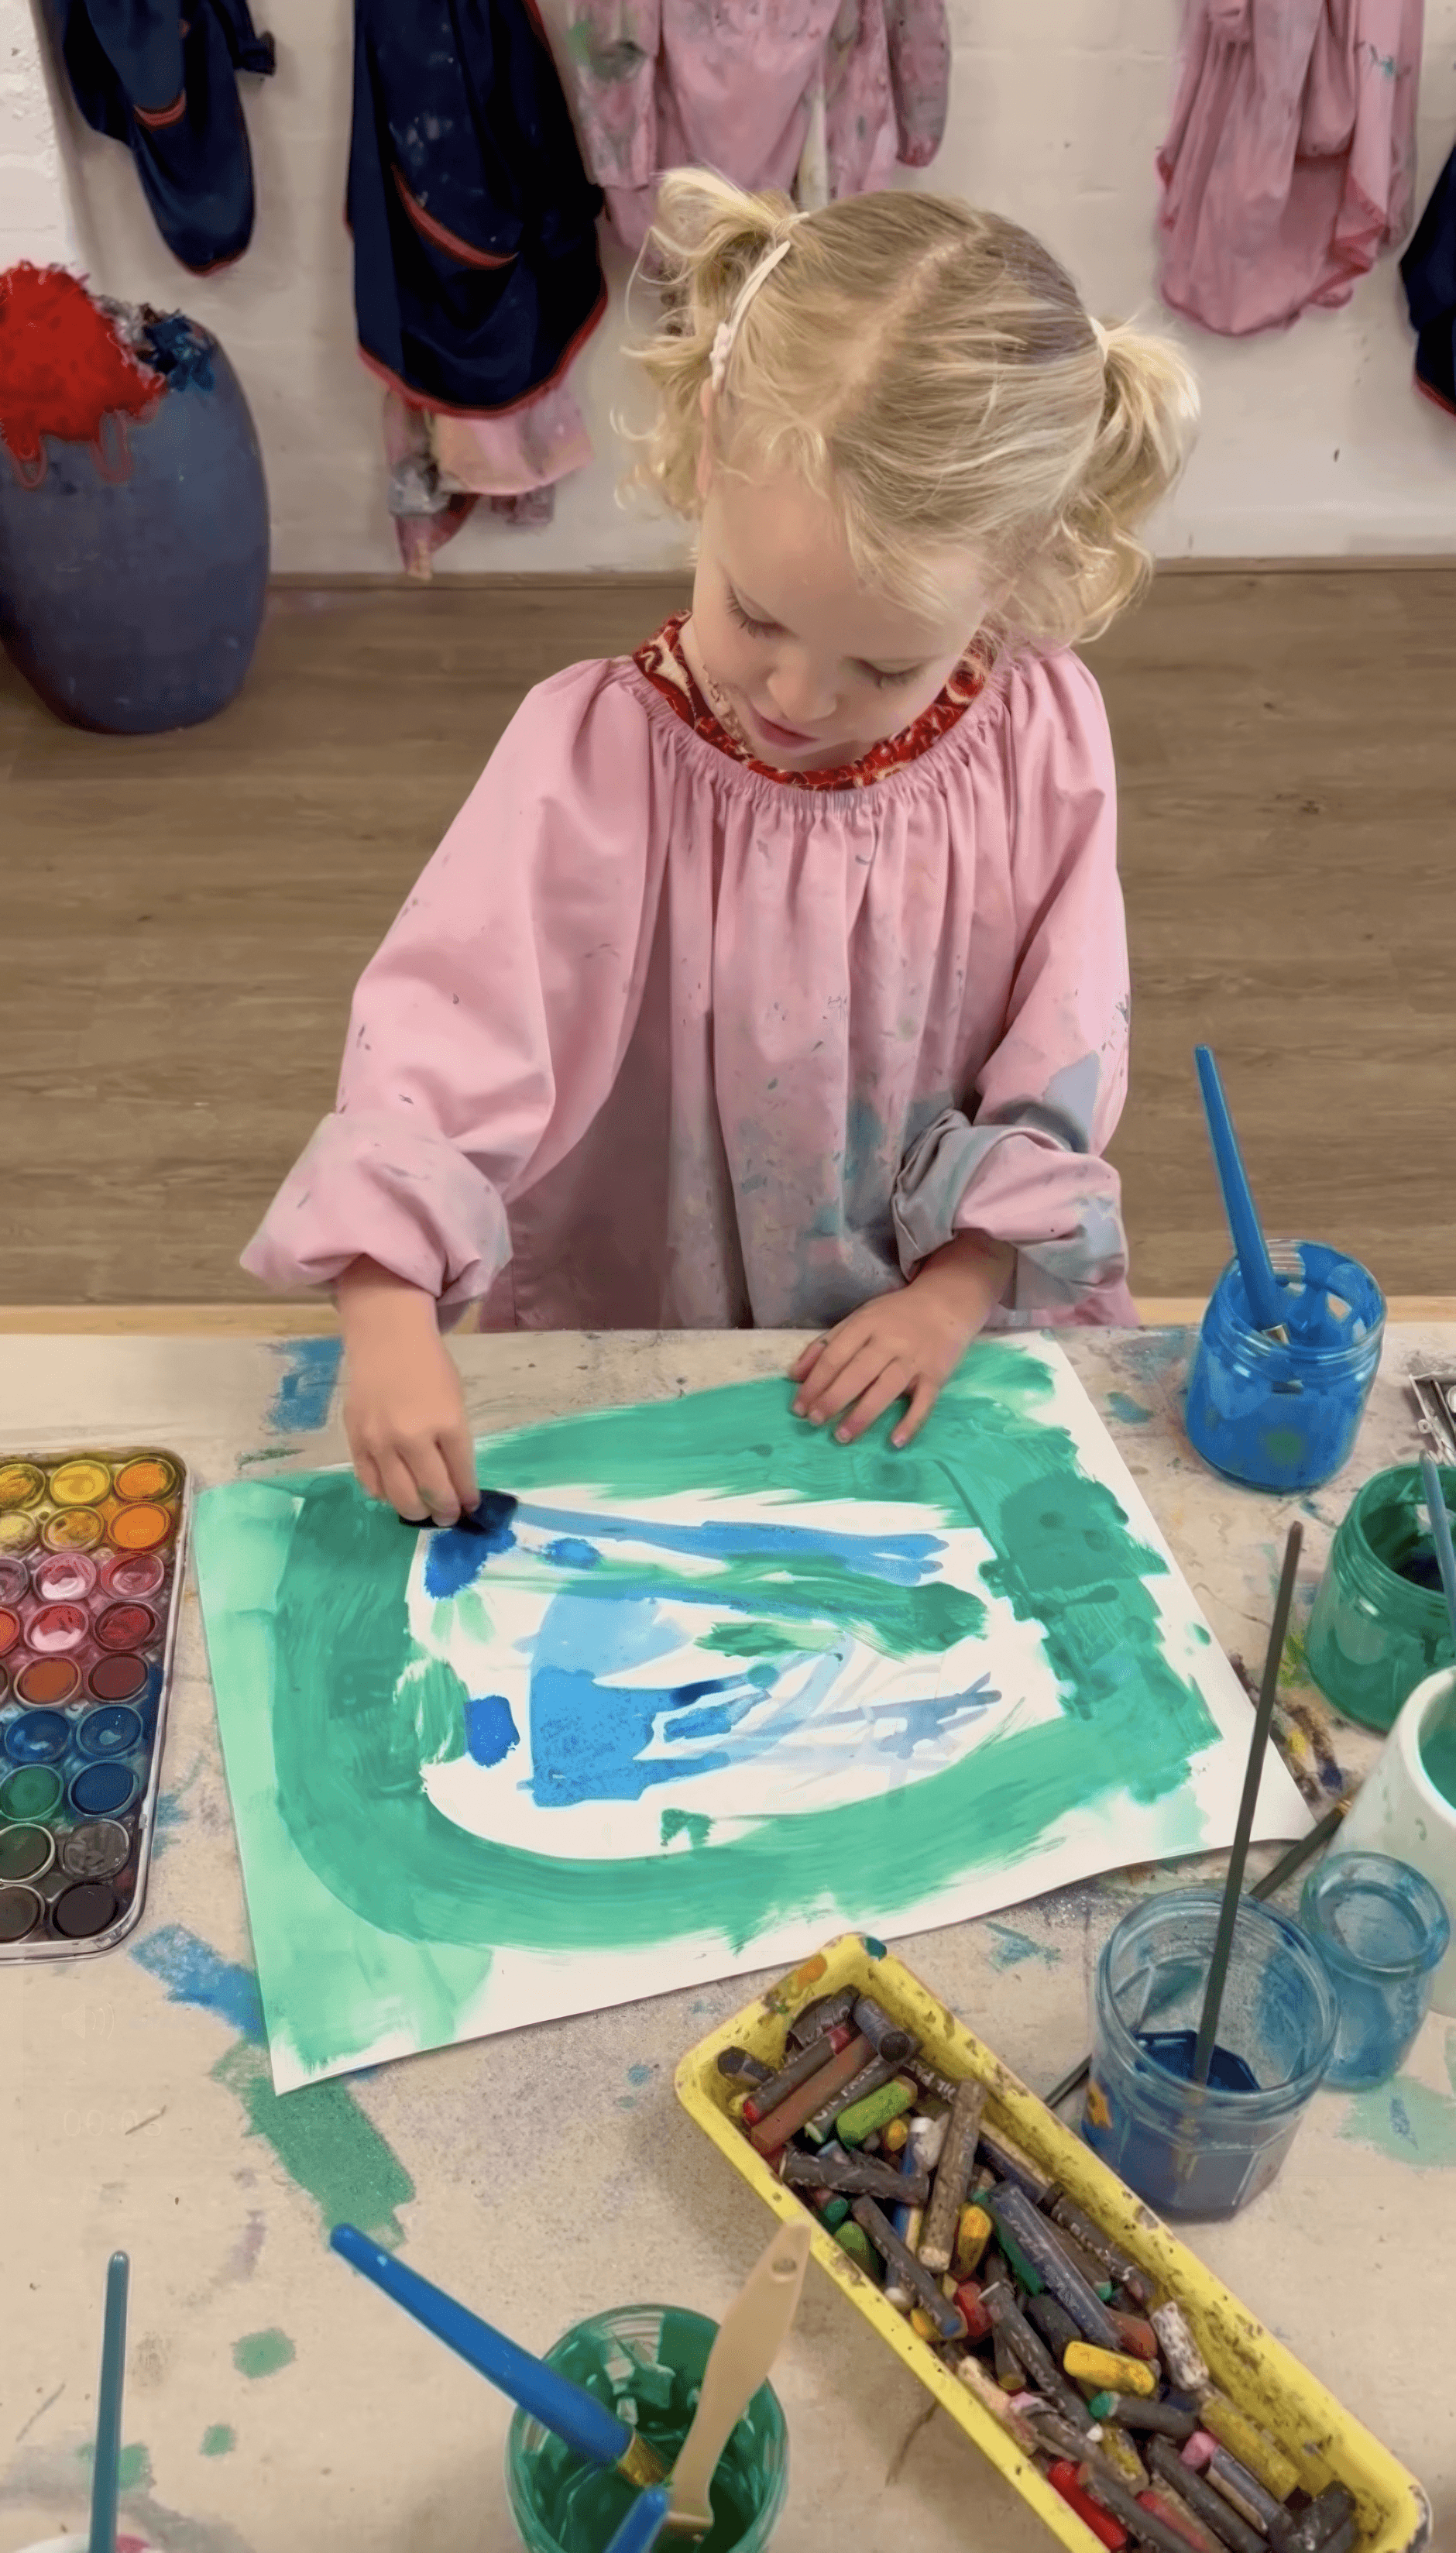
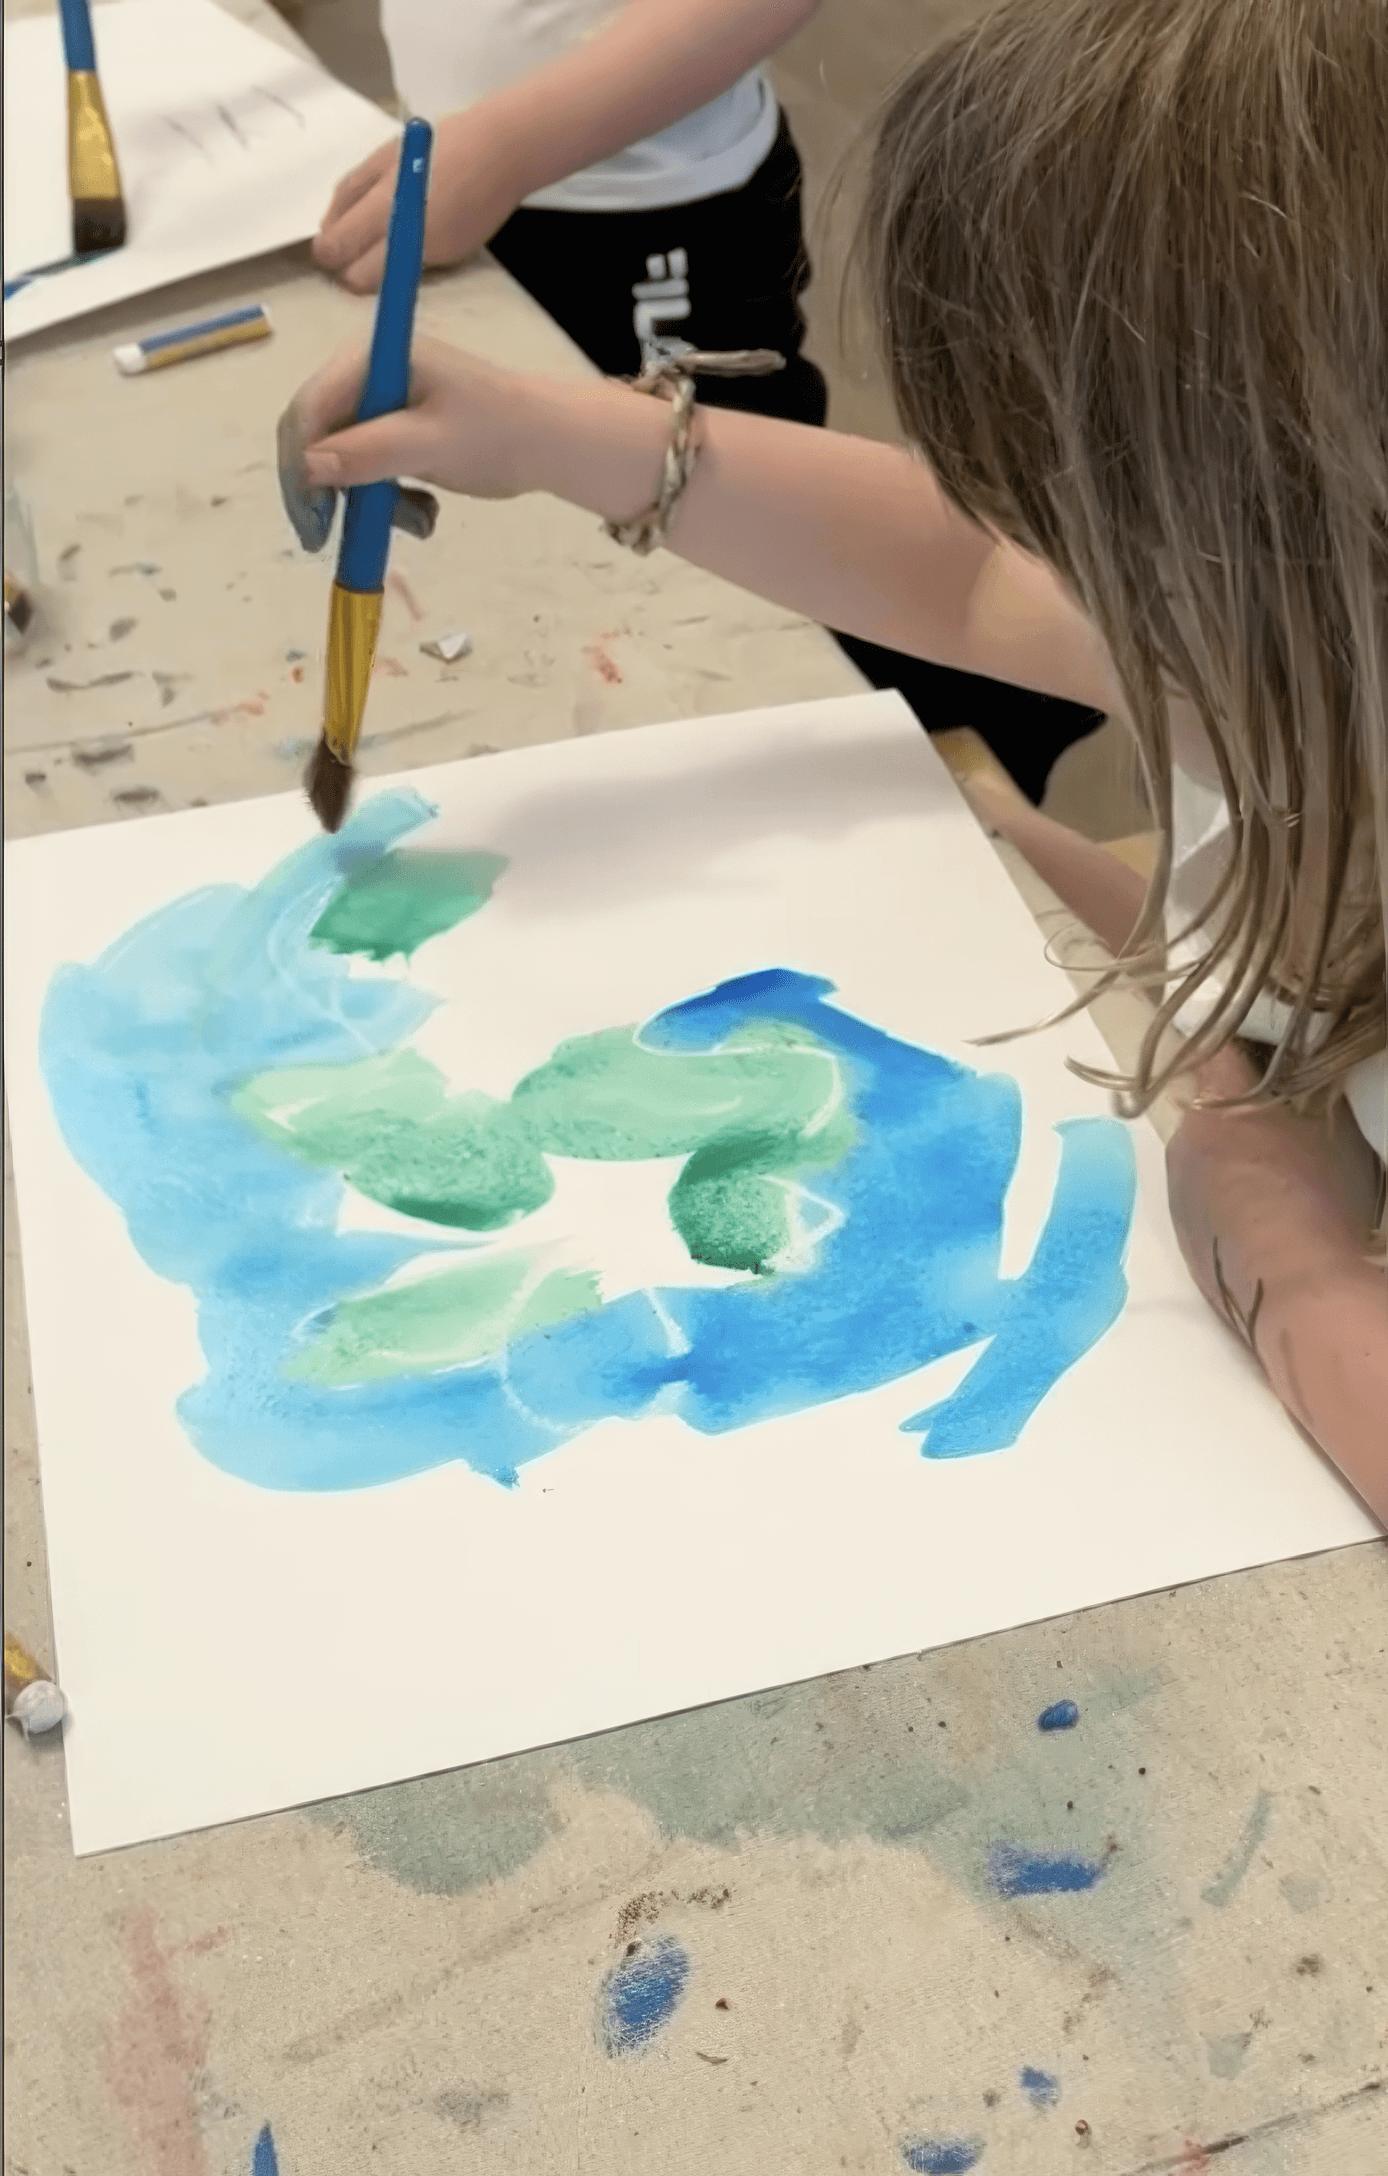
There’s no one right way to build a map! Some artists flood whole areas with watery colour and call it an island or a deep ocean trench. Others work small, dropping pockets of colour and letting them bleed into each other until a coastline appears on its own. Let both happen.
Keep the materials open. Thin washes. Thicker paint on top. Little scraps of paper or pen lines added later if they want paths or markers or creatures. Your job is mostly to offer and hold space and ask quiet questions invite story and thinking.
When they start naming places and tracing routes with a fingertip, that’s the moment the page stops being paint and becomes a world to explore!

Variations
Turn the finished map into a field guide by adding tiny drawings of creatures or plants that live there
Fold the map into a secret note and hide it in the Giant Treasure Map installation for someone else to discover
Materials
Heavy paper or card
Liquid watercolours and washable poster or tempera paint
White paint for mixing tints
Brushes and trays or small jars
Black paint pens or Posca style markers for outlining and naming
Back to Top
Painted Maps
Build your own road map of where you’ve been (or want to go next)!
Bookmark
Painting & Drawing
The Set Up
Lay out heavy paper or card. Liquid watercolours in blues, greens, purples, turquoise. Poster or tempera paint in earthy browns and sandy yellows. Always include white so kids can mix tints that feel sunlit or shallow or misty. Put the colours in low trays or jars with brushes. Keep black Posca or other paint pens nearby for lines and maps and outlines.
You can lightly sketch a coastline or island shape in pencil first if that helps younger artists enter. Or my preference is always to leave the page blank and let the first wash of colour help the artist decide where land appears!
The Making
There’s no one right way to build a map! Some artists flood whole areas with watery colour and call it an island or a deep ocean trench. Others work small, dropping pockets of colour and letting them bleed into each other until a coastline appears on its own. Let both happen.
Keep the materials open. Thin washes. Thicker paint on top. Little scraps of paper or pen lines added later if they want paths or markers or creatures. Your job is mostly to offer and hold space and ask quiet questions invite story and thinking.
When they start naming places and tracing routes with a fingertip, that’s the moment the page stops being paint and becomes a world to explore!
Variations
Turn the finished map into a field guide by adding tiny drawings of creatures or plants that live there
Fold the map into a secret note and hide it in the Giant Treasure Map installation for someone else to discover
Materials
Heavy paper or card
Liquid watercolours and washable poster or tempera paint
White paint for mixing tints
Brushes and trays or small jars
Black paint pens or Posca style markers for outlining and naming
Back to Top
Add this to your favourites
Add this to your favourites
Thoughts?
Would love to hear if youv'e tried this or have any ideas on how to make it even better!
