Pumpkin Painting
Real or not, pumpkins are the perfect canvas!
The Set Up
Pumpkins are such a simple way to bring instant colour and texture into your space. Real pumpkins are beautiful, but plastic or foam ones work just as well and can be reused year after year. If you want the paint to stay, prime them first with a plastic primer spray, then seal once dry. At Smudge, we usually use washable paints so kids can paint, rinse, and paint again.
Set out trays of bright colour and always include white for mixing. Brushes and sponges work equally well, and squeezy bottles are great for bold marks and drips. The IKEA MÅLA paints are perfect because they flow slowly, giving kids control.
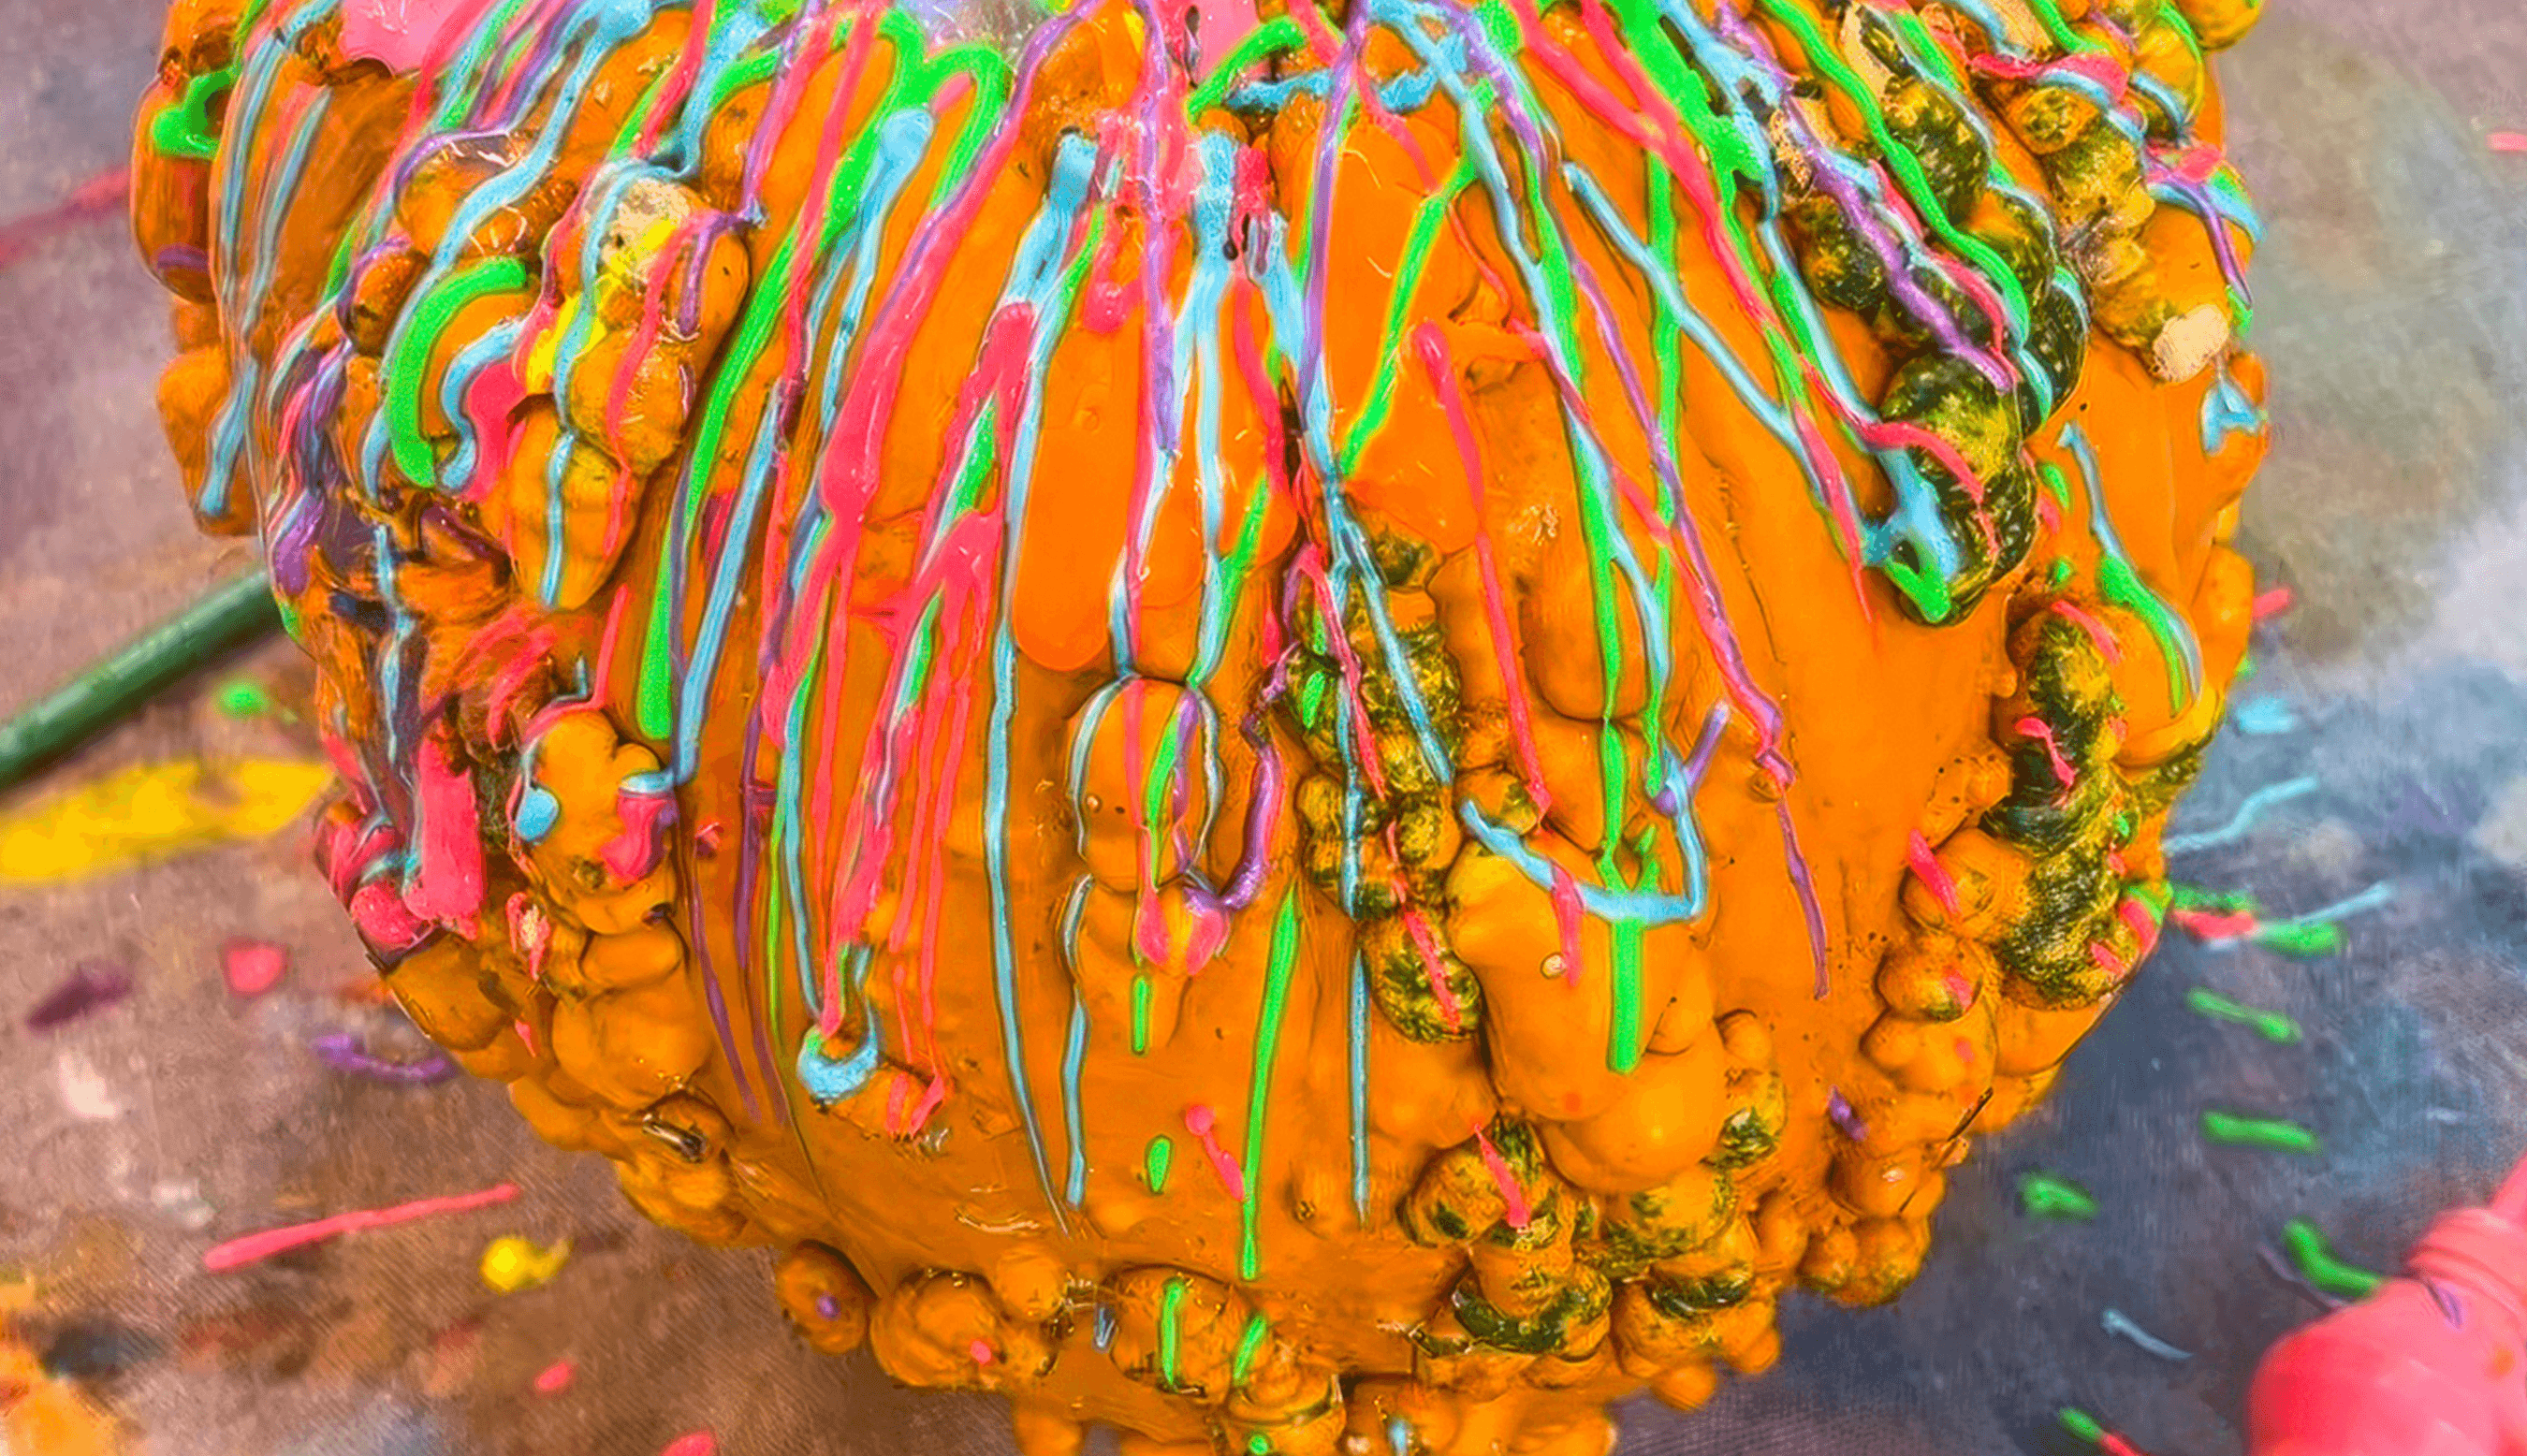
If you can, find interesting gourds or misshapen Goblin warty pumpkins! The bumps, ridges, and folds give a tactile surface that changes how the paint behaves.


The Making
Encourage kids to explore movement and colour rather than decoration. Thick stripes, dots, and flowing drips all look incredible as they wrap around the surface.
If you are using foam or plastic pumpkins, let kids experiment with layering and blending. Real pumpkins are better for short-term play and sensory exploration, while foam ones become lasting art pieces.
Having a tray underneath is great to catch all the excess paint to re-use in another gorgeous (spooky) artwork later.


Variations
Try finger painting or sponge stamping for sensory exploration.
Paint a collection of pumpkins together as a collaborative display.
Use black paper or cardboard backdrops to make colours pop.
Look to Yayoi Kusama for pumpkin inspiration!


Materials
• Real, plastic, or foam pumpkins and gourds
• Washable poster or tempera paint
• White paint for mixing
• Brushes, sponges, and paint trays
• Optional primer spray and clear sealer
Back to Top
Pumpkin Painting
Real or not, pumpkins are the perfect canvas!
Bookmark
Creative Exploration
The Set Up
Pumpkins are such a simple way to bring instant colour and texture into your space. Real pumpkins are beautiful, but plastic or foam ones work just as well and can be reused year after year. If you want the paint to stay, prime them first with a plastic primer spray, then seal once dry. At Smudge, we usually use washable paints so kids can paint, rinse, and paint again.
Set out trays of bright colour and always include white for mixing. Brushes and sponges work equally well, and squeezy bottles are great for bold marks and drips. The IKEA MÅLA paints are perfect because they flow slowly, giving kids control.
If you can, find interesting gourds or misshapen Goblin warty pumpkins! The bumps, ridges, and folds give a tactile surface that changes how the paint behaves.
The Making
Encourage kids to explore movement and colour rather than decoration. Thick stripes, dots, and flowing drips all look incredible as they wrap around the surface.
If you are using foam or plastic pumpkins, let kids experiment with layering and blending. Real pumpkins are better for short-term play and sensory exploration, while foam ones become lasting art pieces.
Having a tray underneath is great to catch all the excess paint to re-use in another gorgeous (spooky) artwork later.
Variations
Try finger painting or sponge stamping for sensory exploration.
Paint a collection of pumpkins together as a collaborative display.
Use black paper or cardboard backdrops to make colours pop.
Look to Yayoi Kusama for pumpkin inspiration!
Materials
• Real, plastic, or foam pumpkins and gourds
• Washable poster or tempera paint
• White paint for mixing
• Brushes, sponges, and paint trays
• Optional primer spray and clear sealer
Back to Top
Add this to your favourites
Add this to your favourites
Thoughts?
Would love to hear if youv'e tried this or have any ideas on how to make it even better!
