Shaving Foam Icing
Pure sensory joy, straight from a can
The Set Up
Shaving foam marbling sticks around for a reason. It’s such a playful and surprising process, and still feels magical no matter how many times you’ve done it.
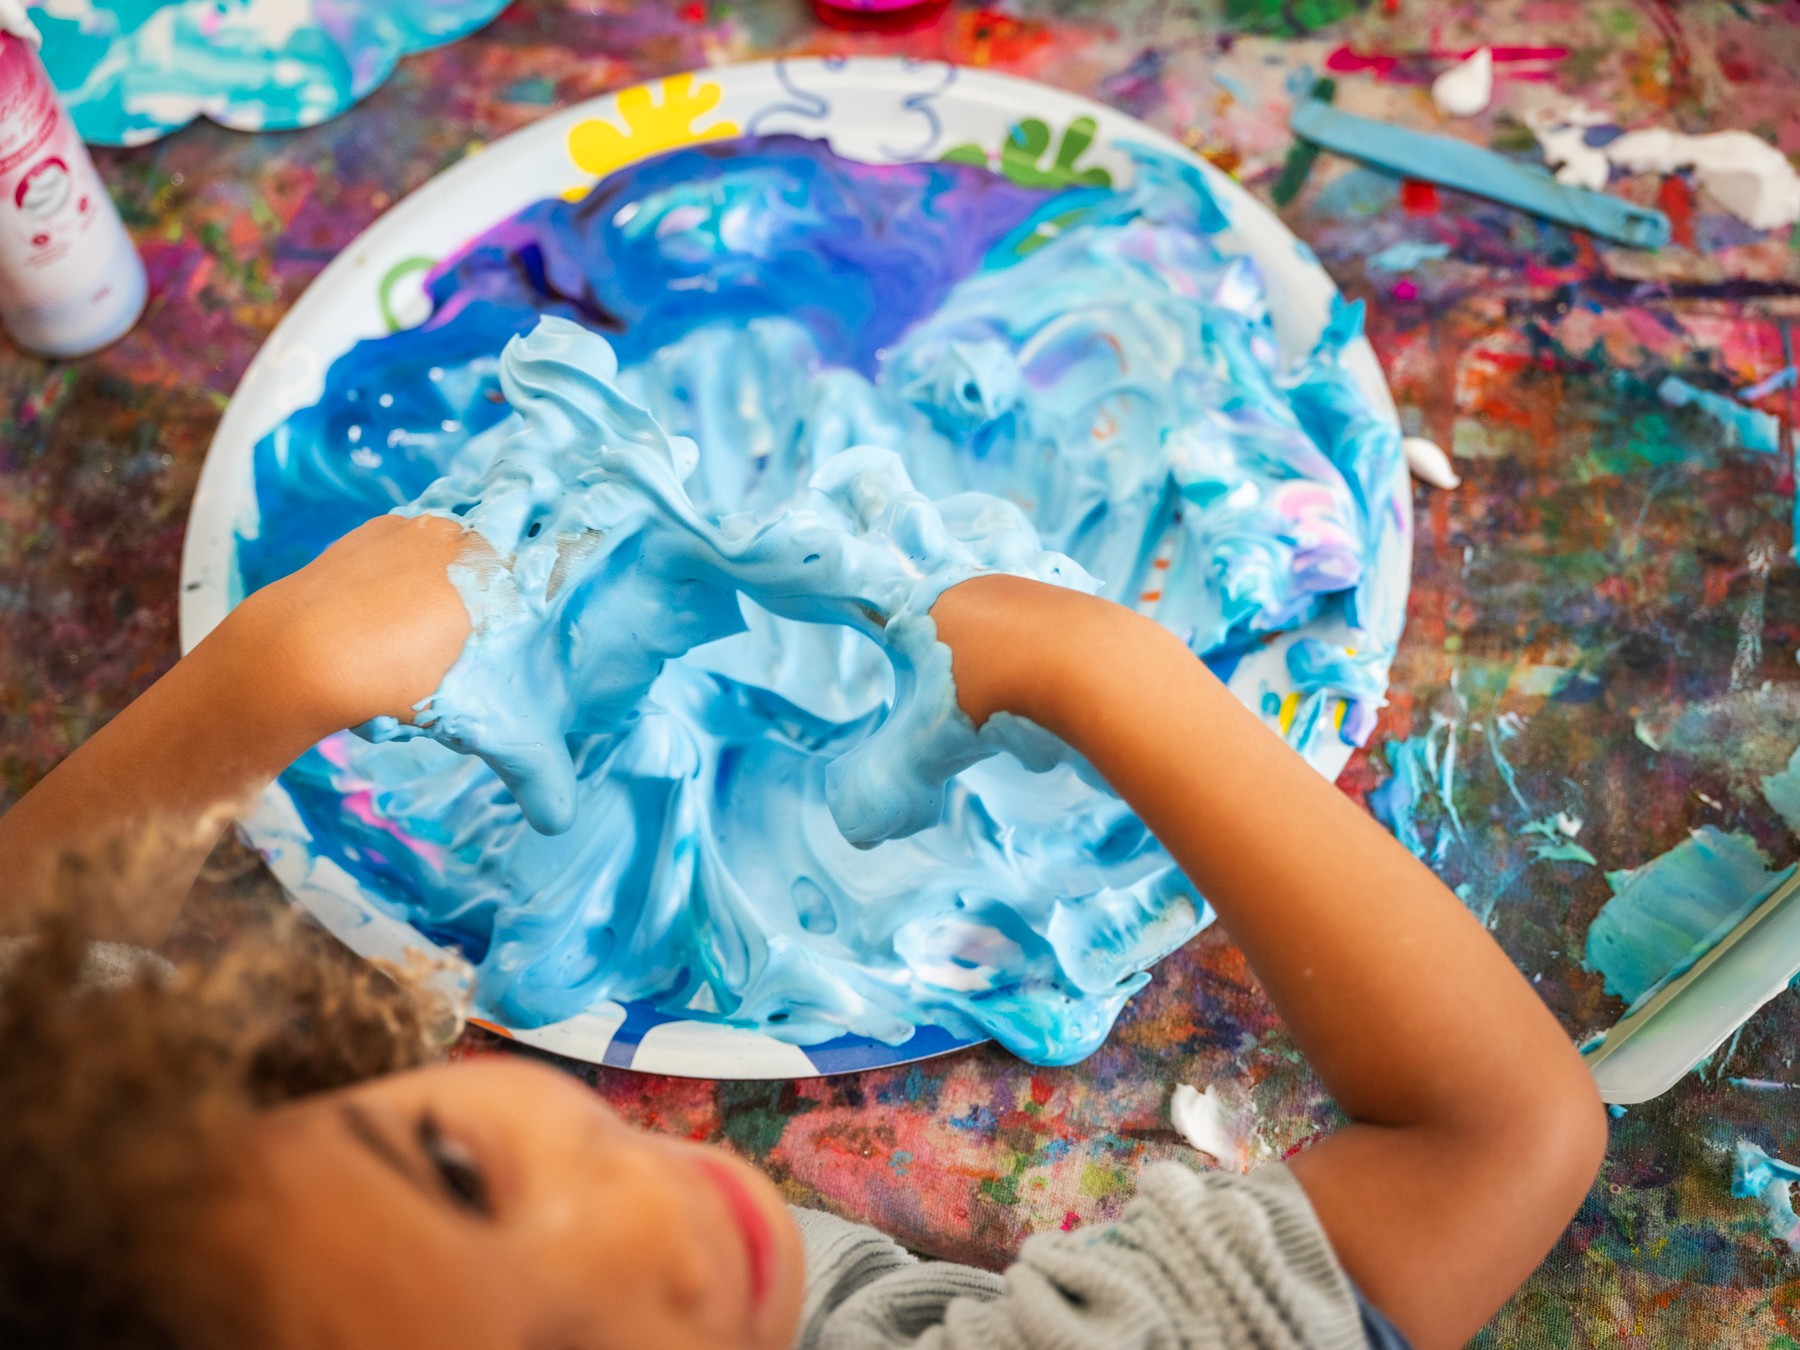
Set out trays with cans of shaving foam, liquid watercolours, scrapers or squeegees, and a large container nearby for scraping excess foam into. Icy-pole sticks or chopsticks work well for swirling and mixing. But my favourite is when the kids dive in (hands first!).
Pre-cut cupcake elements, made of thick cardstock, have worked really well for our Art Play Lab classes at Smudge. We cut simple icing shapes and cupcake bases, and often have a stack of patty pans ready to go as well (they’re perfect for leaning into the cupcake illusion).


The Making
There are a couple of lovely ways to run this, and they work just as well side by side.
One approach is classic marbling (the OG sensory process). Drop colour into the foam, swirl gently, then press the paper in. Scrape away the excess to reveal the pattern underneath. The smell, the sound, and the way the foam grows out of the can are part of the experience.
The other way is to build a foam-y cupcake. Place a patty pan directly onto the tray, fill it with shaving foam, and decorate it like you would a real cupcake. Drip liquid watercolour over the top, sprinkle on actual sprinkles (or sequins, sand, anything small and colourful), and swirl lightly. Once it looks good enough to eat, flip or squish it onto a paper cupcake shape, spread gently, then lift to reveal the print.
Another beautiful thing about this, is that the prints dry almost straight away! So the cupcake bases can be collaged, layered, drawn on or decorated whenever inspiration strikes.


Materials
Shaving foam
Trays
Liquid watercolours
Icy-pole sticks or chopsticks for swirling
Scrapers or squeegees
Large container for scraping excess foam
Patty pans or cupcake papers
Thick cardstock or paper cupcake shapes
Sprinkles or small loose parts (optional)
Cloths or paper towel for clean-up
Back to Top
Shaving Foam Icing
Pure sensory joy, straight from a can
Bookmark
Print Making
The Set Up
Shaving foam marbling sticks around for a reason. It’s such a playful and surprising process, and still feels magical no matter how many times you’ve done it.
Set out trays with cans of shaving foam, liquid watercolours, scrapers or squeegees, and a large container nearby for scraping excess foam into. Icy-pole sticks or chopsticks work well for swirling and mixing. But my favourite is when the kids dive in (hands first!).
Pre-cut cupcake elements, made of thick cardstock, have worked really well for our Art Play Lab classes at Smudge. We cut simple icing shapes and cupcake bases, and often have a stack of patty pans ready to go as well (they’re perfect for leaning into the cupcake illusion).
The Making
There are a couple of lovely ways to run this, and they work just as well side by side.
One approach is classic marbling (the OG sensory process). Drop colour into the foam, swirl gently, then press the paper in. Scrape away the excess to reveal the pattern underneath. The smell, the sound, and the way the foam grows out of the can are part of the experience.
The other way is to build a foam-y cupcake. Place a patty pan directly onto the tray, fill it with shaving foam, and decorate it like you would a real cupcake. Drip liquid watercolour over the top, sprinkle on actual sprinkles (or sequins, sand, anything small and colourful), and swirl lightly. Once it looks good enough to eat, flip or squish it onto a paper cupcake shape, spread gently, then lift to reveal the print.
Another beautiful thing about this, is that the prints dry almost straight away! So the cupcake bases can be collaged, layered, drawn on or decorated whenever inspiration strikes.
Materials
Shaving foam
Trays
Liquid watercolours
Icy-pole sticks or chopsticks for swirling
Scrapers or squeegees
Large container for scraping excess foam
Patty pans or cupcake papers
Thick cardstock or paper cupcake shapes
Sprinkles or small loose parts (optional)
Cloths or paper towel for clean-up
Back to Top
Add this to your favourites
Add this to your favourites
Thoughts?
Would love to hear if youv'e tried this or have any ideas on how to make it even better!
