Treasure Boxes
Create your own pirate chest and fill it with all the treasures!
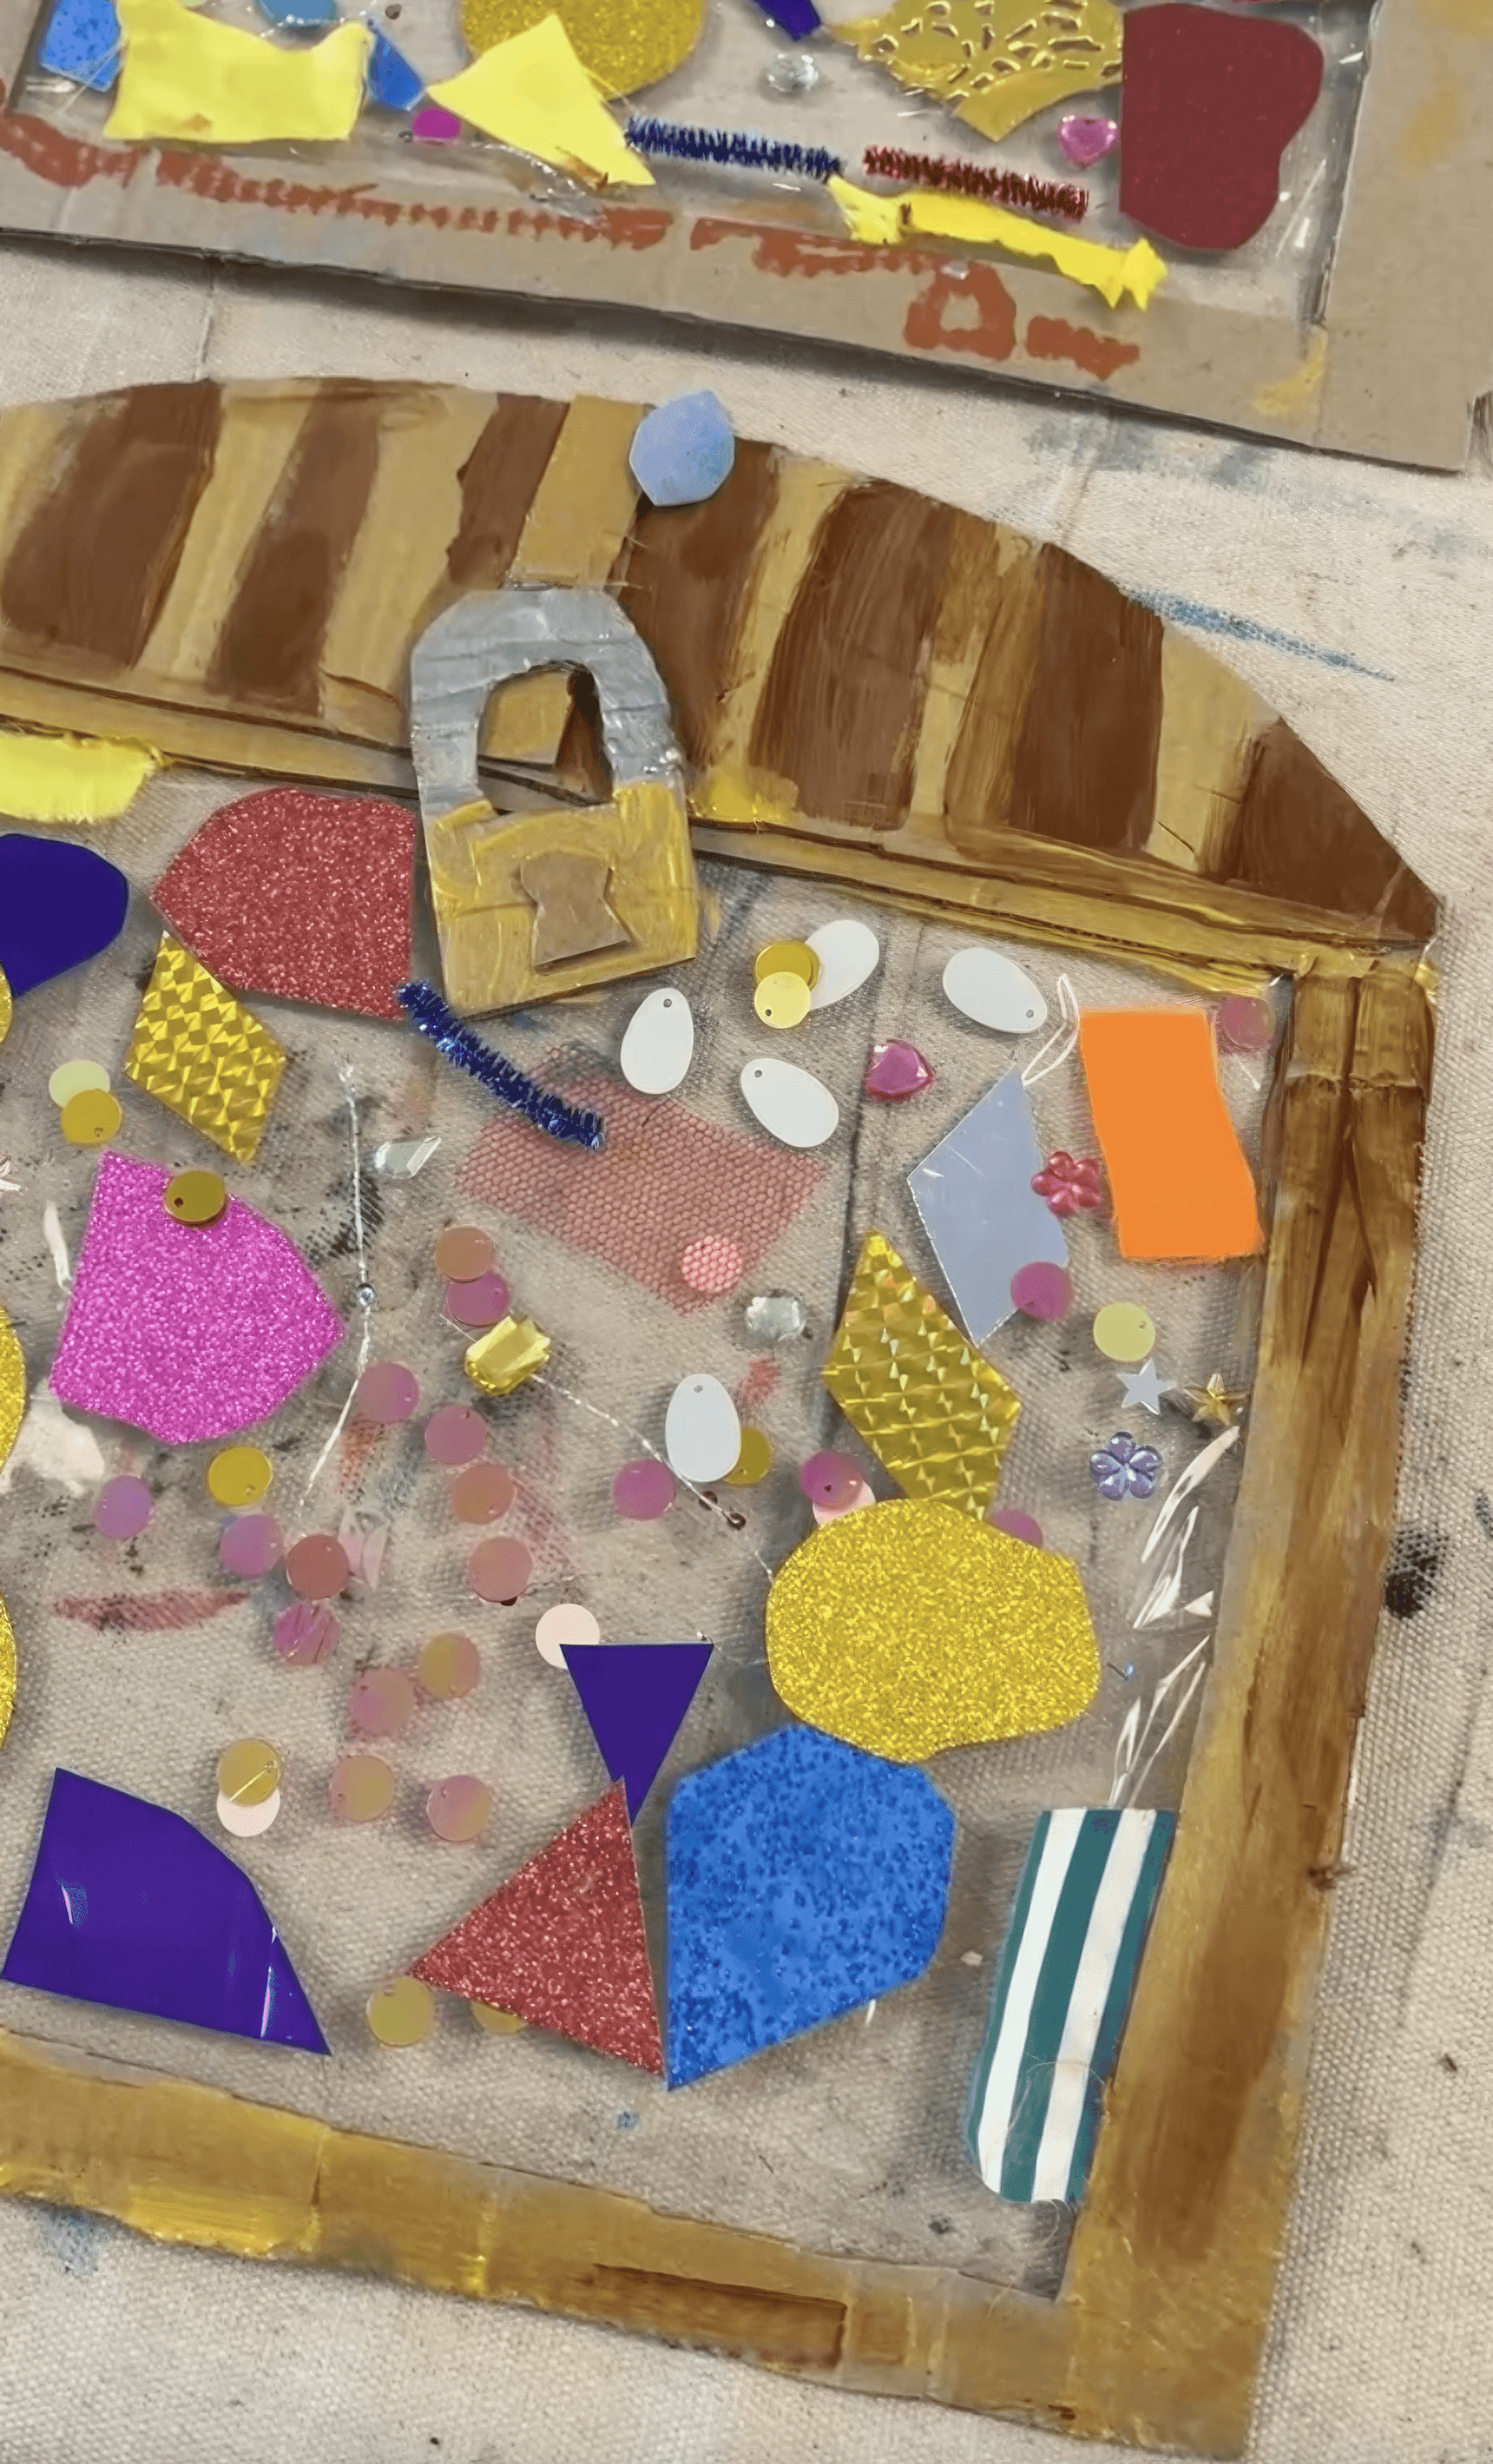
The Set Up
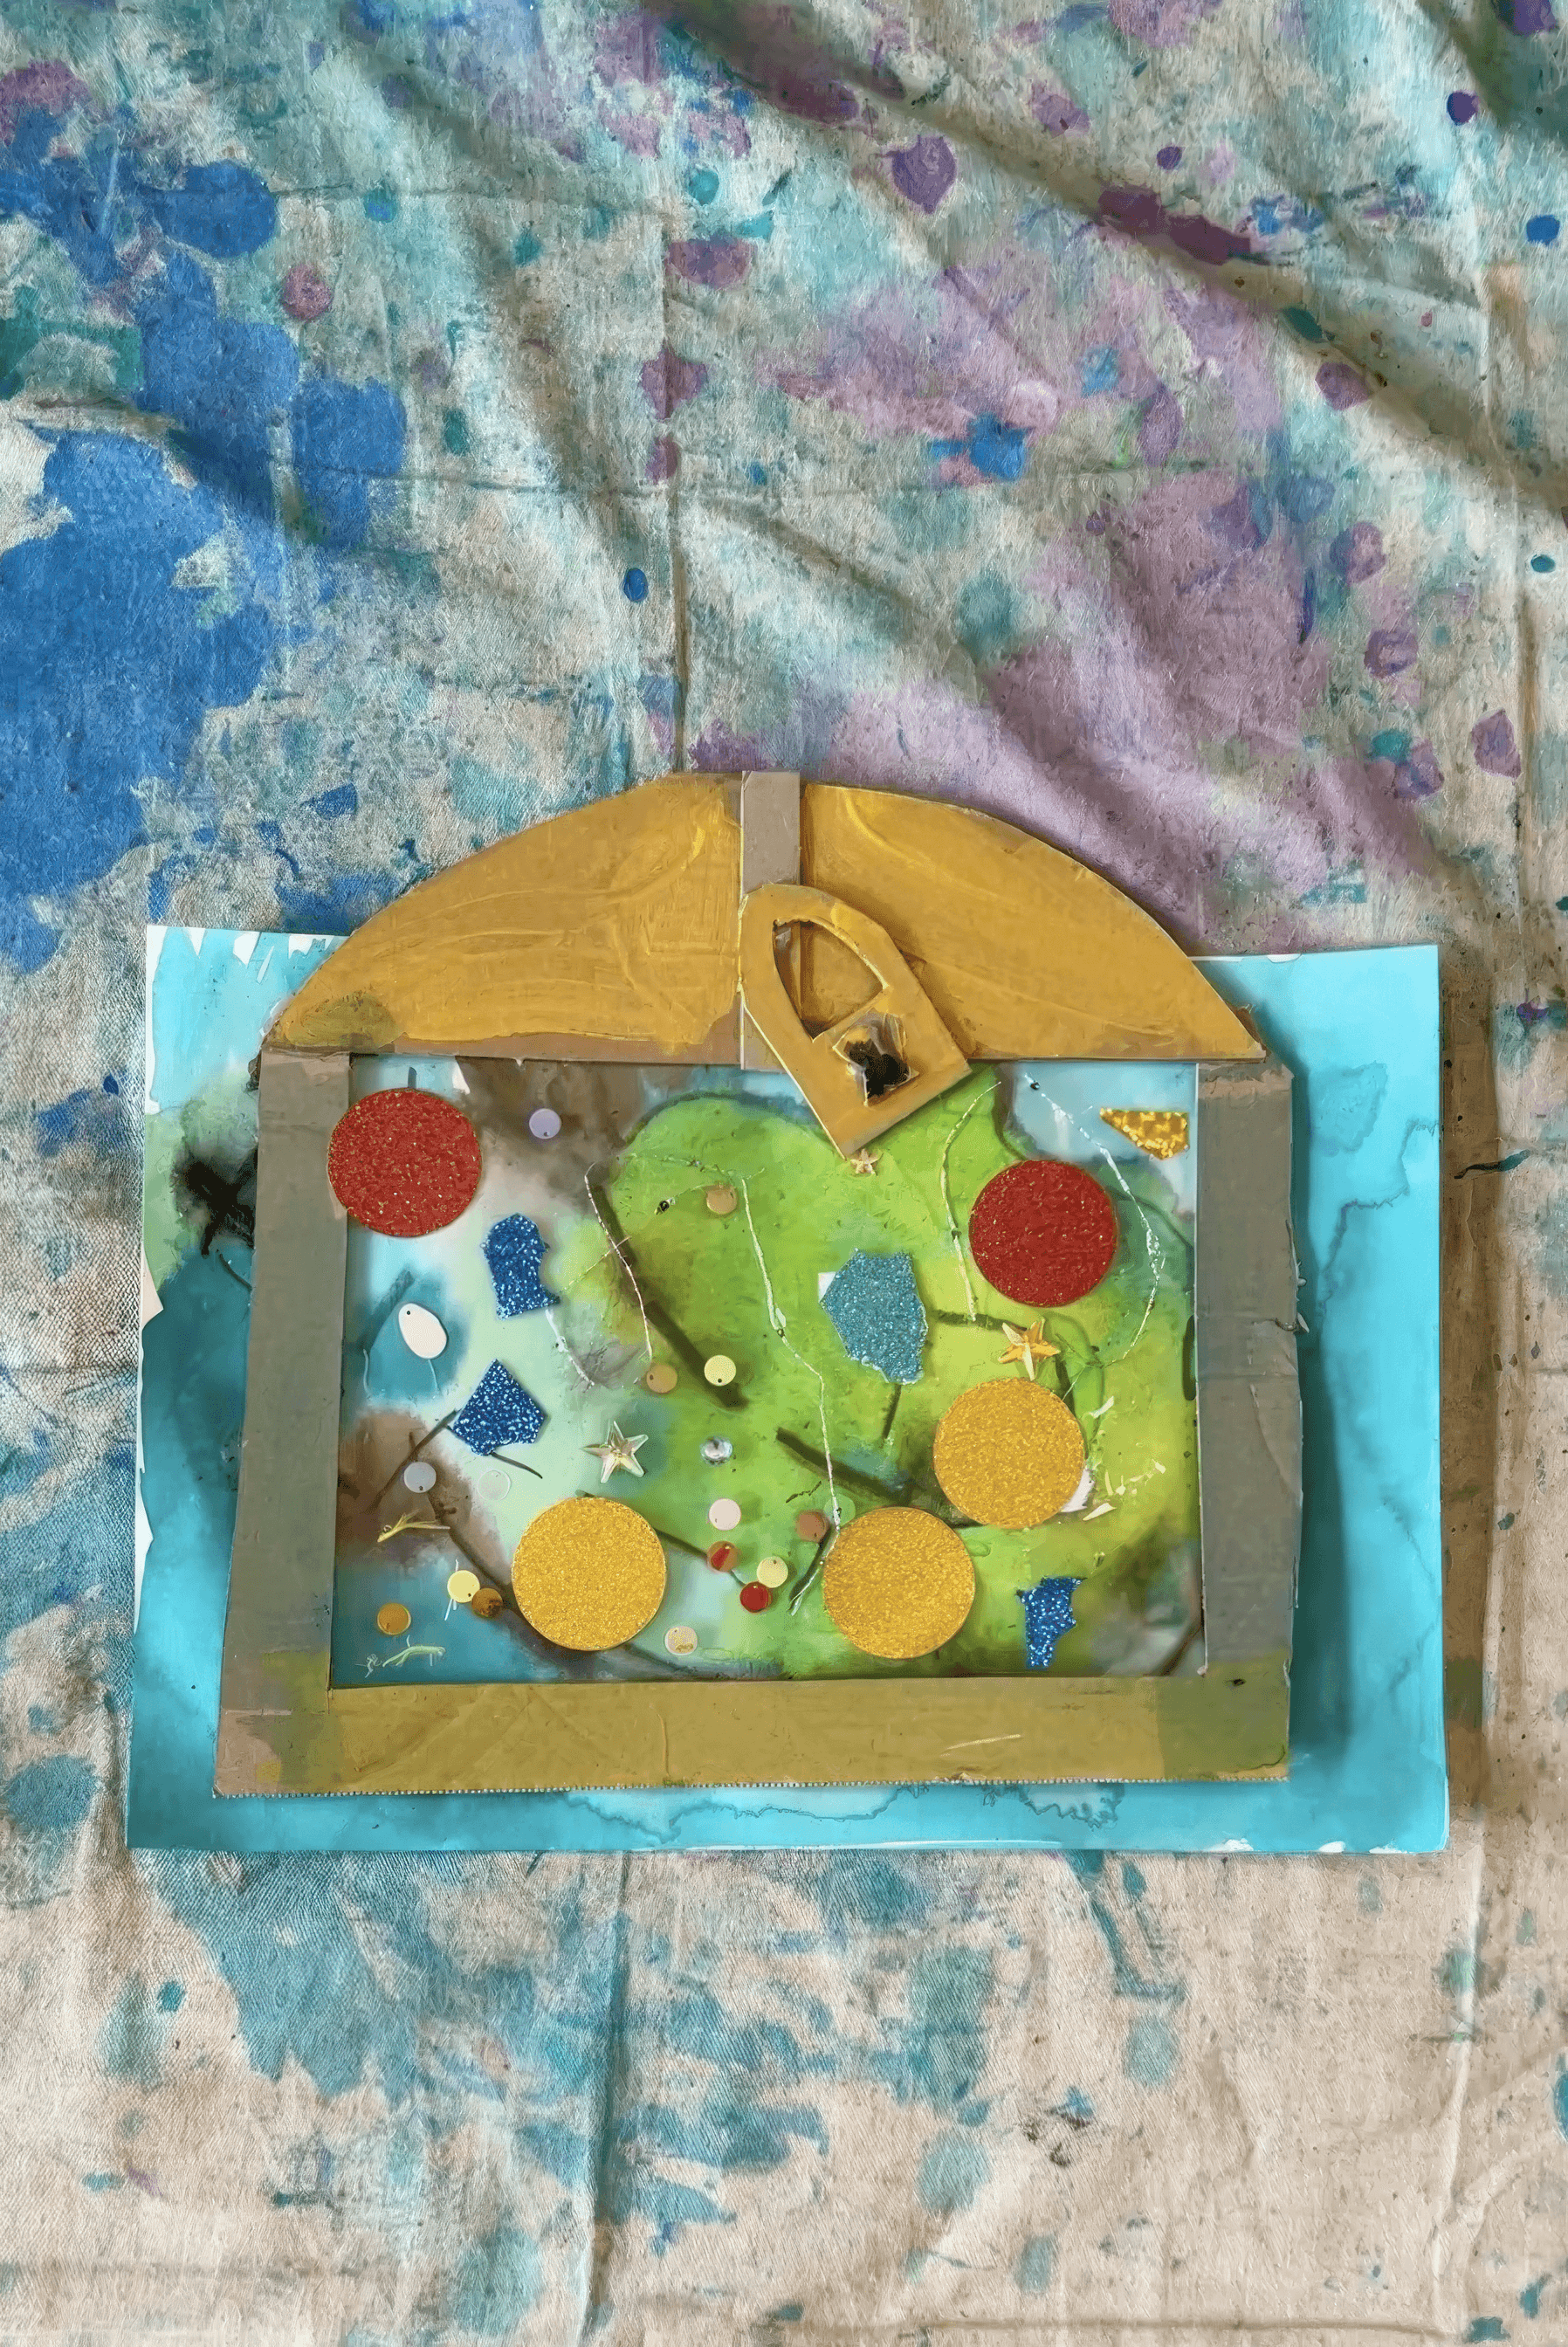
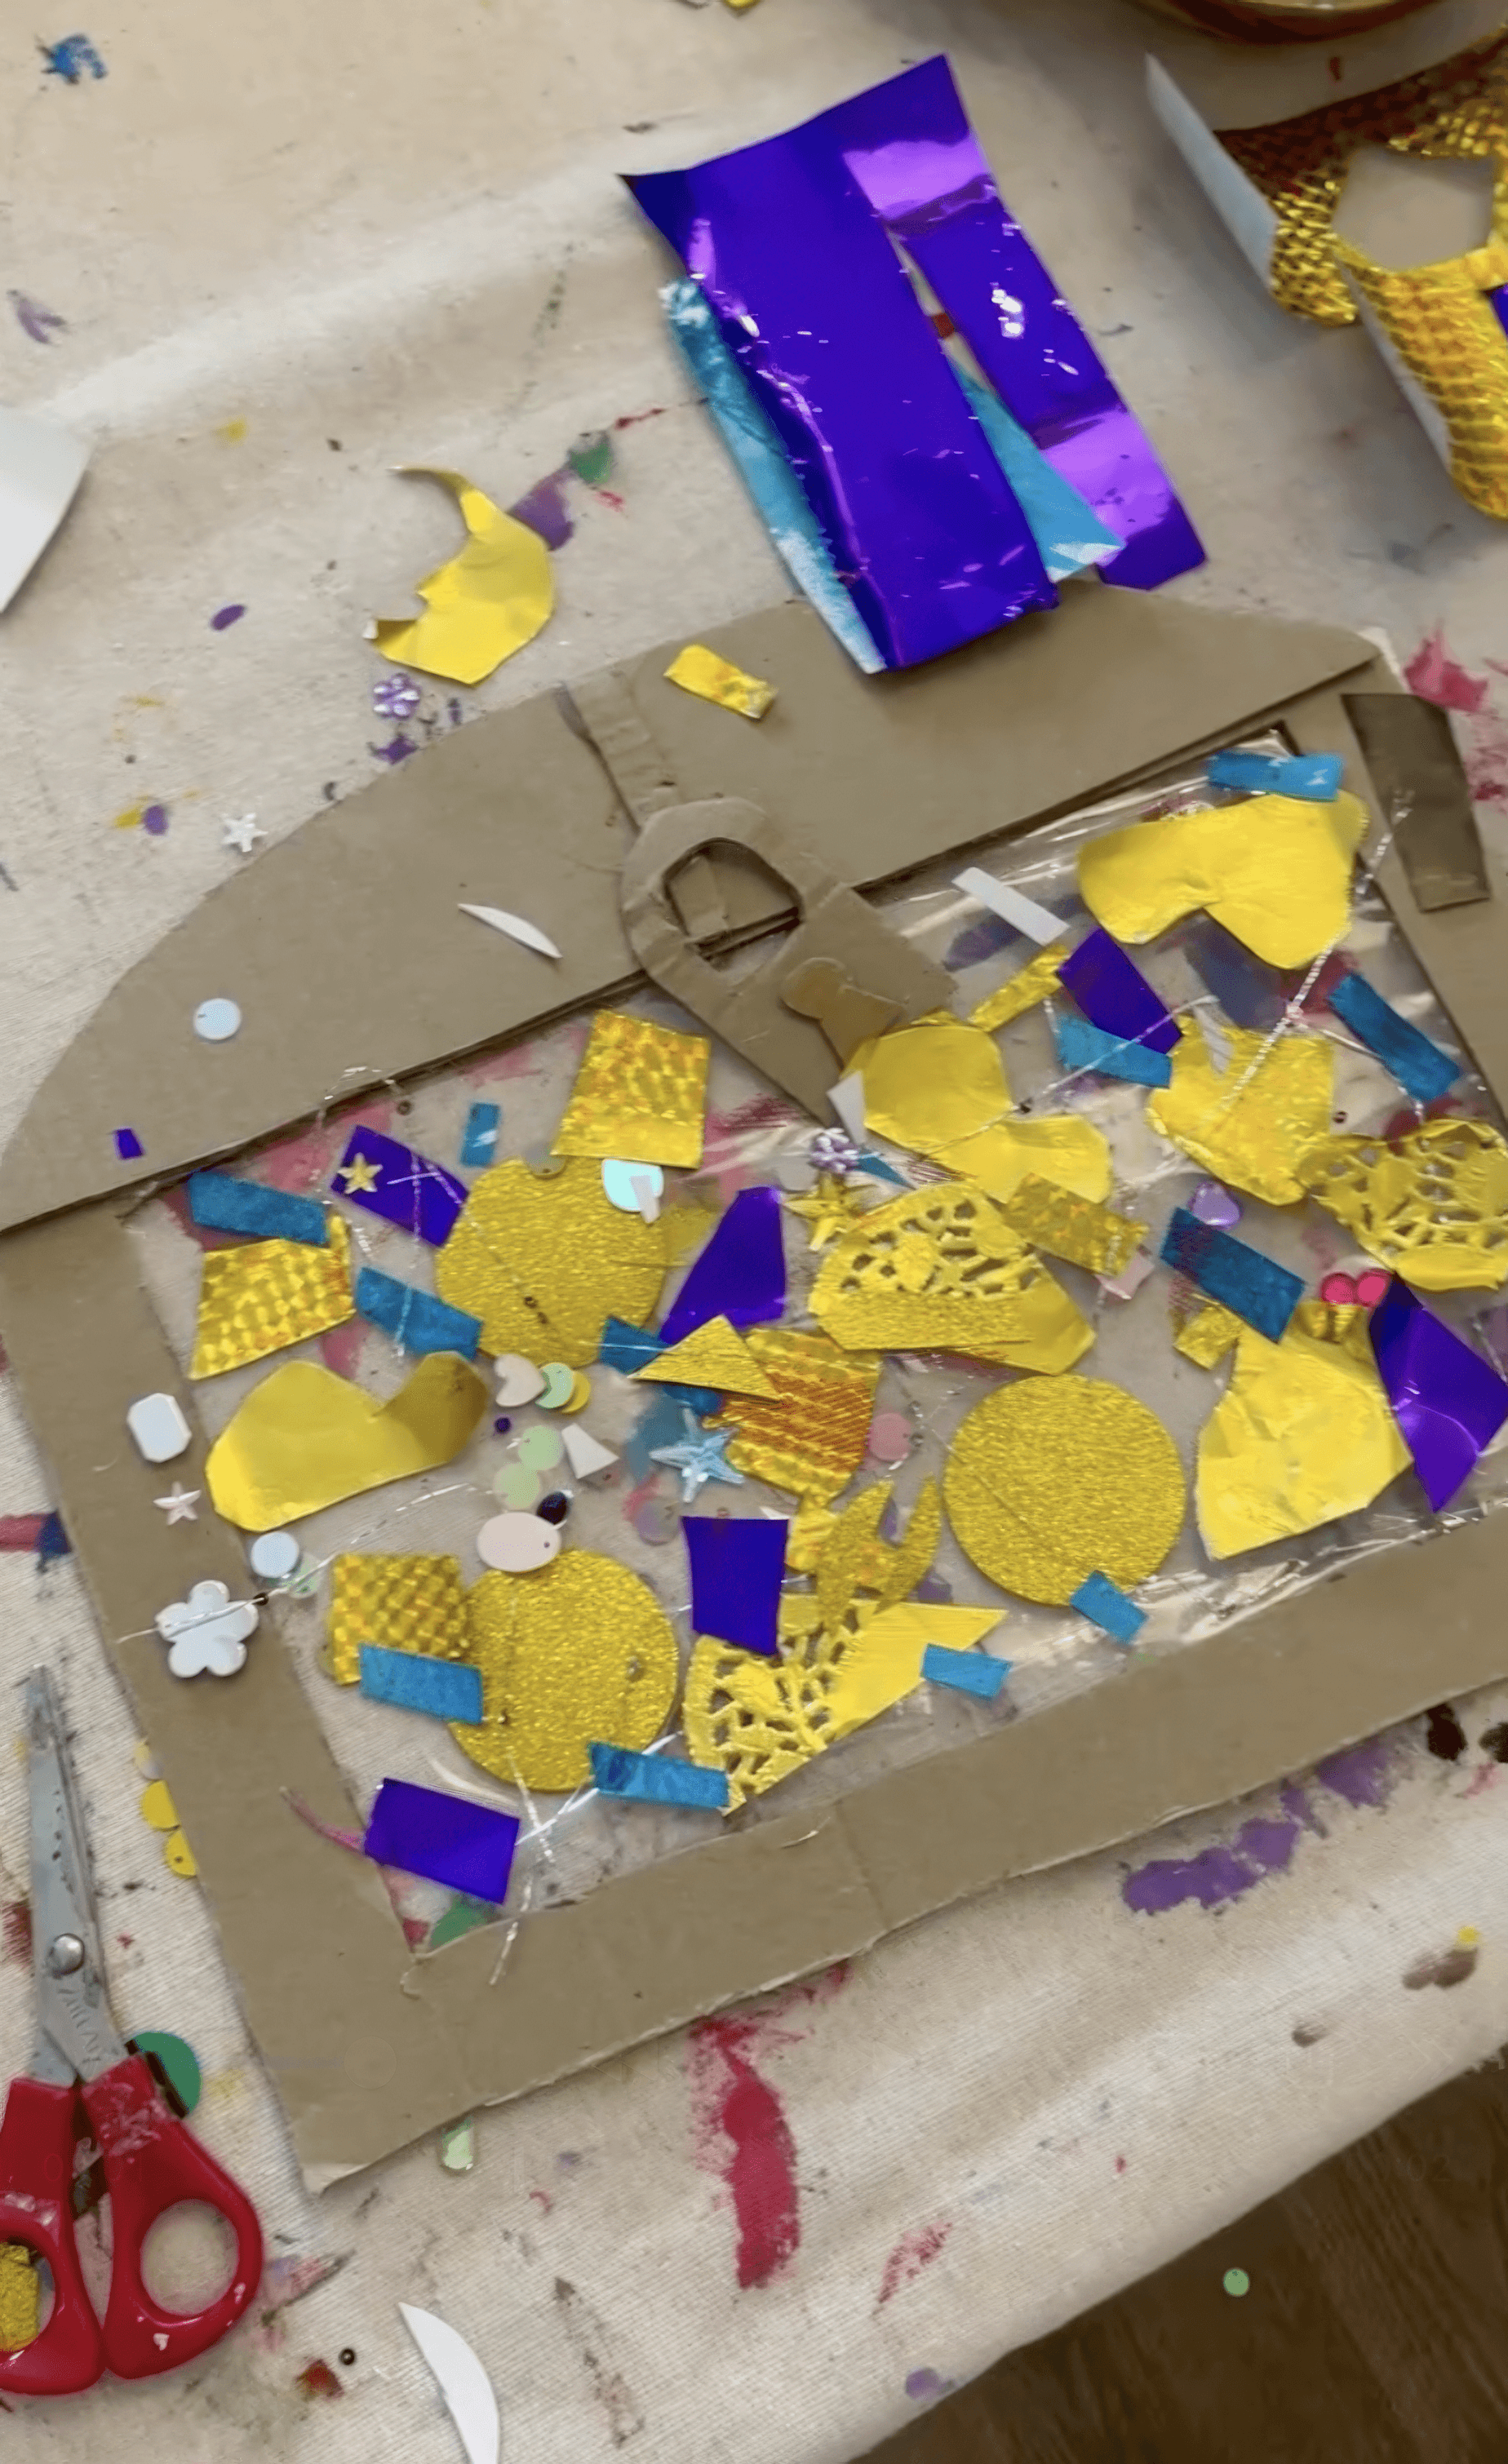
Cut treasure chest shapes from thick cardboard. Leave a wide frame and cut out a big window in the centre. Cover that window on the back with a sheet of clear contact paper so the sticky side faces forward. Peel the top layer so the sticky is exposed. Now you have an instant place where jewels and finds can live without dripping glue. If you do not have contact paper you can absolutely do this on regular card with PVA or glue sticks. The experience still sings!
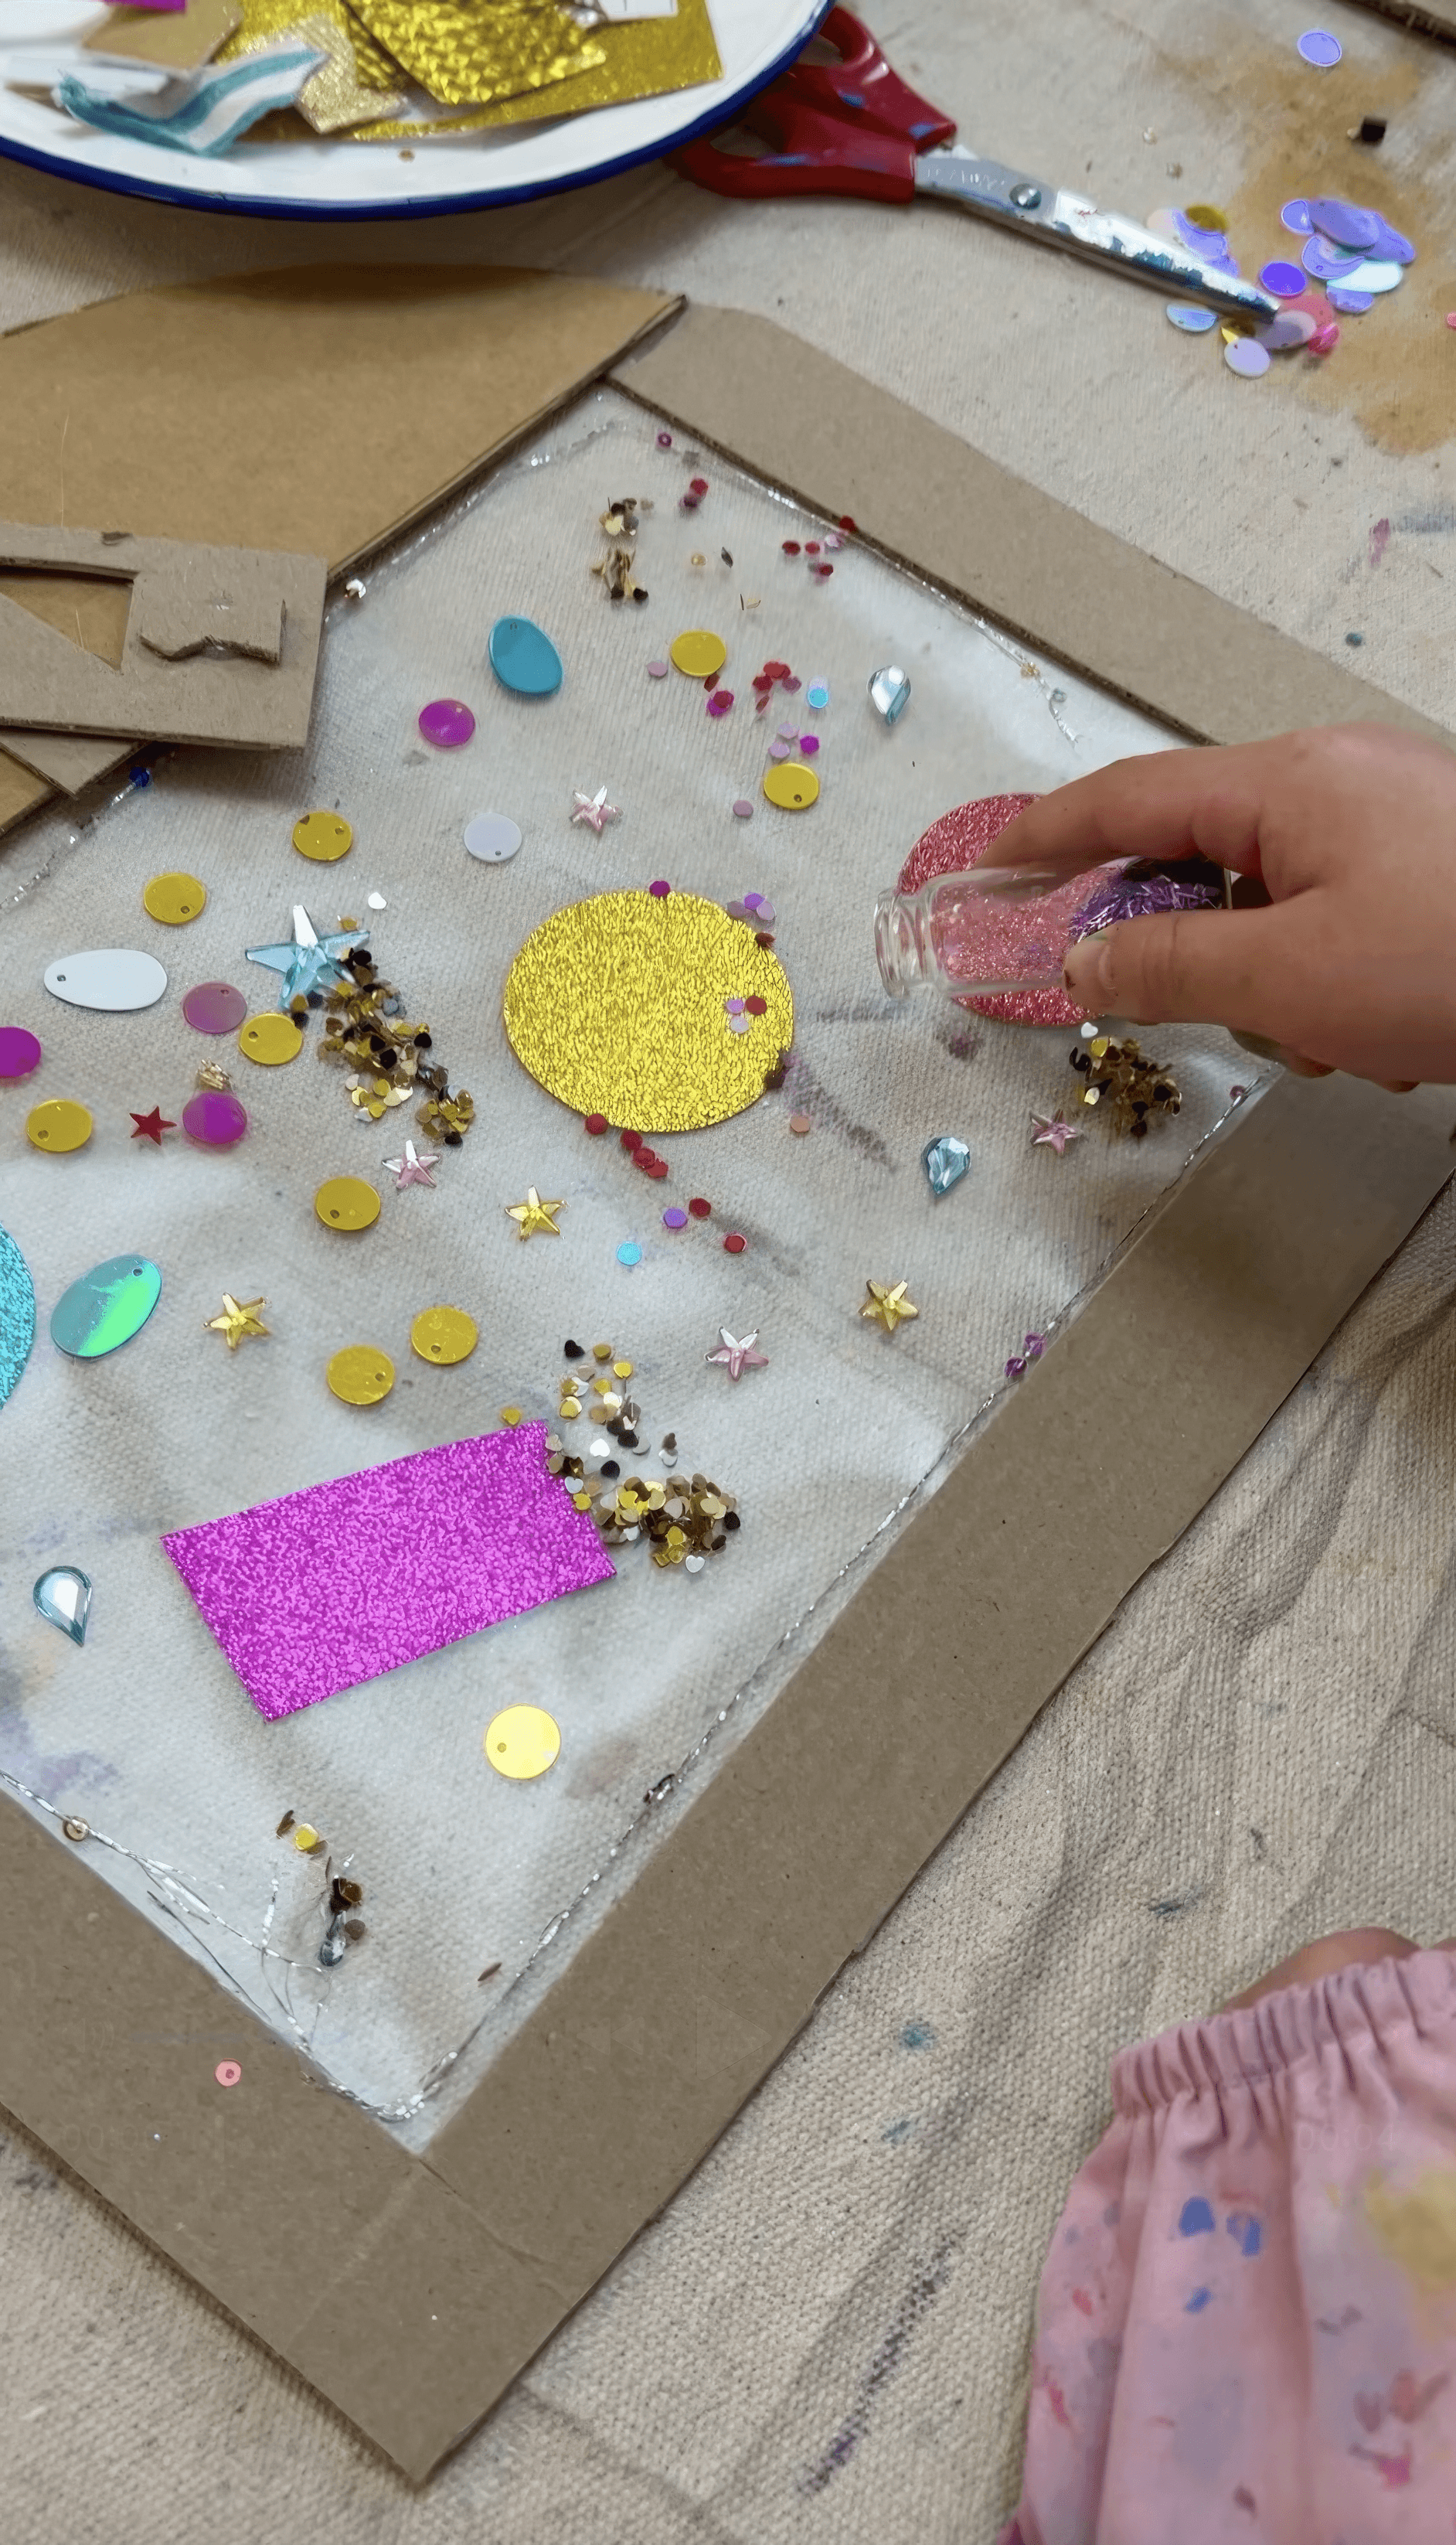
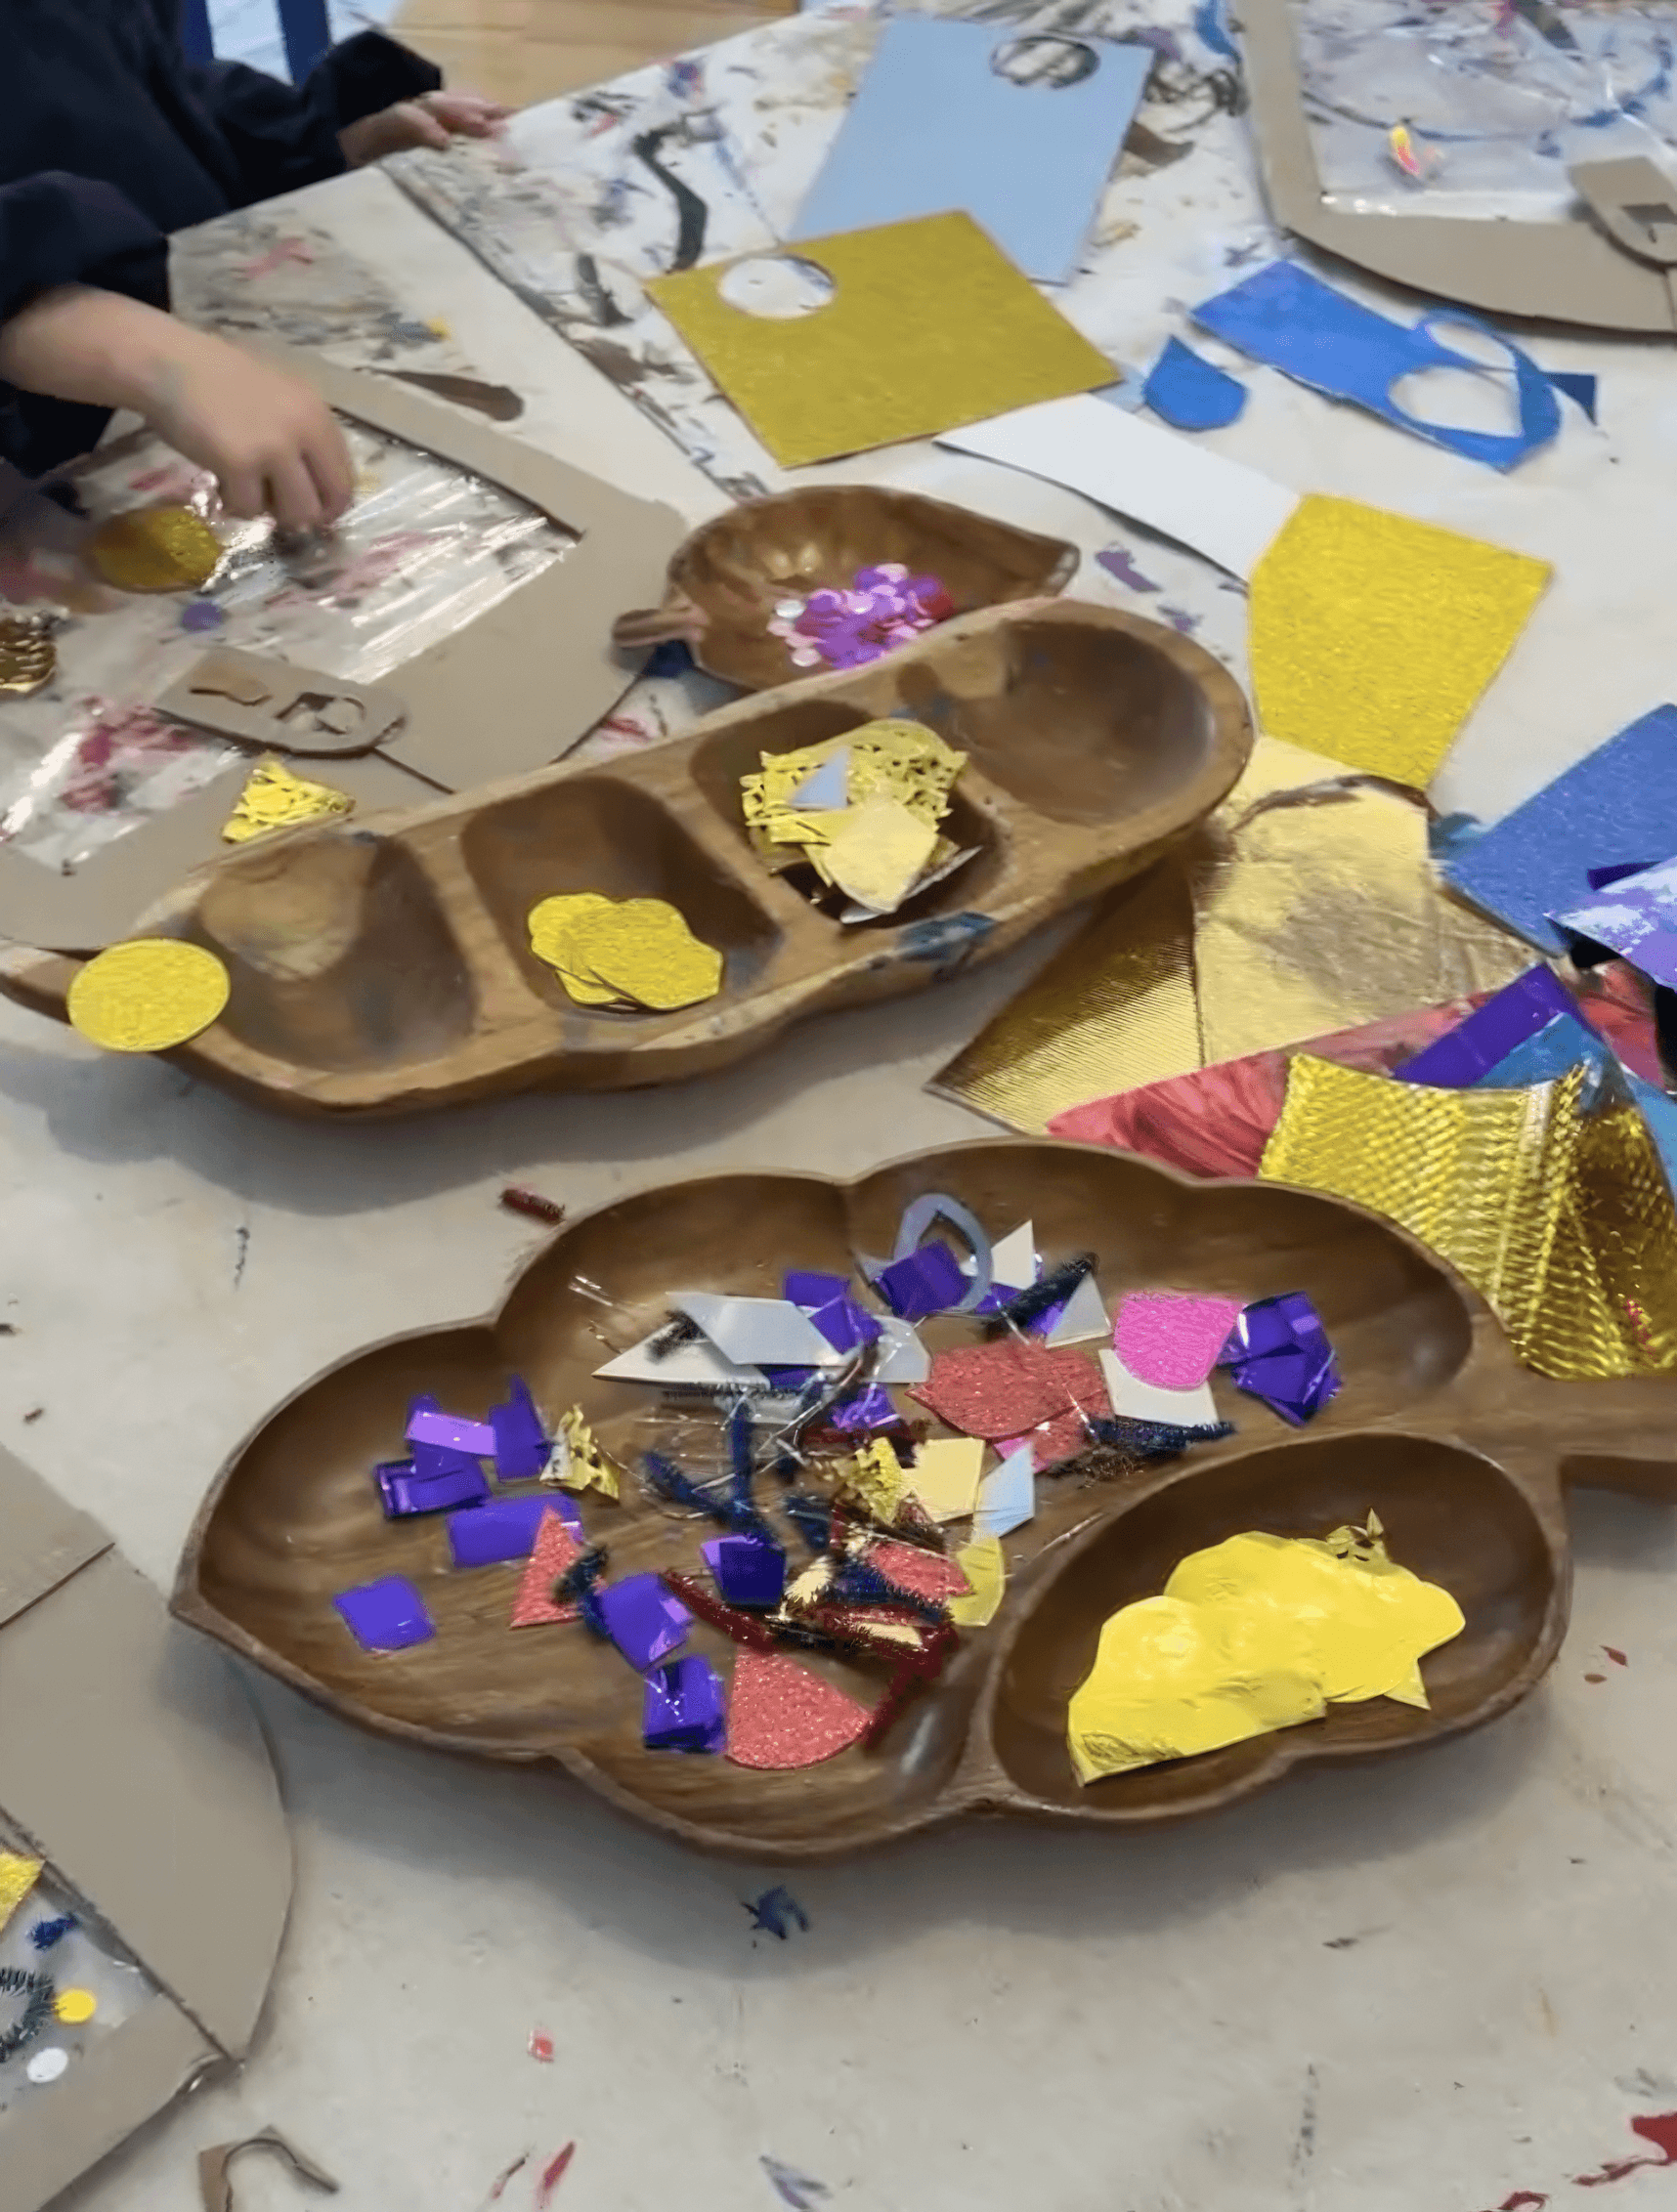
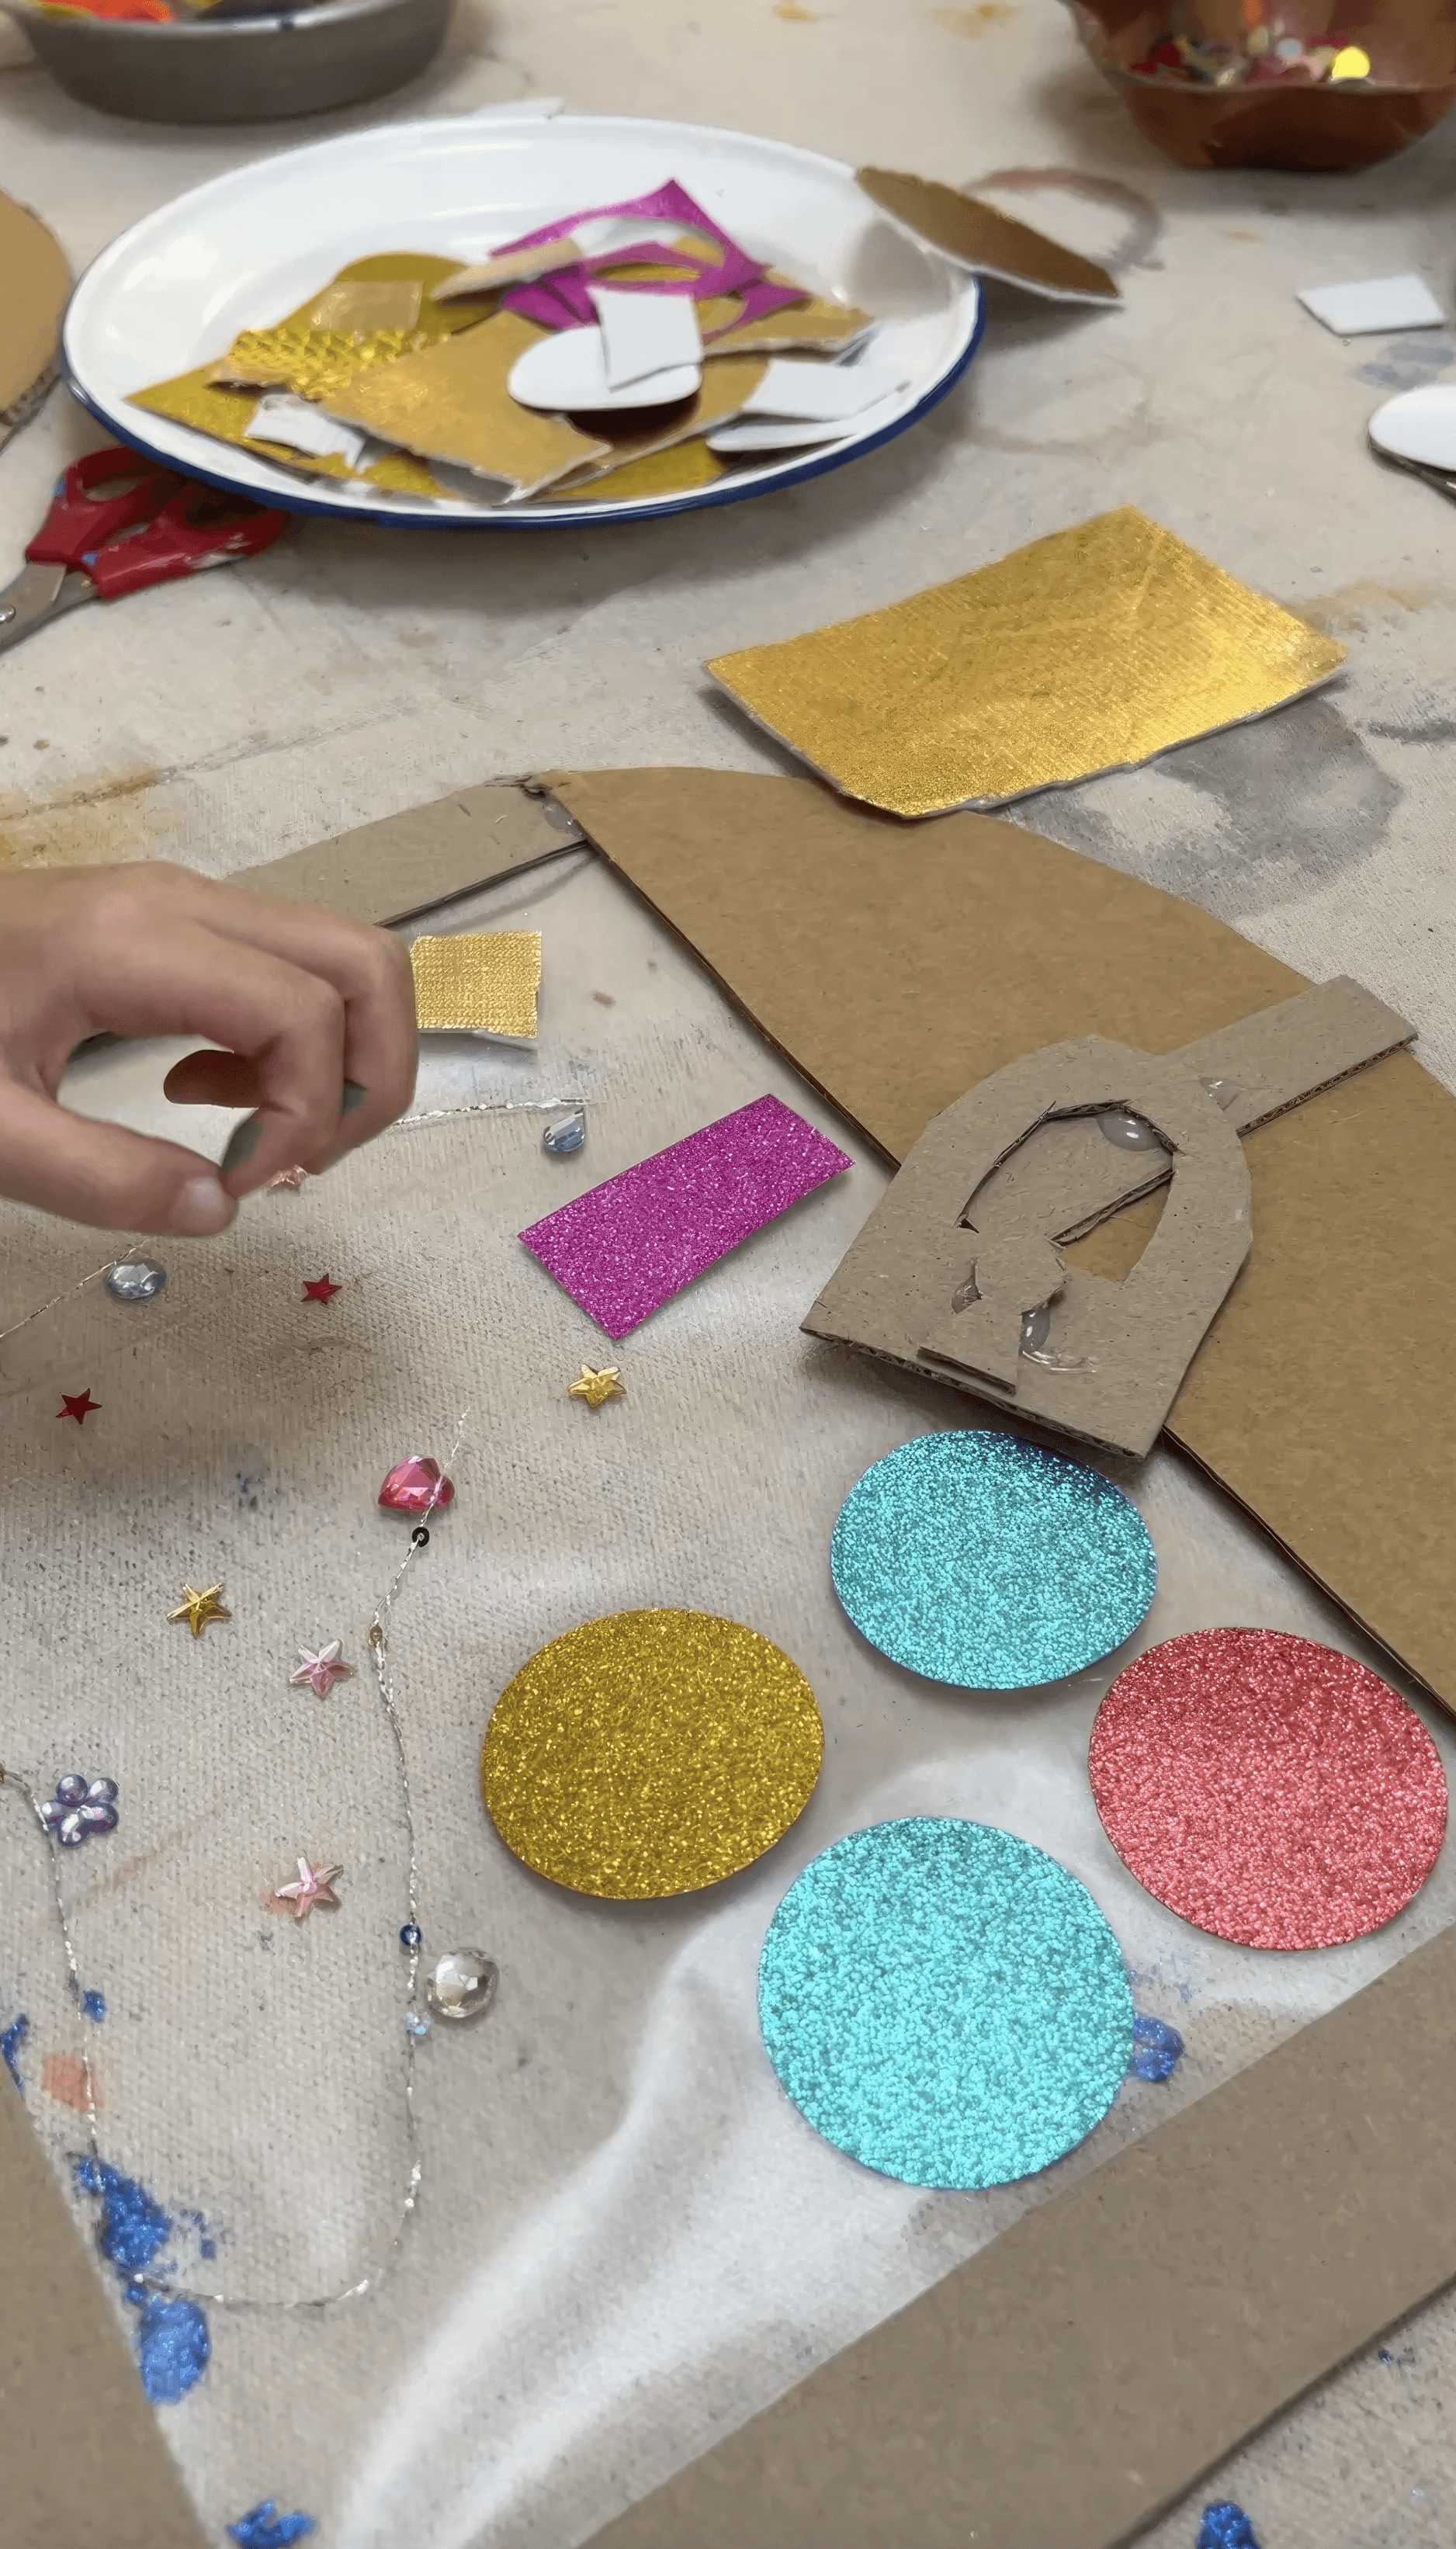
Fill small trays with sequins, metallic paper, foil, ribbon, beads, tiny keys, pretend coins, plastic gems, painted paper scraps, anything that reads treasure. Add scissors and hole punches if you have them. A Fiskars style hand punch is great for making perfect little circles that feel like coins.
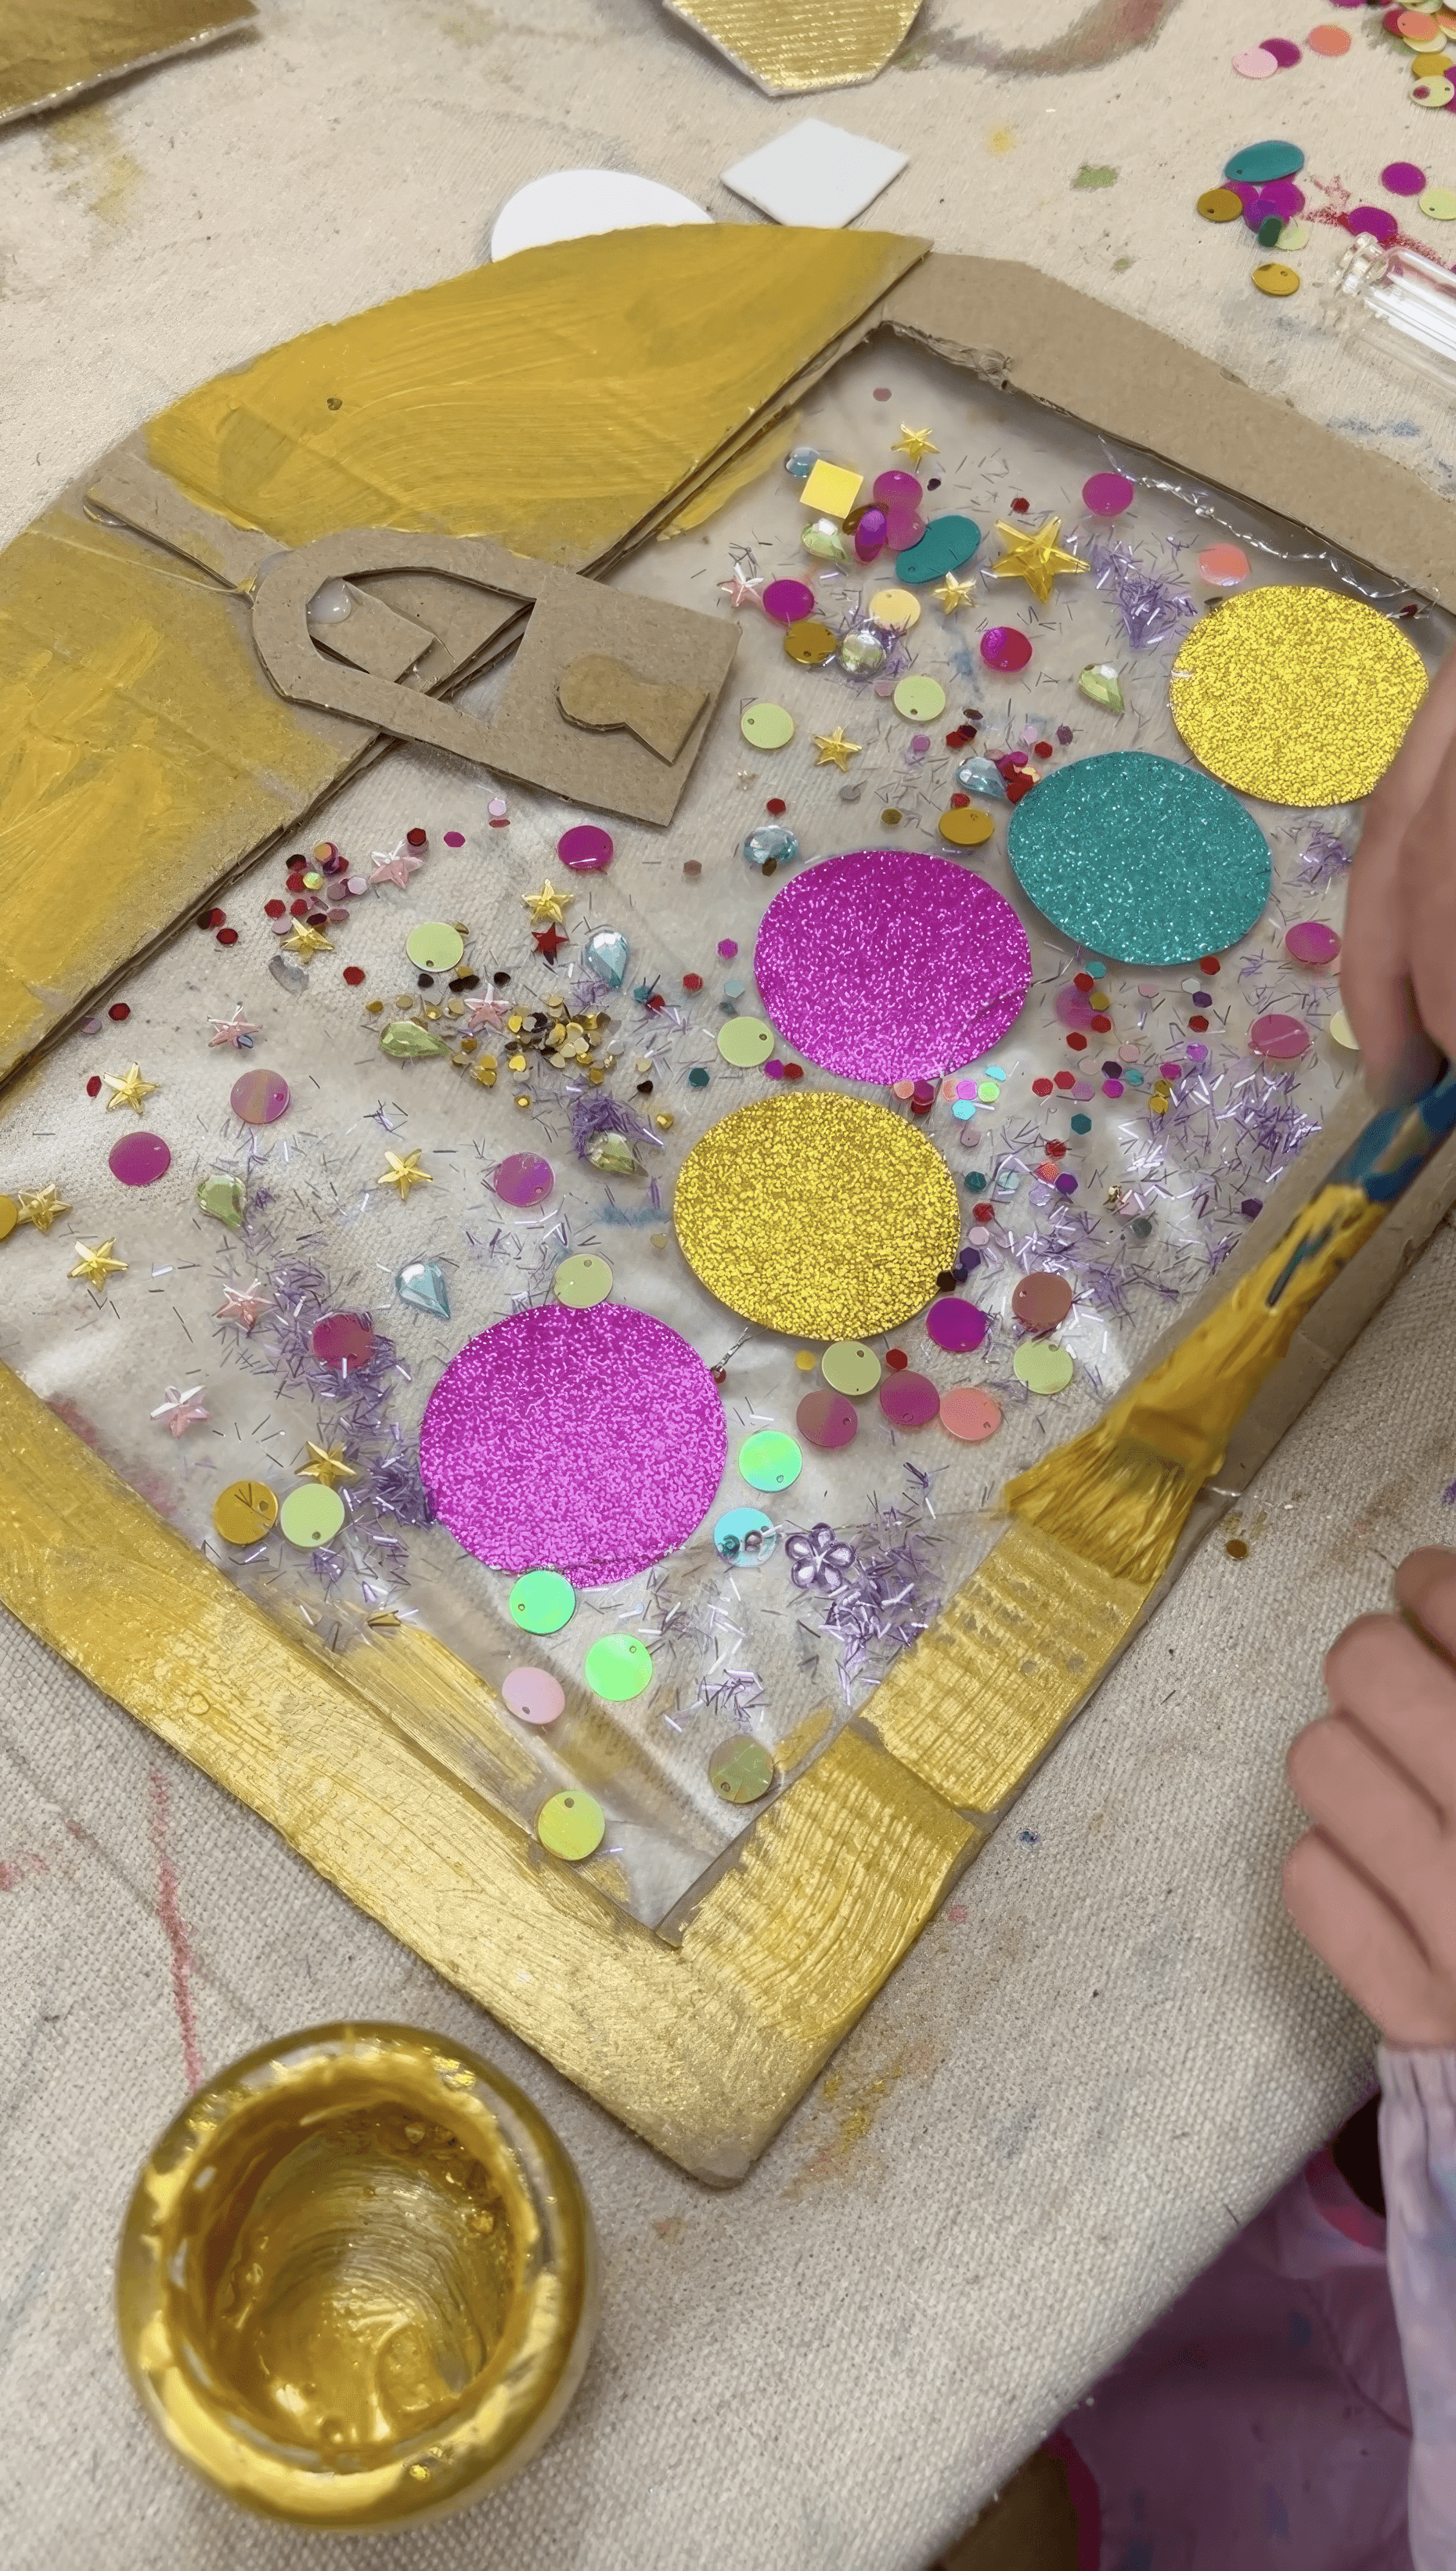
Metallic paint or paint sticks is fabulous to have on hand too.
The Making
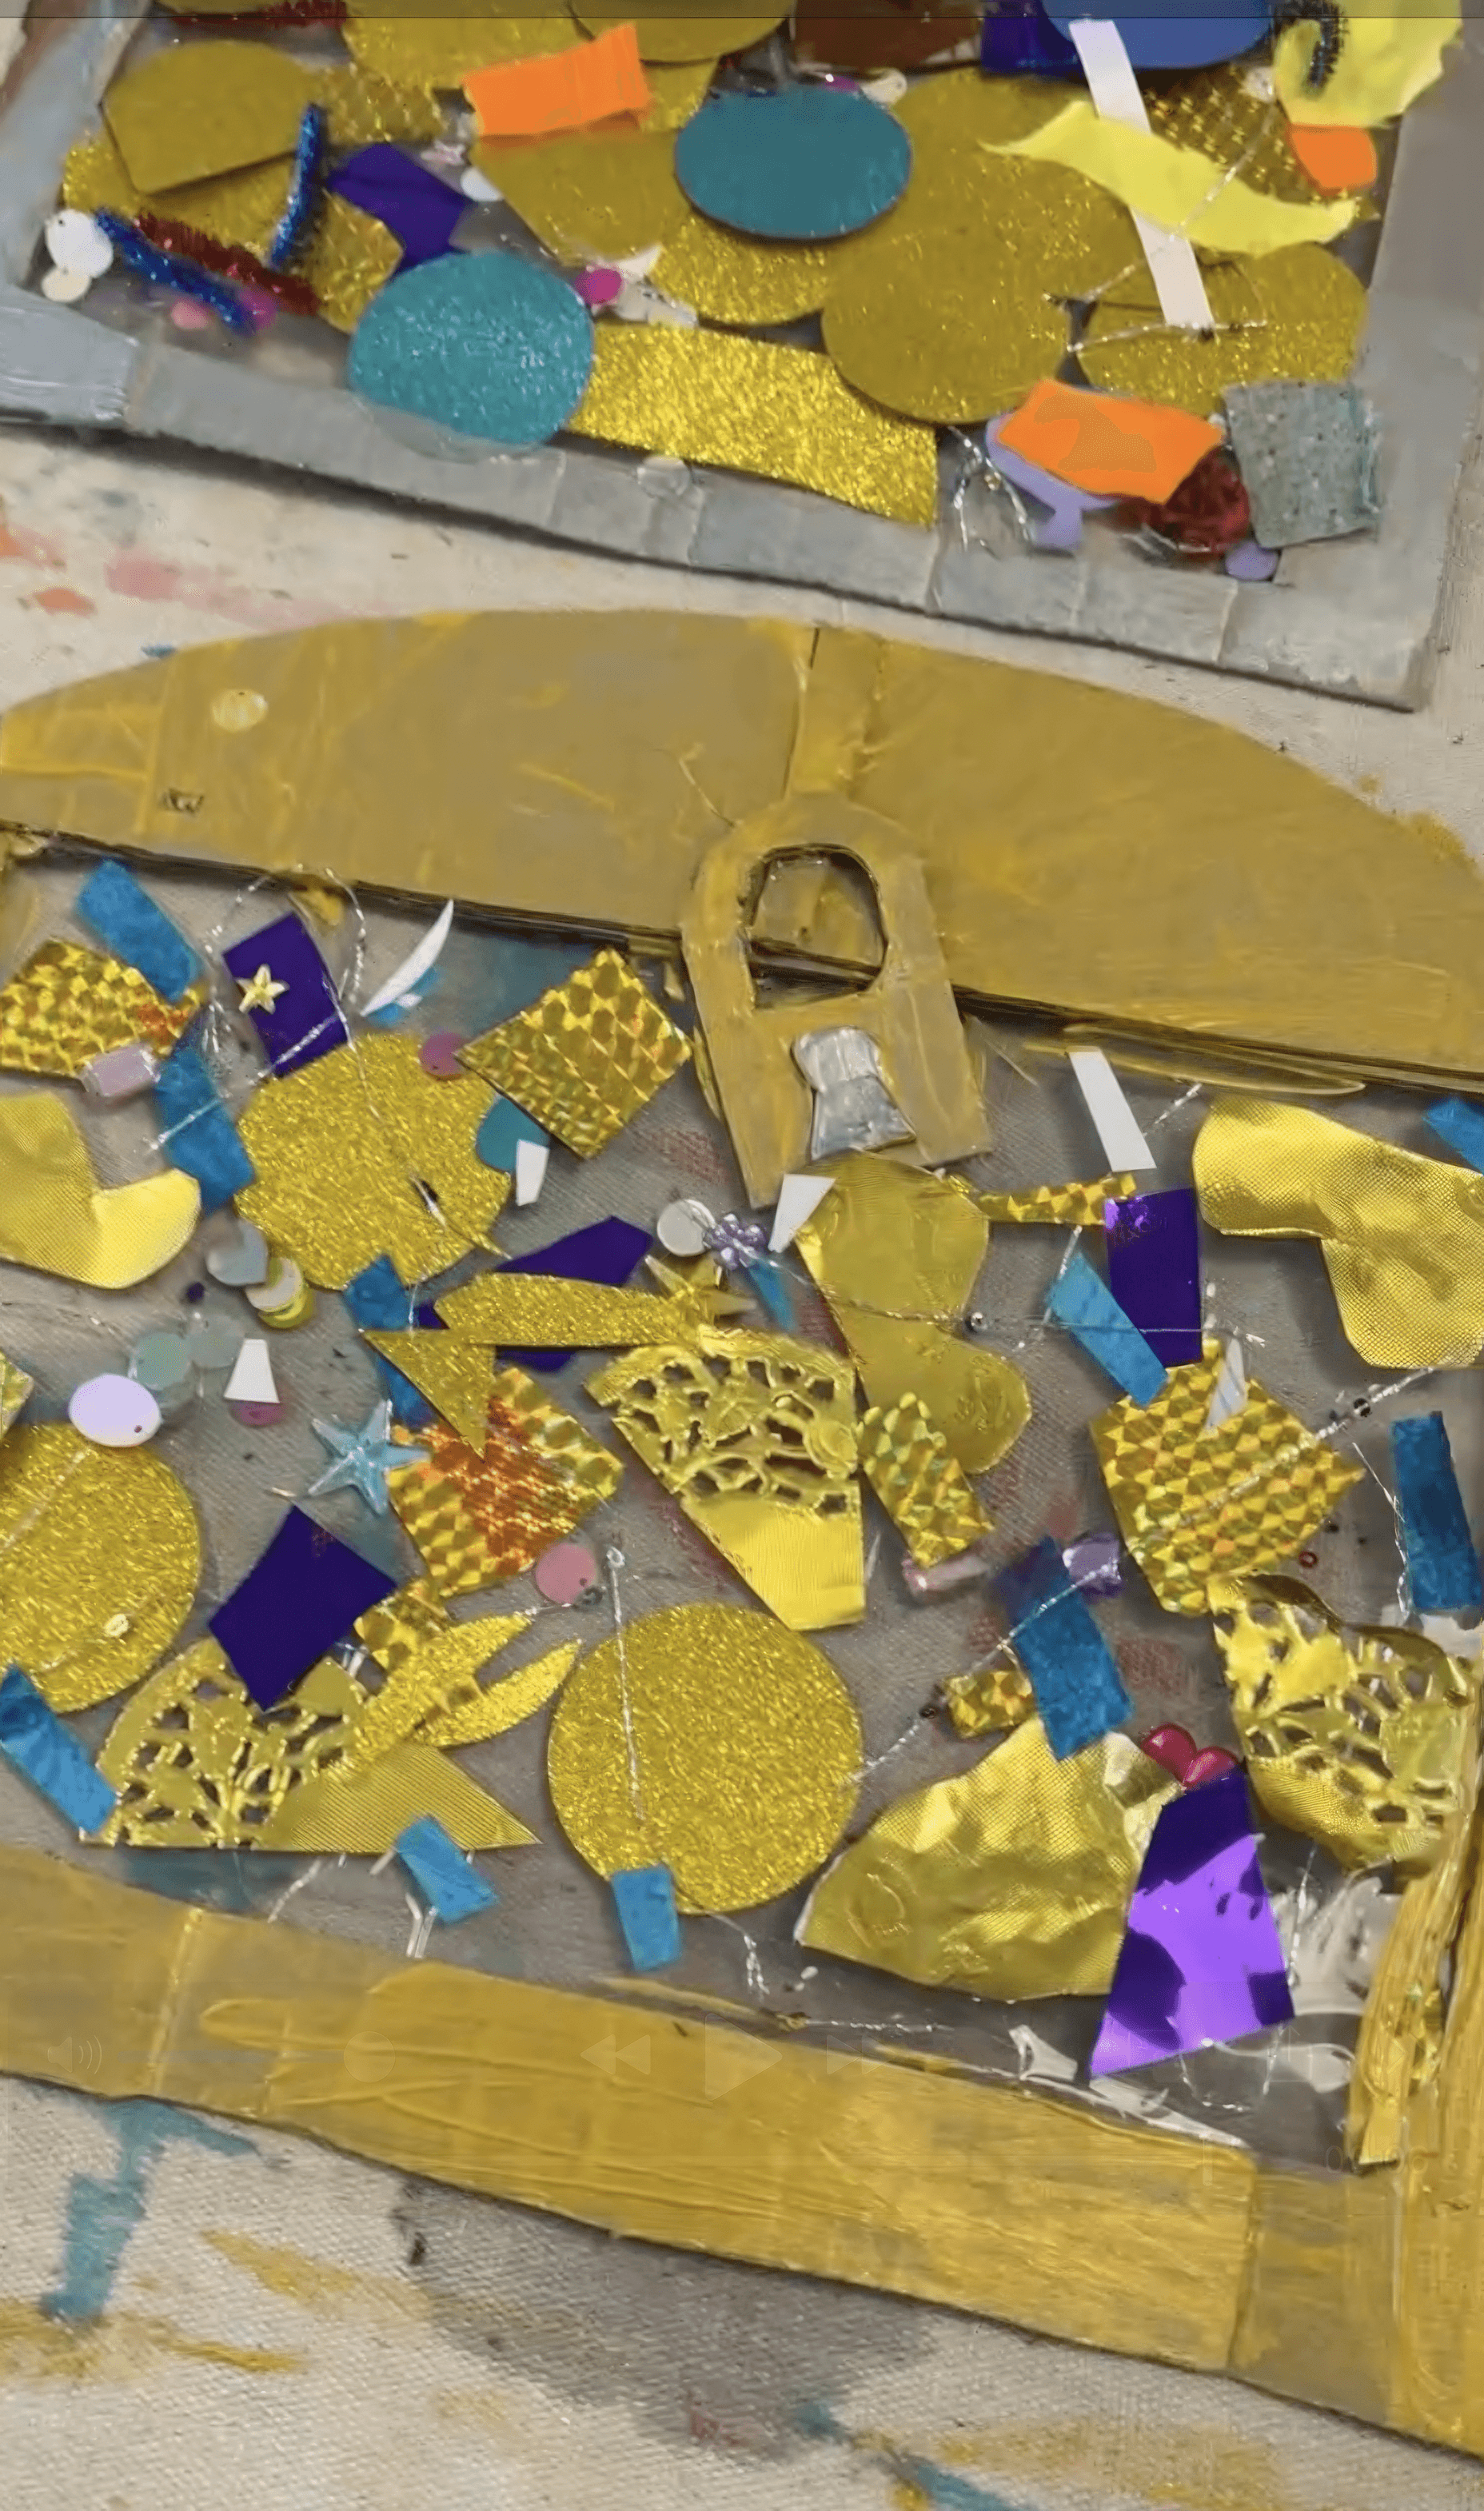
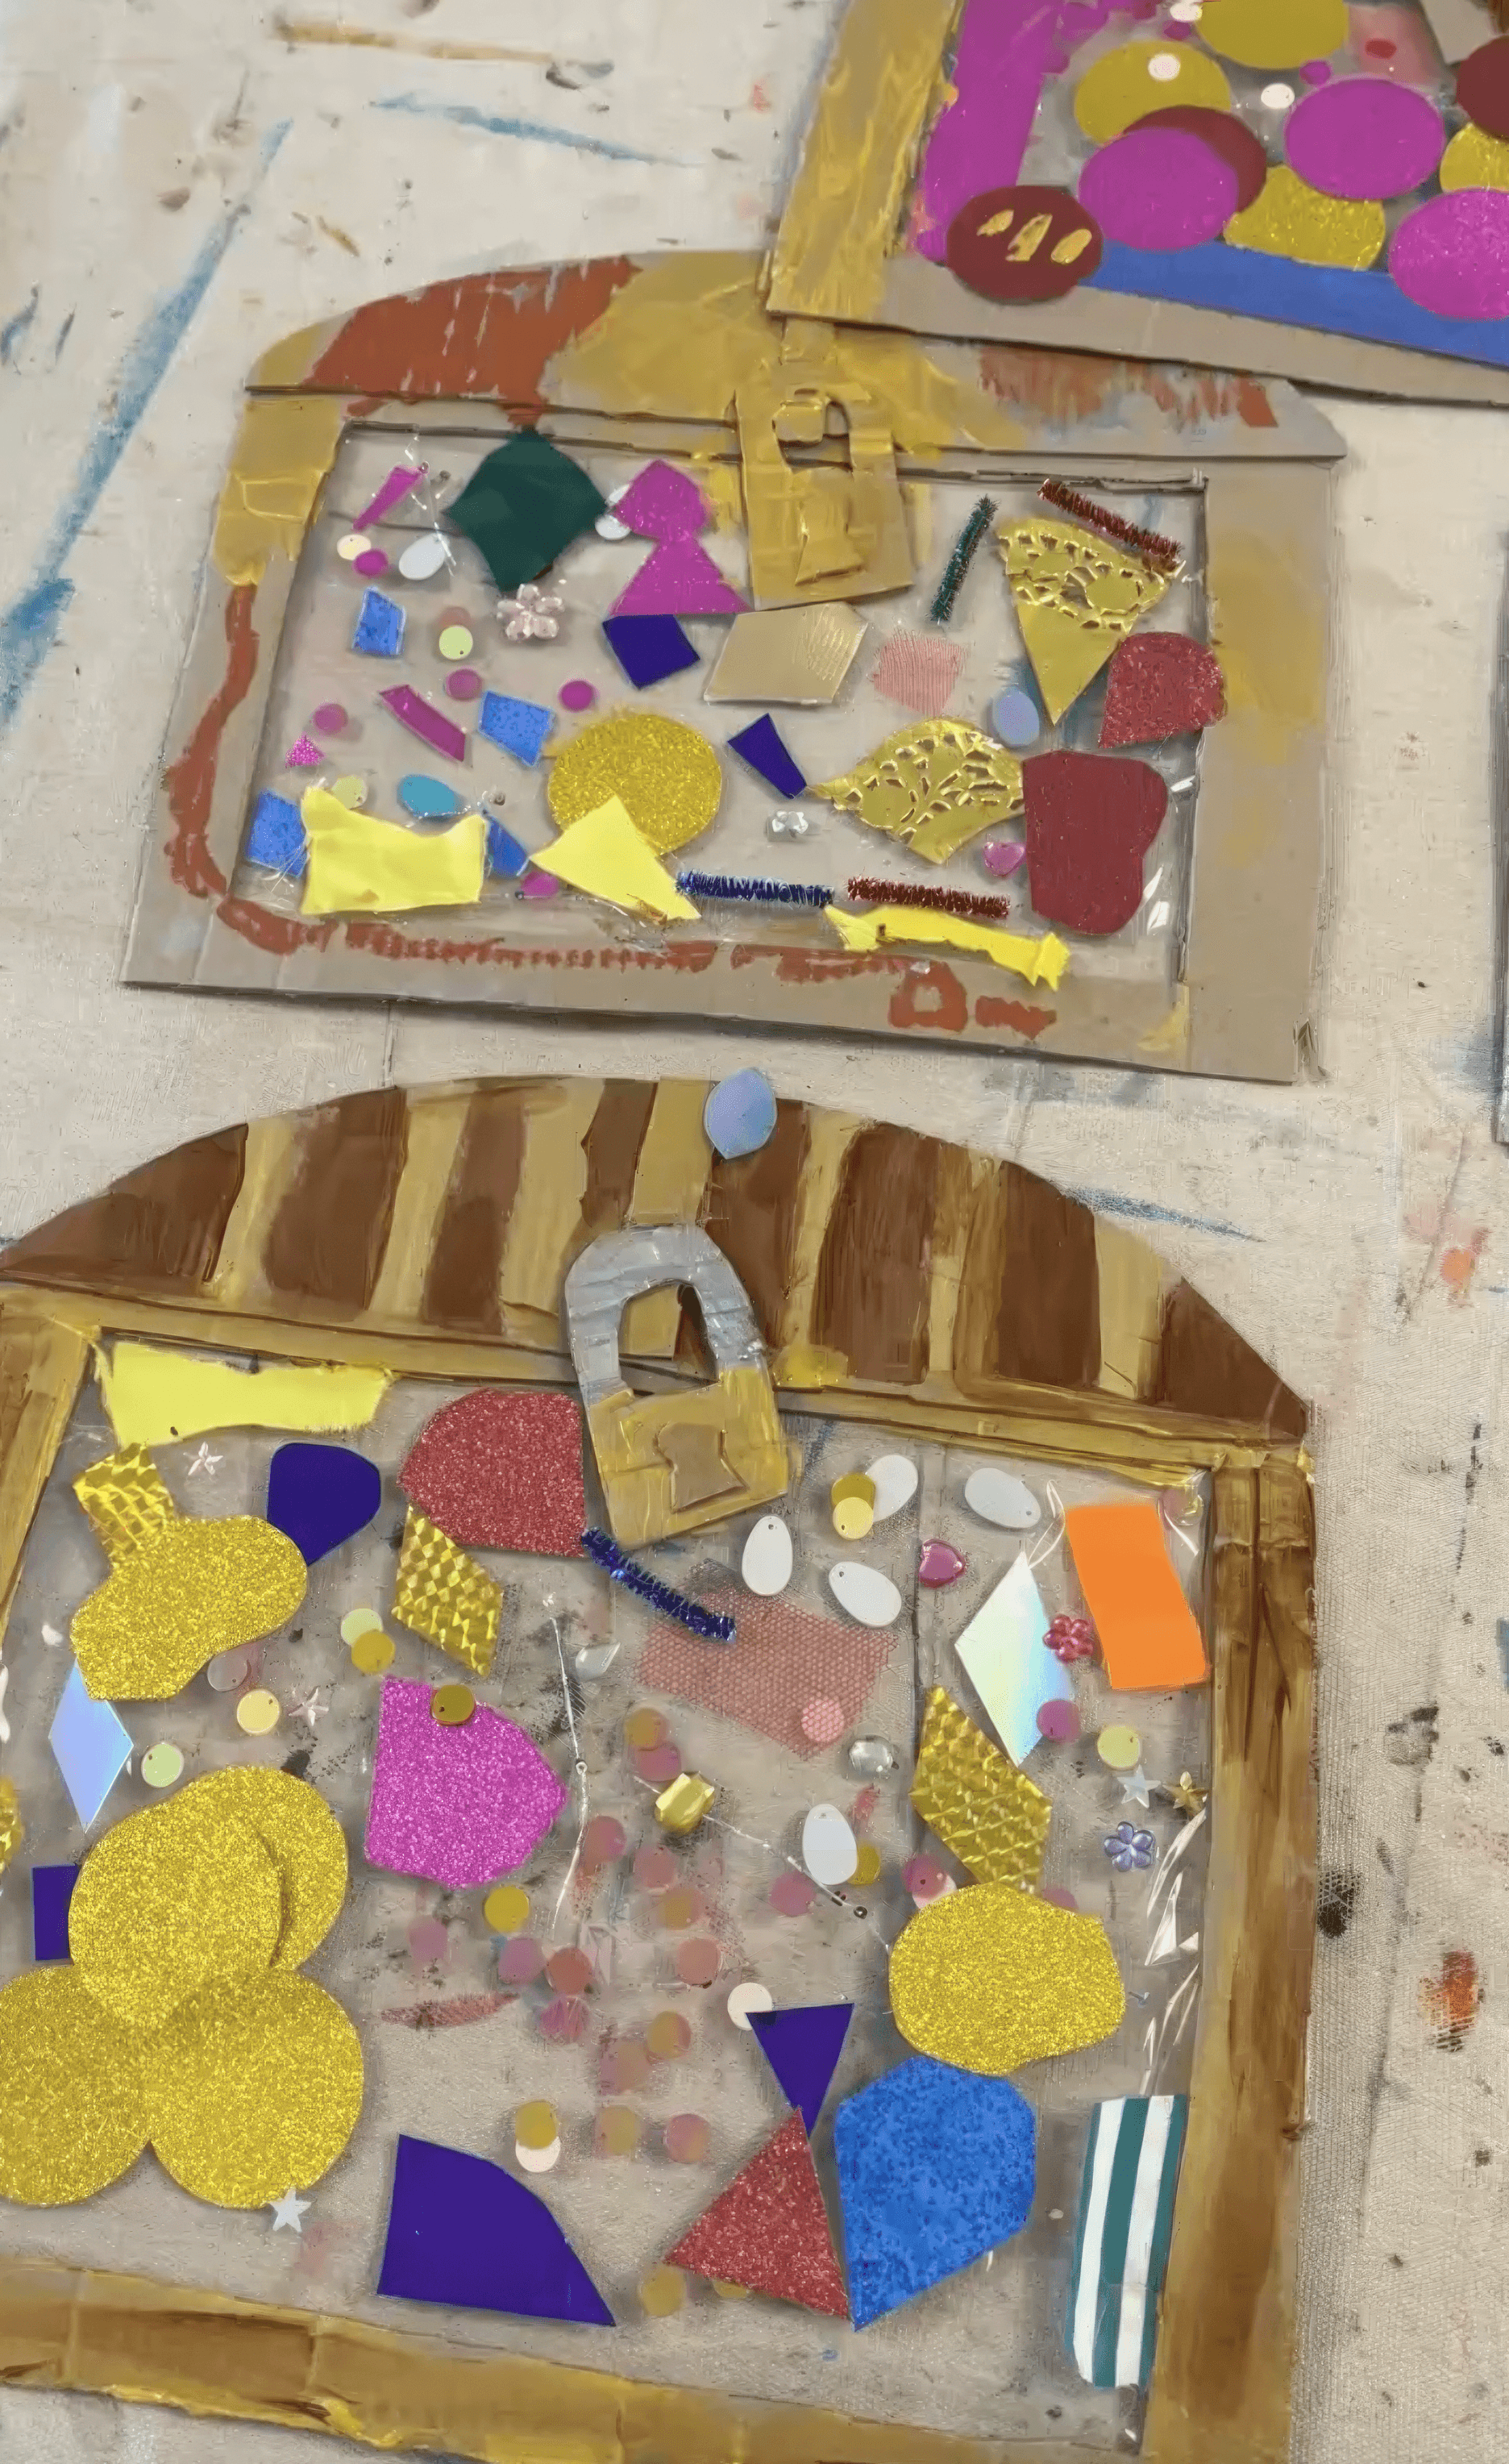
Invite each artist to curate their own treasure box.
The contact paper method is beautiful for very young artists because sticking is immediate and oh so satisfying! Older kids often like using glue on card instead so they can build height and overlap.
Once all the treasures are safely inside the box, it's time to bring out the metallic paint (and glitter if you're brave!).
Materials
Thick cardboard cut into treasure chest shapes
Clear contact paper for sticky windows
Sequins, foil, metallic paper, pretend coins, beads, ribbon
Scissors and a hole punch
Glue sticks or PVA in shallow trays with brushes if not using contact paper
Back to Top
Treasure Boxes
Create your own pirate chest and fill it with all the treasures!
Bookmark
Collage
The Set Up
Cut treasure chest shapes from thick cardboard. Leave a wide frame and cut out a big window in the centre. Cover that window on the back with a sheet of clear contact paper so the sticky side faces forward. Peel the top layer so the sticky is exposed. Now you have an instant place where jewels and finds can live without dripping glue. If you do not have contact paper you can absolutely do this on regular card with PVA or glue sticks. The experience still sings!
Fill small trays with sequins, metallic paper, foil, ribbon, beads, tiny keys, pretend coins, plastic gems, painted paper scraps, anything that reads treasure. Add scissors and hole punches if you have them. A Fiskars style hand punch is great for making perfect little circles that feel like coins.
Metallic paint or paint sticks is fabulous to have on hand too.
The Making
Invite each artist to curate their own treasure box.
The contact paper method is beautiful for very young artists because sticking is immediate and oh so satisfying! Older kids often like using glue on card instead so they can build height and overlap.
Once all the treasures are safely inside the box, it's time to bring out the metallic paint (and glitter if you're brave!).
Materials
Thick cardboard cut into treasure chest shapes
Clear contact paper for sticky windows
Sequins, foil, metallic paper, pretend coins, beads, ribbon
Scissors and a hole punch
Glue sticks or PVA in shallow trays with brushes if not using contact paper
Back to Top
Add this to your favourites
Add this to your favourites
Thoughts?
Would love to hear if youv'e tried this or have any ideas on how to make it even better!
