Wet Felting
Watch loose wool turn into fabric in your hands!
The Set Up
Let’s get the table ready for felting. I cover it with plastic, slide a dark sheet of paper underneath as a loose size guide, then lay bubble wrap on top with the bubbles facing up and big enough to fold over the work later. At Smudge we park spray bottles filled with warm water and a small pump of hand soap right where we can grab them, with towels, refill bowls, and a flat drying spot within reach.
I like to pass around a tiny felted toy first so everyone can feel where we are headed (Tara’s Treasures are my favourite). Then a two minute chat about wool and the wet felting process, how it works. Warm soapy water opens the tiny scales on each fibre, steady rolling helps them hook and hold, and a quick cool rinse tells the whole piece to stay put.
It's definitely important to think about the materials and to pick your wool with intent. Softer roving felts quickly and finishes smooth. A slightly coarser fibre keeps more texture. We source from KraftKolour through ZartArt because the colours are gorgeous and the fibres behave beautifully!
Pile the roving centre stage… that mountain of colour pulls the kids in before you say a word!
The Making
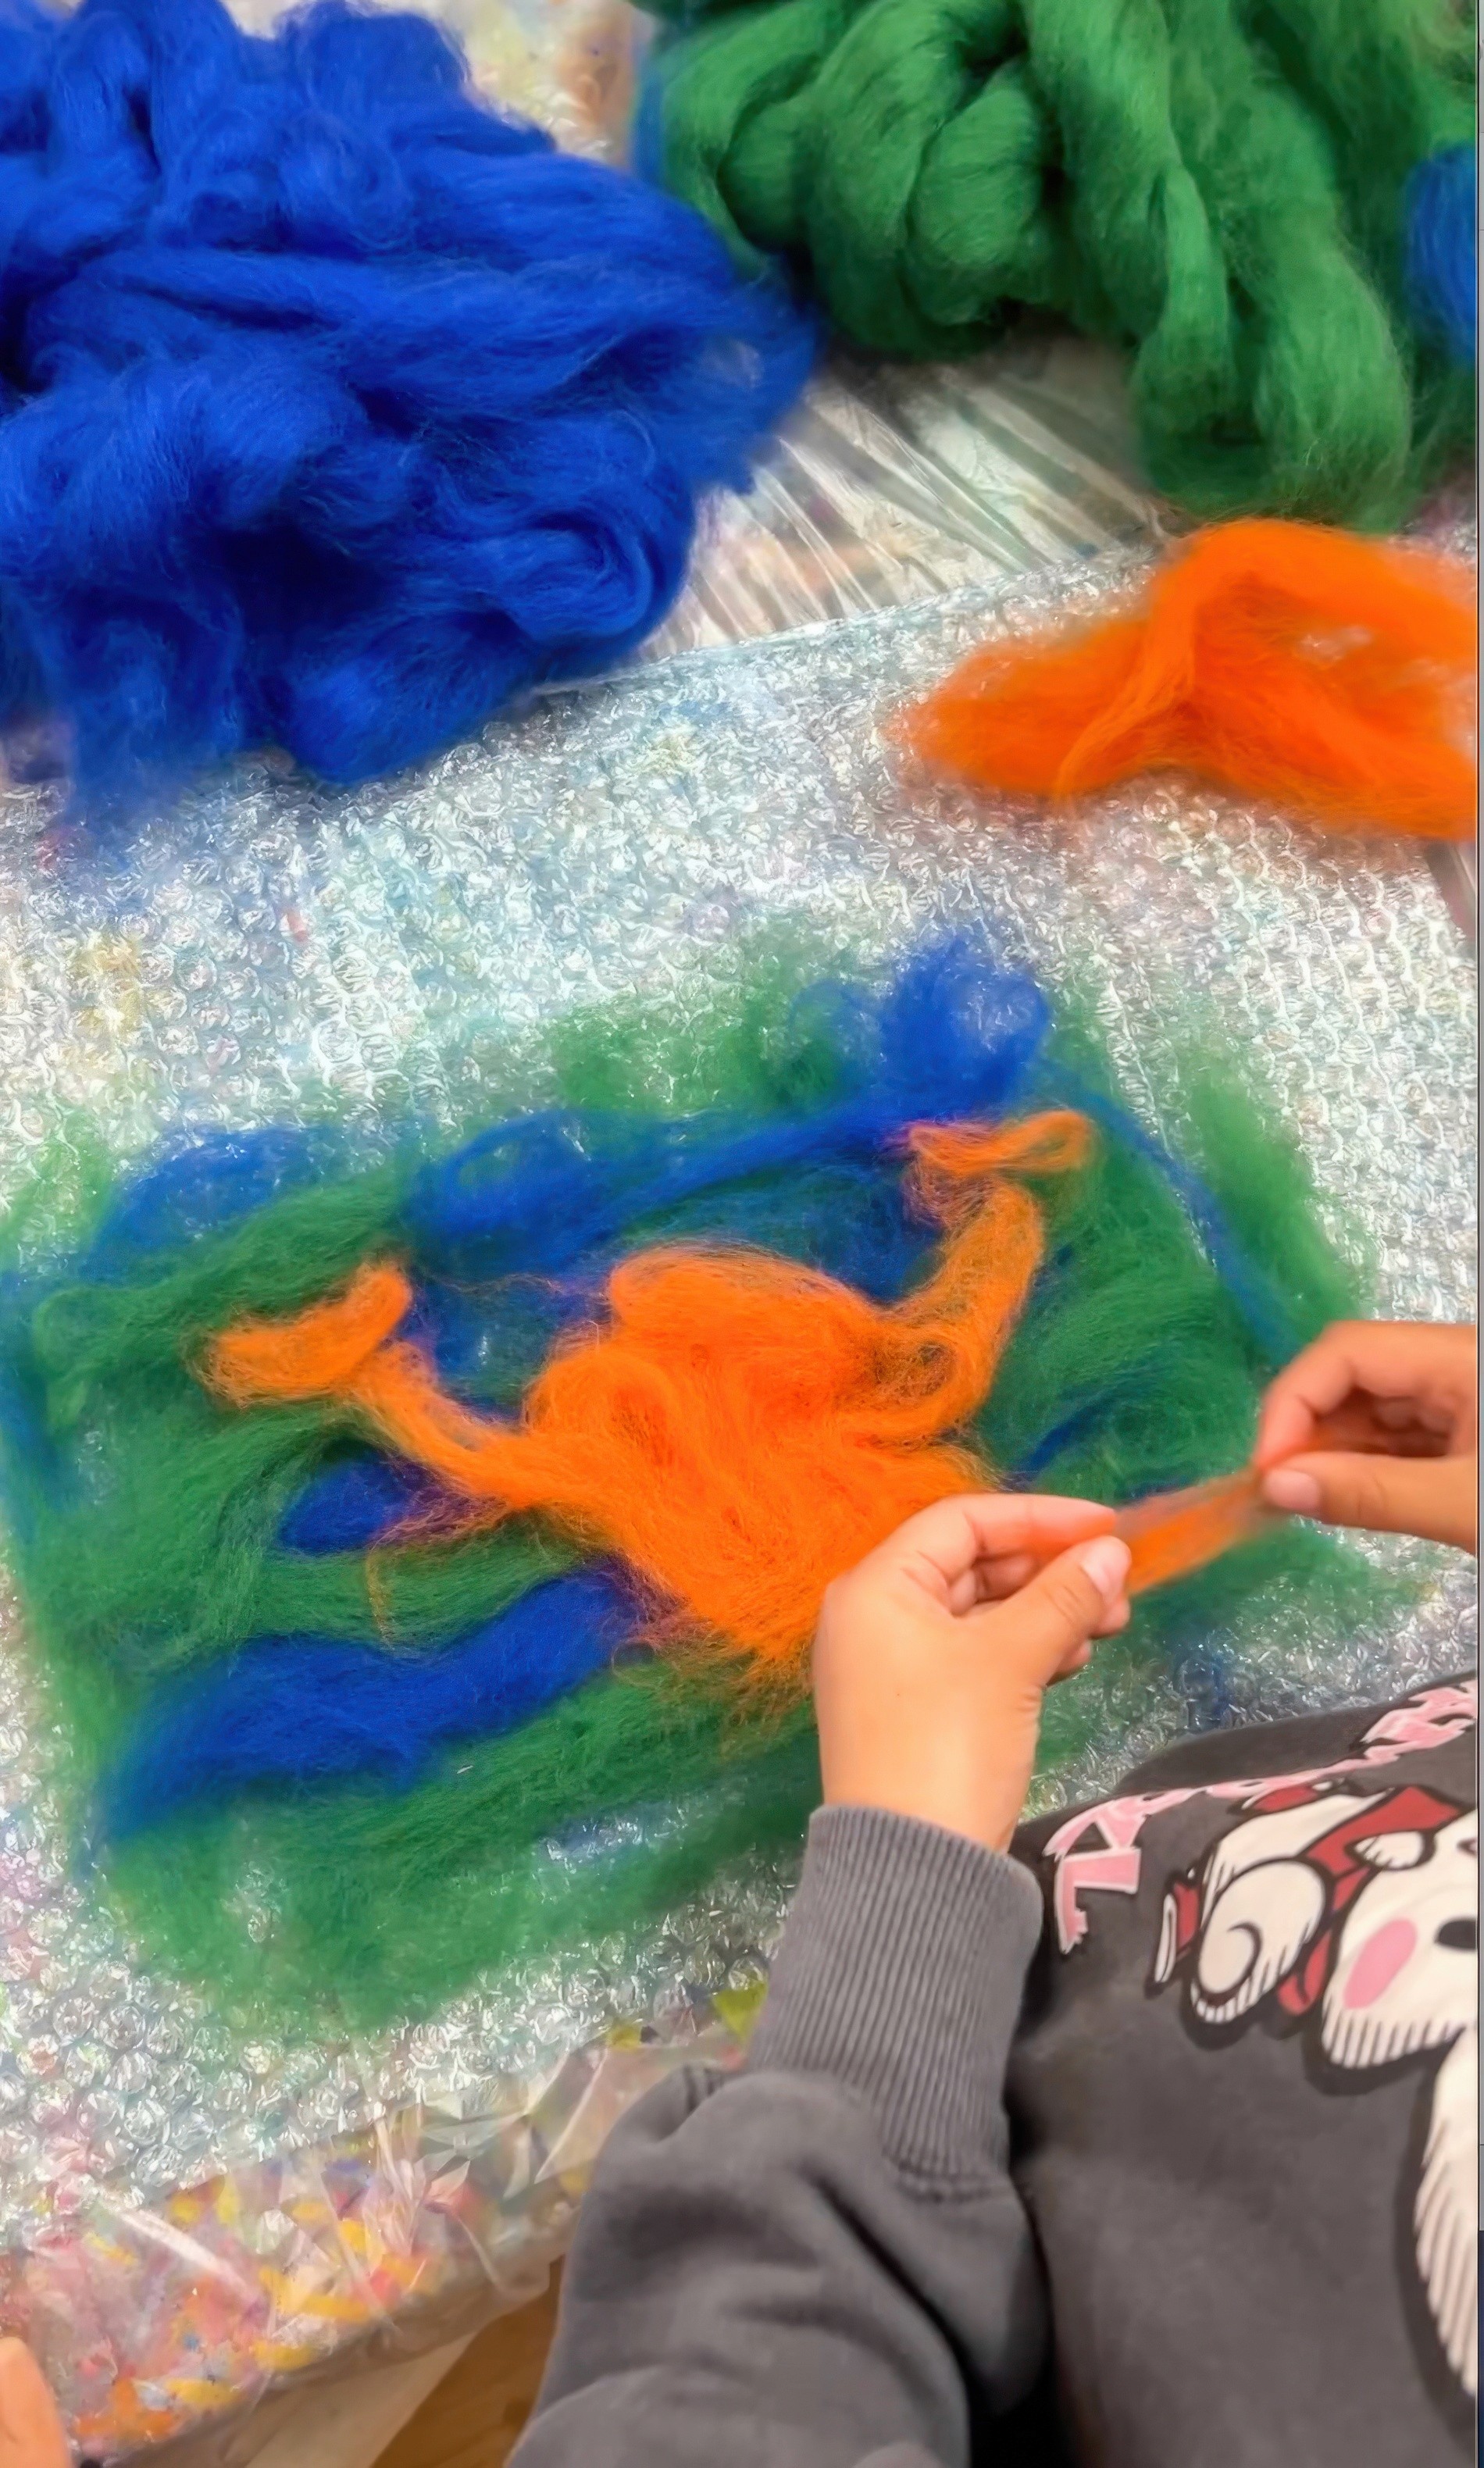
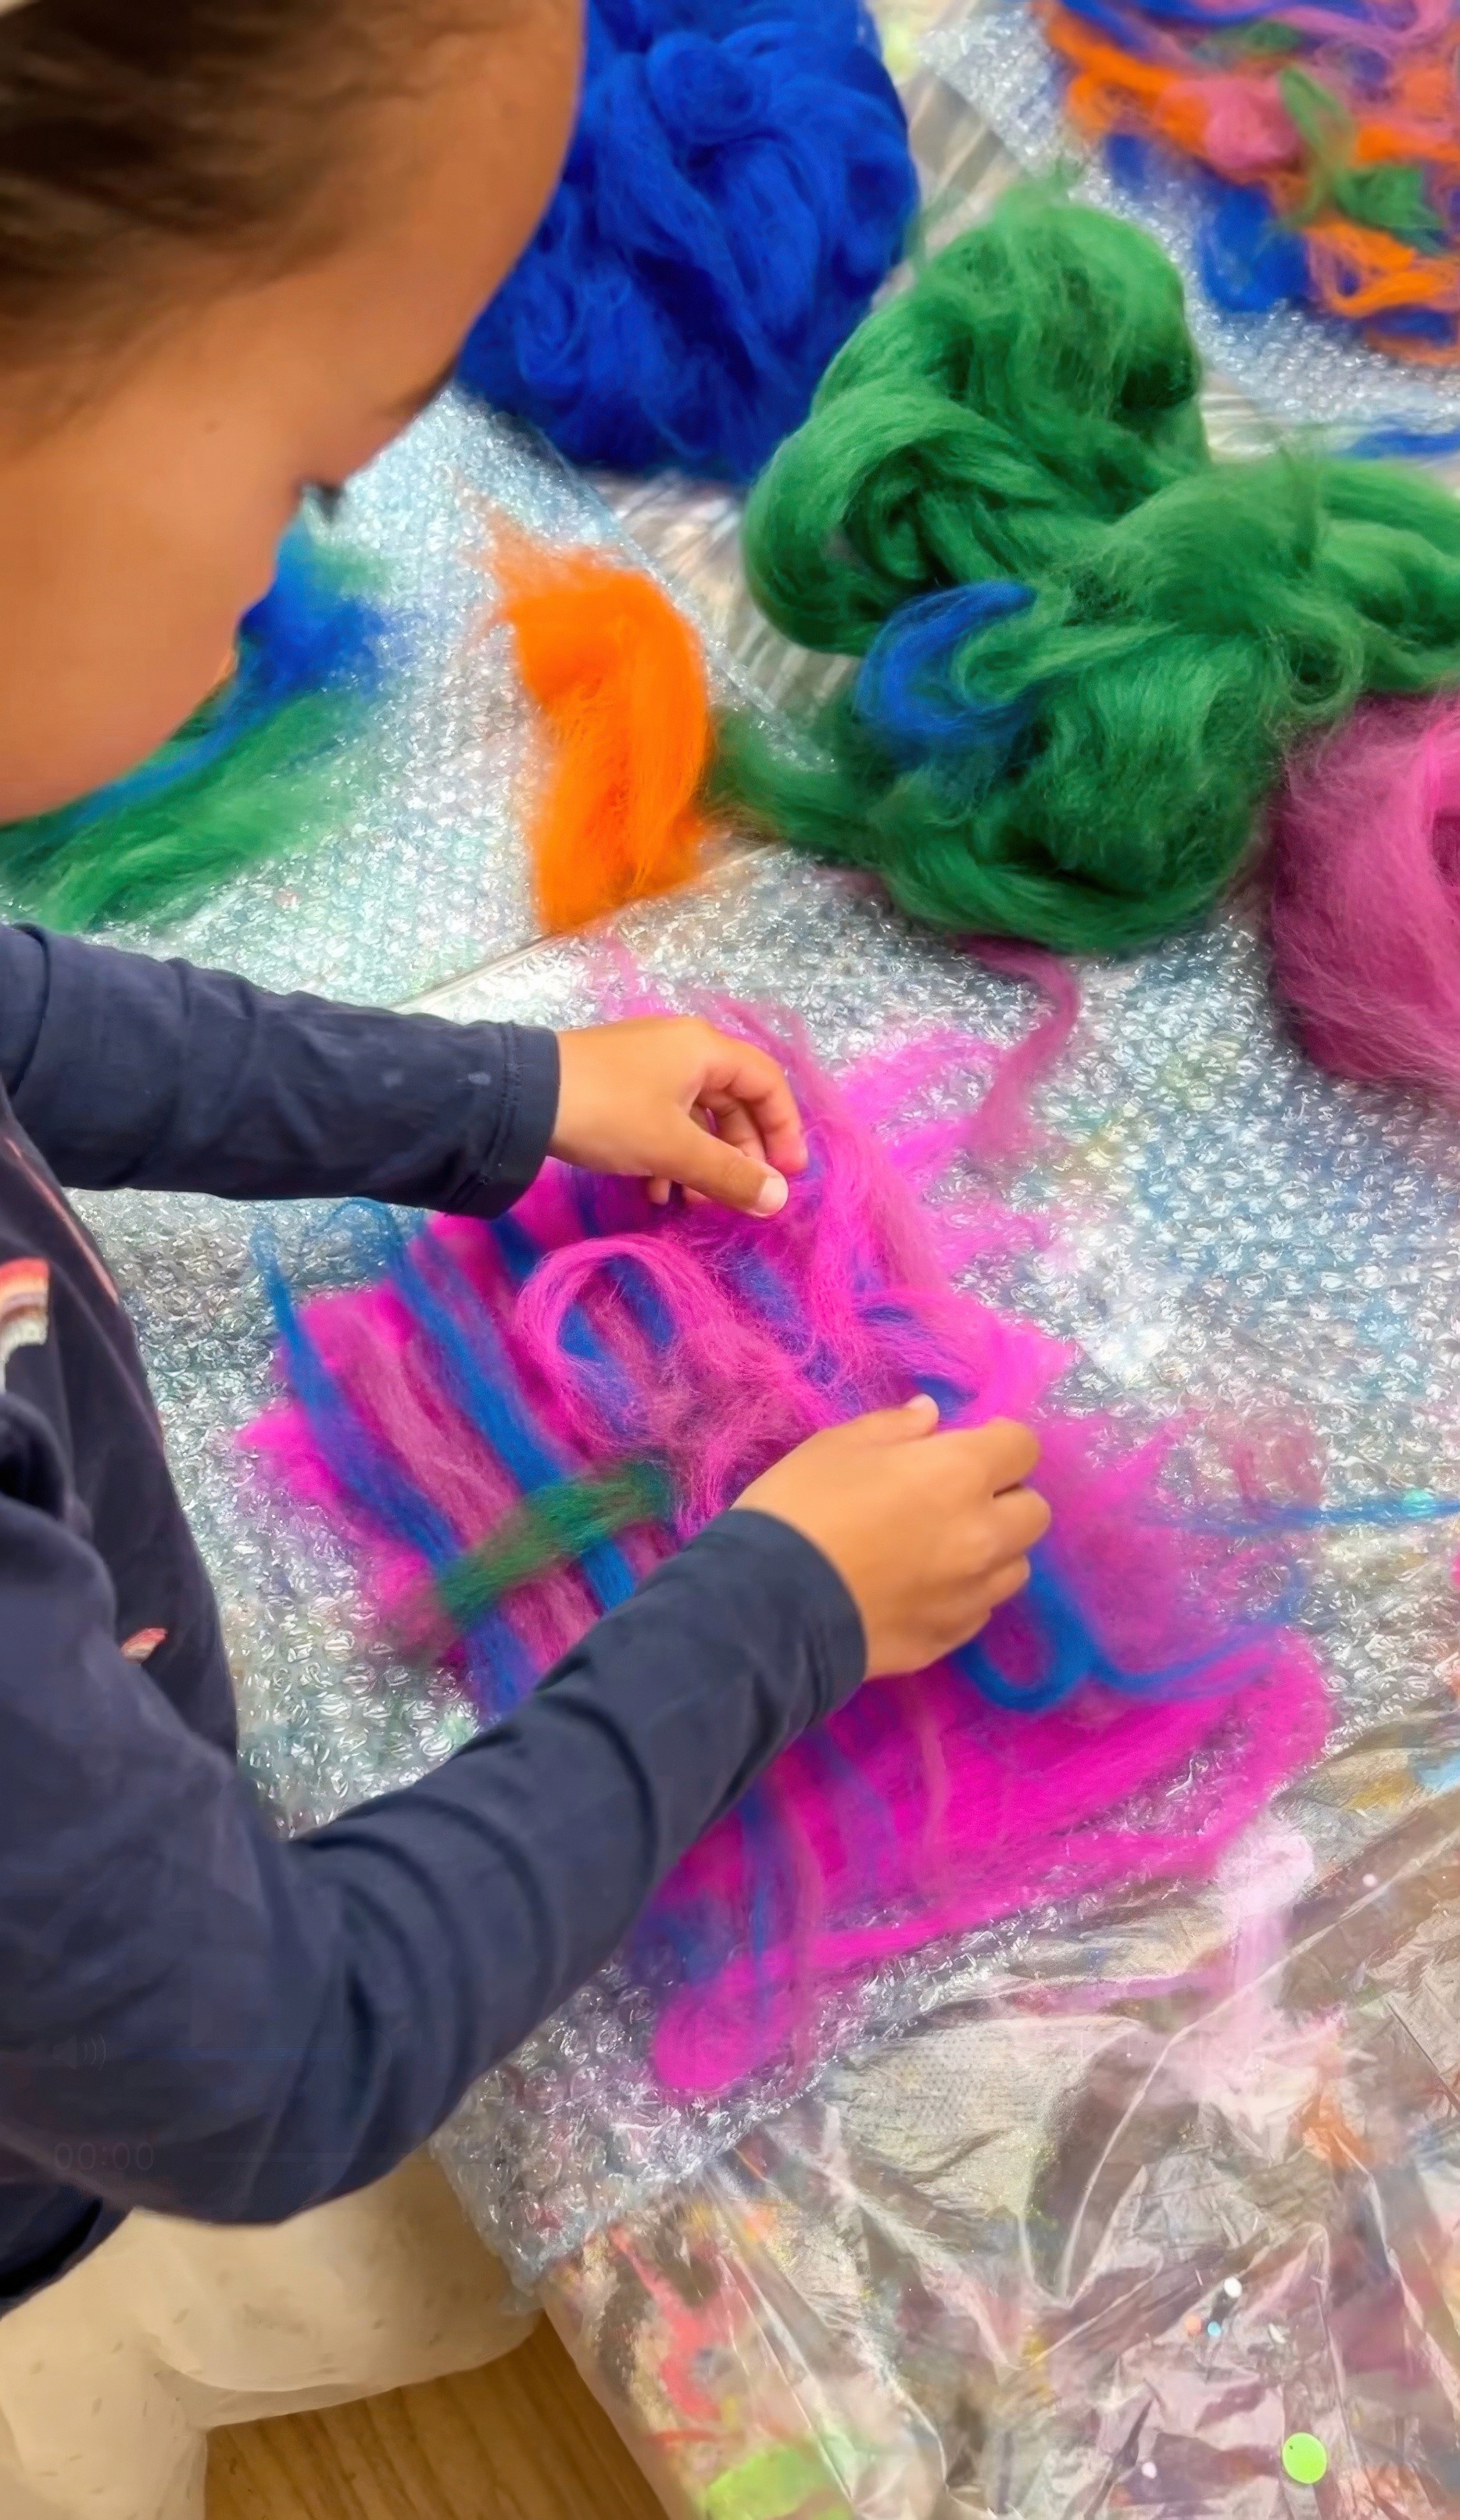
If you can, give everyone a minute with the roving first so the room settles. I show how to pinch and pull fairy floss wisps so the fibres stay airy.
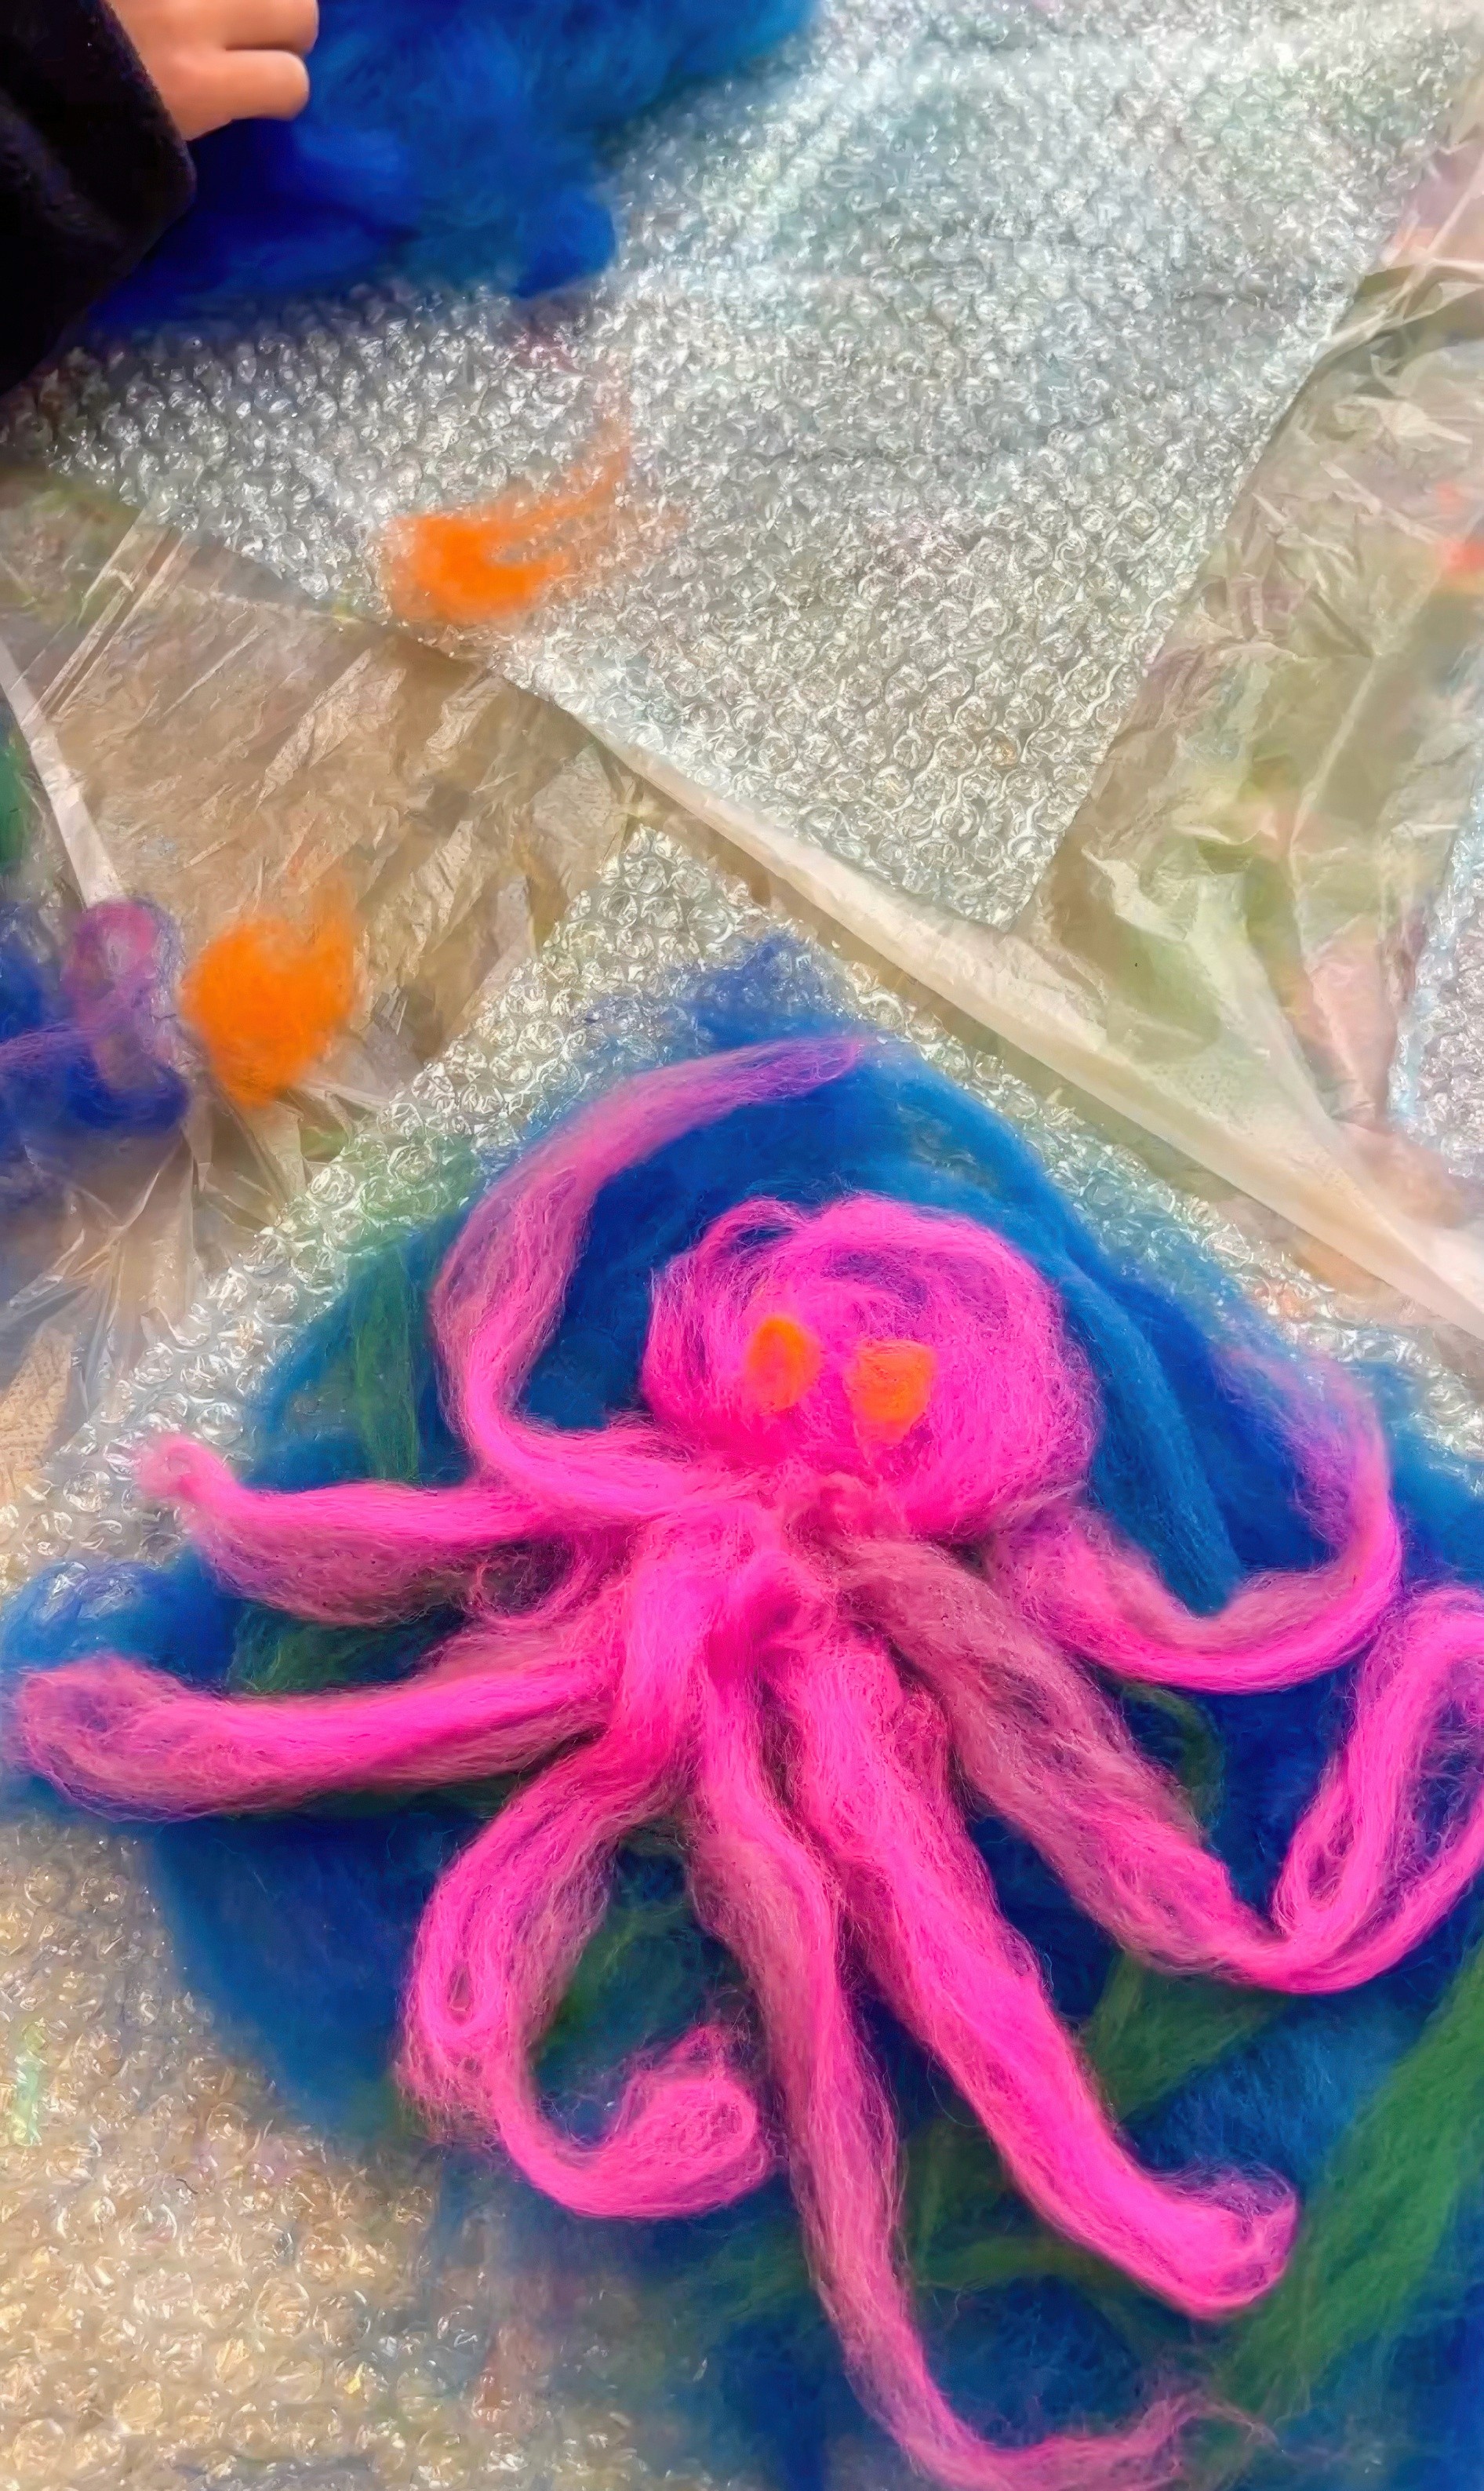
Have a chat about what everyone is dreaming of making today. Pure colour and mood? A place you love? An animal with personality? Older kids might sketch the faintest guide and lay wool over it; little ones jump straight in. Then we build the base or background in two thin layers. The first one goes left to right and the other top to bottom (or vice versa), so it holds without bulk. It’s a great idea to suggest big shapes first and then add the light details later so everything felts cleanly.
As with everything we love at Smudge, encourage play and experimenting with new ideas!
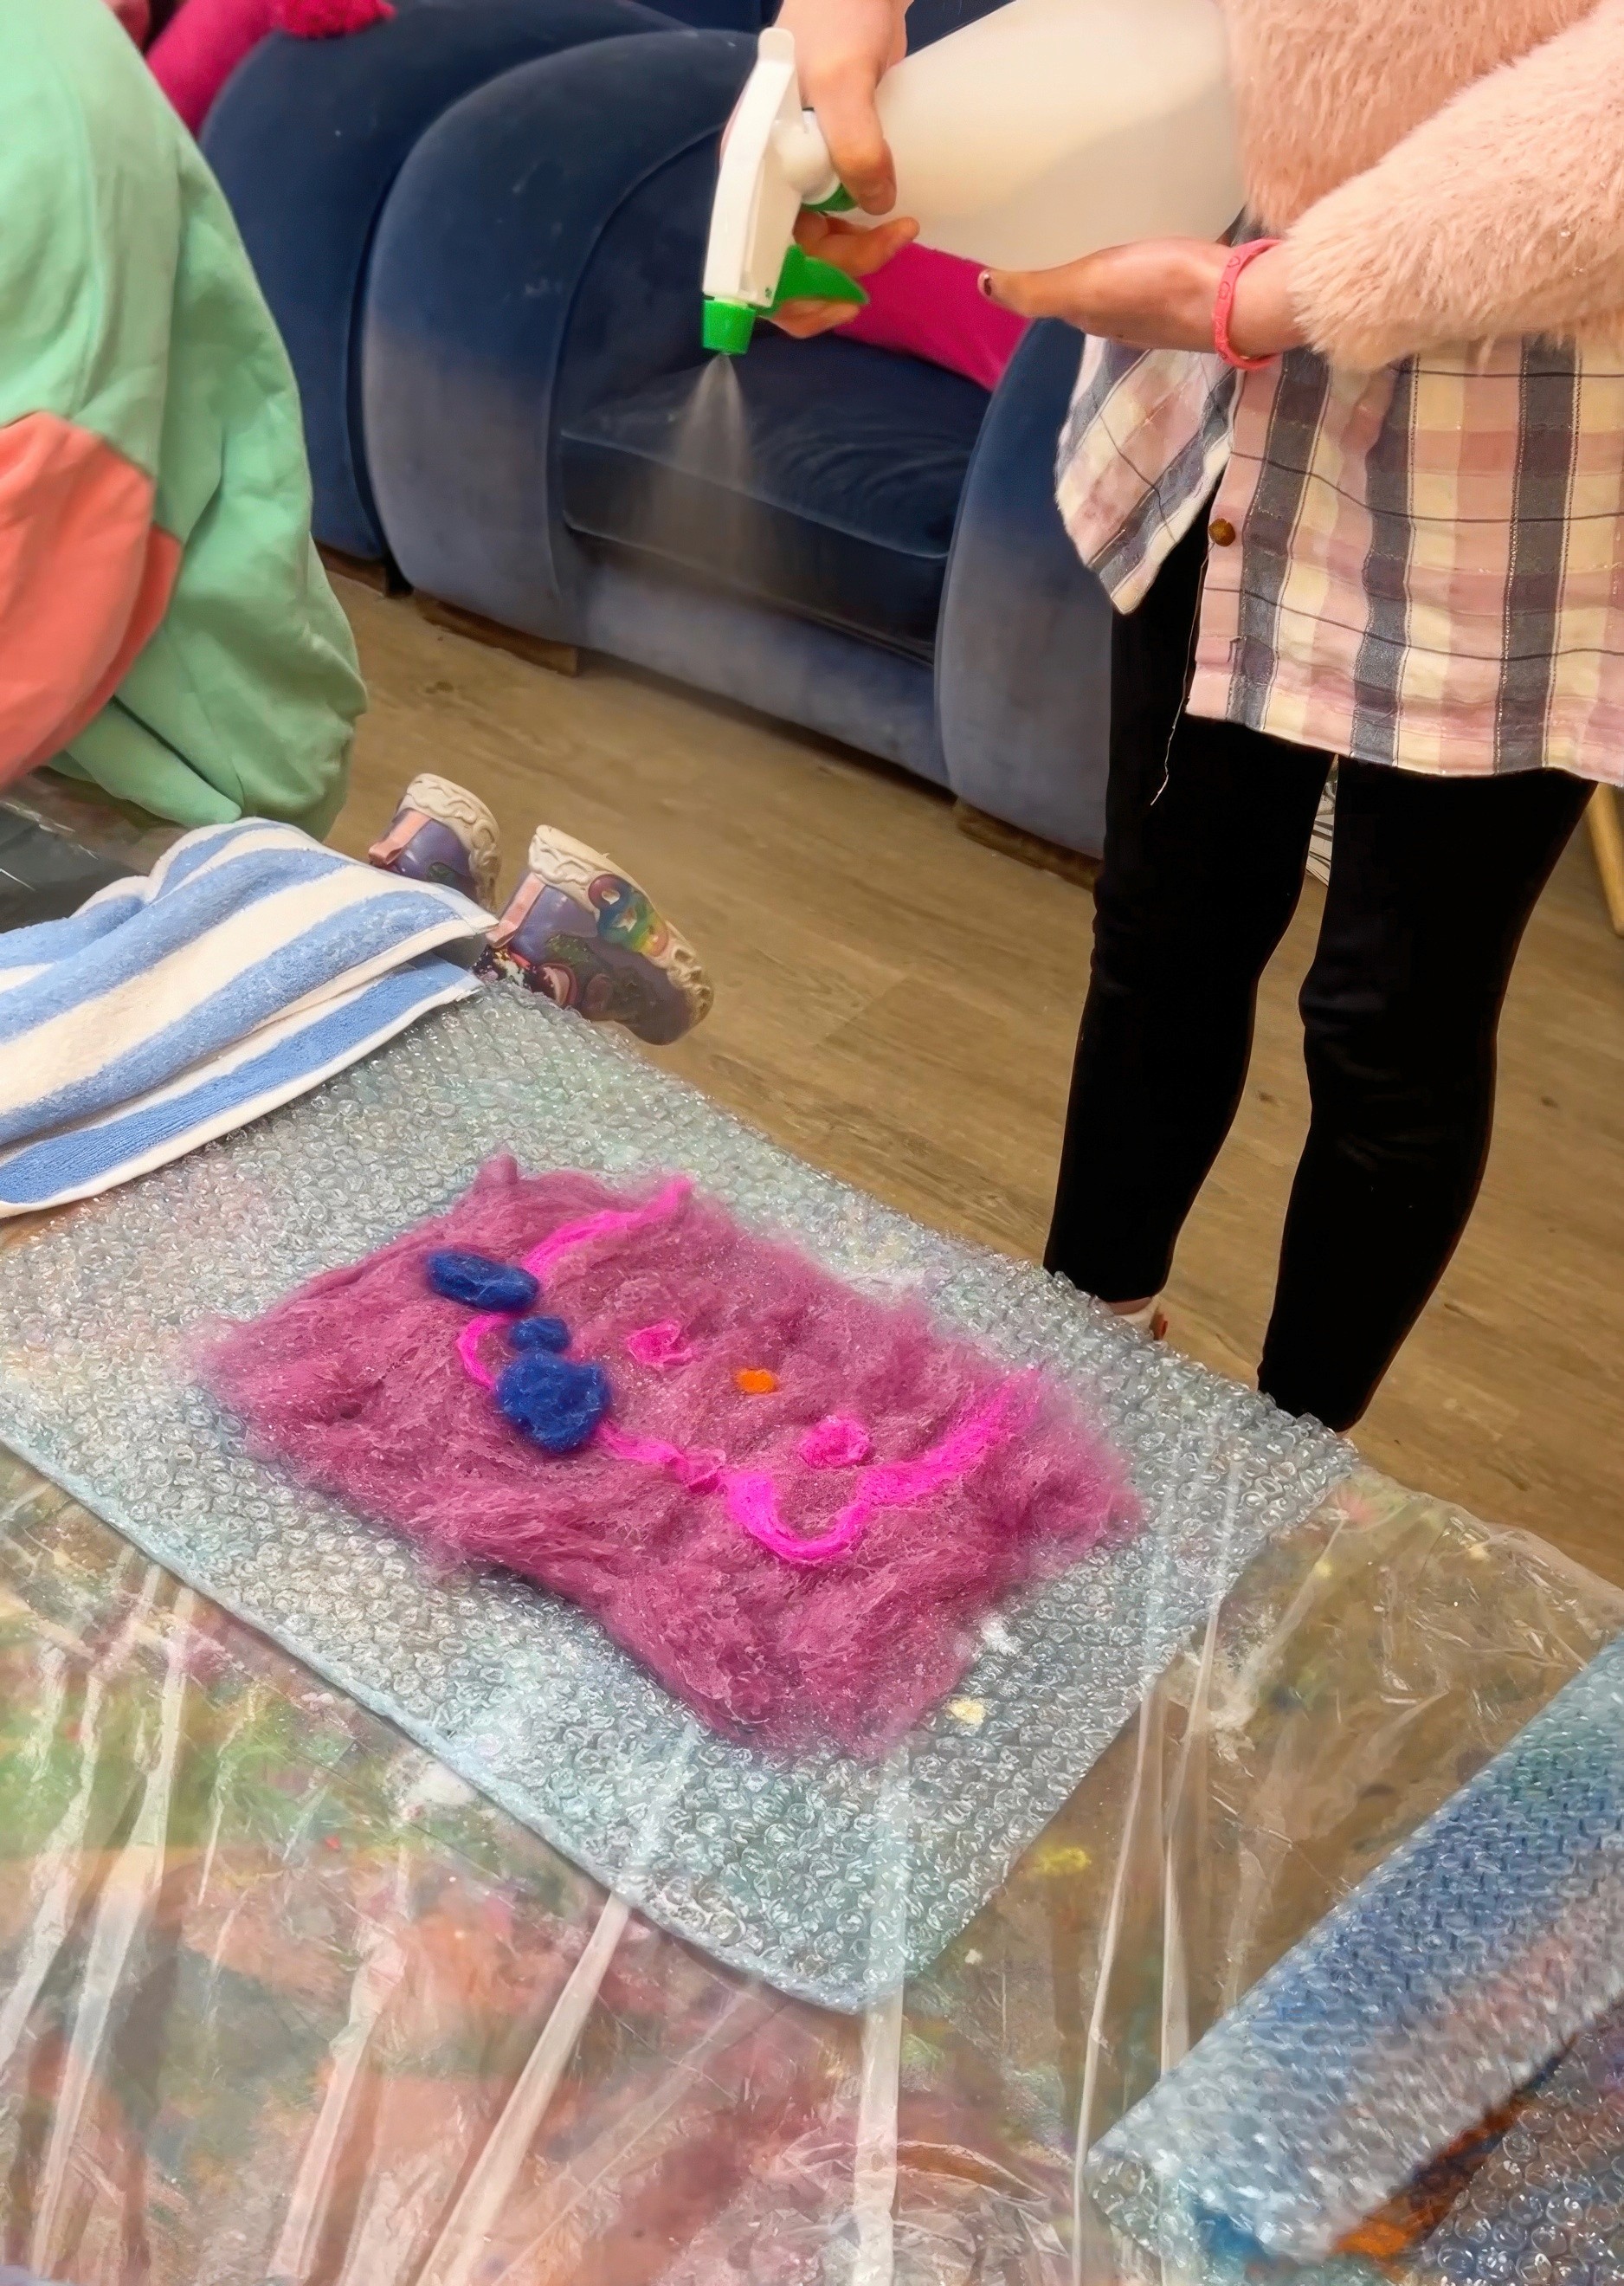
When you’re ready and happy with the design, it’s water time! An adult fills the spray bottles with hot water and a little soap. We often spray from above by standing on benches for even coverage and a bit of theatre (chat safety first). As they spray, remind them that we want designs slippery, not fully drenched; if big puddles appear, blot with a towel. Cover the entire piece with bubble wrap, bubbles down, and roll with what’s on hand, whether it’s a pool noodle, a cardboard tube, or a rolling pin; keep the pressure steady and even, like smoothing dough rather than wringing a sponge. It’s helpful to secure with a couple of elastic bands for little hands so the wool doesn’t slip if grip strength is low.
Work in short rounds. Roll for a couple of minutes, open and turn the whole piece a quarter, then roll again (and again!). Do the pinch test. If fibres lift off, keep rolling. If they hold together, unwrap fully and carry the piece to a sink, or dip it into a deep tray of cold water. That cool rinse shocks the wool. Squeeze out the water and head back to the table for a little more rolling to full the felt (a light mist of hot soapy water helps).
Holes happen. No drama! Drop a few wisps over the spot, give it a light spritz, cover, roll… and watch it mend. Too wet? Keep it rolled inside the bubble wrap and give a few gentle passes. Sliding everywhere? Blot once, add a tiny mist, then back to steady rolling.
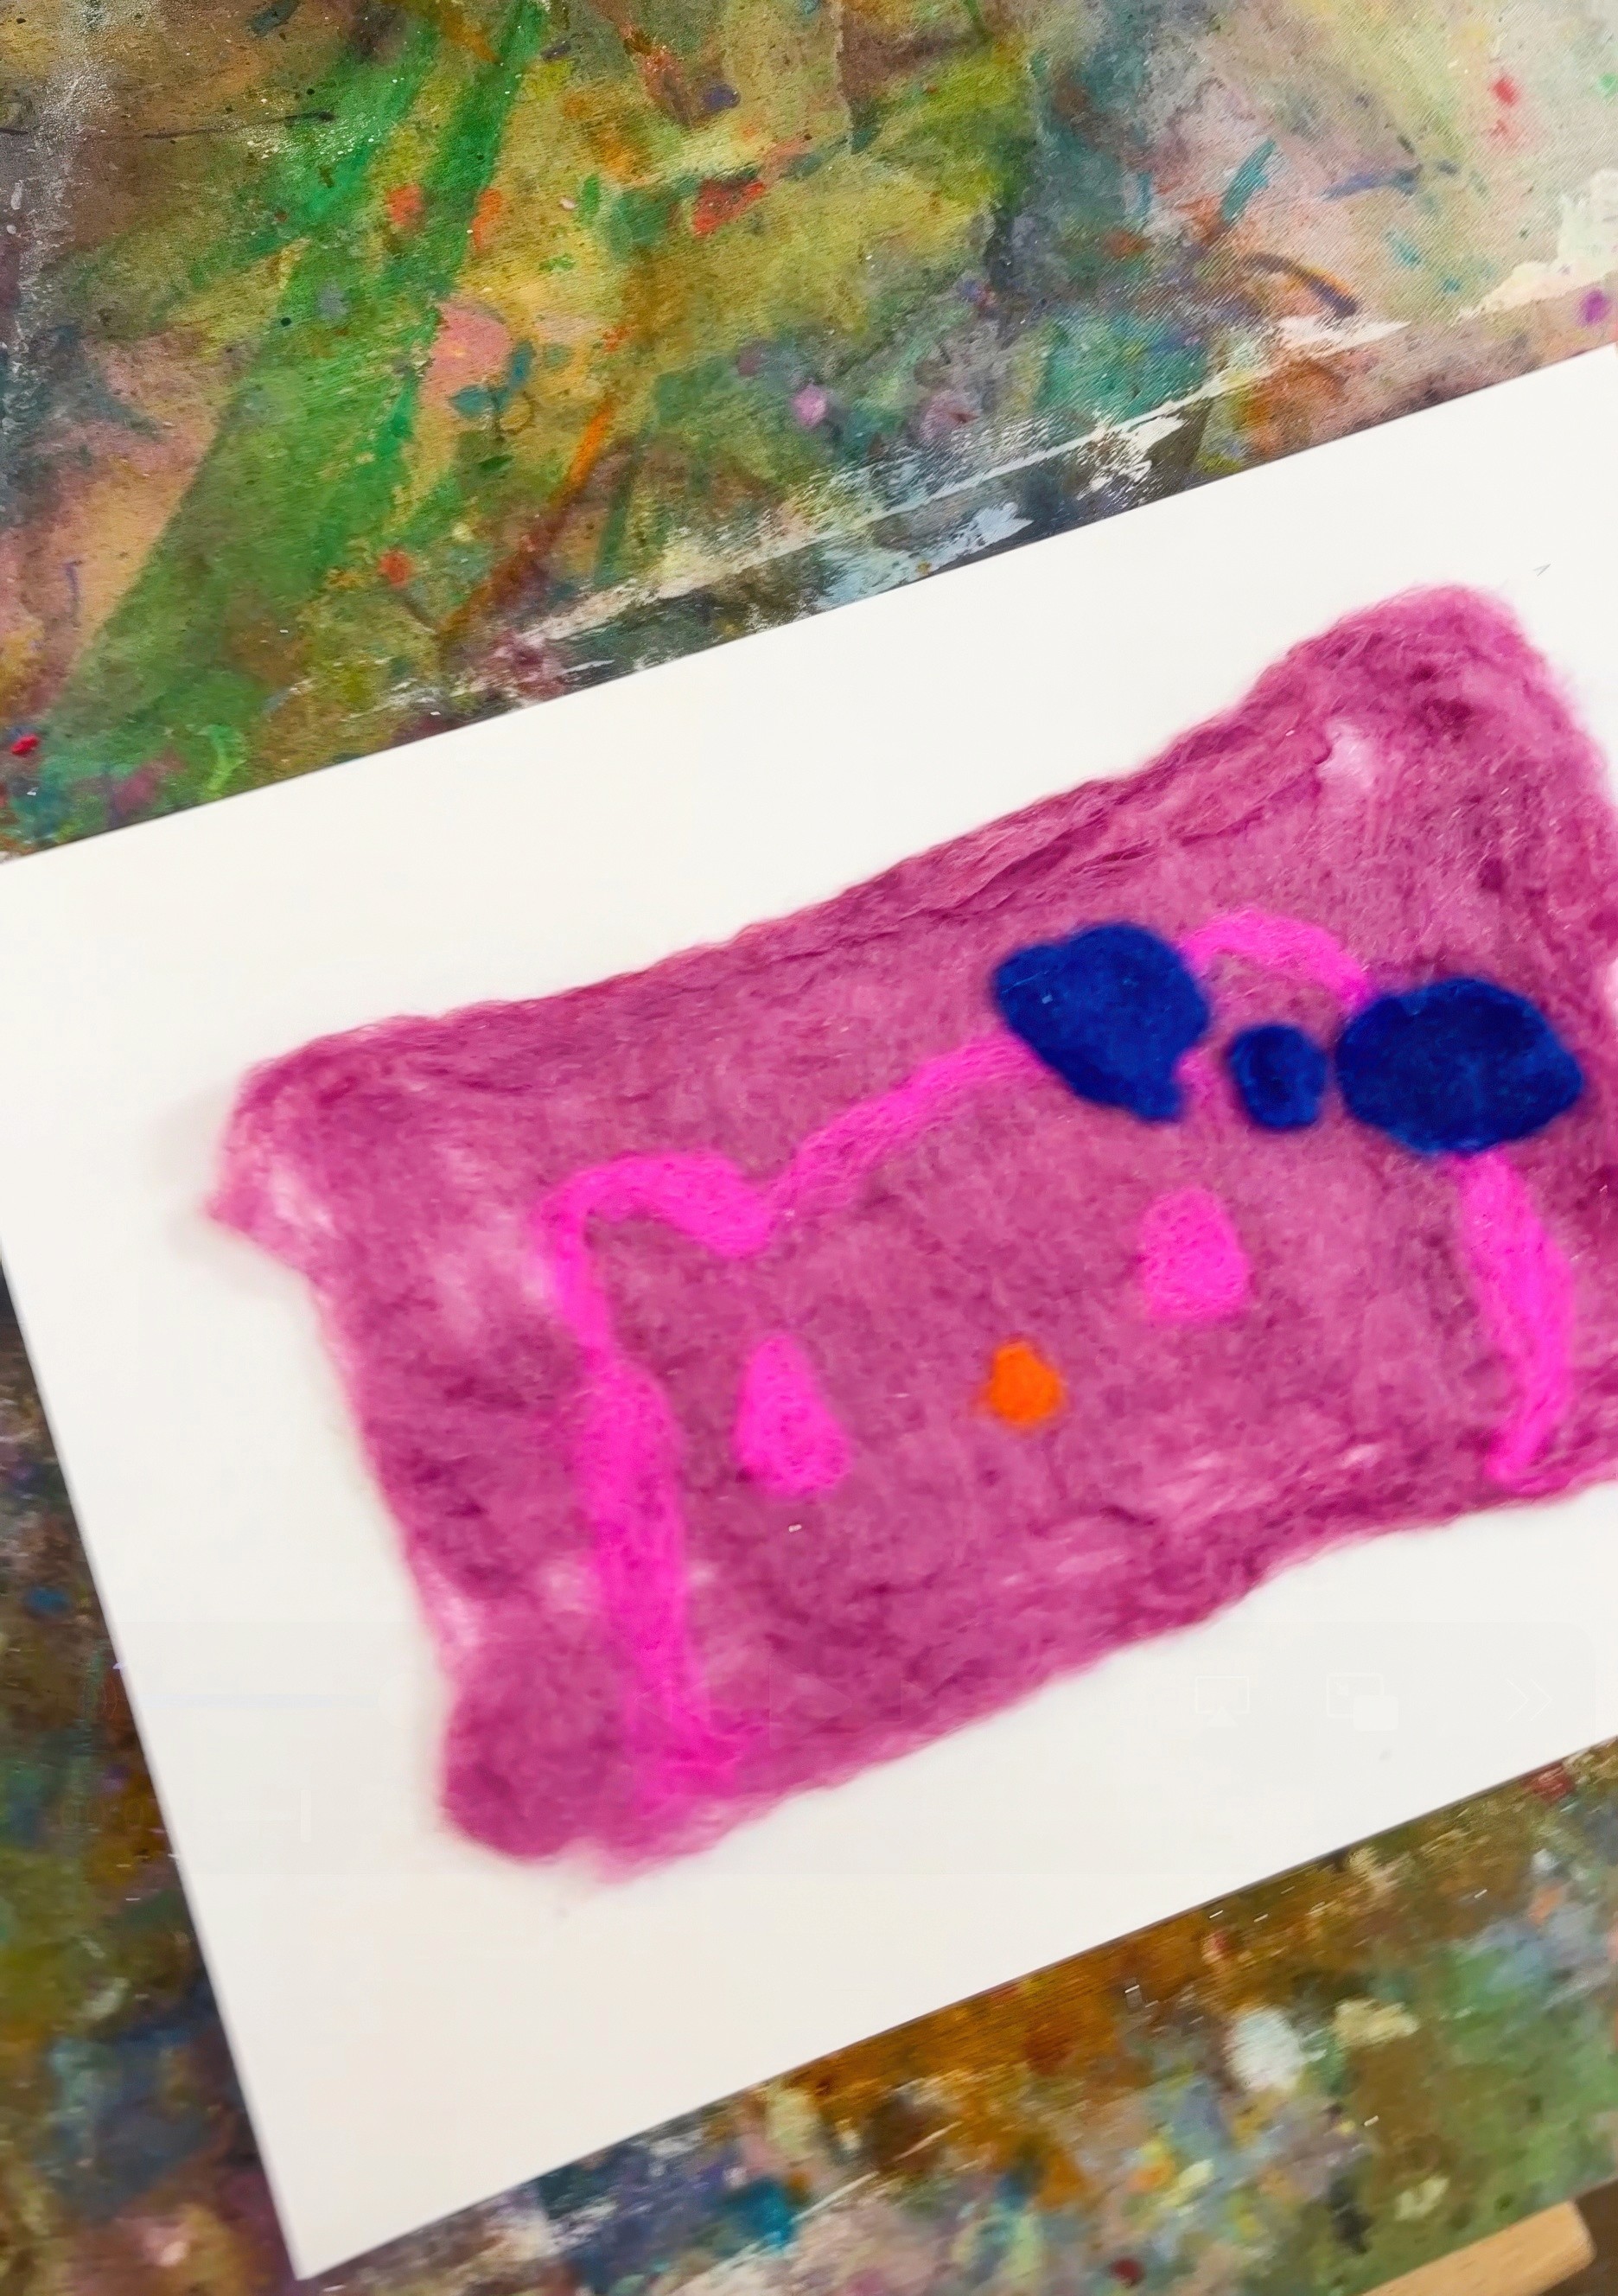
Plan on about fifteen to twenty minutes of rolling time for a small to medium piece. Lay it flat to dry. Mount on white card stock for clean contrast, or cut and stitch it into a pouch or a bookmark, or simply keep it as a small piece of cloth that came from your own hands.
That moment when loose wool becomes fabric never gets old!
Materials
Wool roving in many colours (we love KraftKolour through ZartArt)
Bubble wrap and plastic cloth
Spray bottles with warm water and a little liquid soap
Pool noodle or cardboard tube or rolling pin
Towels, bowls, drying rack
White card optional
Back to Top
Wet Felting
Watch loose wool turn into fabric in your hands!
Bookmark
Sculpture
The Set Up
Let’s get the table ready for felting. I cover it with plastic, slide a dark sheet of paper underneath as a loose size guide, then lay bubble wrap on top with the bubbles facing up and big enough to fold over the work later. At Smudge we park spray bottles filled with warm water and a small pump of hand soap right where we can grab them, with towels, refill bowls, and a flat drying spot within reach.
I like to pass around a tiny felted toy first so everyone can feel where we are headed (Tara’s Treasures are my favourite). Then a two minute chat about wool and the wet felting process, how it works. Warm soapy water opens the tiny scales on each fibre, steady rolling helps them hook and hold, and a quick cool rinse tells the whole piece to stay put.
It's definitely important to think about the materials and to pick your wool with intent. Softer roving felts quickly and finishes smooth. A slightly coarser fibre keeps more texture. We source from KraftKolour through ZartArt because the colours are gorgeous and the fibres behave beautifully!
Pile the roving centre stage… that mountain of colour pulls the kids in before you say a word!
The Making
If you can, give everyone a minute with the roving first so the room settles. I show how to pinch and pull fairy floss wisps so the fibres stay airy.
Have a chat about what everyone is dreaming of making today. Pure colour and mood? A place you love? An animal with personality? Older kids might sketch the faintest guide and lay wool over it; little ones jump straight in. Then we build the base or background in two thin layers. The first one goes left to right and the other top to bottom (or vice versa), so it holds without bulk. It’s a great idea to suggest big shapes first and then add the light details later so everything felts cleanly.
As with everything we love at Smudge, encourage play and experimenting with new ideas!
When you’re ready and happy with the design, it’s water time! An adult fills the spray bottles with hot water and a little soap. We often spray from above by standing on benches for even coverage and a bit of theatre (chat safety first). As they spray, remind them that we want designs slippery, not fully drenched; if big puddles appear, blot with a towel. Cover the entire piece with bubble wrap, bubbles down, and roll with what’s on hand, whether it’s a pool noodle, a cardboard tube, or a rolling pin; keep the pressure steady and even, like smoothing dough rather than wringing a sponge. It’s helpful to secure with a couple of elastic bands for little hands so the wool doesn’t slip if grip strength is low.
Work in short rounds. Roll for a couple of minutes, open and turn the whole piece a quarter, then roll again (and again!). Do the pinch test. If fibres lift off, keep rolling. If they hold together, unwrap fully and carry the piece to a sink, or dip it into a deep tray of cold water. That cool rinse shocks the wool. Squeeze out the water and head back to the table for a little more rolling to full the felt (a light mist of hot soapy water helps).
Holes happen. No drama! Drop a few wisps over the spot, give it a light spritz, cover, roll… and watch it mend. Too wet? Keep it rolled inside the bubble wrap and give a few gentle passes. Sliding everywhere? Blot once, add a tiny mist, then back to steady rolling.
Plan on about fifteen to twenty minutes of rolling time for a small to medium piece. Lay it flat to dry. Mount on white card stock for clean contrast, or cut and stitch it into a pouch or a bookmark, or simply keep it as a small piece of cloth that came from your own hands.
That moment when loose wool becomes fabric never gets old!
Materials
Wool roving in many colours (we love KraftKolour through ZartArt)
Bubble wrap and plastic cloth
Spray bottles with warm water and a little liquid soap
Pool noodle or cardboard tube or rolling pin
Towels, bowls, drying rack
White card optional
Back to Top
Add this to your favourites
Add this to your favourites
Thoughts?
Would love to hear if youv'e tried this or have any ideas on how to make it even better!
