Wildflower Tiles
Mosaics and more!
The Set Up
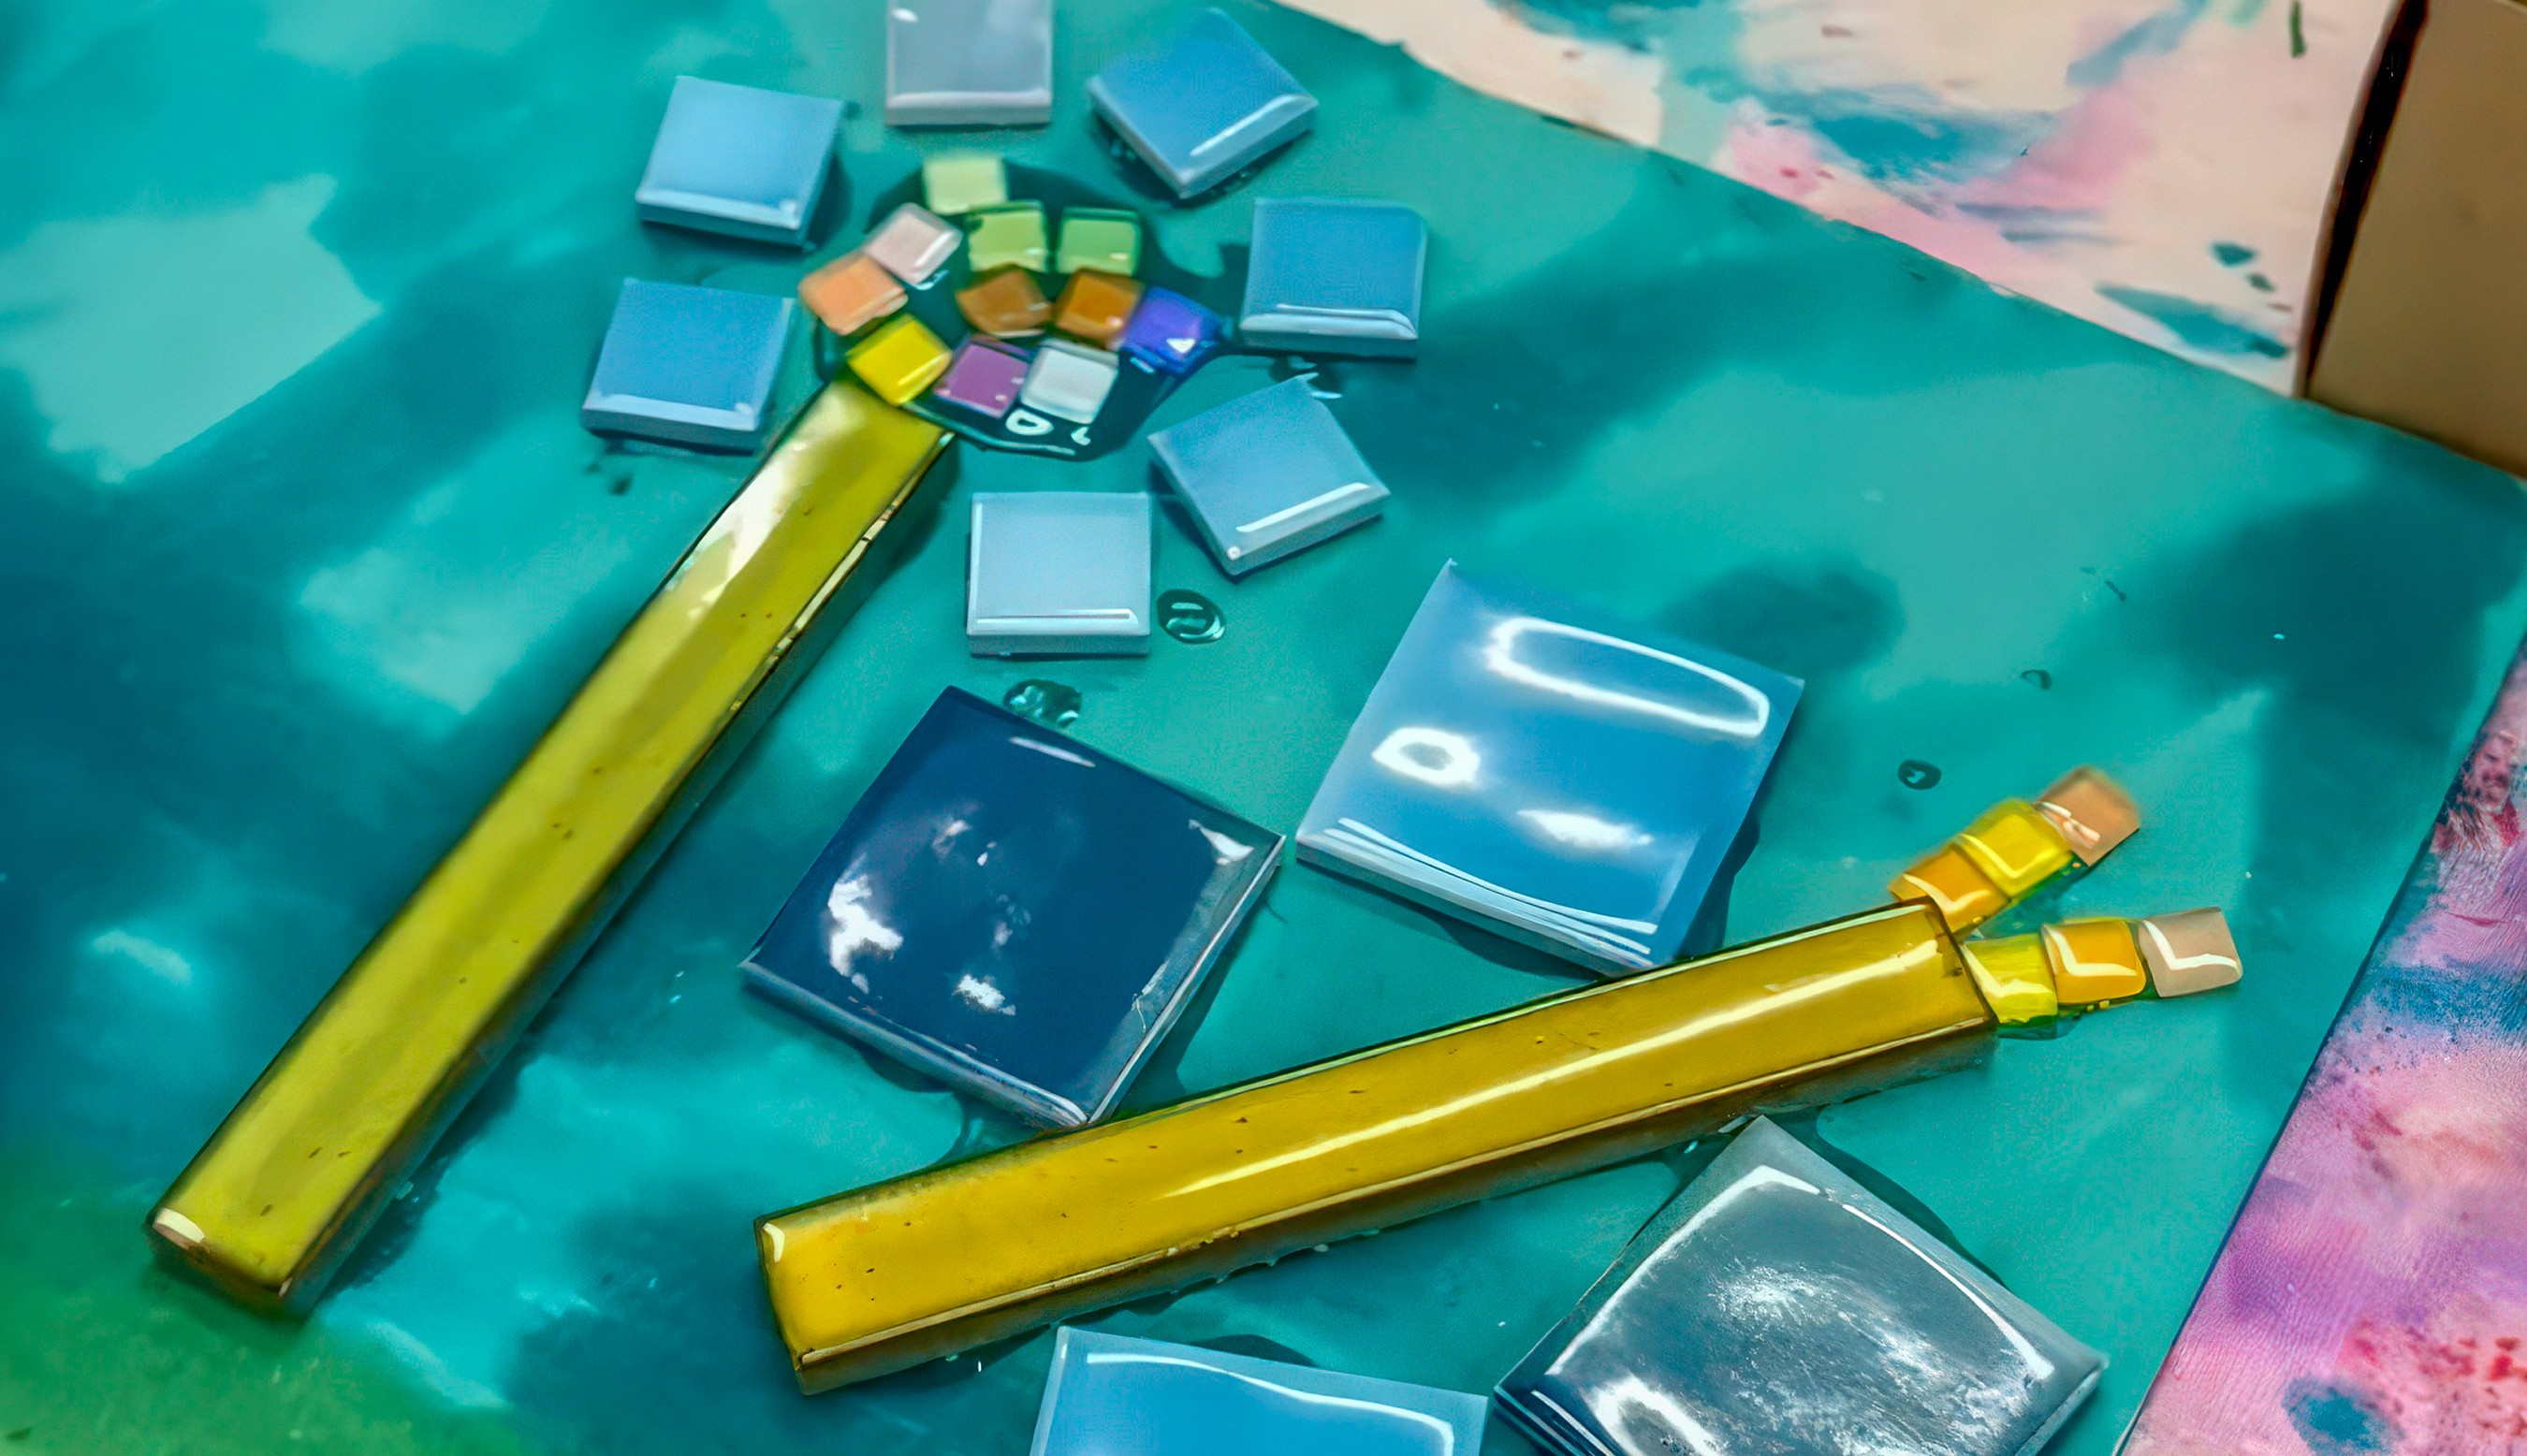
Tile shops are often the best-kept secret here! Ask if they’ve got damaged or leftover sheets of tiles and you’ll usually walk away with a pile of treasures. The more variety in shapes, sizes, and colours, the better. We’ve had beautiful results with everything from tiny tessellated squares to larger offcuts.
Choose a sturdy base. Thick cardboard works in a pinch, but plywood gives the best result if you want something that lasts. Craft glue is usually strong enough, though a hot glue gun or mosaic glue will hold extra firmly. We often offer paint sticks or watercolours as well, so artists can add colour around the tiles or create a background layer before or after gluing.


The Making
Begin by planning the layout. Play with shapes, move them around, notice how the gaps form patterns of their own. Once you’re happy, glue the tiles in place. If you’re pressed for time, it often helps to stick first and paint later. But if you’re using paint sticks, they will dry almost instantly and makes the colours pop! Some mosaics look like meadows and others like abstract bursts of spring energy and I love describing this art form to kids like they're actually painting with tiles.


Variations
Older artists (9+) love the kinetic thrill of smashing tiles with a rubber mallet or cutting them into new shapes. Goggles and gloves are an absolute must!
Mix in other textures like beads, buttons, or shells for a layered surface.
Work as a group to build a larger panel that grows into a whole “wildflower wall.”
Materials
Scrap or sample tiles (broken sheets from tile shops)
Thick cardboard or plywood bases
Craft glue, hot glue, or mosaic glue
Paint sticks or watercolours
Brushes, sponges, or cloths for painting
Optional: rubber mallet, tile cutters, safety goggles, gloves
Back to Top
Wildflower Tiles
Mosaics and more!
Bookmark
Collage
The Set Up
Tile shops are often the best-kept secret here! Ask if they’ve got damaged or leftover sheets of tiles and you’ll usually walk away with a pile of treasures. The more variety in shapes, sizes, and colours, the better. We’ve had beautiful results with everything from tiny tessellated squares to larger offcuts.
Choose a sturdy base. Thick cardboard works in a pinch, but plywood gives the best result if you want something that lasts. Craft glue is usually strong enough, though a hot glue gun or mosaic glue will hold extra firmly. We often offer paint sticks or watercolours as well, so artists can add colour around the tiles or create a background layer before or after gluing.
The Making
Begin by planning the layout. Play with shapes, move them around, notice how the gaps form patterns of their own. Once you’re happy, glue the tiles in place. If you’re pressed for time, it often helps to stick first and paint later. But if you’re using paint sticks, they will dry almost instantly and makes the colours pop! Some mosaics look like meadows and others like abstract bursts of spring energy and I love describing this art form to kids like they're actually painting with tiles.
Variations
Older artists (9+) love the kinetic thrill of smashing tiles with a rubber mallet or cutting them into new shapes. Goggles and gloves are an absolute must!
Mix in other textures like beads, buttons, or shells for a layered surface.
Work as a group to build a larger panel that grows into a whole “wildflower wall.”
Materials
Scrap or sample tiles (broken sheets from tile shops)
Thick cardboard or plywood bases
Craft glue, hot glue, or mosaic glue
Paint sticks or watercolours
Brushes, sponges, or cloths for painting
Optional: rubber mallet, tile cutters, safety goggles, gloves
Back to Top
Add this to your favourites
Add this to your favourites
Thoughts?
Would love to hear if youv'e tried this or have any ideas on how to make it even better!
